Installing floor tile in the bathroom is a task that is often left to the experts. But tiling the floor of a small bathroom is a task that you can accomplish yourself with a little bit of work and the right planning. A project involving the retiling of the bathroom is definitely not for those who have little experience with DIY projects around the house. Different bathroom floors require varied methods and approaches when it comes to relaying.

Even before you get started with the project, it is important to remember that laying down tiles for a small bathroom requires at least 15-20 total work hours. Do not be fooled by anyone who tells you that it takes just a few hours; especially when you are doing it for the first time…
1. Remove the old tile
If you have made the call to tile the bathroom floor on your own, then at the very least, try and have someone around to help. The task is always easier when you have someone at home willing to do the peripheral work. Start by ripping out any old tile and carpet that is present in the bathroom. Take the time to remove the bathroom door, so that the entire process is less hindered as you move on to the next stage. Redoing the old floor beneath the tile surface depends on the condition of the floor.

2. Getting the new tiles Right
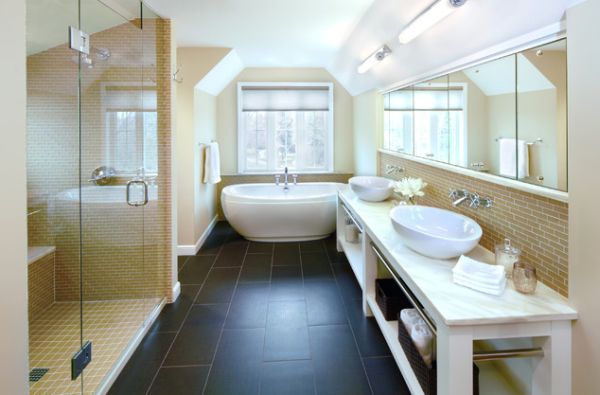
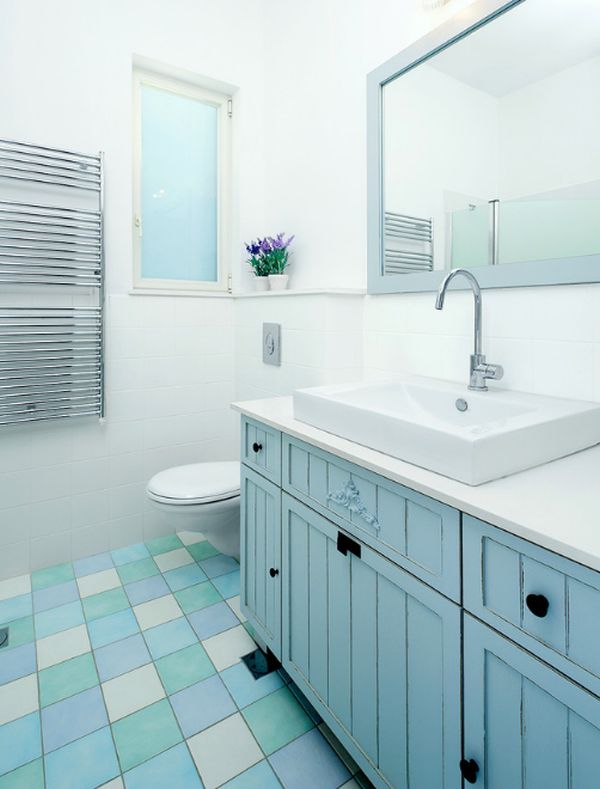
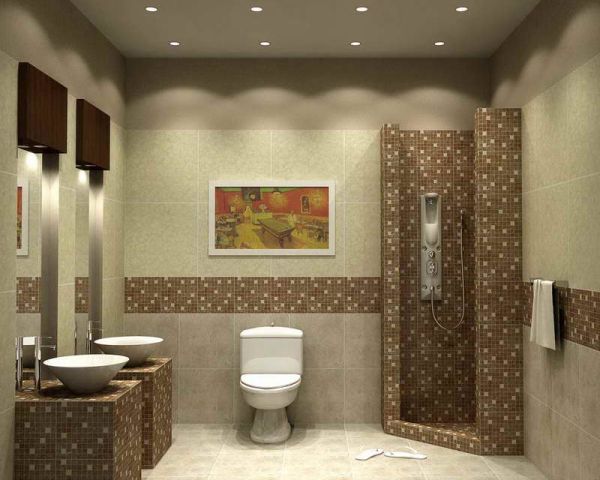
This is probably one of the easier parts of tiling your bathroom when you are doing it without expert help. Pick a bathroom tile pattern that you love for the new floor. Remember that there are hundreds of materials and colors available and your choice depends on both the size of the room and the theme of your house. From colorful tiles that offer a playful vibe to intricate designs that accentuate the look of the bathroom, here is a fantastic guide that will help you further in choosing the right tile.


3. Creating the right template
Once you are done with removal of the old tiles and bathroom fixtures and you have prepared the floor for the laying of new tiles, it is time to get the pattern and placement correct. Do not rush this step, as how you place the tiles and the way you arrange them will determine the final look of your bathroom. Use chalk lines to plan the placement of the tiles. This will give you a fairly good idea of how the finished bathroom will appear.

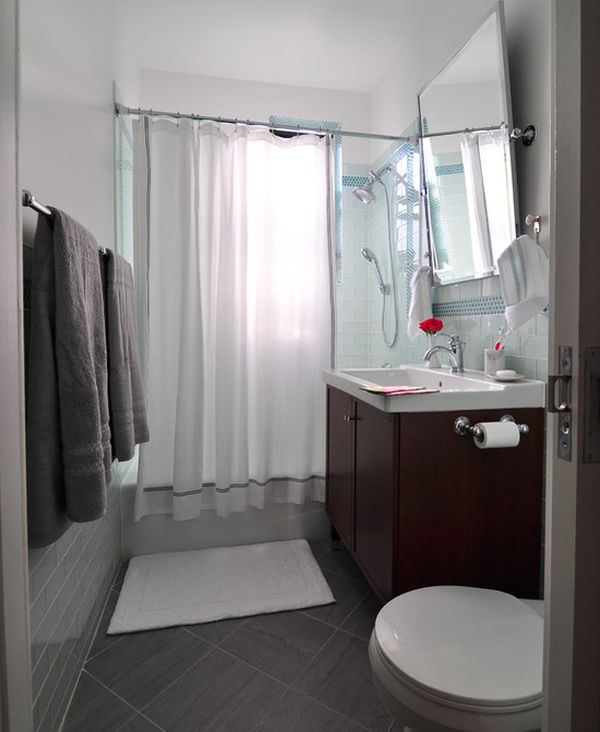
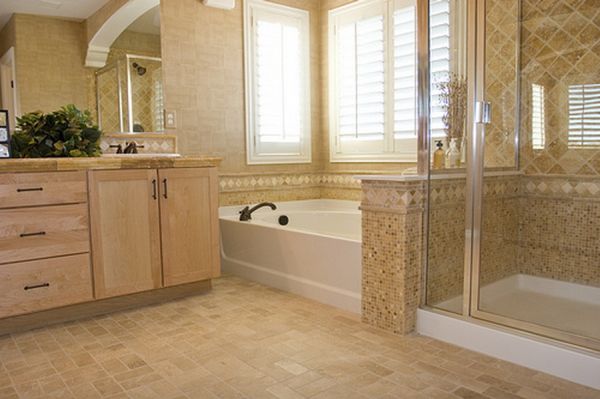
Create a template that is complete with grout lines so you know exactly how much space you have left in the corners and how you need to cut the tiles for these nooks. If you are tiling a small bathroom floor, then a diagonal placement of tiles will make it appear visually larger.
4. Laying down the cement
Once you are confident about the placement of the tiles (once again, recheck this if you are not 100 percent certain, as you cannot go back once you start), it is time to prepare the floor for the tiles. Buy top-quality cement that has excellent adhesive properties so that it makes your own task a lot easier. Do not mix the entire amount of adhesive cement at once. Since you are new to the task, placing each tile carefully takes considerable time. If you mix the cement in bulk, it is bound to dry up even before being used.


5. Lay the tile with precision
Buy a notched trowel at the local hardware store, as it is an absolute must when it comes to laying down the bathroom tiles. It ensures that the tiles are all placed at the same height and will also make sure that the adhesive sticks to the entire lower surface of the tile. Place the tiles carefully and use a light wooden block and a small hammer to press them into place. Always start at the center of the room instead of the corner to ensure that the grout lines are straight.

6. Grout and Sealing
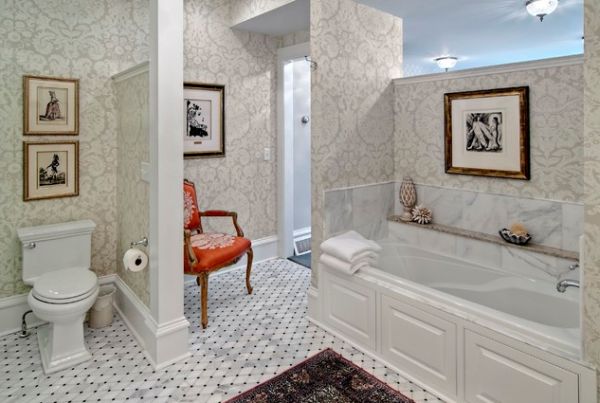
Most homeowners tend to overlook the color of the grout while laying in the bathroom tiles. However, this minor detail can alter the entire appeal of the bathroom. Pick a grout that is complementary to the color of the bathroom. Both dark- and light-colored grouts have their own pros and cons. So it is helpful to go with a shade that suits your bathroom best. Apply the grout evenly with a grout float and gently sponge the tile surfaces when done.

7. Washing away the mess
Use lukewarm water and a sponge to clean the grout completely from the tile surface. Now is also the only time when you can get those grout line straight. Using the edge of the sponge, draw out straight lines and shape the edges in a clear fashion. Once the grout sets in, you will not be able to redo this bit later. So take a bit of extra time and ensure that it is perfectly symmetrical. Stay off of the bathroom surface for another 24 to 48 hours before you wash the floor clean again.


8. Do not box yourself into a corner!
Though this sounds innately simple, most of us inevitably tend to box ourselves into a corner at some point! Plan the layout of the tiles in advance, as well as the order in which you will be positioning them. Grouting and cleaning is obviously much easier than removing the old tiles and putting in the new ones.

9. Smart and Beautiful Finish
Applying a sealer on top of the bathroom floor helps keep it in top-notch shape for a longer period of time. It also keeps infestation away, makes your bathroom floor more resistant to steam and water, and ensures that it has a shinier look. Tiling your own bathroom floor obviously has several innate advantages. Perhaps the biggest perk is the money that you save. Most often, you will cut costs by a good 60 percent if you tile the bathroom yourself. But it is definitely not a job for those who do not enjoy some serious work around the house!

If you are redoing the floor of a small bathroom, have your local hardware store cut the tiles for the edges. Don’t forget to get a few gloves and even a couple of knee pads just to make it a touch easier. But, if you are ever stuck in a conundrum midway, just call in some expert help and be proud of the work you completed on your own. Aside from saving some dough, the project is bound to give you some invaluable experience and an ability to handle future floor dilemmas with improved confidence!


