The age-old debate lingers: Can you paint over wallpaper? It’s a question that homeowners facing dated or worn wallpaper often grapple with, wondering if there’s a viable solution without the labor-intensive task of stripping it away.
In this comprehensive guide, we delve into the intricacies of painting over wallpaper, aiming to demystify the process and provide clarity for those seeking a transformative yet efficient solution. From understanding the types of wallpaper and potential challenges to offering step-by-step guidance, this article equips you with the knowledge to make an informed decision about refreshing your space.
Understanding Wallpaper and Its Challenges

Before delving into the colorful realm of painting, it’s crucial to comprehend the intricacies of the wallpaper adorning your walls. Wallpaper is not just a decorative layer; it’s a canvas with its own set of characteristics and challenges. To embark on a successful painting project, one must first identify the type of wallpaper in place. Vinyl wallpapers, often resilient and easy to clean, provide a different canvas than fabric-backed options, which may demand a more delicate touch. The thickness and texture of the wallpaper matter, too – a smooth surface might be more paint-friendly than a deeply textured one.
Potential Challenges:
- Adhesion Issues: Certain wallpapers, particularly vinyl or non-porous ones, may pose challenges for paint adhesion. Without proper preparation, the paint might not adhere evenly, leading to peeling or flaking.
- Seam and Edge Problems: If your wallpaper has seams or edges that are not securely in place, painting over them can highlight these imperfections. It’s crucial to address any loose seams or damaged areas before proceeding.
- Moisture Sensitivity: Bathrooms or kitchens with wallpaper might present additional challenges due to moisture sensitivity. Certain wallpapers may not respond well to humidity, potentially affecting the paint’s longevity.
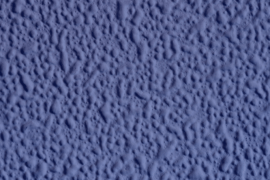
- Texture Considerations: Deeply textured wallpapers might retain their texture even after painting, creating a unique visual effect. However, it’s essential to decide if this aligns with your desired outcome.
Assessing Your Wallpaper:
- Inspect for Damages: Before reaching for the paintbrush, thoroughly inspect the wallpaper for damages, loose seams, or any signs of wear. Addressing these issues beforehand ensures a smoother painting process.
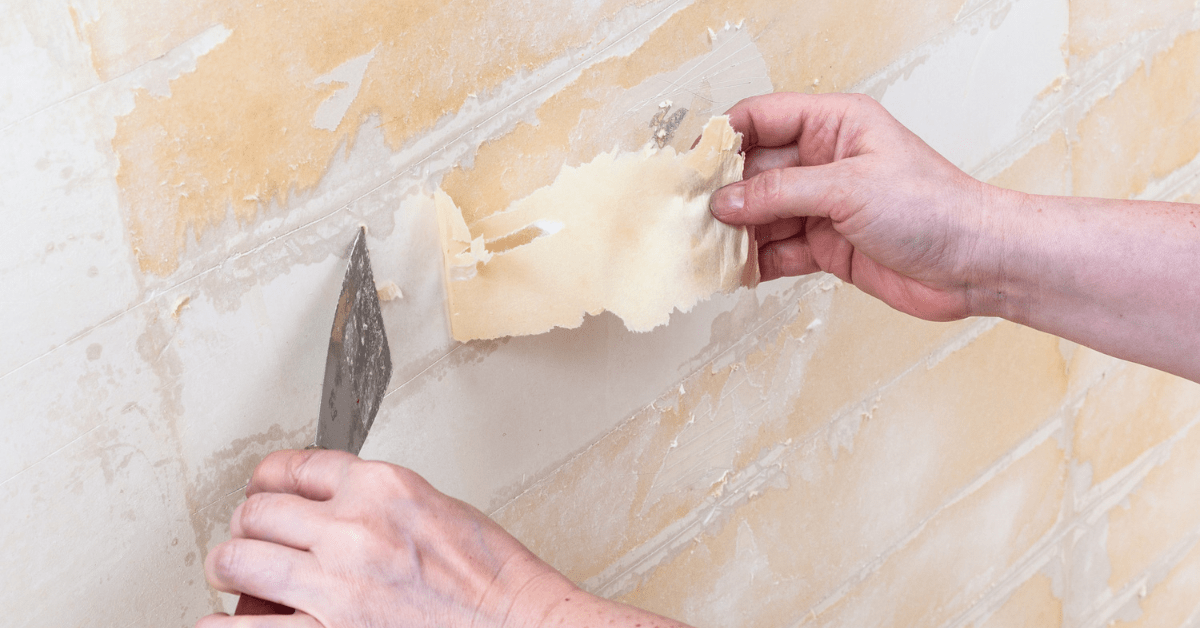
- Consideration for Removal: If the wallpaper is excessively damaged, peeling, or simply not conducive to painting, you might want to explore the option of wallpaper removal. Sometimes, starting with a clean slate is the most effective solution.
Preparing the Wallpaper for Painting

With a keen understanding of your wallpaper’s type and challenges, the next crucial step in your painting journey is preparation. Think of this phase as laying the groundwork for a masterpiece – the better the foundation, the more stunning the result. Here’s a step-by-step guide to ensuring your wallpaper is primed and ready for a fresh coat of paint:
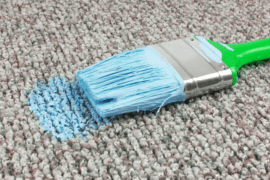
1. Cleaning the Wallpaper Surface: Before any painting can commence, it’s essential to start with a clean canvas. Use a mild detergent or a mixture of water and vinegar to gently wipe down the wallpaper. This not only removes surface dirt but also eliminates any residues that might hinder paint adhesion.
2. Patching and Repairing Damages: Carefully inspect the wallpaper for any imperfections, tears, or damages. Patch up small holes or tears with an appropriate wallpaper repair solution, ensuring a smooth and uniform surface. Addressing damages at this stage prevents them from becoming more pronounced once painted over.
3. Smoothing Out Seams and Edges: Pay special attention to seams and edges, as these areas can be tricky during the painting process. Use a wallpaper seam roller to ensure that seams are securely in place. For any stubborn edges, a bit of adhesive can work wonders. The goal is to create a seamless surface that’s ready to embrace the transformative power of paint.
Top Tips:
- If your wallpaper has a textured surface, consider using a sanding sponge to gently smooth out any rough spots. This provides a more even base for the paint.
- Allow sufficient drying time after cleaning and repairing the wallpaper. A well-prepared surface is paramount for achieving a professional-looking finish.
By meticulously preparing your wallpaper, you’re not just enhancing its receptiveness to paint; you’re setting the stage for a painting process that unfolds seamlessly.
Primer: The Key to Successful Wallpaper Painting

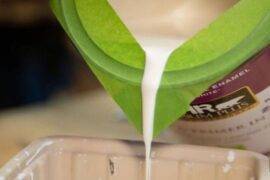
With your wallpaper meticulously cleaned, patched, and smoothed, it’s time to introduce the unsung hero of successful wallpaper painting – the primer. Applying a high-quality primer is not just a formality; it’s a crucial step that ensures your paint adheres evenly, creating a durable and flawless finish. Here’s why primer is the key to unlocking the full potential of your painted wallpaper:
1. The Importance of Using a High-Quality Primer:
- A primer serves as a bonding agent between the wallpaper and the paint. It creates a receptive surface, allowing the paint to adhere securely and preventing it from peeling or flaking over time.
- Opt for a primer specifically designed for wallpaper. These primers are formulated to address the unique challenges posed by wallpaper surfaces, offering optimal adhesion and durability.
2. Choosing the Right Primer for Your Specific Wallpaper Type:
- Different wallpaper materials may require different types of primers. For vinyl wallpapers, consider an alkyd-based primer, while an oil-based primer might be suitable for more porous surfaces.
- If your wallpaper has a glossy finish, use a primer with adhesion-promoting properties to ensure the paint adheres effectively.
Top Tips:
- Apply the primer evenly using a high-quality brush or roller. Ensure complete coverage to guarantee uniform paint adhesion.
- Allow the primer to dry thoroughly according to the manufacturer’s instructions before proceeding to the painting stage.
Why Primer Matters: Primer not only enhances paint adhesion but also provides a consistent base color, which is especially important if your wallpaper has a pattern or a bold hue. It acts as a barrier, preventing the wallpaper’s original colors or patterns from bleeding through the paint, ensuring your final result matches your envisioned color scheme.
Tools and Materials Needed for the Job

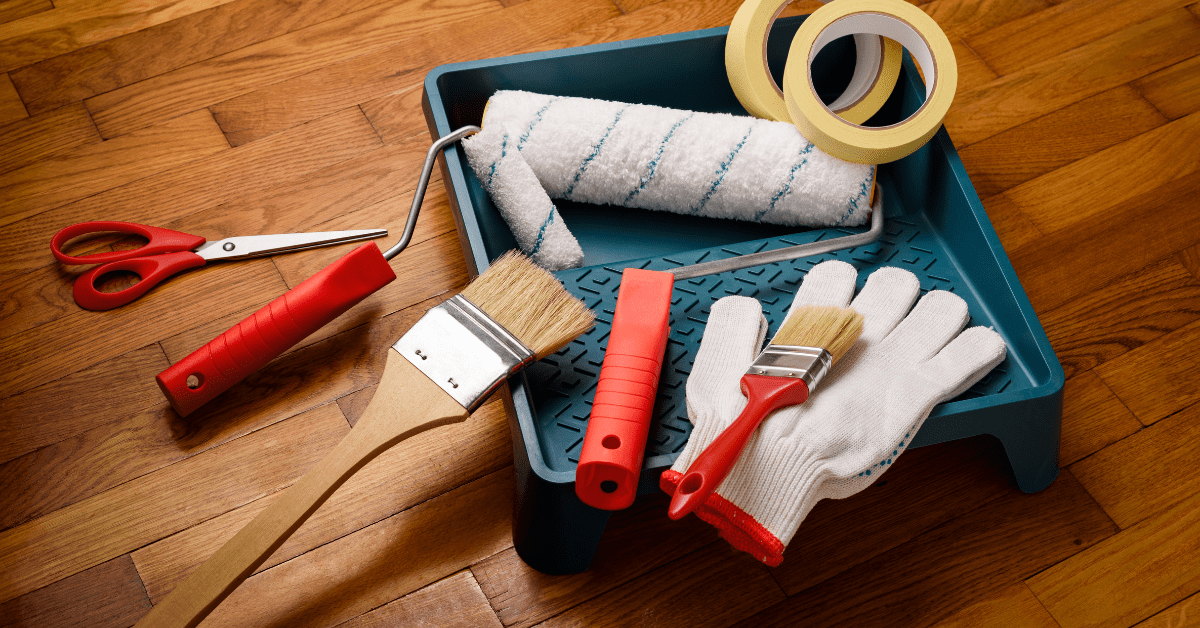
To ensure a smooth and efficient painting process over wallpaper, gather the following tools and materials. Having the right equipment at your disposal will not only simplify the task but also contribute to the overall quality of the finished product.
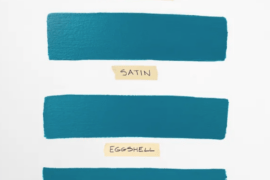
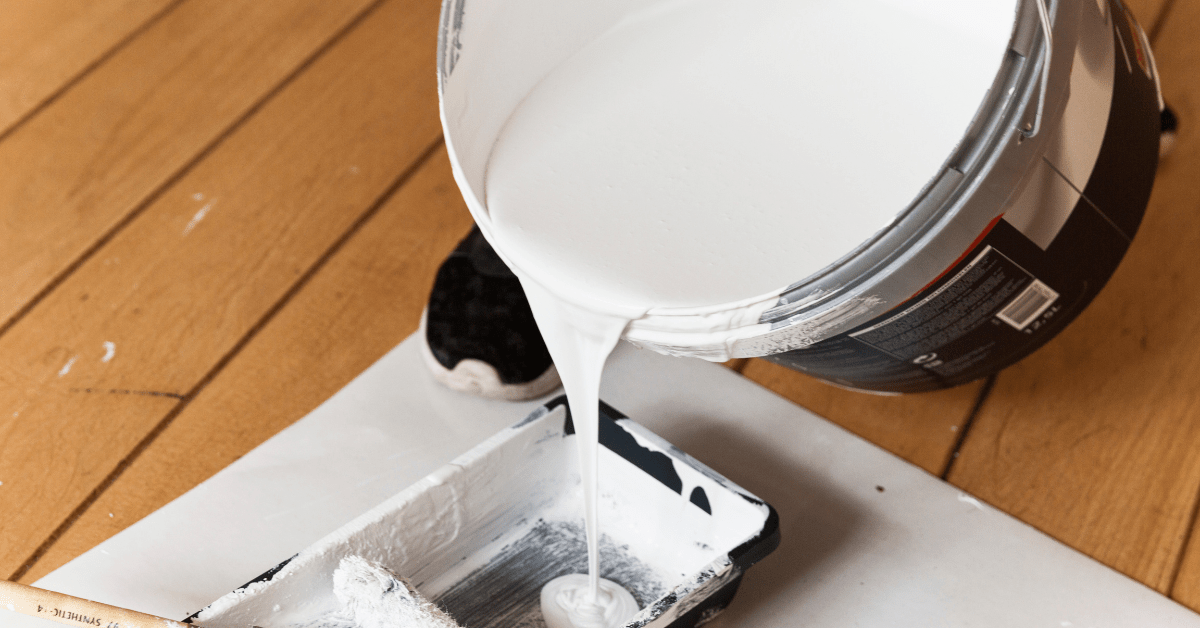
- Quality Paint: Choose a high-quality paint suitable for your wallpaper type. Consider a paint with primer for added convenience.
- Appropriate Primer: Select a primer designed specifically for wallpaper surfaces. This ensures optimal adhesion and a durable finish.
- Paintbrushes and Rollers: Invest in good-quality paintbrushes and rollers for even coverage. Brushes are handy for detailed work, while rollers cover larger areas efficiently.
- Painter’s Tape: Use painter’s tape to protect trim, baseboards, and any areas you want to keep paint-free.
- Drop Cloths or Plastic Sheets: Cover the floor and furniture with drop cloths or plastic sheets to prevent paint splatters and spills.
- Sandpaper or Sanding Sponge: A fine-grit sandpaper or sanding sponge is useful for smoothing out any rough spots on textured wallpaper.
- Wallpaper Seam Roller: Ensure seams are securely in place with a wallpaper seam roller to create a smooth painting surface.
- Adhesive (if needed): Have wallpaper adhesive on hand to address any stubborn edges or areas that may need extra reinforcement.
- Cleaning Supplies: Keep a bucket of soapy water, sponges, and clean rags for cleaning the wallpaper before painting.
- Safety Gear: Wear appropriate safety gear, including goggles and gloves, to protect yourself during the painting process.
Step-by-Step Guide to Painting Over Wallpaper

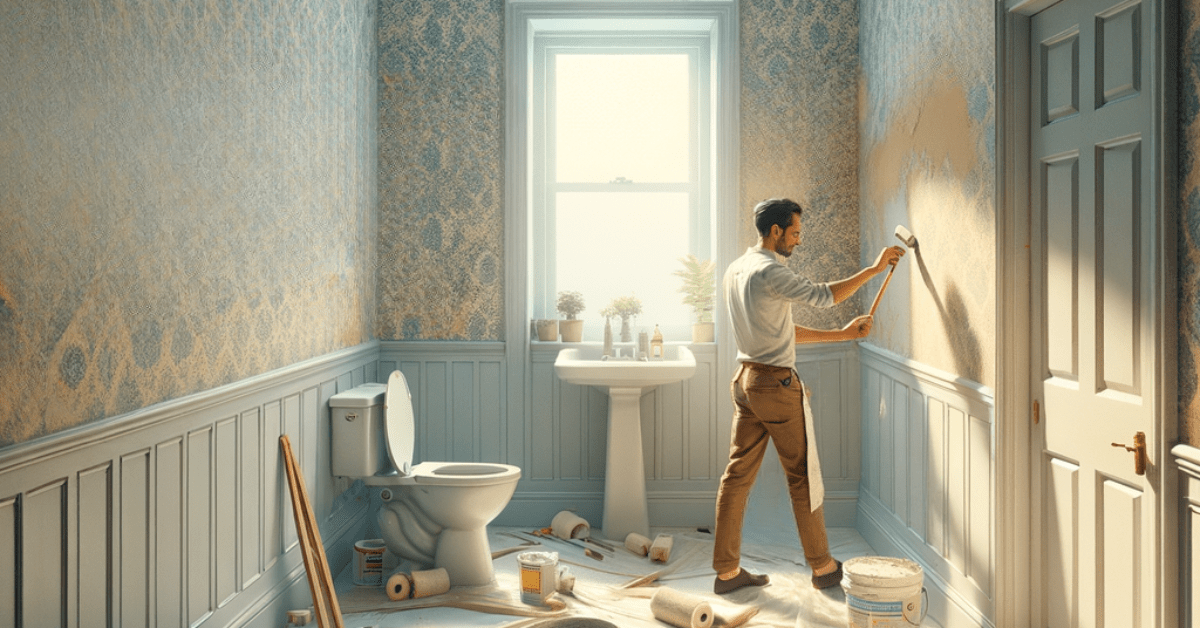
Now that you’ve laid the groundwork, it’s time to pick up the paintbrush and embark on the transformative journey of painting over wallpaper. Follow these step-by-step instructions to ensure a seamless and professional finish:
- Prepare the Room:
- Remove furniture or cover it with plastic sheets to protect it from paint splatters.
- Use painter’s tape to protect trim, baseboards, and any areas you want to keep paint-free.
- Lay down drop cloths or plastic sheets to safeguard the floor.
- Clean the Wallpaper Surface:
- Wipe down the wallpaper with a mixture of mild detergent and water to remove any dust or residues.
- Allow the wallpaper to dry completely before proceeding.
- Patch and Repair:
- Inspect the wallpaper for damages and patch any holes or tears with an appropriate wallpaper repair solution.
- Ensure seams and edges are secure, using a wallpaper seam roller where necessary.
- Apply Primer:
- Use a high-quality primer designed for wallpaper surfaces.
- Apply the primer evenly using a paintbrush or roller, ensuring complete coverage.
- Allow the primer to dry thoroughly according to the manufacturer’s instructions.
- Choose the Right Paint:
- Select a paint that complements your desired color scheme and is suitable for your wallpaper type.
- Stir the paint thoroughly before application.
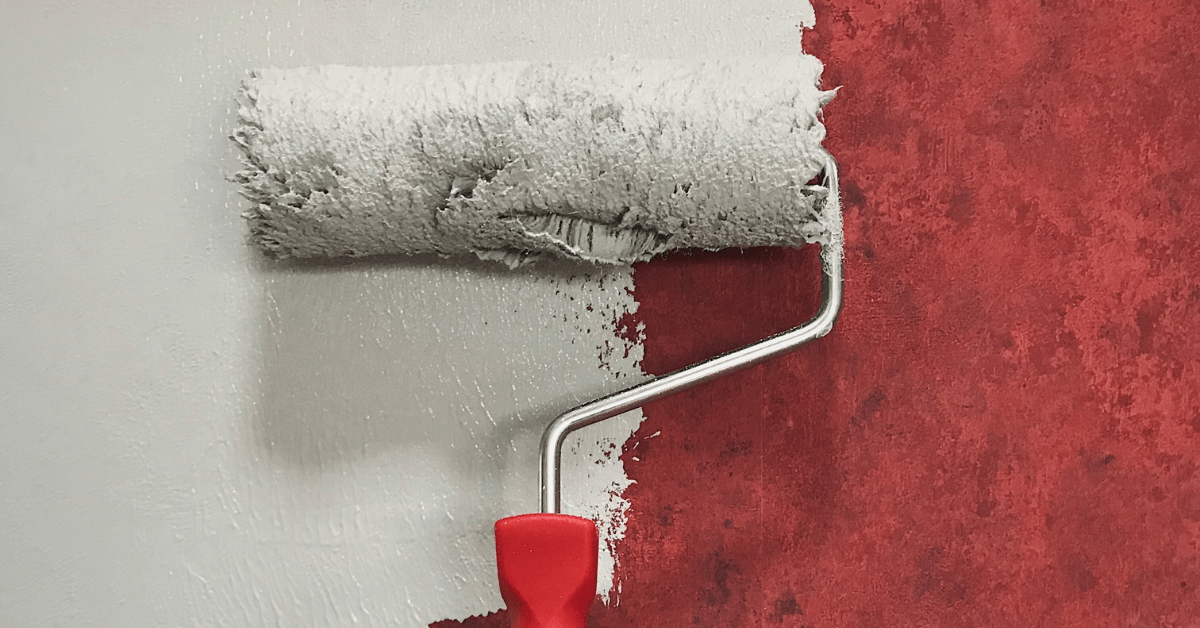
- Start Painting:
- Begin painting from the top of the wall, working your way down.
- Use a paintbrush for detailed work around edges and corners, but make sure to switch to a roller for larger areas.
- Apply the paint evenly, avoiding heavy saturation to prevent drips.
- Allow for Drying Time:
- Let the first coat of paint dry completely before applying additional coats.
- Follow the recommended drying times on the paint and primer containers.
- Assess and Apply Additional Coats:
- Evaluate the coverage after the first coat has dried.
- Apply additional coats as needed to achieve the desired color and finish.
- Touch-Ups:
- After the final coat has dried, inspect the painted surface for any imperfections.
- Perform touch-ups as necessary, using a small brush for precision.
- Clean Up:
- Remove the painter’s tape carefully once the paint is completely dry.
- Clean your brushes and rollers according to the paint manufacturer’s instructions.
Other Articles You Might Enjoy:
- Wallpaper Accent Walls For a Serene Atmosphere in the Bedroom
- Your Guide For Understanding Analogous Color Schemes
- 5 Paint Colors for Your Home Office to Help Boost Your Productivity
By meticulously following these steps, you’ll navigate the painting process with precision, transforming your wallpapered space into a canvas of renewed beauty. With each stroke, you’re one step closer to achieving a professional-looking finish that seamlessly integrates with your vision for the room.