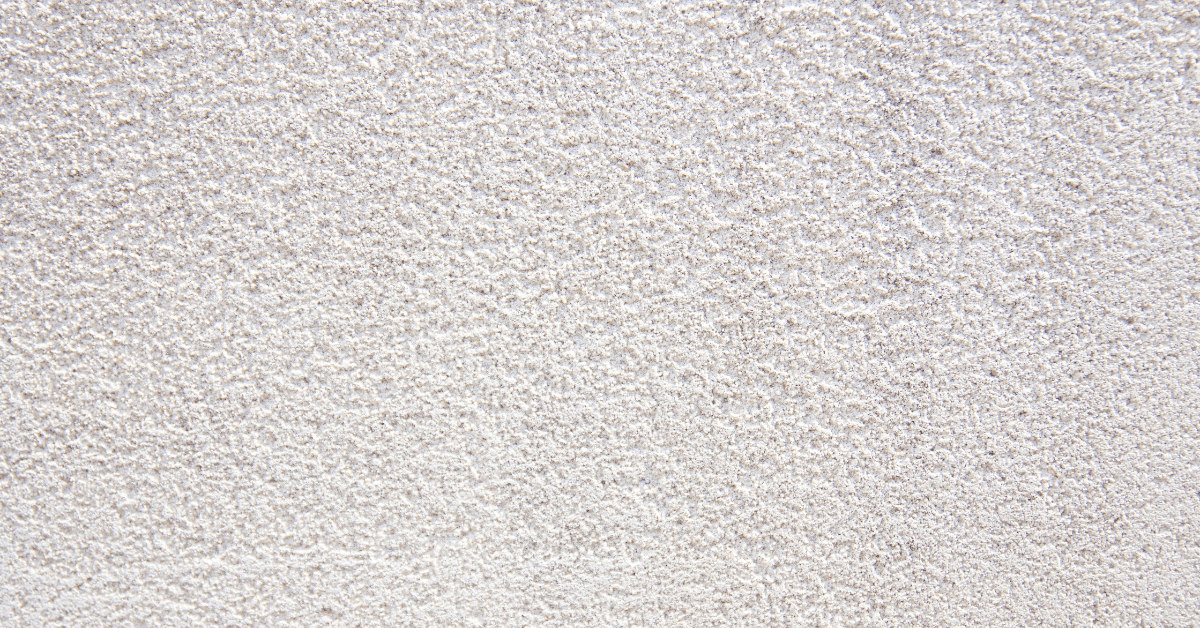
The textured charm of a popcorn ceiling can add a unique flair to any room, evoking a sense of nostalgia and comfort. However, over time, these ceilings can become discolored or outdated, prompting the desire for a refresh. Painting a popcorn ceiling is a cost-effective way to rejuvenate your space without the need for extensive renovations. You probably didn’t even know that popcorn ceilings are paintable, but don’t worry, we’ll guide you through the steps and considerations involved in the process of painting a popcorn ceiling, ensuring a smooth and successful transformation of your living environment.
What You Need to Know Before Starting

Before you begin painting your popcorn ceiling, it’s crucial to understand the nature of the task at hand. Popcorn ceilings, known for their bumpy texture, require a different approach compared to flat surfaces. The key to a successful paint job lies in preparation. Start by assessing the condition of your ceiling. If it’s in good shape, free from damage or asbestos, you’re ready to move forward.
However, if your ceiling was installed before the 1980s, it’s advisable to test for asbestos before proceeding. Safety is paramount, and ensuring that your ceiling is free from harmful substances is the first step towards a successful painting project.
Choosing the Right Tools and Materials

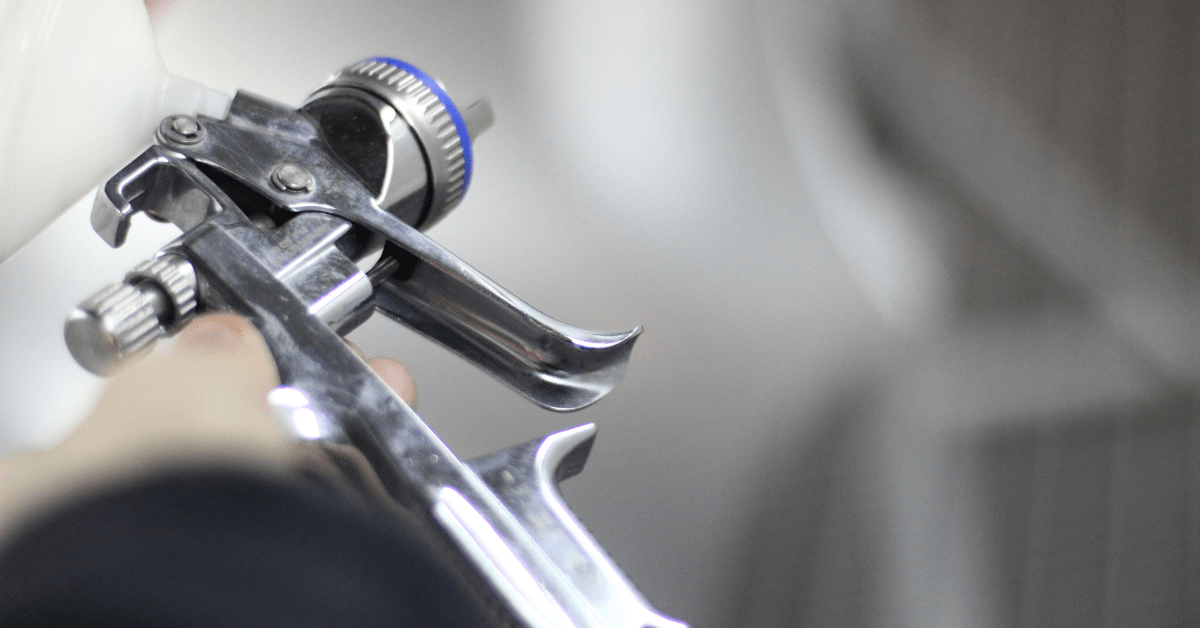
Selecting the appropriate tools and materials is essential for painting a popcorn ceiling. Traditional rollers may not be the best choice due to the textured surface. Instead, opt for an airless paint sprayer or a segmented foam roller designed for textured surfaces. These tools will help you achieve even coverage without disturbing the popcorn texture.
Additionally, invest in quality paint that’s suitable for ceilings. A flat or matte finish is often recommended as it helps hide imperfections and reduces glare. Before you begin, don’t forget to cover your floors and furniture with drop cloths to protect them from paint splatters.
Step-by-Step Guide For How to Paint a Popcorn Ceiling

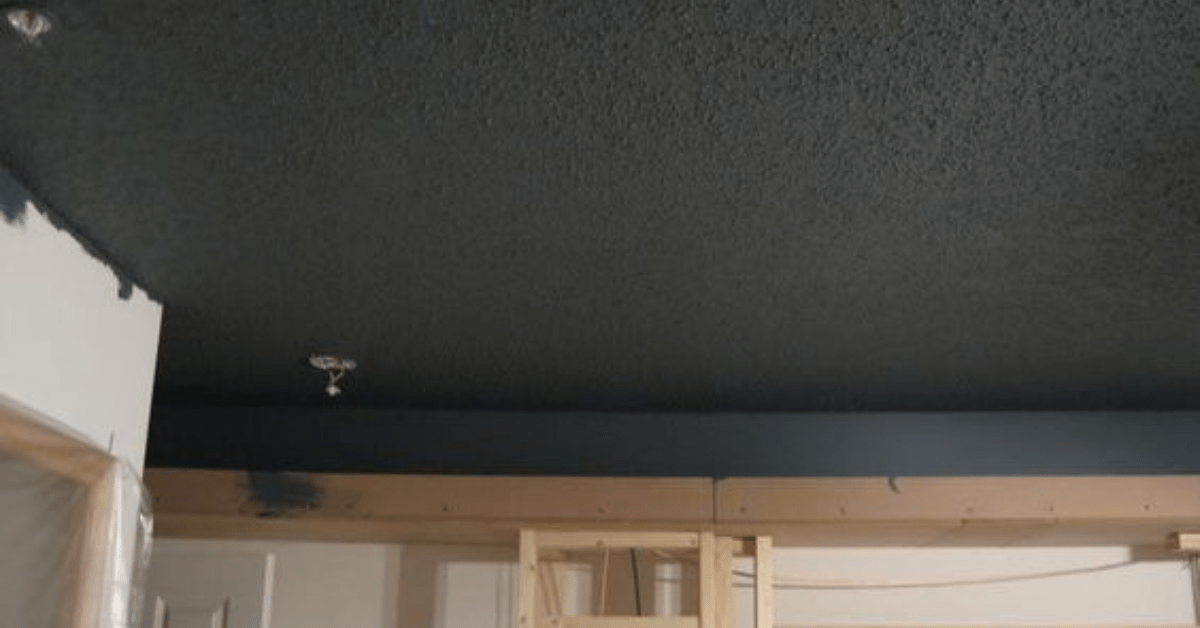
The process of painting a popcorn ceiling may seem daunting, but with the right approach, it can be manageable and even enjoyable. Start by cleaning the ceiling with a soft brush or vacuum attachment to remove dust and cobwebs. This ensures that the paint adheres properly. Next, apply a stain-blocking primer if your ceiling has water stains or discoloration.
Once the primer is dry, you’re ready to paint. When using a paint sprayer, maintain a consistent distance from the ceiling and apply the paint in even, overlapping strokes. If you’re using a roller, apply gentle pressure to avoid damaging the texture. Allow the first coat to dry completely before assessing the need for a second coat.
Tips and Tricks To Ensure a Flawless Finish

Achieving a flawless finish when painting a popcorn ceiling is all about attention to detail. One useful tip is to paint during the day when natural light can help you spot any missed areas or inconsistencies.
Additionally, be prepared for some texture to come off during the painting process. While it’s normal for some of the texture to loosen, excessive shedding may indicate that the ceiling was not properly prepared or that the paint is too thick. If you encounter this issue, stop painting and reassess your approach. Remember, patience is key. Rushing the process can lead to unsatisfactory results.
Related Articles:
- 13 Eye-Catching Living Room Color Combinations to Brighten Your Space
- Exploring Various Wall Texture Types: A Complete Guide
- Color Wheel and Opposites – Mastering the Art of Complementary Colors in Design and Decor
Painting a popcorn ceiling can significantly transform the appearance of your room, making it brighter, cleaner, and more modern. While the task may require some effort and patience, the outcome is undoubtedly rewarding. By following the steps outlined in this guide, you can breathe new life into your popcorn ceiling, enhancing the overall ambiance of your home. Remember, every home improvement project is an opportunity to infuse your space with your personal style and charm. So, grab your painting supplies, and let’s bring a fresh perspective to those textured ceilings!