Whether you’re looking to add a luxe touch to your gift wrapping this holiday or you’re on a tight budget, rest assured that today’s DIY project is both chic and affordable! With a few simple ingredients in vibrant hues, you can create professional-looking packages that dress up any gift you bring to the table. Keep reading for tips and tricks that will help you create your own DIY holiday gift wrap:

*Photos and styling by Kate Simmons
Supplies
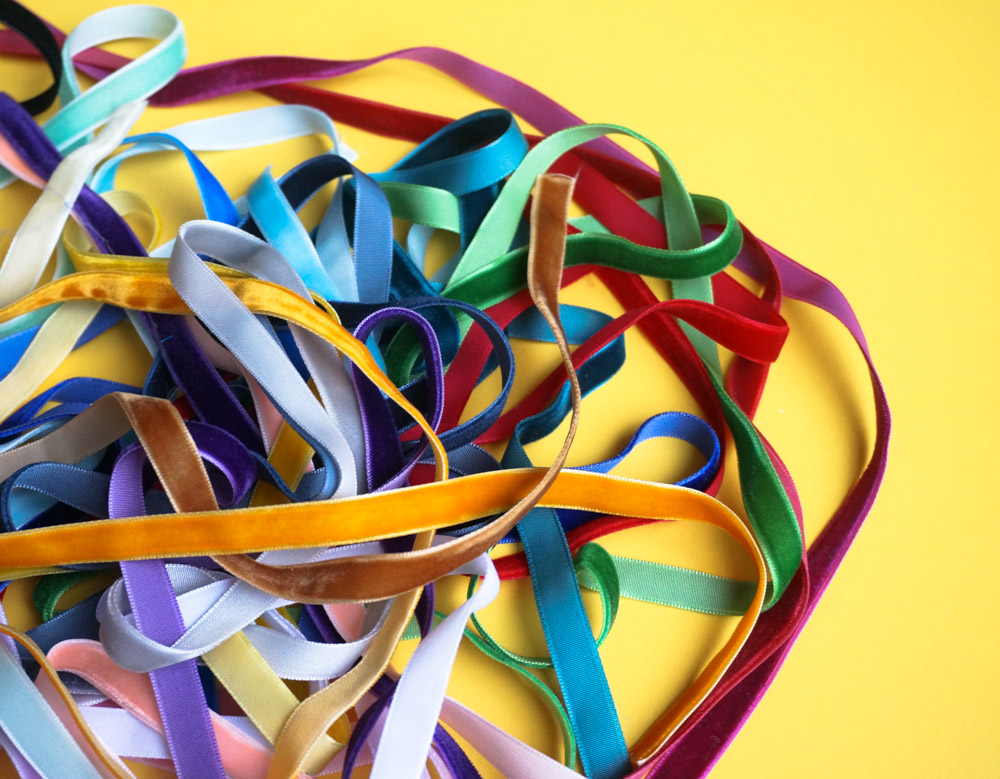
While the supplies featured in the photos may look pricey (especially when you take into account all of the different colors involved), rest assured that there are budget-friendly ways to stock up! For example, the beautiful velvet ribbon you see below can be found on Amazon for just under $12. For the whole bundle of 30 colors!!

Here are the supplies that are helpful to have on hand:
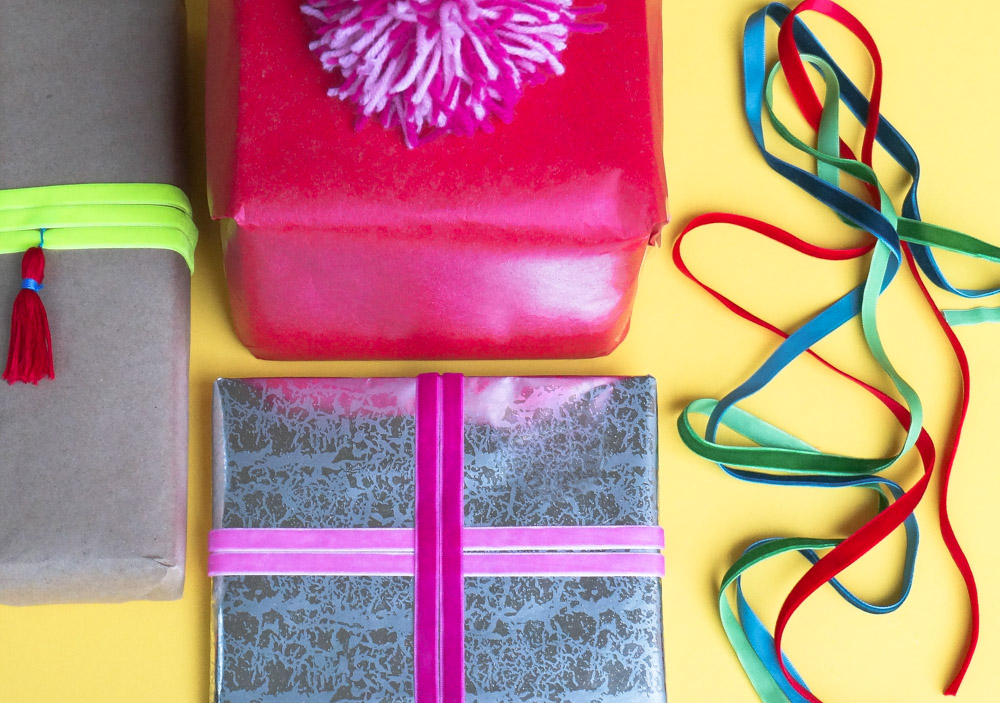
- gift wrap in festive tones, such as silver and red
- kraft paper for a neutral wrapping paper option
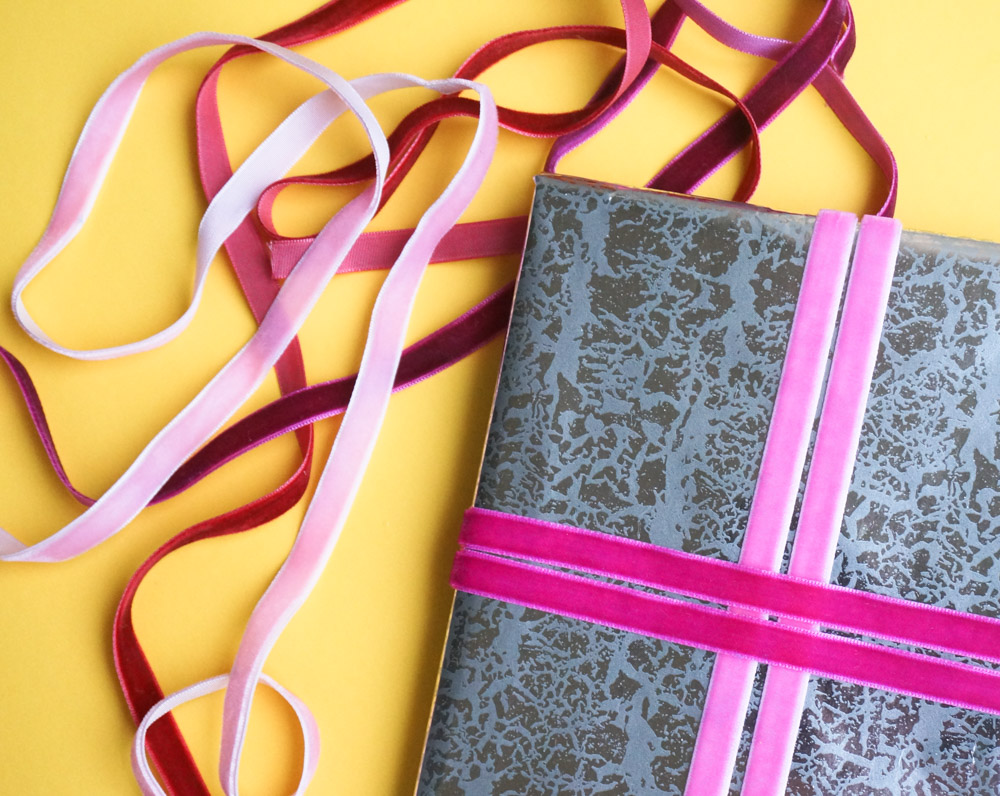
- velvet ribbon
- yarn
- embroidery floss (for tassel making)
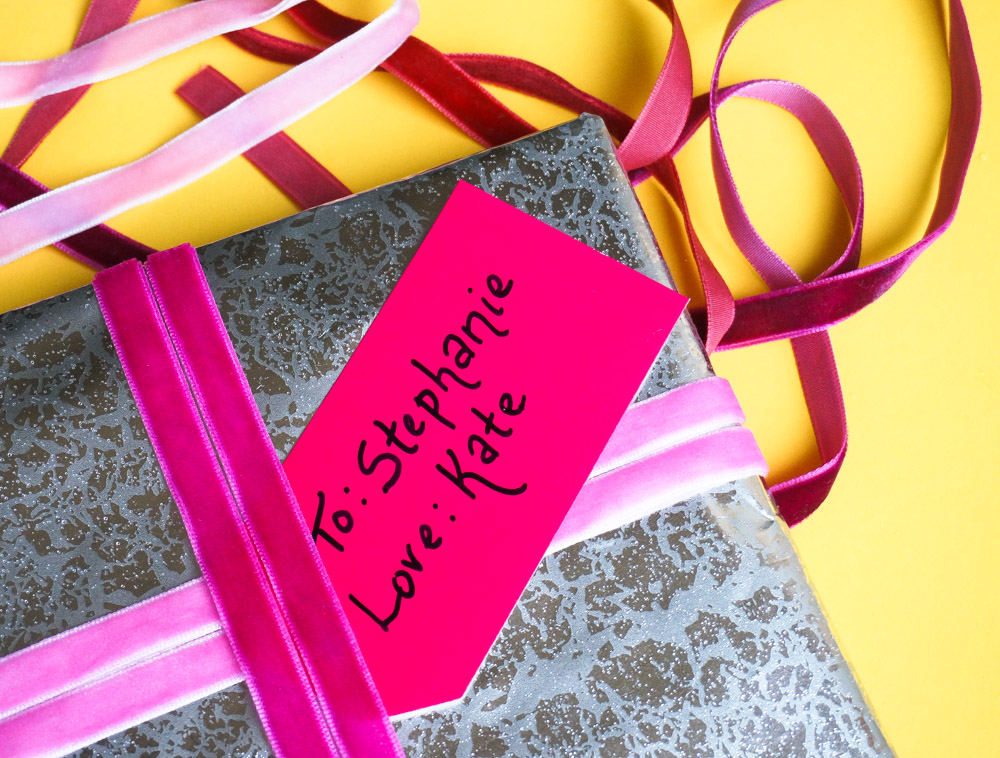
- gift tags
- tape
- scissors

If you’re needing to label your packages, consider having colorful gift tags at the ready. They’re an easy way to add a vivid pop of color, and they’re also affordable. You can purchase them from retailers such as The Container Store, or you can make your own by cutting them from paper.

Special Touches
Now that you have the supplies you need, here are a few easy ways to combine them and create whimsical, holiday-fabulous packaging! For starters, wrap your packages. Don’t obsess over making them look perfect. The embellishments you’ll be adding will serve as the real focal points.
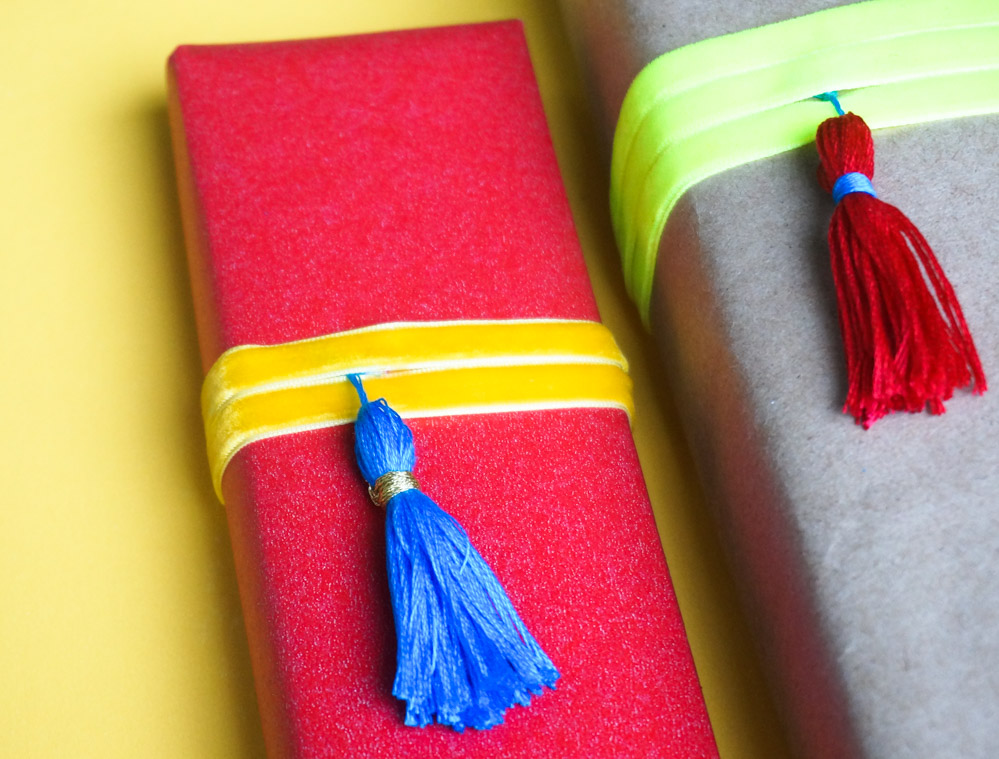
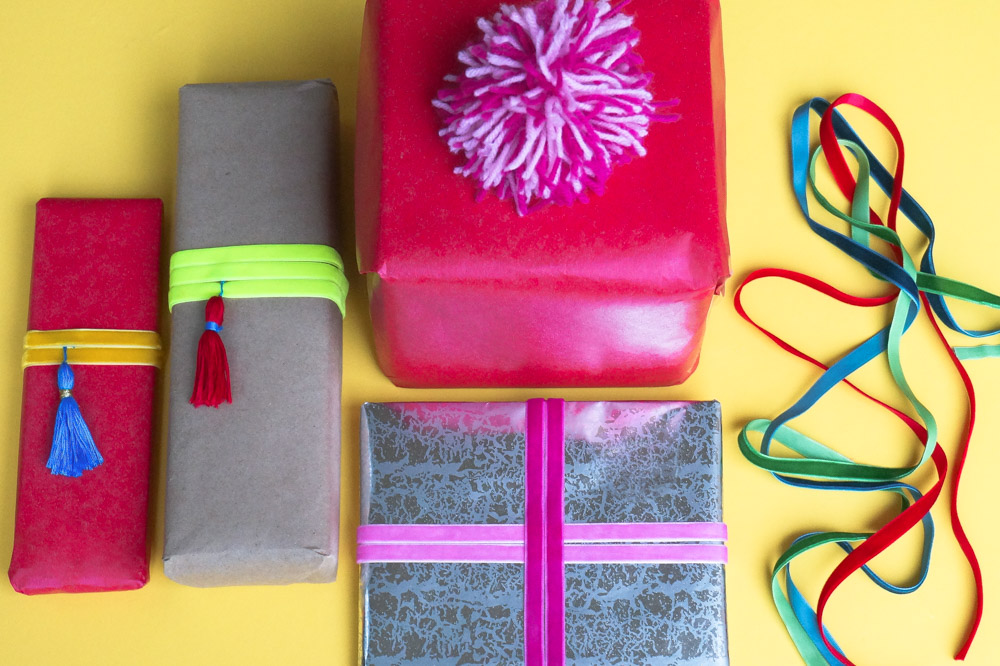
Then let the fun begin! Try wrapping the velvet ribbon several times around small packages, securing it at the back. That way, all you see are bright bands of color on top of each package. Not only is this an easy way to get an upscale look, it beats having to fuss with a bow and making sure the velvety side of the ribbon shows at all times.

Two more go-to flourishes that are on-trend: POM POMS AND TASSELS!

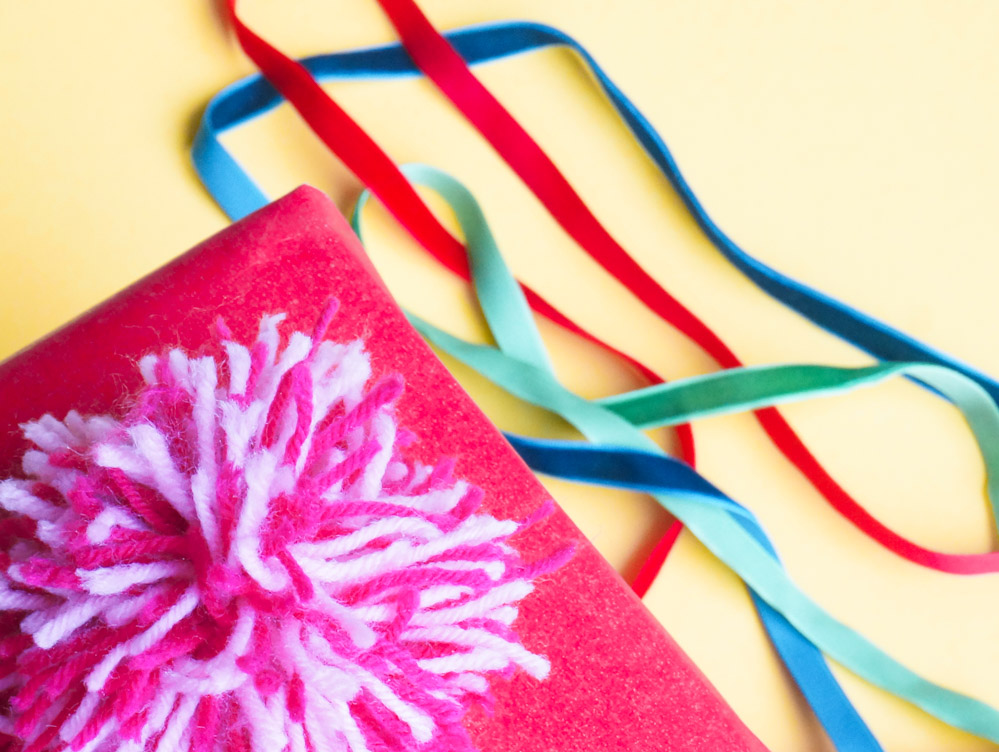
Pom poms are the perfect gift topper! An abundance of pom pom tutorials awaits you, including this one from Handimania. You can make them tight and trimmed, or a bit more relaxed, as shown above. For tassel making tips, keep reading! The photos below can also be found in our recent tassel shower curtain tutorial.
TO MAKE YOUR OWN TASSELS:
Step 1: Wrap the yarn around your hand so it loops until it has reached the thickness of your choice. Sixteen to twenty wraps around the hand is a good place to start.

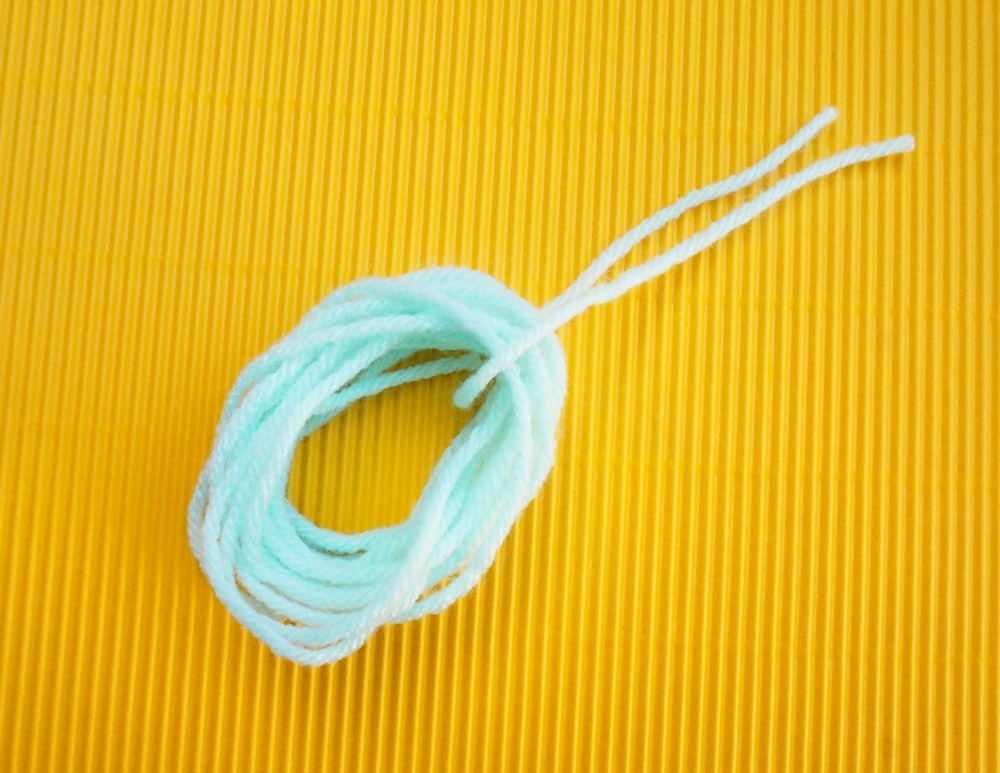
Step 2: Tie a piece of string at the top of the looped bands so they are held together (shown above). This step ensures that your tassel stays tidy. The loose strings that remain at the top will be used later in the project, so don’t snip them!

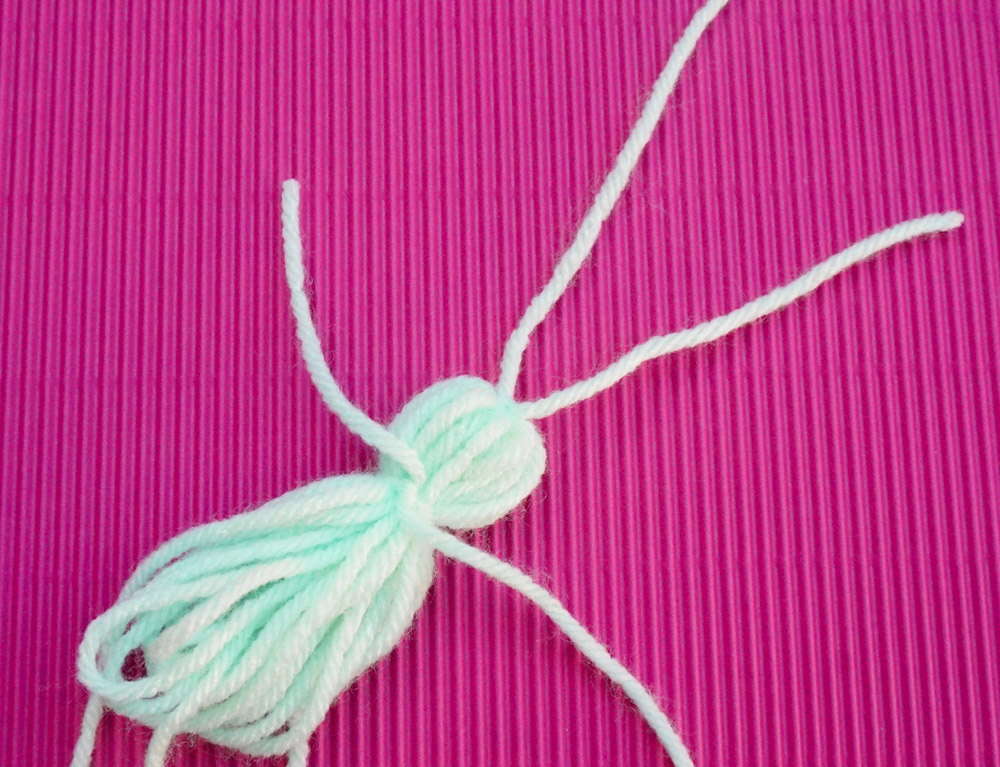
Step 3: Take another piece of string and tie it about a third of the way down from the top, creating a “neck” for your tassel.

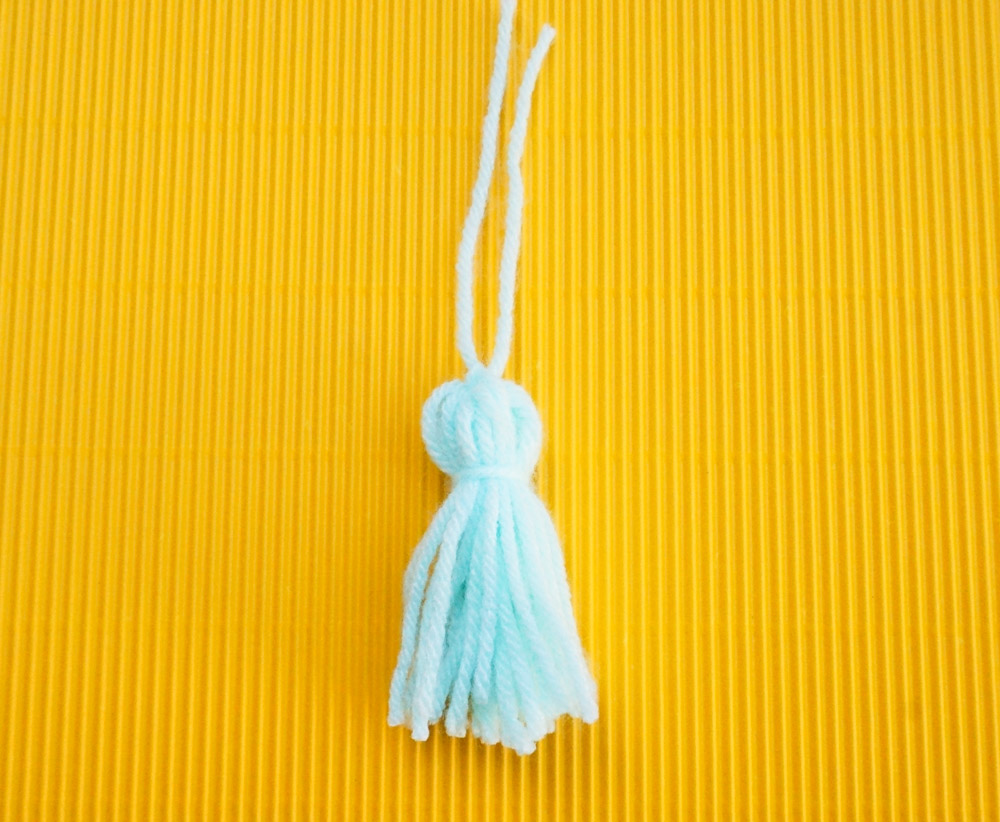
Step 4: Trim the ends of your tassel for a clean look.

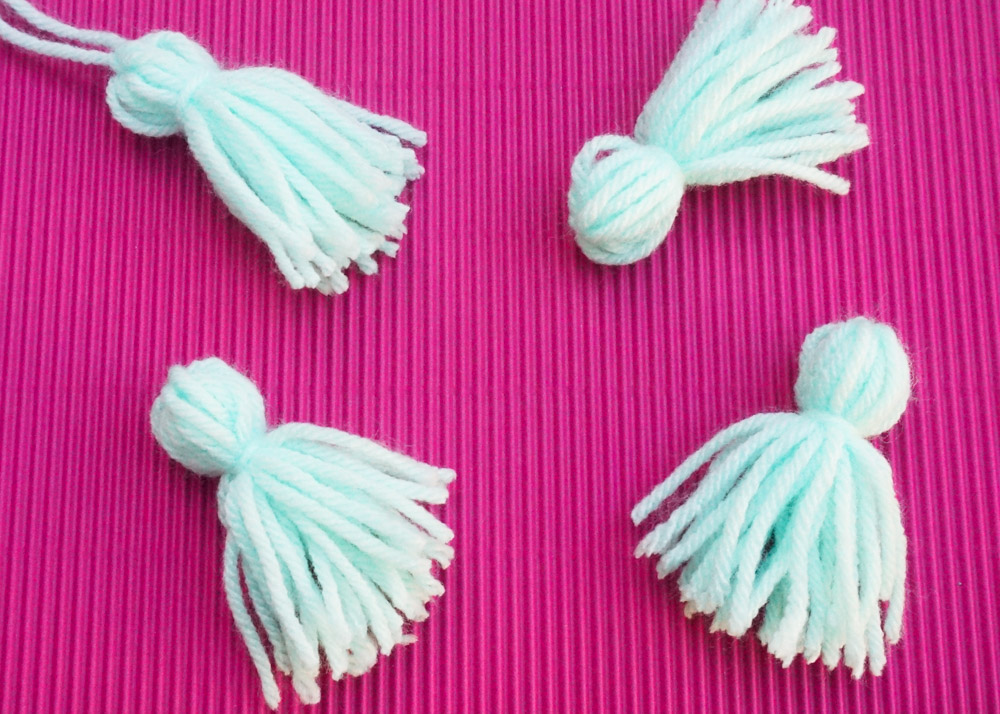
While the photos above show a thicker yarn, a petite and professional-looking tassel can be achieved with embroidery floss, shown with the tassels below. For a nice touch, try creating the neck of your tassel with a contrasting color of embroidery floss! When you put it all together, you have a menagerie of ribbon, tassel and pom pom magic!

Happy Holidays to your and yours from all of us at Decoist!


