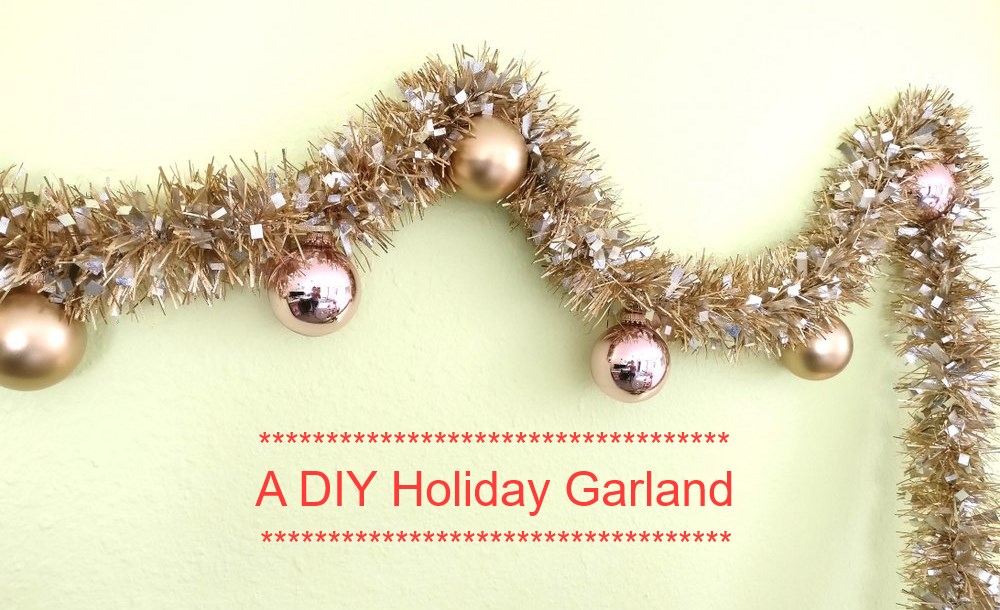
Are you a person who looks forward to decorating for the holidays the moment the Thanksgiving plates are cleared from the table?! Let’s just say that if you are, we at Decoist get where you’re coming from! We also love a good garland. This DIY metallic holiday garland has a bountiful look, yet it couldn’t be more affordable. If you read our recent post on decorating with gold, you know the holidays are the time to bring on the glitz.

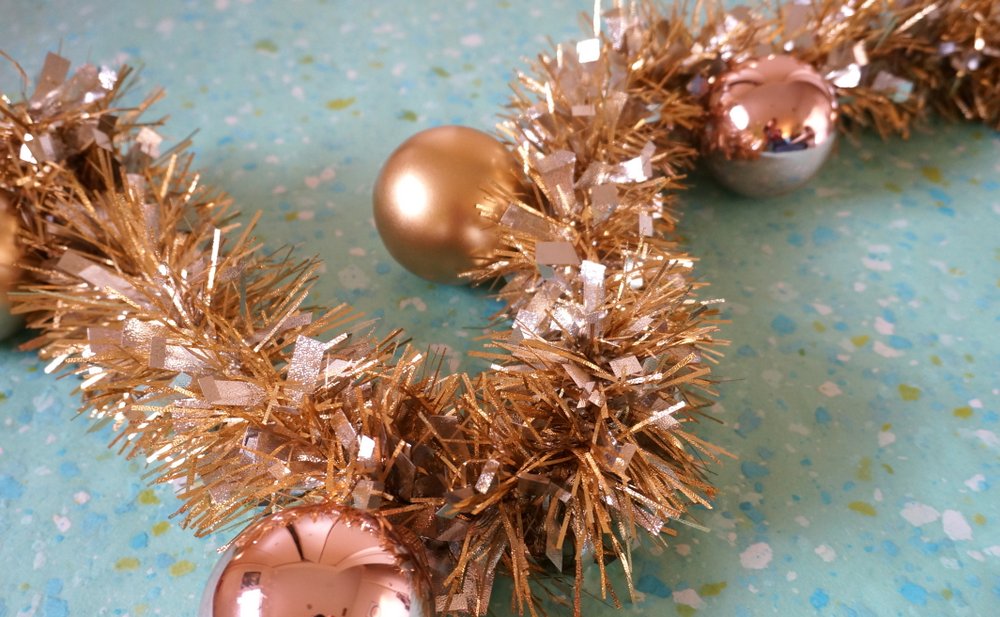
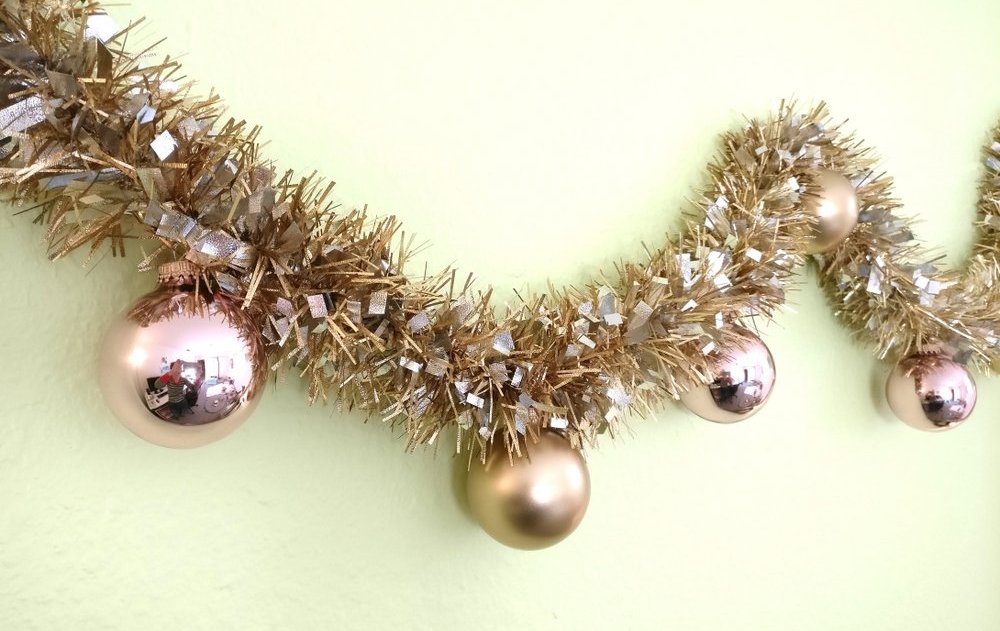
With a few simple supplies, you can deck the halls and the walls with a warm glow. Side note: Isn’t it funny how the garland appears rose gold when set against a blue background (see above) and yellow gold when displayed against lighter backdrops (as shown below)?! Keep reading for details on how to craft your own garland, complete with helpful tips.

*Photos and styling by Kate Simmons for Decoist
DIY Garland Supplies

To get started on your metallic garland, all you need are a few simple supplies:
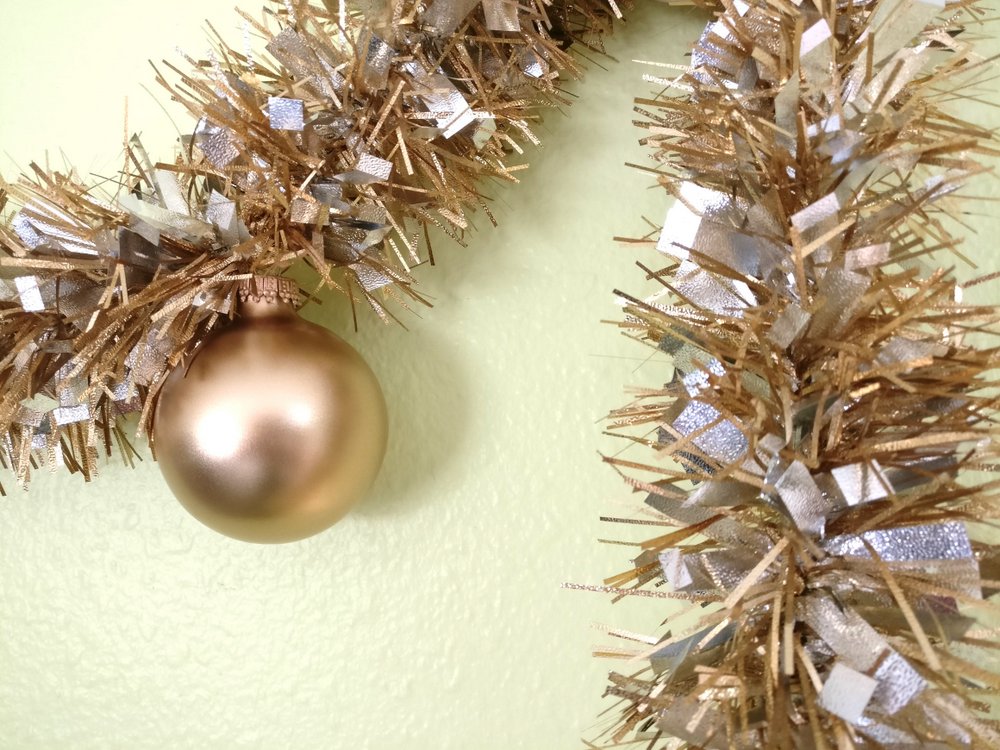
- a tinsel garland
- metallic ball ornaments
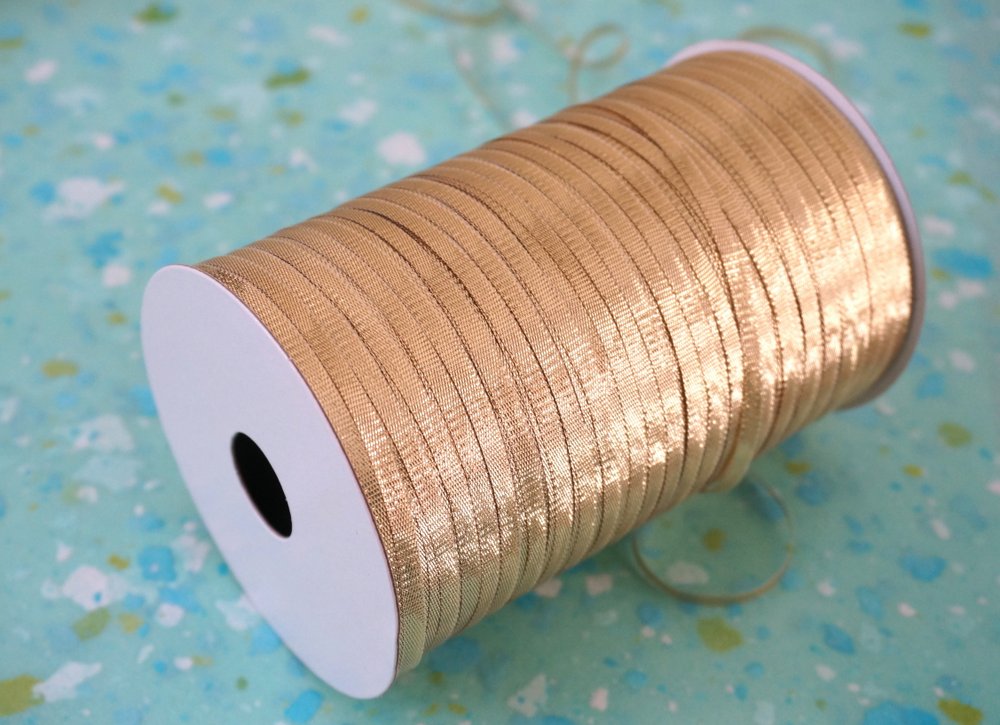
- gold ribbon or ornament hooks for securing the ornaments
- scissors
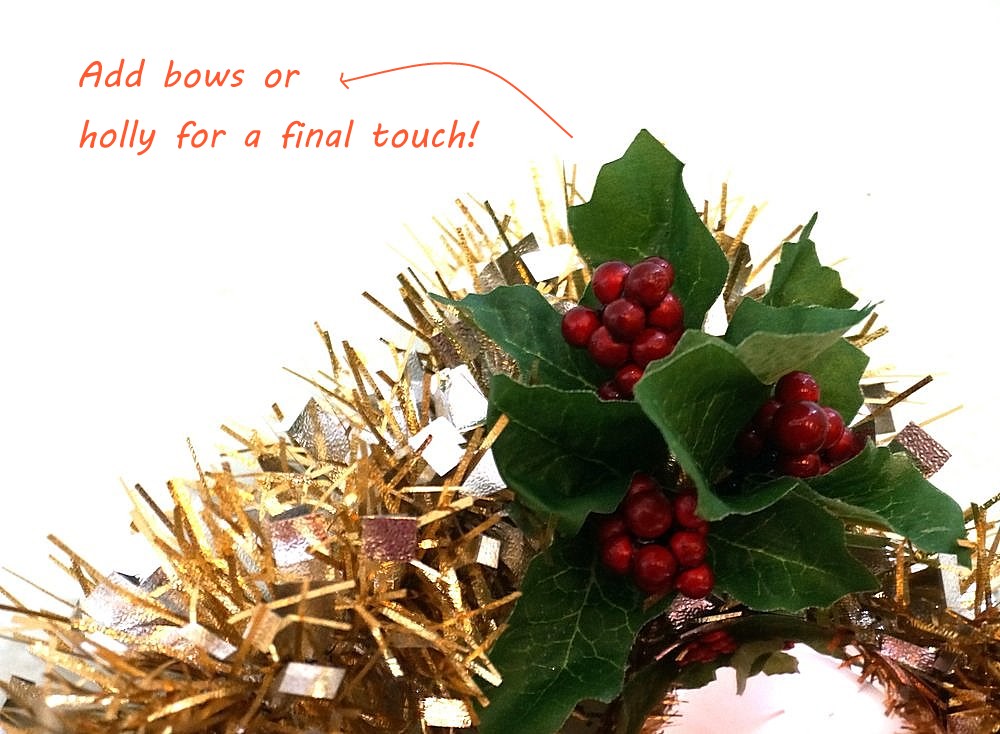
- gold bows, holly and other embellishments (optional)

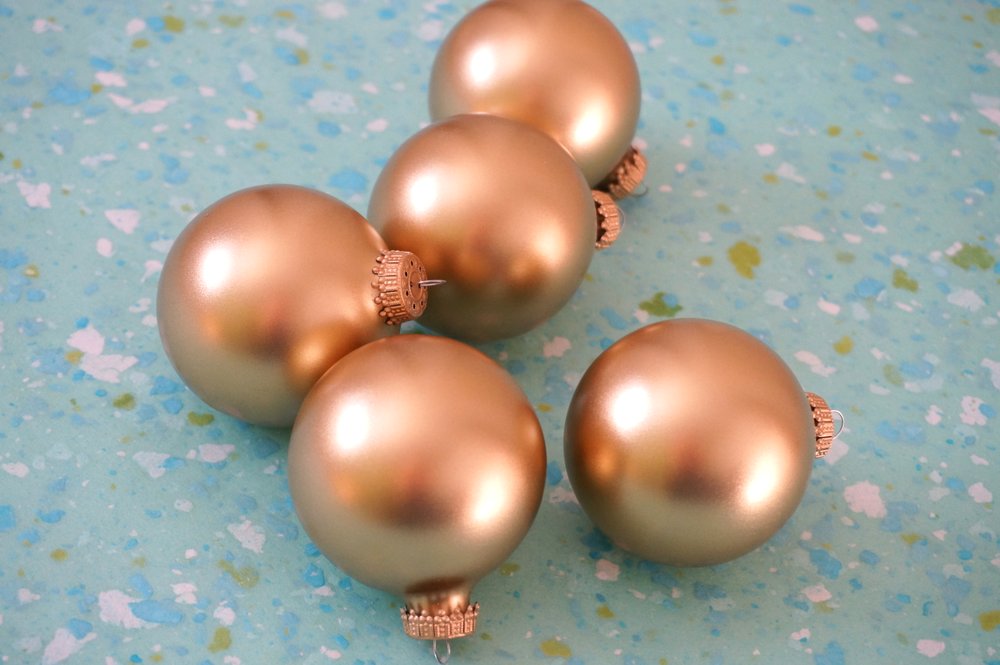
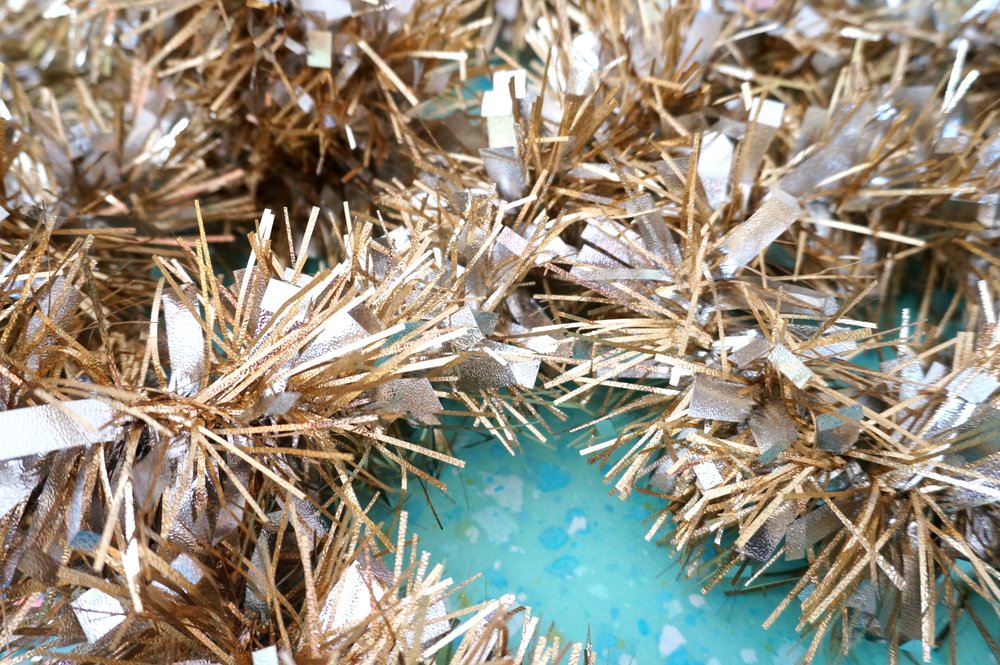
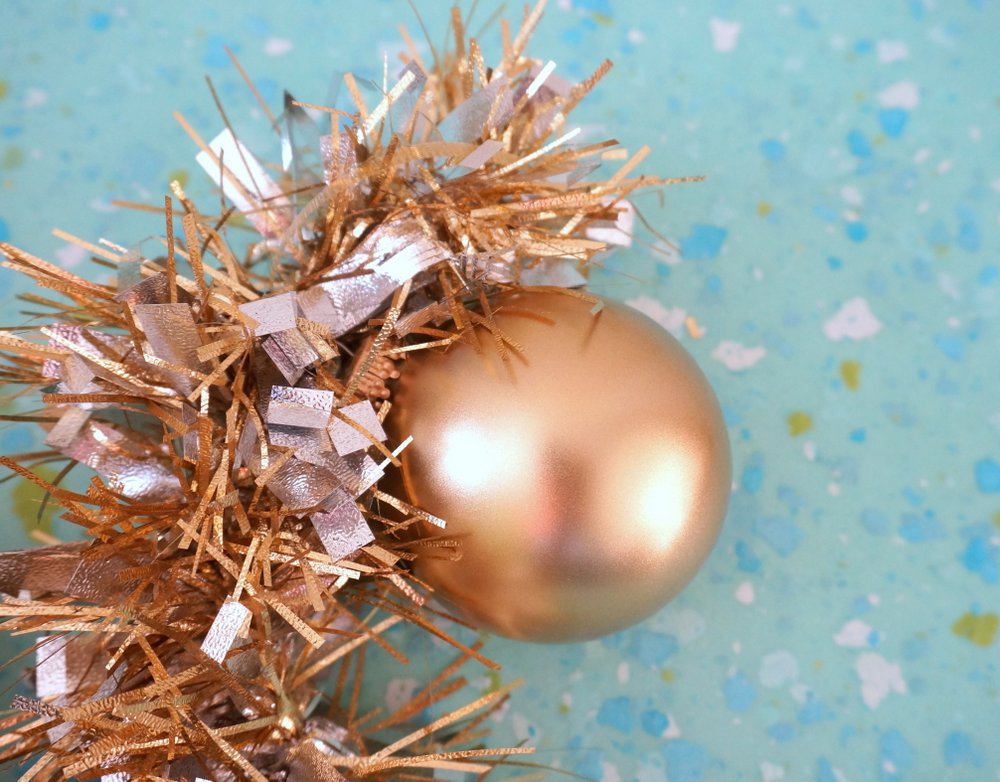
Since the tinsel garland will be the base of your creation, feel free to go one step beyond standard tinsel. This tinsel garland from Target is only $6.00 and has a festive look. You can go with either glass or plastic ball ornaments, but be sure to secure them well (especially if you use glass).

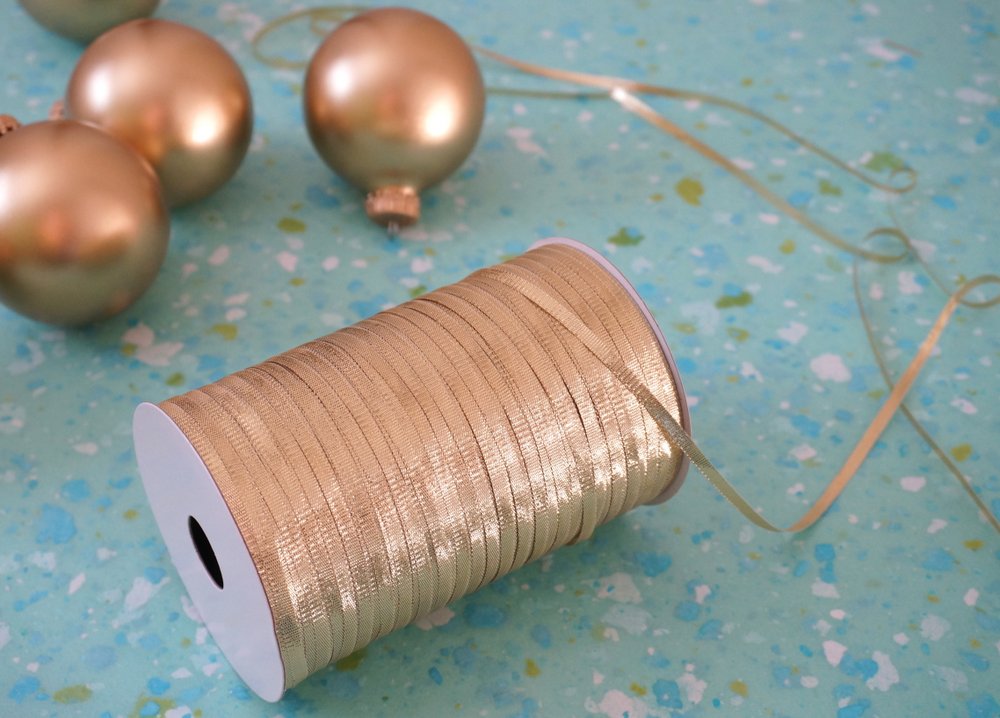
Ribbon was the material of choice for this garland, but ornament hooks can also get the job done. If you use ribbon, make sure to choose a selection that will blend in easily with your garland. Last but not least, you can keep it simple or embellish your garland with bows, holly or other adornments. Ready to get started?…
Crafting Your Garland
For this simple project, writing out a series of steps is unnecessary! After all, it’s as easy as securing the ornaments to the garland. There are, however, a few simple tips to keep in mind.

You can either use a tape measure to help mathematically space out the ornaments along the length of the garland or simply eyeball it. If you’re careful, either method should work. Note that if you eyeball it, you may have extra garland left at the end (if you run out of ornaments). So get ready to snip off the extra sparkle if need be!

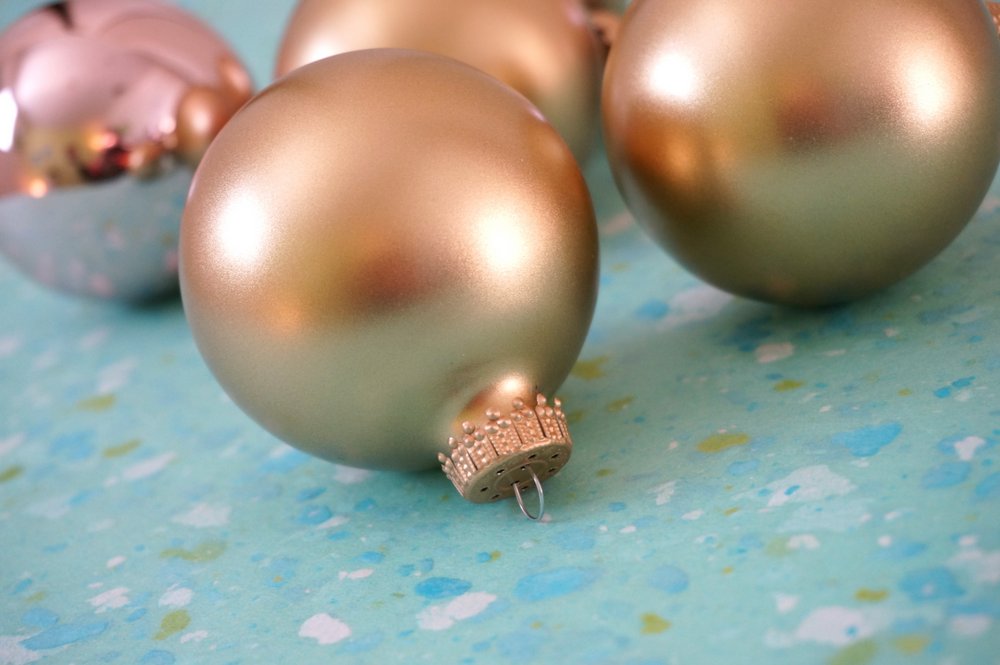
If you use ribbon to tie the ornaments to the garland, begin by tying a knot around the loop at the top of the ornament. This will prevent the ornament from slipping and falling to the ground in the middle of the process.

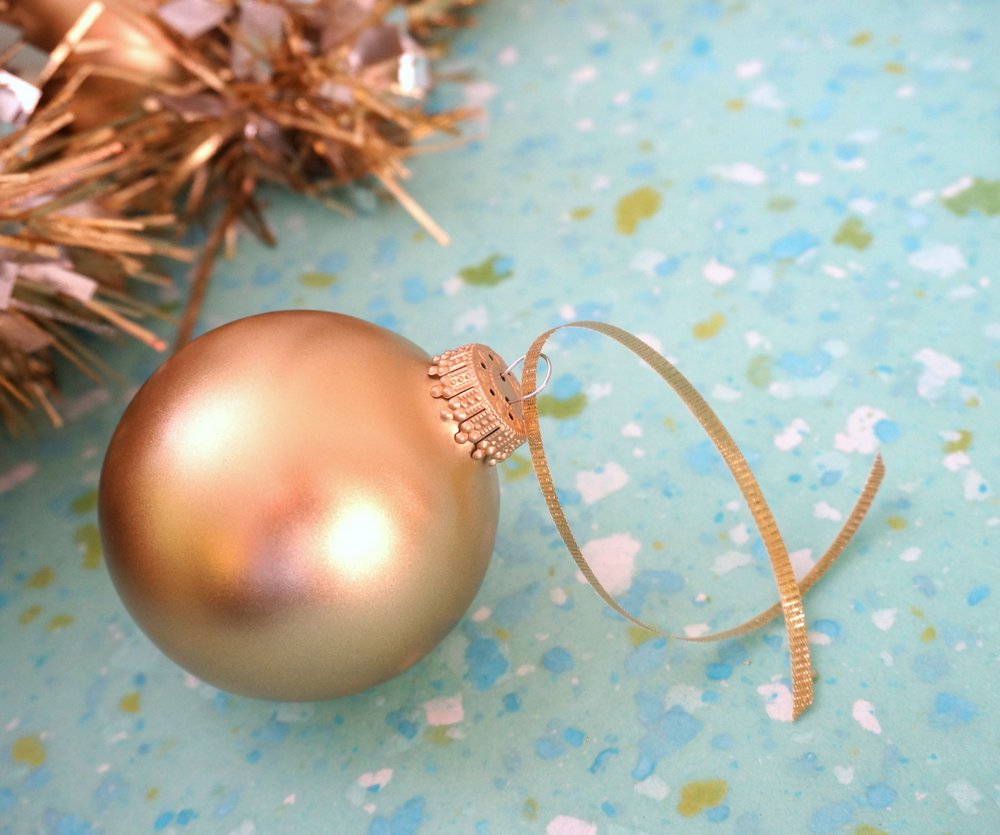
Make sure you use double or triple knots as you secure the ornaments to the garland. Or close up those ornament hooks with your fingers or pliers so the ornaments are secure. You don’t want them falling, which they can easily do if they’re not snug and you display them against a wall.

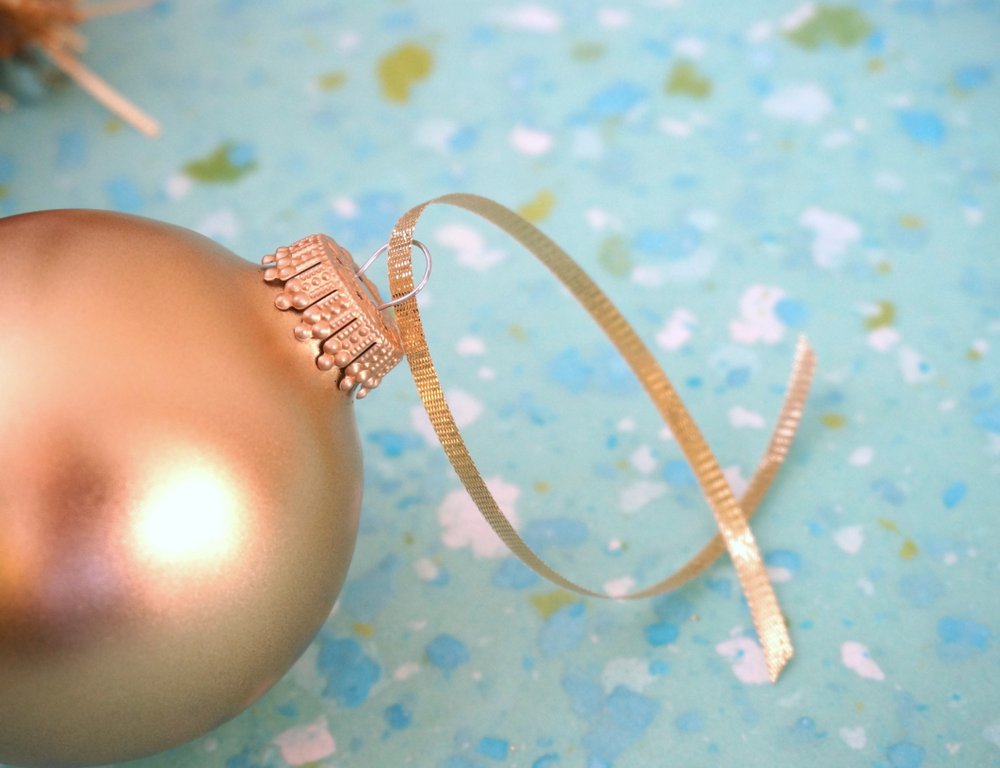
Don’t worry about cutting the excess ribbon down to the knot after you’ve tied the ornaments in place. It will blend right in with your garland if you choose one with thicker sections of tinsel! Once again, the garland you see below is a super affordable purchase from Target.

You can also dress up your garland with a few fun extras, such as faux holly. Or keep it monochromatic with metallic bows. The peaks of the garland are great spots for these additions.

Or you can just let the ball ornaments speak for themselves, as you see in most of today’s photos!


We at Decoist wish you and yours a sparkling Holiday Season!!


