We know that photos can be an amazing source of design inspiration, so this article may contain affiliate links that will direct you to a particular decor item. Clicking on a link may result in a portion of proceeds being paid to www.decoist.com
Today we ask a question that many homeowners have pondered as they look down at a tile floor with unsightly grout: Will baking soda and vinegar really get the grout clean? Kate here, and I personally tried out this DIY cleaning technique in an attempt to avoid an expensive tile cleaning bill in the middle of the holidays. Did it work? In short, yes! And the process of cleaning grout with baking soda and vinegar was much better than I imagined. [photo by Kate Simmons]

Does the floor look as if the professionals cleaned it? No. And I know this because the last time Stanley Steemer came out to clean my carpet, they did a little demo to show me just what their steam cleaning technique could do for my grout. And it was pretty amazing! But it’s good to know that a DIY option exists, that it’s effective (AND budget-friendly), and that it leaves the floor looking pretty darn good overall!
Read on for all the details and don’t worry, we’ve conveniently linked the products you’ll need at the “DIY Steps” part of the page. Altogether, this cleaning project will cost you less than $20 and is likely even cheaper since you might have some of these items lying around your home!
The Big Idea
If you’re like me, you’ve been dreaming of clean grout for quite awhile. Perhaps you imagine about walking across your floor with bare feet and not a care in the world. [photo from Absolute Resurface]


Or you’ve seen images on the websites of professional tile cleaning services and wondered if your grout could ever look this good. [photo via Seal Systems]


So you decide to take matters into your own hands, especially if you’re on the hunt for budget-friendly alternatives to professional cleaners. For some, the thought of scrubbing the floor with a toothbrush can be therapeutic. For others, it sounds like back-breaking work. I tend to enjoy physical labor, so taking a toothbrush to the grout intrigues me. Weird, I know! [photo from Town & Country Office Cleaning]

Baking soda and vinegar are often used as home cleaning agents, especially since they’re affordable and non-toxic. Put them together, and you have a fizzy reaction that is particularly helpful when it comes to residue and dirt build-up. Continue reading for instructions on how to clean your grout with baking soda and vinegar.
The DIY Steps
So just how does this baking soda and vinegar method work? Below you will find a list of steps, complete with helpful tips. [all photos below by Kate Simmons]

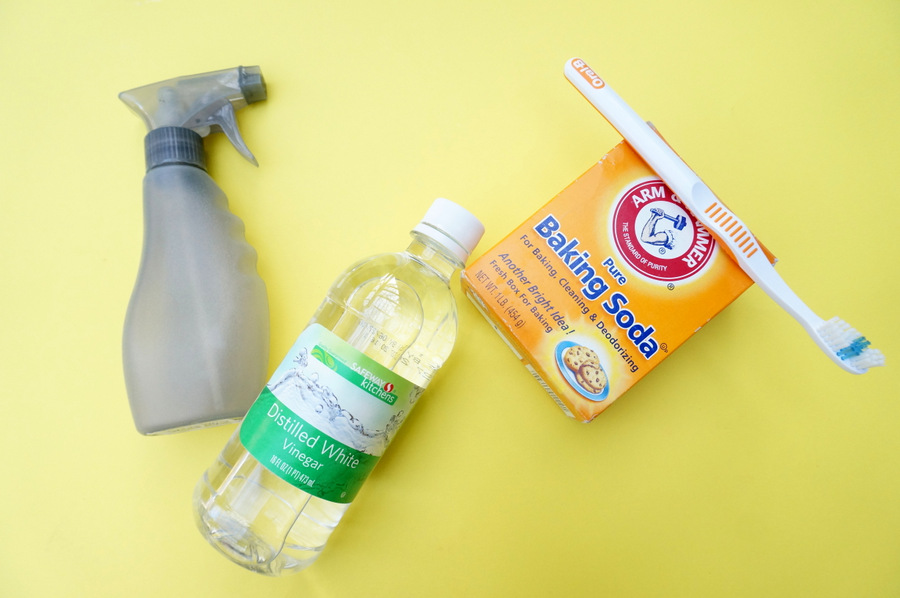
Step 1: Gather your supplies.
You will need baking soda, vinegar, a spray bottle, water, a measuring cup, a toothbrush, a small container, and some rags (or some paper towels). All in all, these products total less than $20 and it may be even less if you have leftover product hanging around your household!
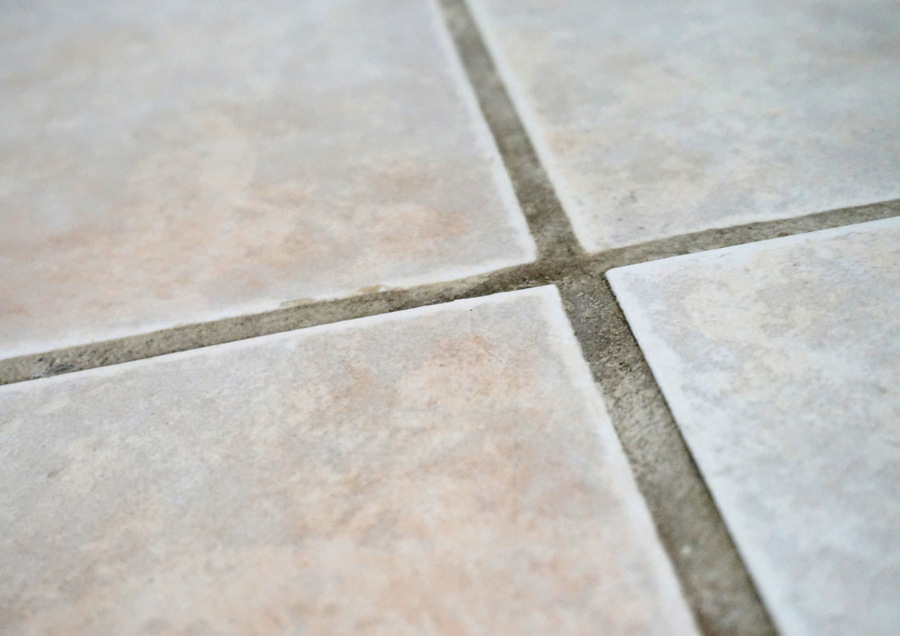
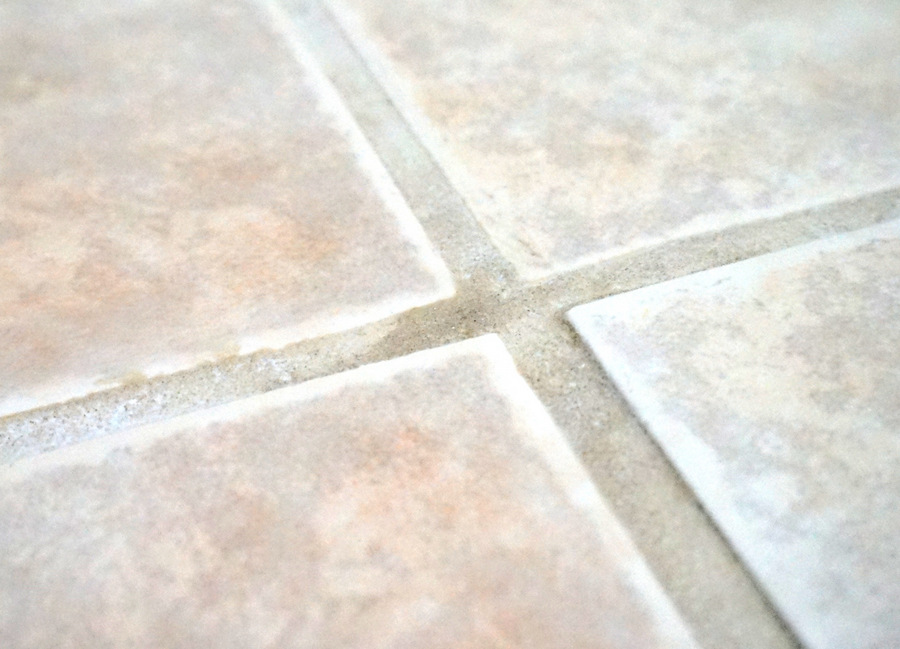
Below we see a close-up of the grout in my powder room. Looks like it needs a little work, right?!

Step 2: Make a paste using baking soda and water. Apply the paste to the grout.
I actually used the toothbrush to stir the paste mixture and apply it to the grout. Looks messy, right? It was!

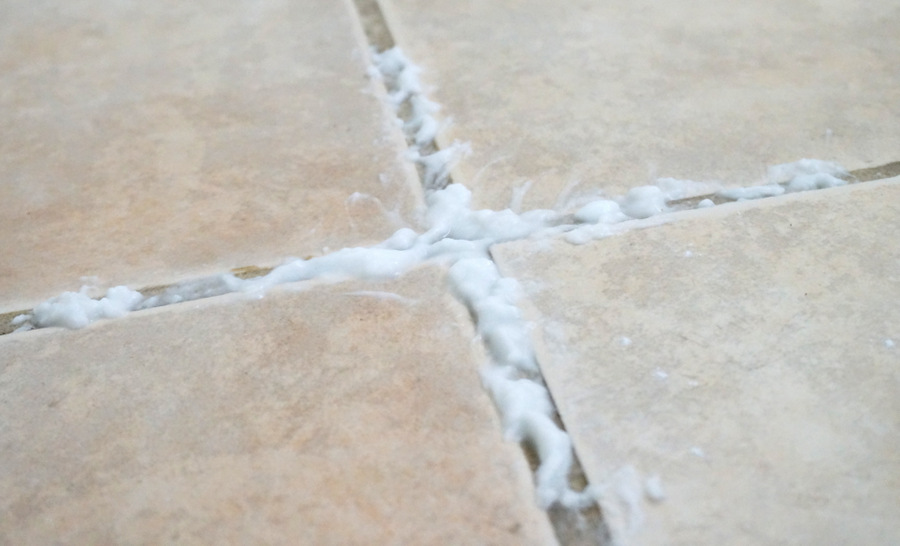
Step 3: Concoct a mixture of equal parts vinegar and warm water in a spray bottle. Spritz the mixture onto the baking soda paste.
And you’ll have a fizzy mix like the one below. It’s like a science experiment in your powder room!

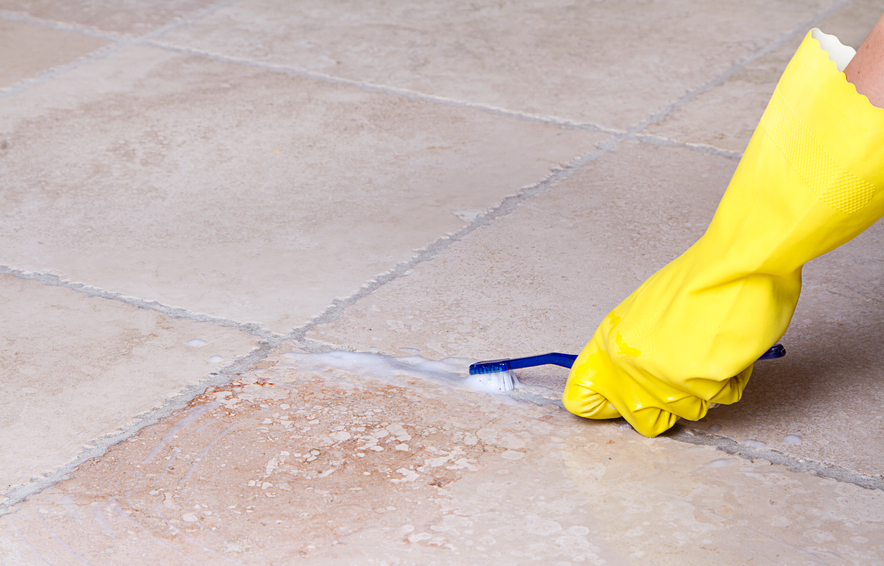
Step 4: Scrub the grout with a toothbrush.
Give the baking soda and vinegar a chance to fizz before you start scrubbing, and then work on that grout with determination. I thought it was fun to see the dirt scrub away with ease! Definitely a great activity for those who get satisfaction from eliminating dirt and grime!


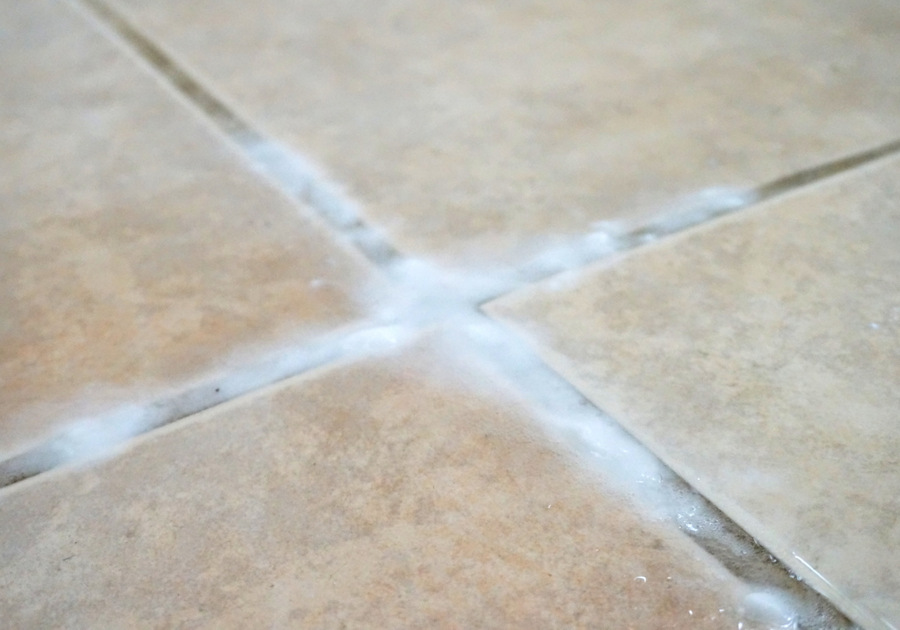
Step 5: Wipe away the mess with a water-soaked rag.
Paper towels also work. I actually used a sponge and paper towels to wipe up the excess baking soda and vinegar, but if I’d had some old rags, I would have used them instead.

Step 6: Mop to give the floor a gleaming finish (optional).
While this step is optional, note that there will likely be some baking soda residue on your floor. You can wipe it all up by hand very diligently, or you can wipe it well enough, then finish off the space with a mopping session. The choice is yours!

Troubleshooting
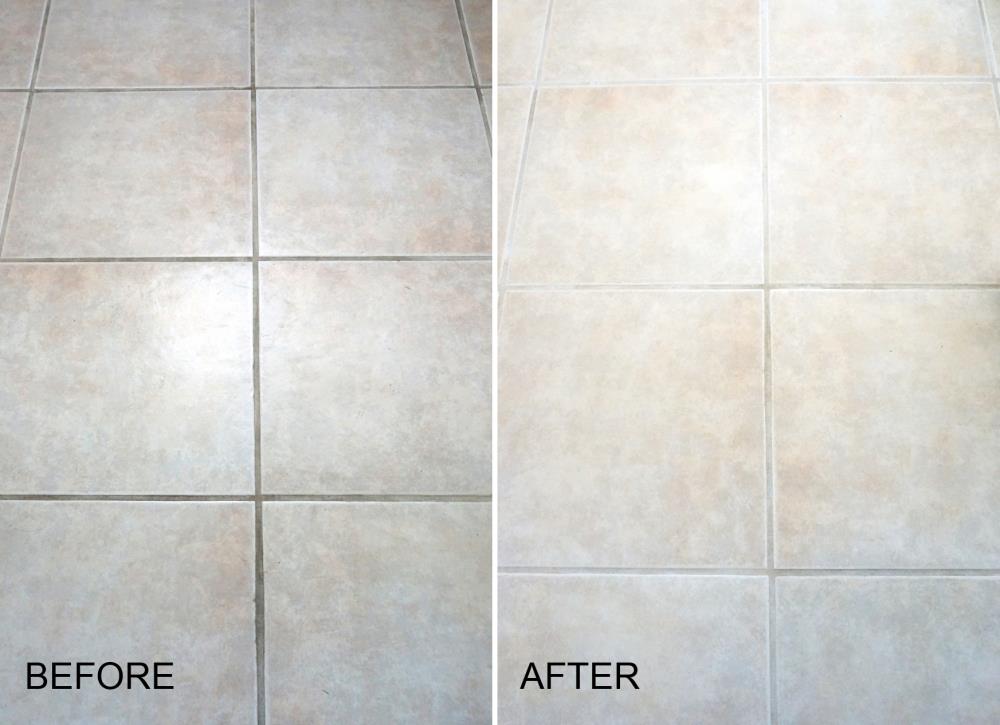
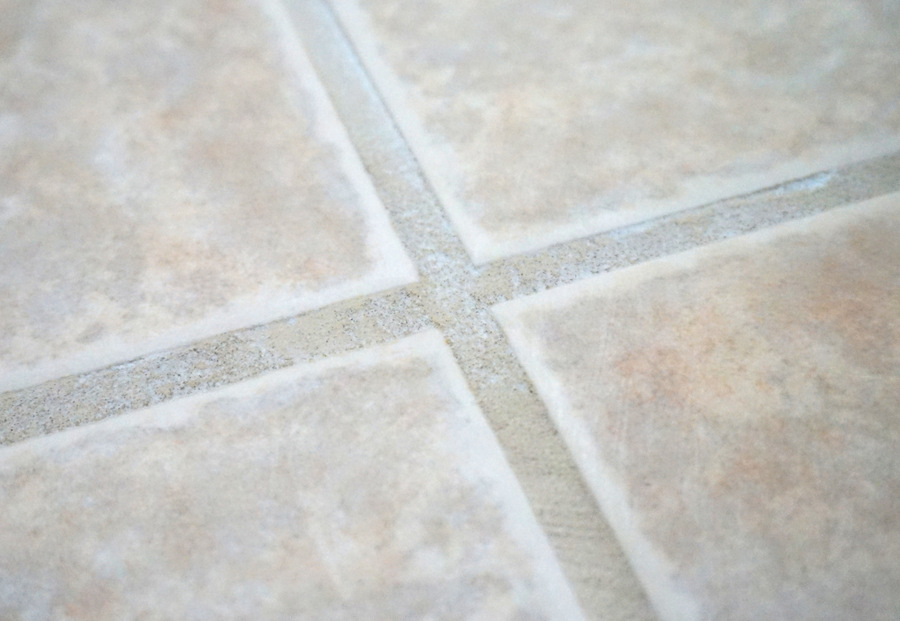
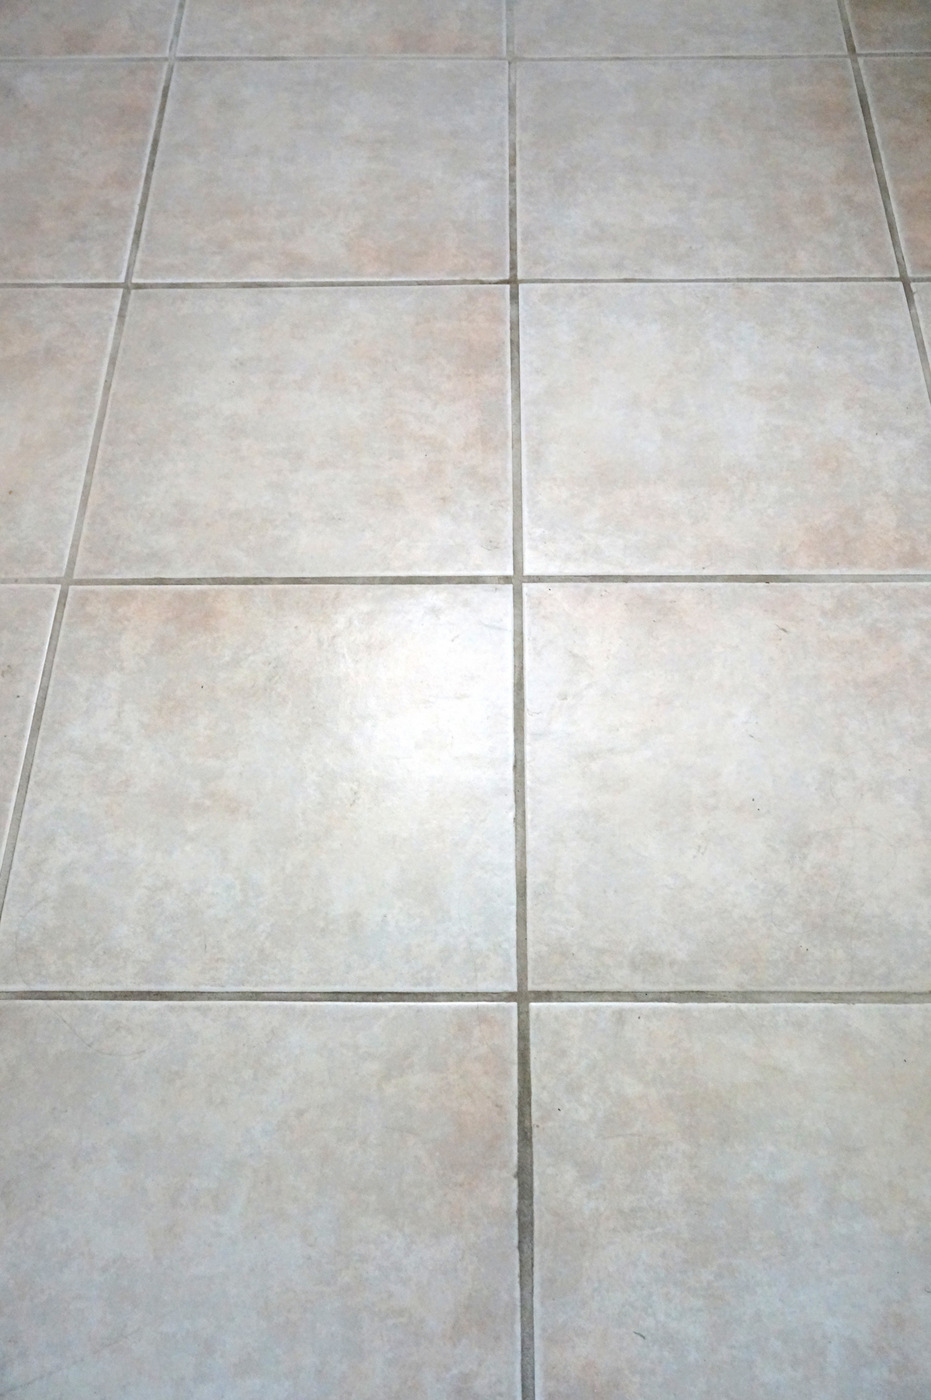
Now that I’ve tried the process for myself, I want to share a little more about what you can expect when you clean your grout with baking soda and vinegar. Below we see my dirty bathroom floor, before the cleaning session. [all photos below (except for the last photo) by Kate Simmons]

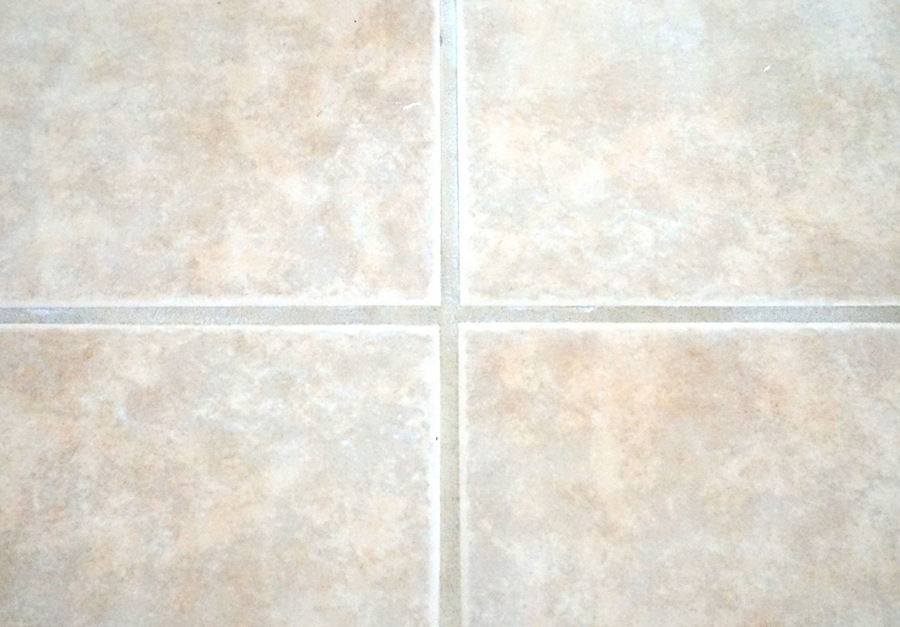
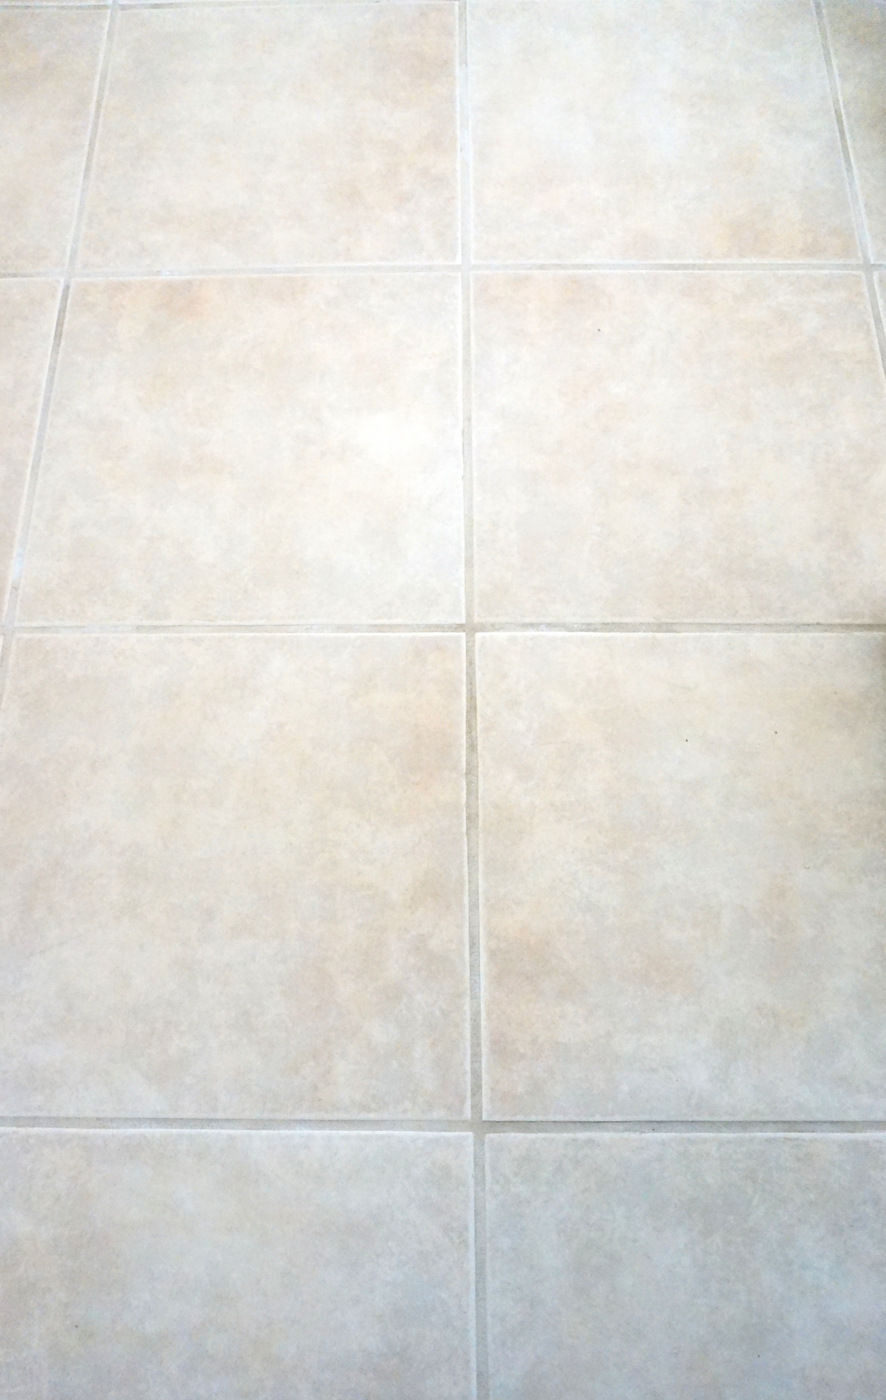
And here’s the after shot! I did not attempt to manipulate these photos, but I will note that there was more sunlight coming into the powder room when I took the photo below. With that said, you can still see that the grout is visibly cleaner after the scrubbing, with the dirt and grime gone. The bottom line: Cleaning grout with baking soda and vinegar really works.

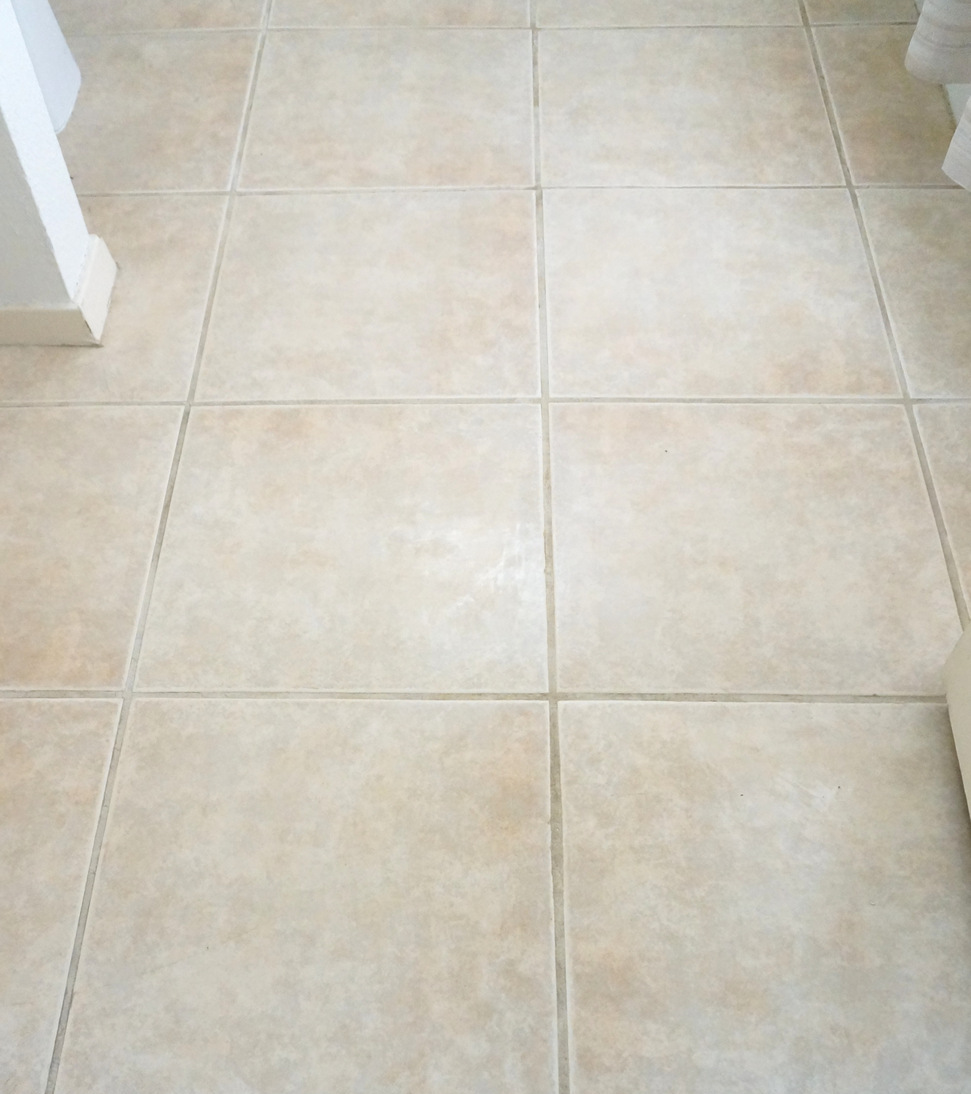
But it’s not a perfect process. You can see in this next image that there are still stains in the grout that were not removed by the first scrubbing. Or a second more intense scrubbing of the area. But don’t lose heart! There are other things you can try, such as using hydrogen peroxide to clean the grout, or even getting a steam cleaning service to help with a particularly difficult section of the floor. I found this Bob Vila article to be helpful in terms of listing different cleaning options.

Also note that cleaning floor grout with baking soda and vinegar is messy and a bit tedious at times. But it’s totally doable. I would suggest breaking up the task into parts. For example, I tackled the powder room today, but there is still the kitchen, the master bath, the hallway and the laundry room flooring to clean. To save myself from sore muscles and frustration, I plan on breaking up the process into one or two rooms per day, as I have time (rather than tackling everything at once).

The bottom line: using baking soda and vinegar to clean floor grout is great if you don’t mind manual labor, you’re on a budget, and you have the time to break up the process into steps. It’s also a great way to spot clean or to clean in between visits from the professionals. If manual labor makes your skin crawl, or if you need to clean the floor of your entire house quickly, you might consider getting a professional out to steam clean the grout in order to avoid burnout!
Since the floor of my bathroom isn’t that cute, I’ll leave you with a gorgeous photo from Boyer Building Corporation. Because what’s more inspiring than a crisp powder room with a beautiful, clean floor?!


Wishing you well on your home cleaning endeavors! If you try this method at home and have additional tips to share, leave a comment below. We’d love to hear from you!