Ready to decorate your Christmas tree? Or perhaps add a few embellishments? These boho chic ornaments are miniature versions of my DIY wall hanging project, complete with an asymmetrical look, along with the addition of minerals for some extra sparkle! With a few simple supplies, you can craft your own mini hanging treasures to decorate your wall or your tree. Read on for all the details…

DIY Boho Chic Ornament Supplies

Whether your “ornaments” will grace your wall or your tree, the supply list is the same. Here’s what you’ll need to get started…
- yarn
- skewers
- craft paint
- foam brushes
- scrap paper to protect your work space
- large beads
- scissors
- a glue gun

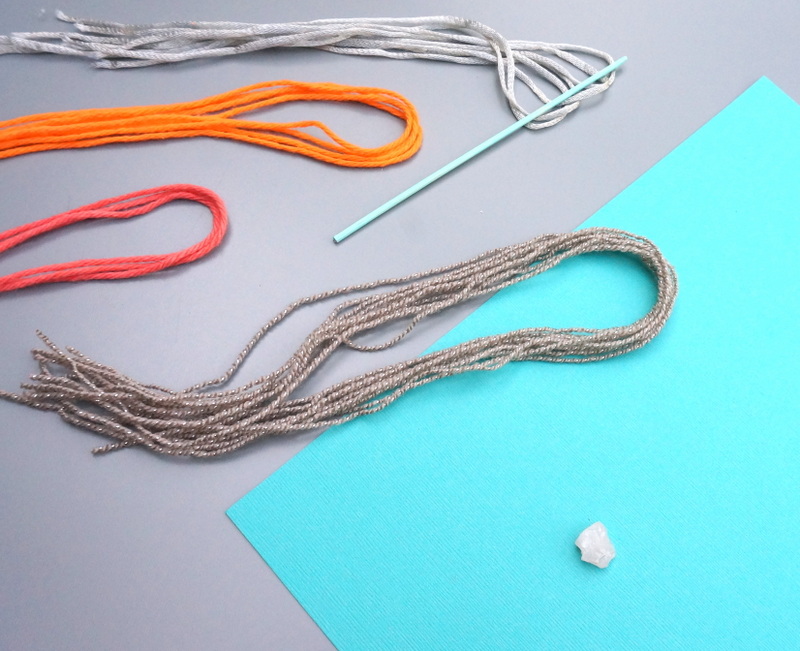
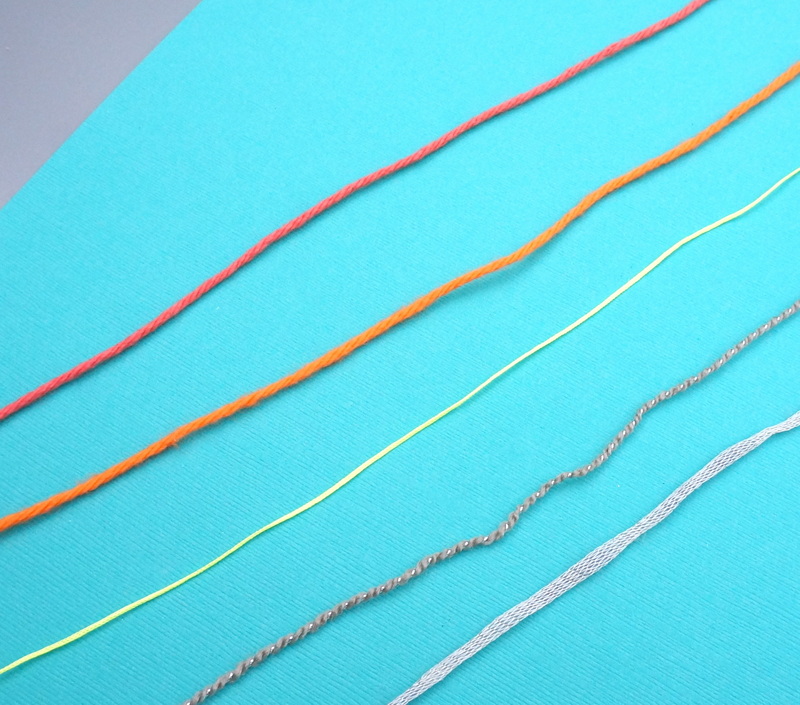
I actually used leftover craft supplies from previous projects to make these ornaments, including some string, as you will see below. As a general rule, yarn works better than string and helps add more bulk/substance to each ornament. I also used mineral beads as embellishments.

Ready to learn how to put this ornament together?…
Boho Chic Ornament Project Steps


Step 1: Use scissors to carefully cut the pointy tips off the skewer.
I even used the scissors to trim away sharp edges. You may also decide to use sandpaper to make the edge less rough.


Step 2: Paint the skewer.
Use a foam brush to apply the paint. You may need two coats of paint, especially since the skewer isn’t super easy to paint. I leaned mine against a piece of paper taped to the wall to let it dry.

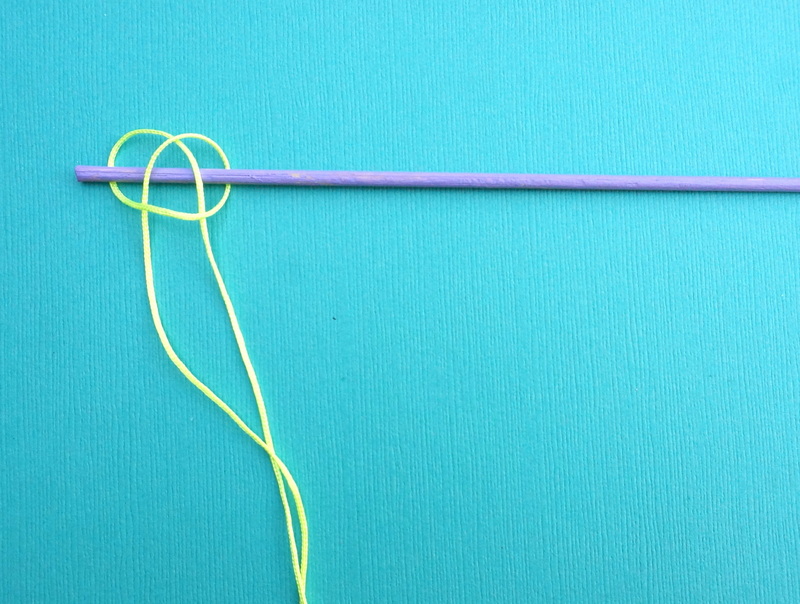
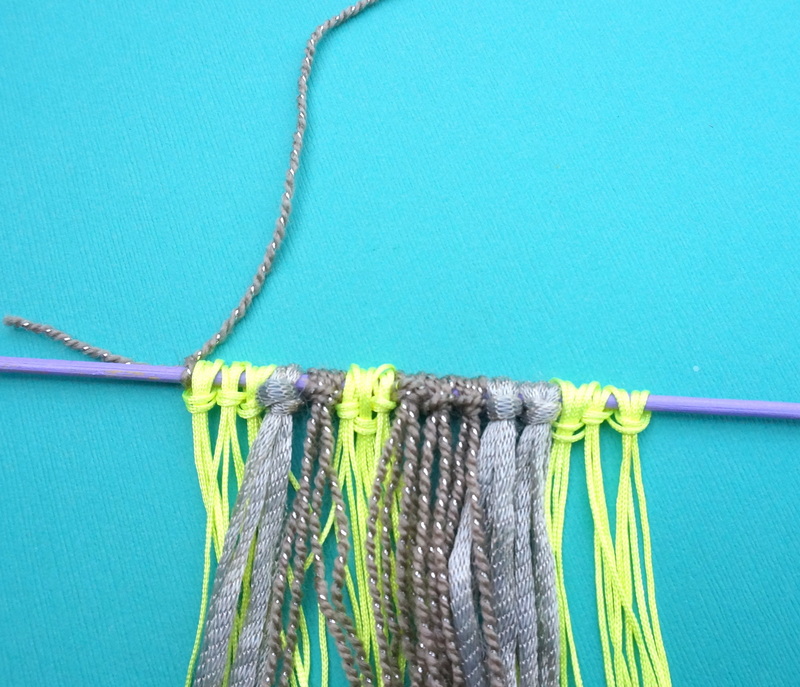
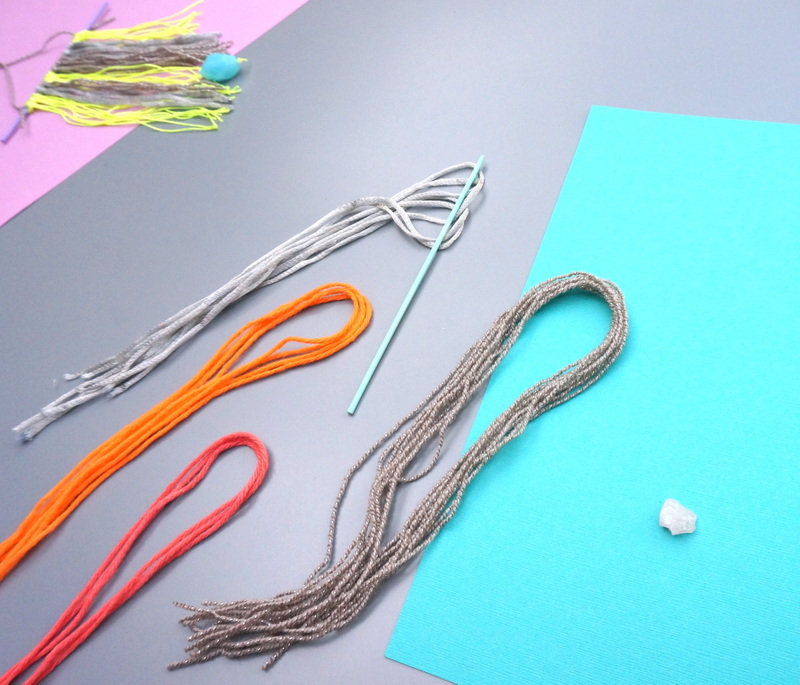
Step 3: Once the paint has dried, begin securing your yarn to the skewer using knots.
I made a loop around the skewer, and pulled the ends of the yarn through the loop, as shown above. There is no one right way to do this, so experiment until you have a knotting method that you like. If your yarn is on the thin side, you may want to knot using two strands at the same time, which will add fullness.

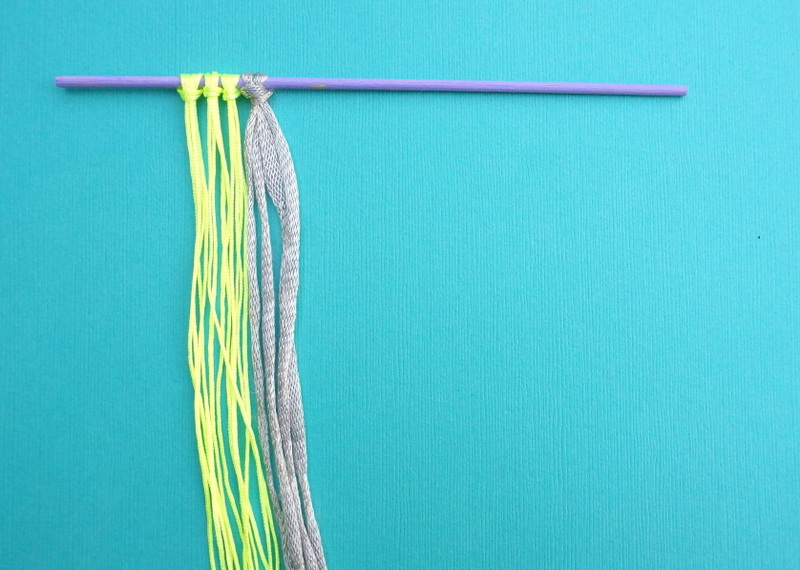
Step 4: When you’re finished with the knots, make a handle for your ornament by tying a piece of yarn to each end of the skewer.
You may decide to use a glue gun to help hold these end knots in place, which will also help keep the other strips/knots from spreading out or falling off the end of the skewer.

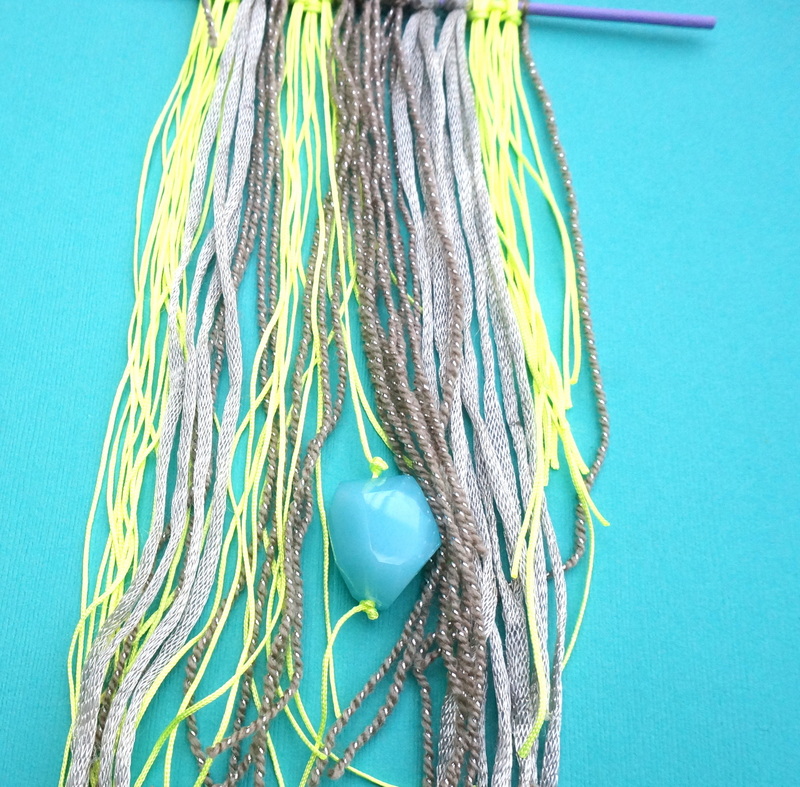
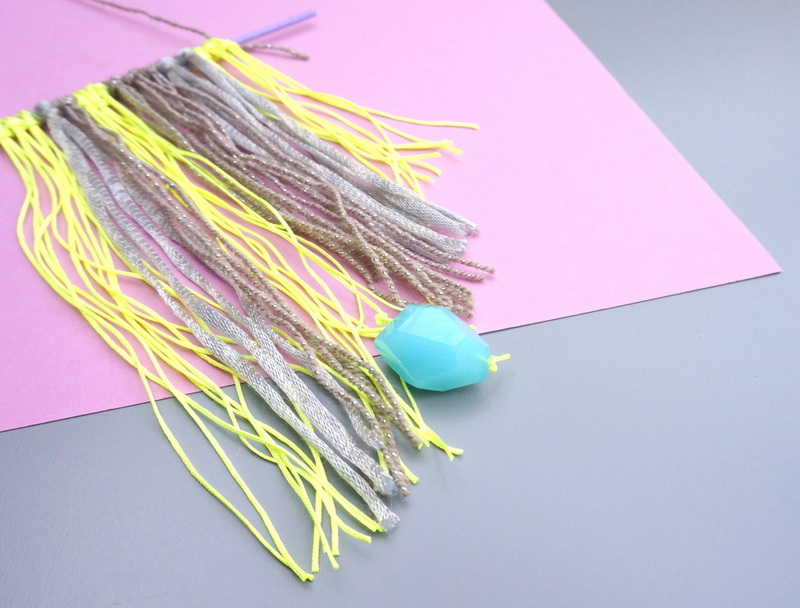
Step 5: Add a mineral bead to the ornament by placing one of the pieces of string through the hole of the bead, and tying a knot below the bead (and above it if you wish).
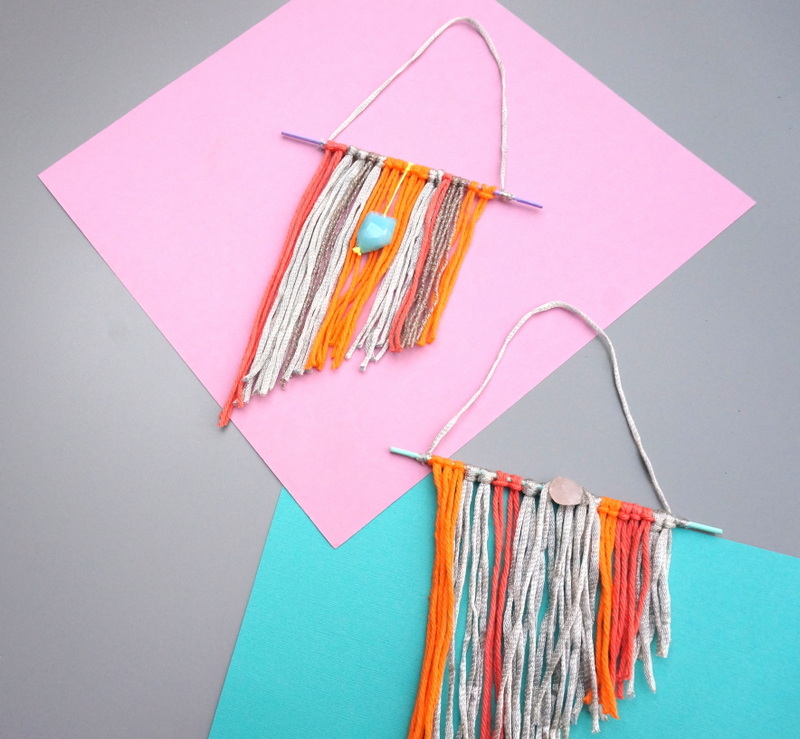
You may decide to place your bead at the top of the hanging or near the bottom. As you can see in the image below, for one of my ornaments, I let the bead hang pretty low.

Step 6: Trim your yarn so it forms an angle from the lowest point to the highest point.
I love asymmetrically designed interior decor, so having the ornament make a slanted statement was right up my alley!

Once my neon yellow and beige ornament was complete, it was time to start the process all over again. These ornaments are super easy to make, so it’s fun to craft a few of them in one sitting:

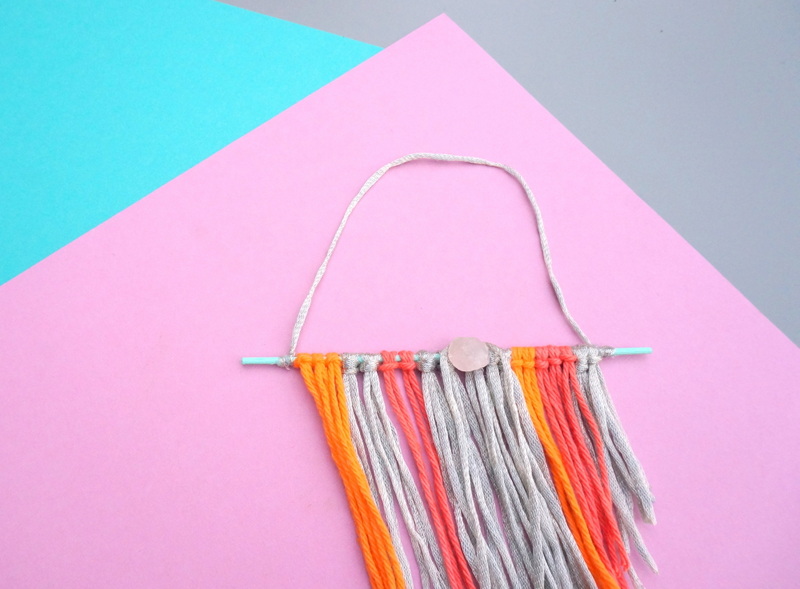
You can see in the image below that my second ornament featured a mineral bead at the top of the design. I tied it to the skewer with a piece of thread and added a dab of hot glue for extra sturdiness!

Displaying Your DIY Ornament


The great thing about this project is that you can make a set of them to give away as gifts and craft a few of them to keep yourself! You (and your giftees) may decide to hang them on the wall and display them year-round.

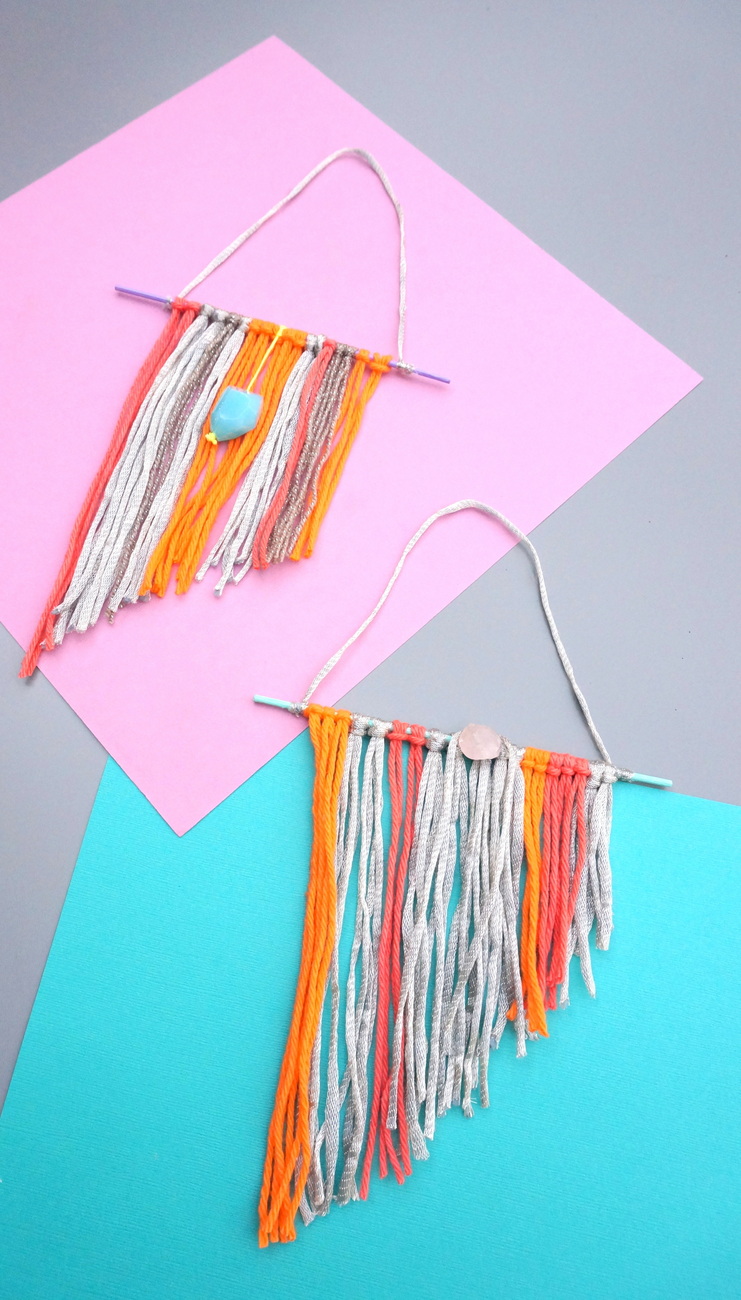
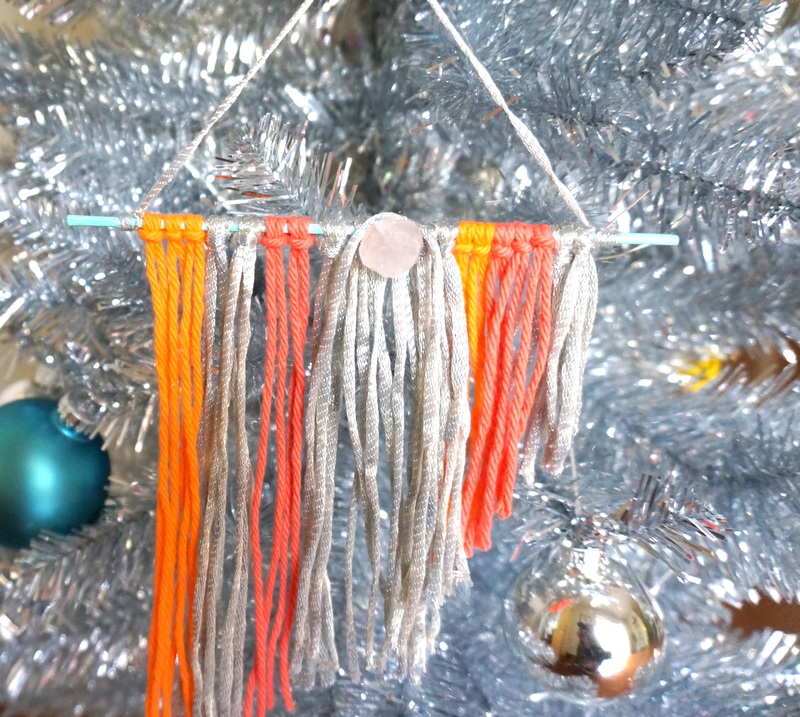
And of course, they make a fun boho chic statement on the Christmas tree as well!
Have a stylish holiday, and stay tuned for more holiday DIY projects all month long right here at Decoist…


