
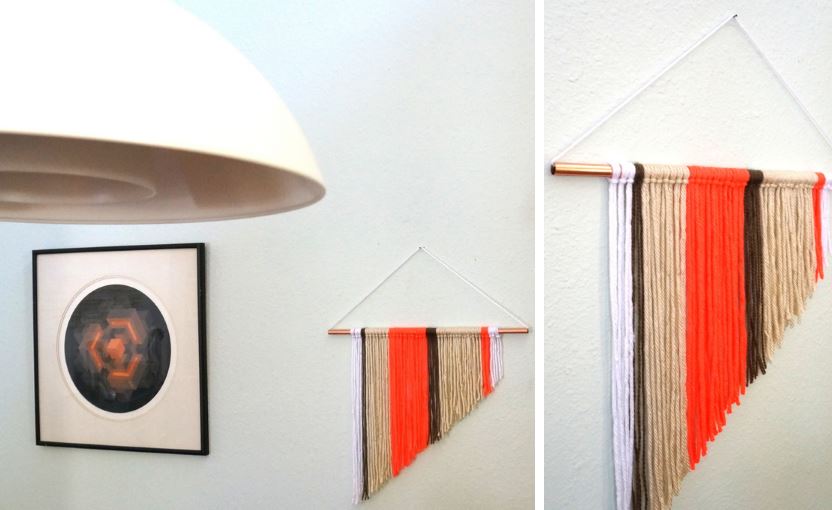
Greetings, crafty Decoist readers! Today’ I’m sharing my latest DIY project: a wall hanging crafted from yarn and a copper pipe! Not only is this retro-meets-modern creation the perfect fall accent piece, it can serve as a colorful backdrop to your Thanksgiving dinner. At the same time, this is hardly a seasonal project…although I’m already thinking about modifying it for Christmas! Ready to read about how you can make your own?
Project Supplies
Today’s DIY creation was inspired by three different projects: this yarn banner DIY from Creativebug, this unique holiday wreath from Design Love Fest, and this large tapestry wall hanging from A Beautiful Mess. Let’s just say that these three projects made me fall in love with wall hangings featuring strands of yarn. I put my own spin on this project by using copper piping, and I was thrilled with the result.
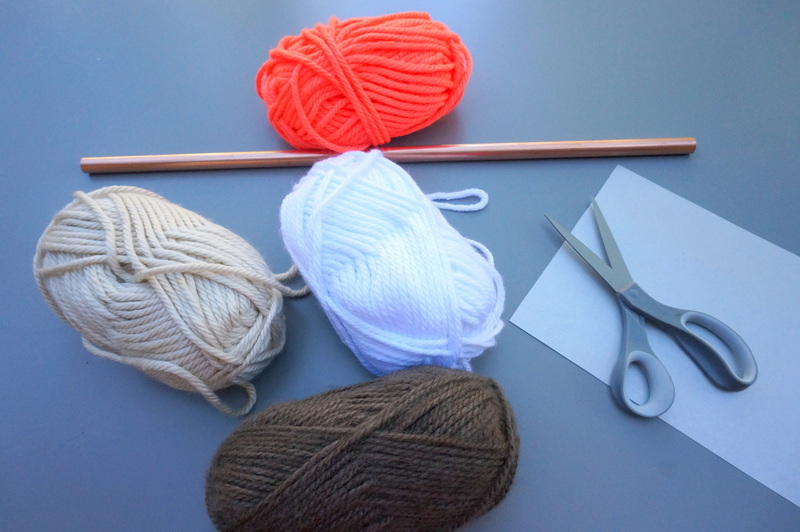
Here’s what you’ll need to get started:
- yarn in the colors of your choice
- rope or sturdy string (optional)
- a copper pipe (I purchased mine at a standard size of 2 feet)
- scissors

Project Steps
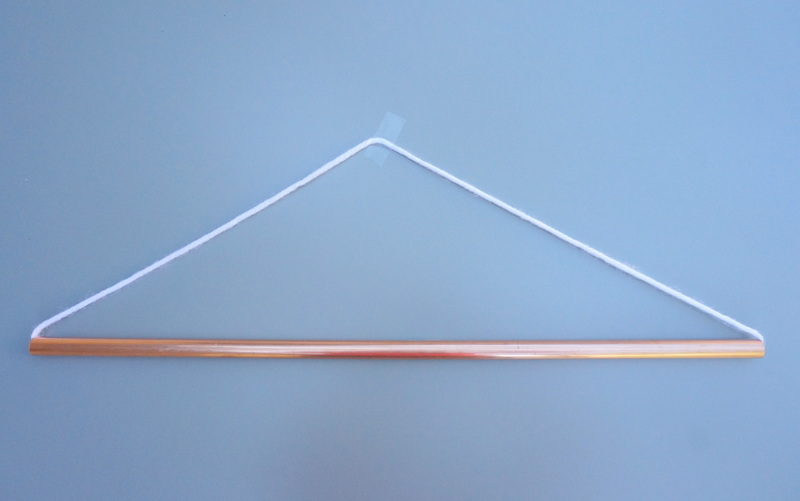
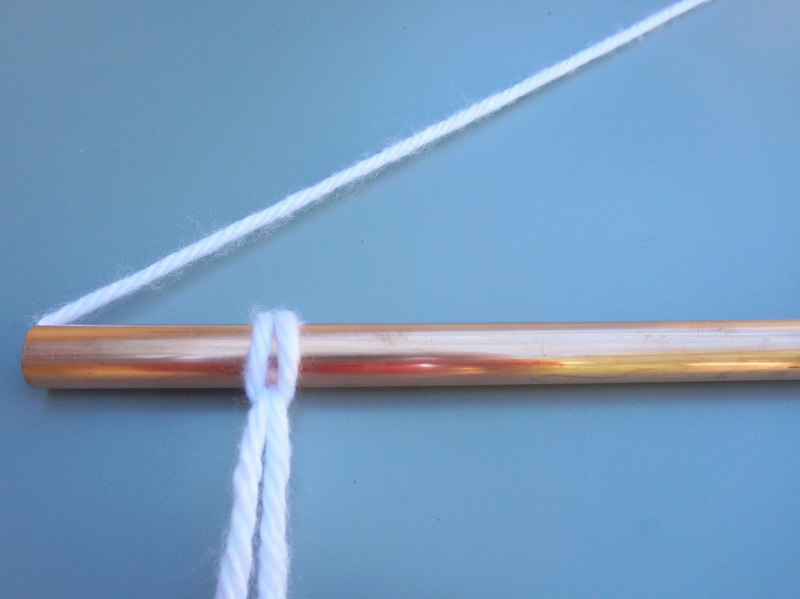
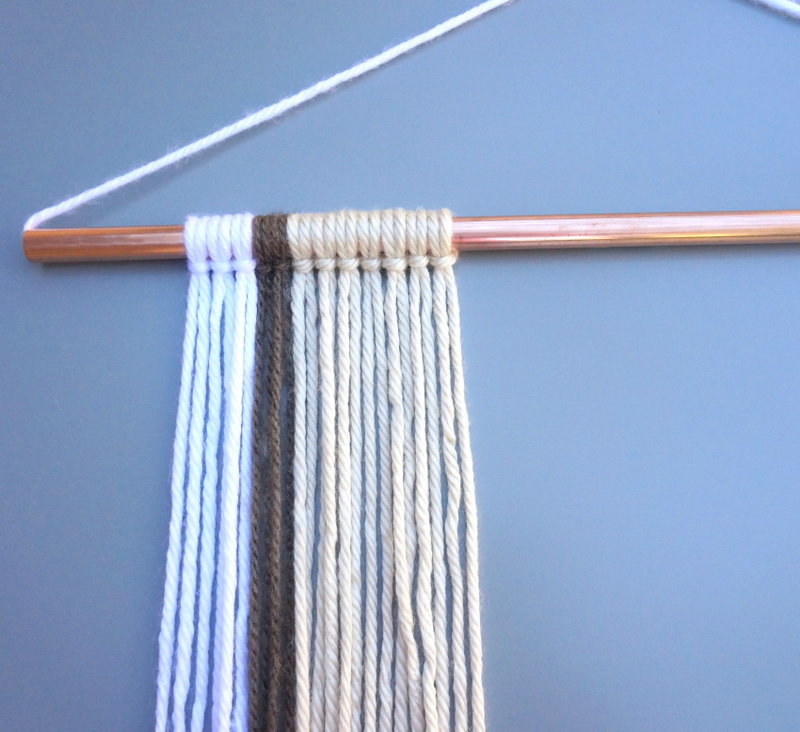
Step 1: String rope or yarn through your pipe and secure it with a knot.
This is how you will hang your creation. As you can see below, I rotated my yarn so the knot was hidden in the pipe–it’s prettier, right? While my yarn was sturdy enough to support this wall hanging, not all yarn will do the trick. You may decide to use rope, paracord, or a sturdy string for this portion of the project.

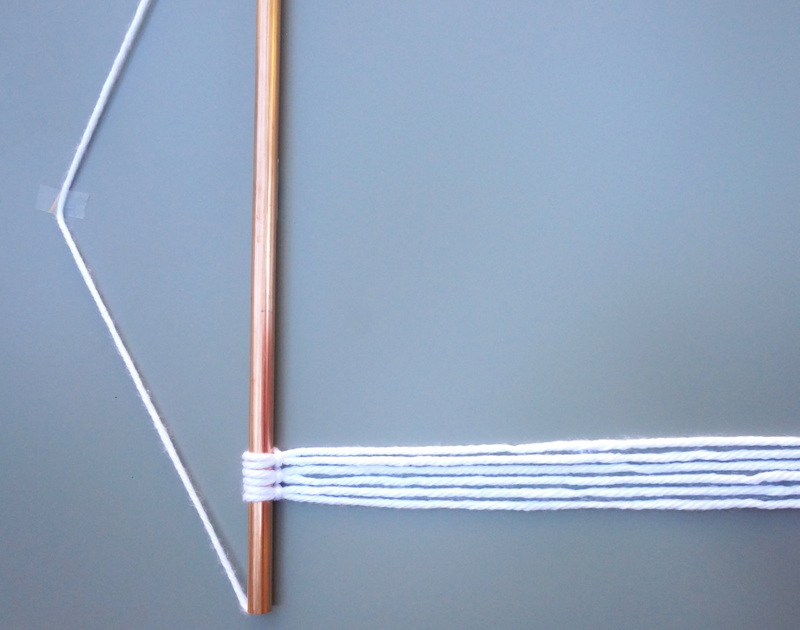
Step 2: Begin cutting strips of yarn and tying knots around the copper piping, working your way across the length of the pipe.
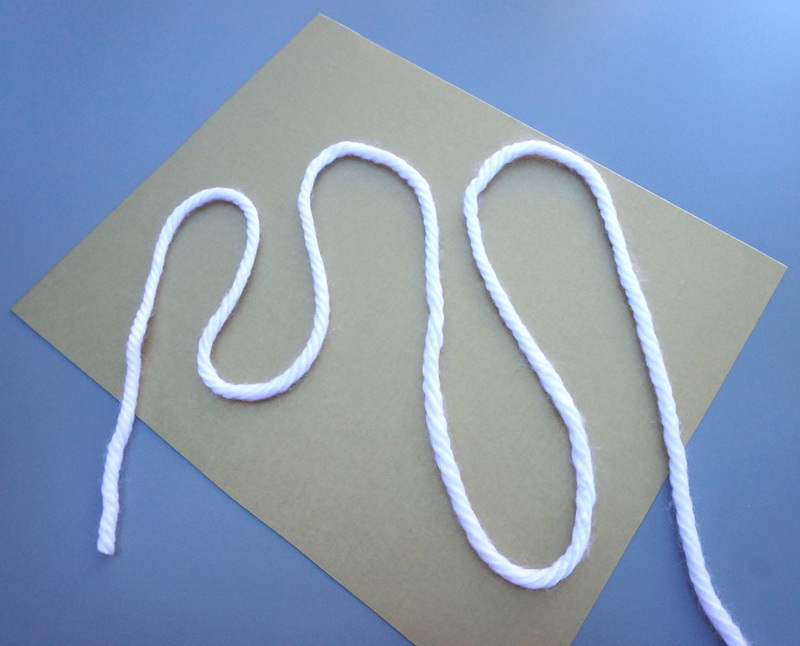
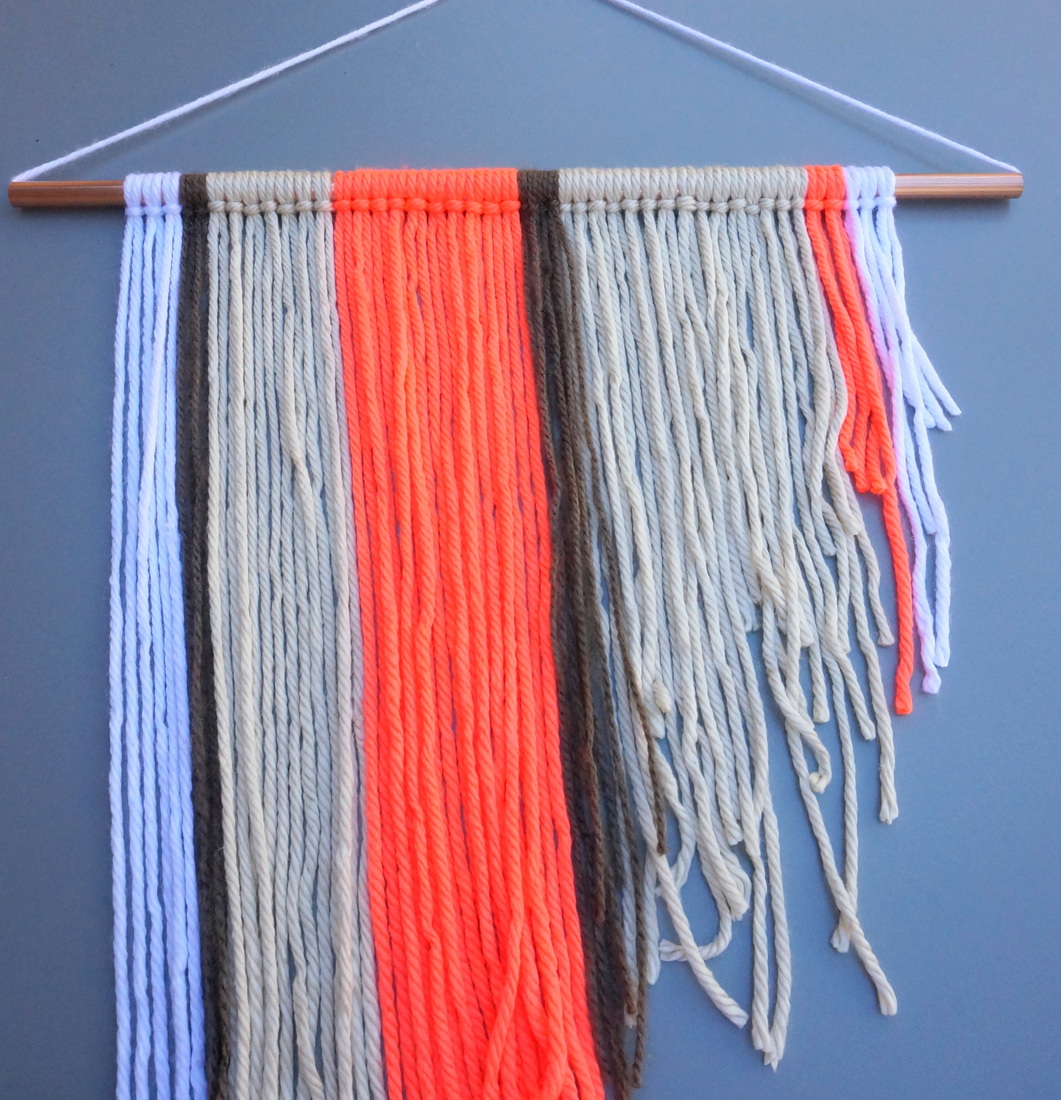
I started with the white yarn, and I made a plan for alternating between colors to create a contrast between dark, light and bursts of neon. Cut your pieces of yarn twice as long as you’d like them to hang.

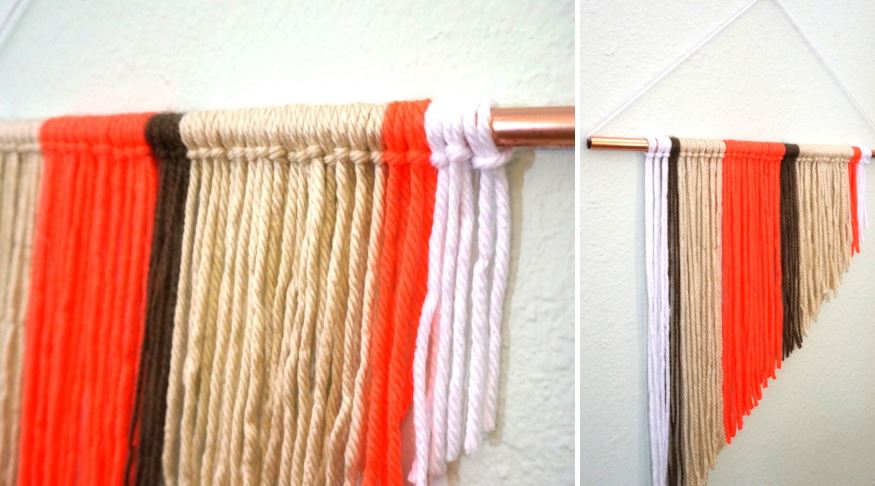
To secure the yarn to the pipe, fold the piece of yarn in half, forming a loop at the top. Pull the ends of the string through the loop and tighten. You can experiment with different knotting options. While below you can see that I wrapped the loop over the top of the pipe and pulled the ends through, in the next image down you will see that I ultimately preferred to bring the loop under the pipe before pulling the ends through. Either way works. Don’t get caught up in this wording–just start experimenting!

Here are the first three knots:

Step 3: Switch colors and continue knotting.
The finished product is more interesting if you vary the amount of knots you complete for each color of yarn. For example, I began with three knots using the white yarn, then only formed two with this thinner dark brown yarn:

Next it was time for the cream-colored yarn. I went to town, creating my largest collection of knots and strands yet!

I also tried to ensure that the knots were rather uniform in their tightness. You can see the clean, consistent look it creates below:

I couldn’t wait to introduce the neon orange yarn into the design. This much-needed burst of color really brought the project to life!

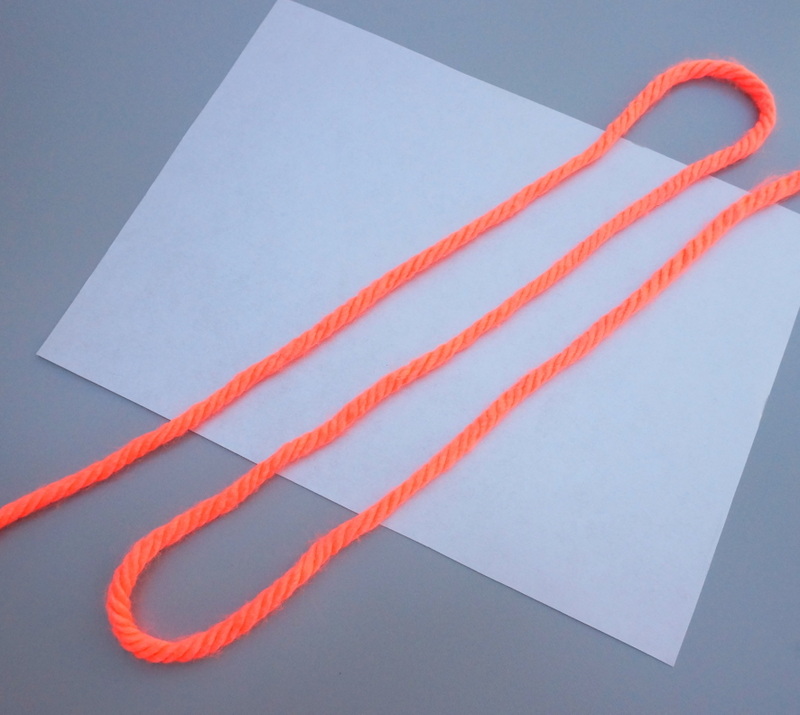
Since I knew I wanted my wall hanging to have an angled look, I began cutting smaller pieces of yarn as I worked my way across the pipe:

Below we see another view of the knots and strands. This project went very quickly. You can easily create one of these wall hangings in an hour or less. Not bad for a dramatic statement piece!

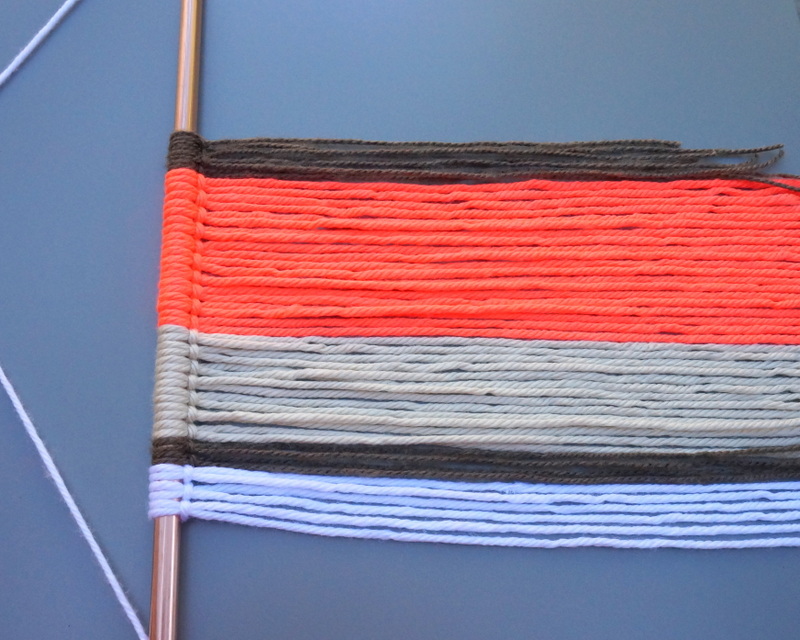
When I’d finished tying my knots, the wall hanging looked like this:

Step 4: Give your wall hanging a trim!
This next phase of the project is by far the most fun. Yet it has the potential to bring out your neurotic side. Yes, I’m talking about giving your wall hanging a trim! When you finish with the knots, you will likely have an uneven collection of strands, and you will probably want to emphasize an overall shape, be it angled to one side or toward the middle.

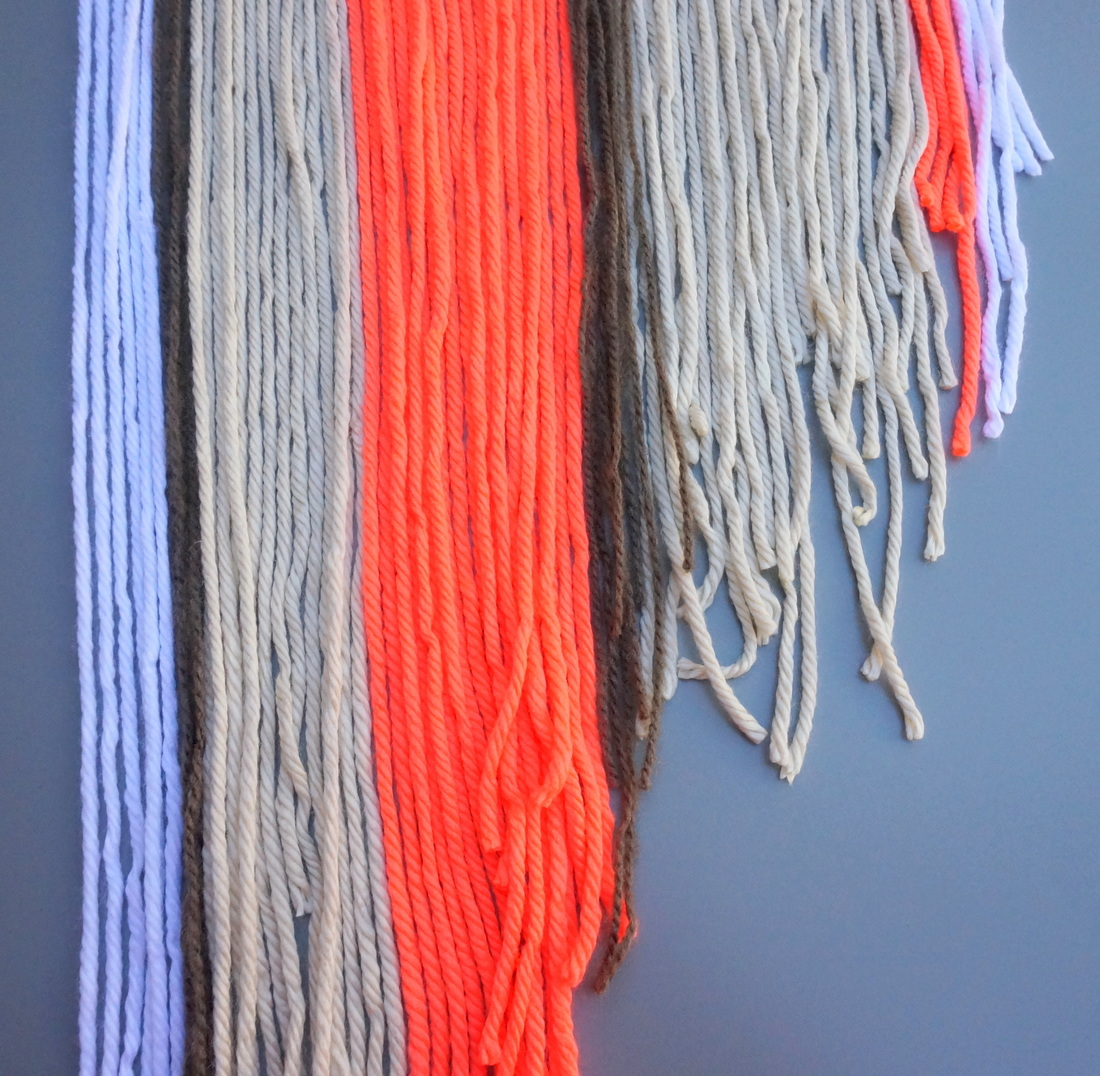
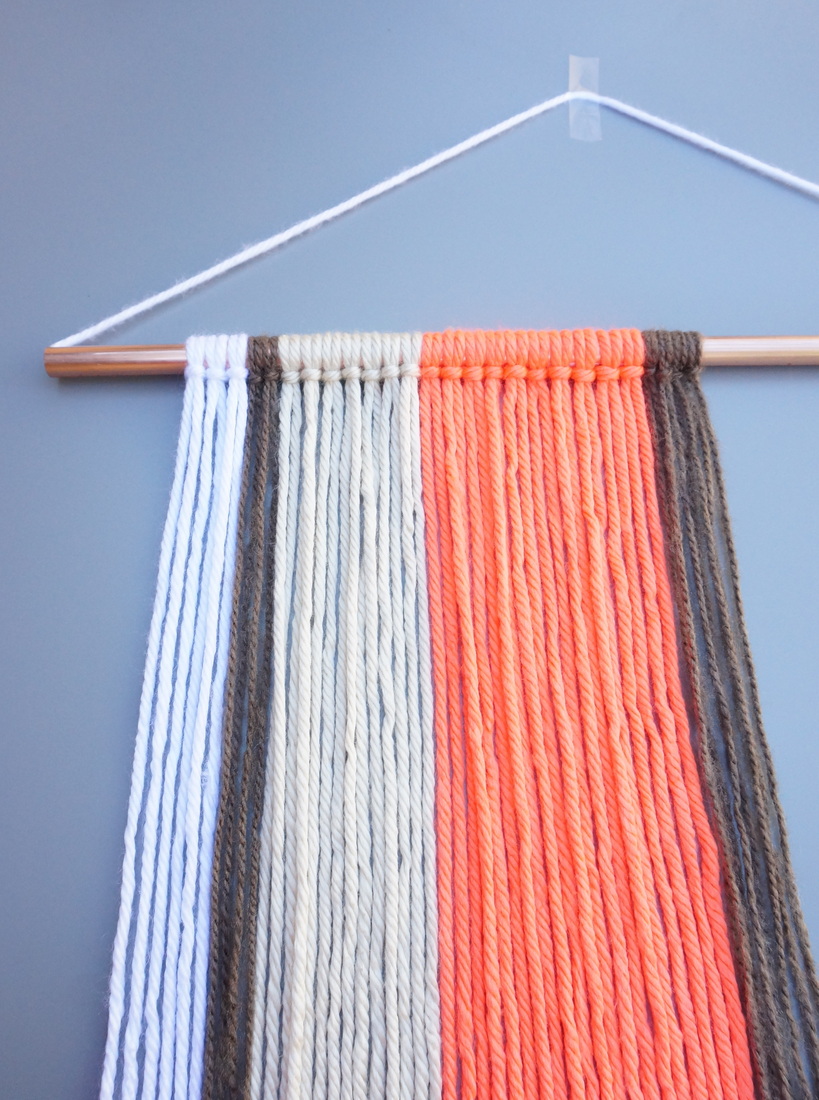
Take your time, but don’t get too caught up in the details. This project looks better when the lines and angles aren’t perfect. We’re talking about yarn, not an angled bob at a first-rate salon! As you can see, I trimmed my wall hanging so the pieces got shorter toward the right side.

I made my wall hanging a not-too-tall one, but perhaps you will prefer a wall hanging with long strands. That’s the beauty of this project–you can customize it to be any shape, size and combination of colors. I found plenty of inspiration in this post–check it out! Happy crafting!

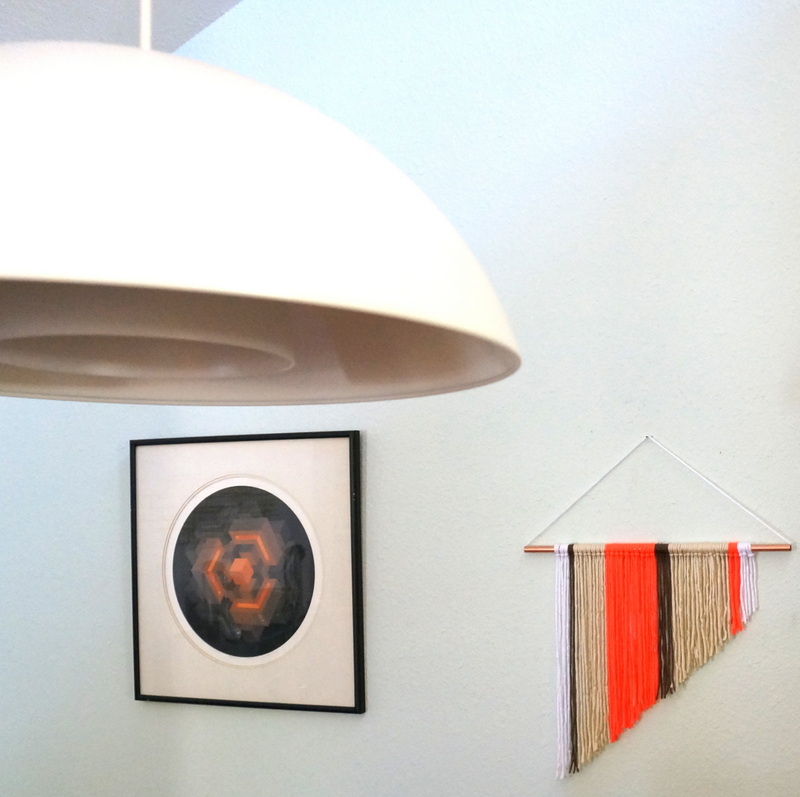
One last note: I always get questions about the artwork in my dining room when I post pics of this space. The serigraph above is by Brian Halsey. View more of the artist’s work here.


