You know what I love about pumpkins? A lot, actually! I love their cute little shapes, the stems and how they curl up a bit, and how even after Halloween is over, they can stick around a bit longer as a symbol of the wonderfulness of Fall! We’ve done a Halloween DIY here this season with some metallic drink stir sticks, and we even got really colorful with painted pumpkins, but today we’re going to tone it down and make some cute and cozy pumpkins!

So let’s get started with what you’ll need. You ready for the long list?
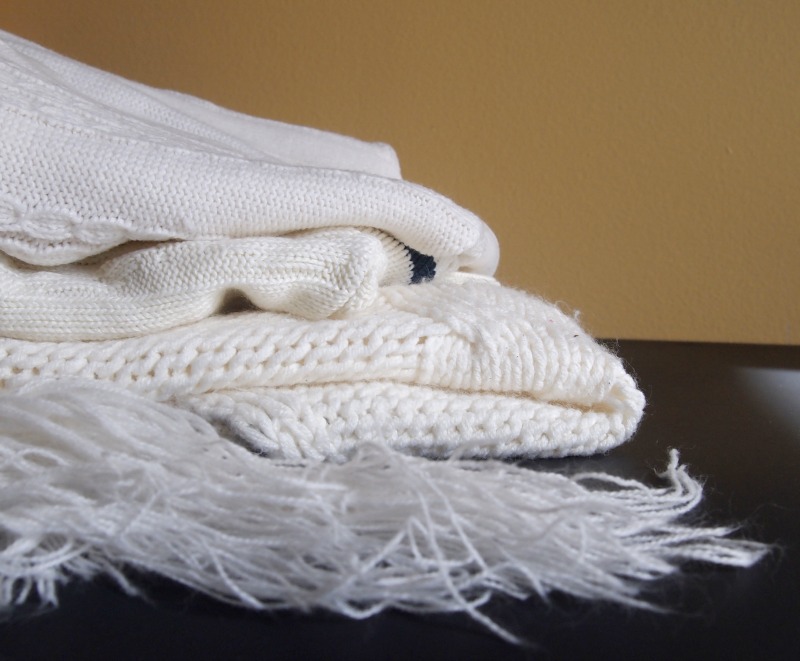
- a white sweater
- twigs
- safety pins
And you’re done!
It’s All About Texture!
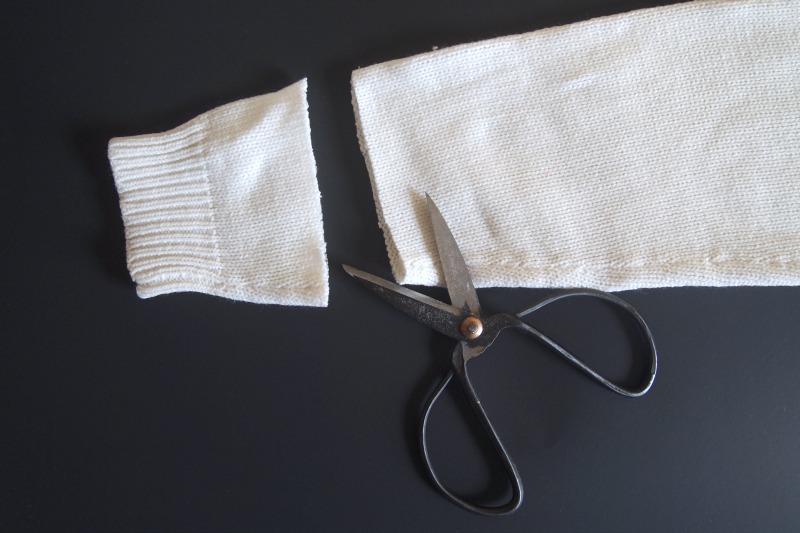
Start with your sweater. I chose one with ribbing and buttons, but the possibilities are endless, so get creative!

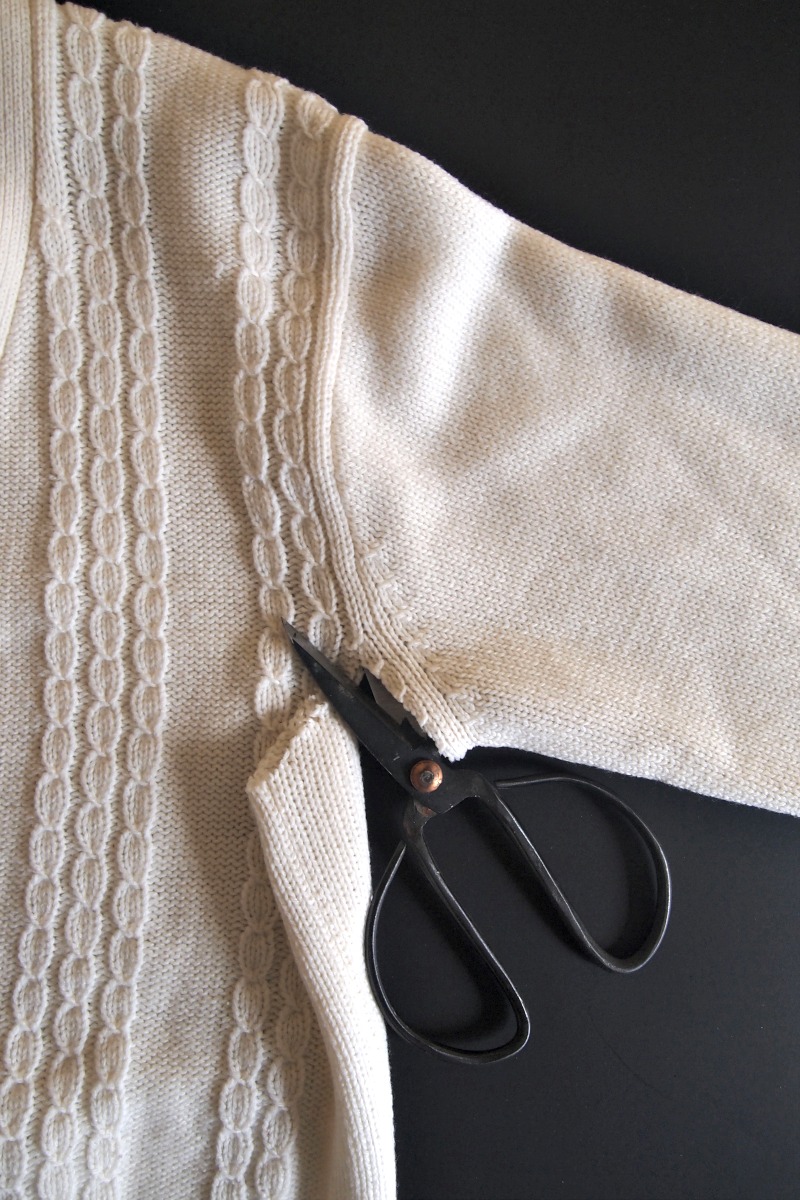
Next, you’ll want to cut off the sleeves, but don’t worry – you’ll be able to use them again! No part of the sweater gets wasted with this project.

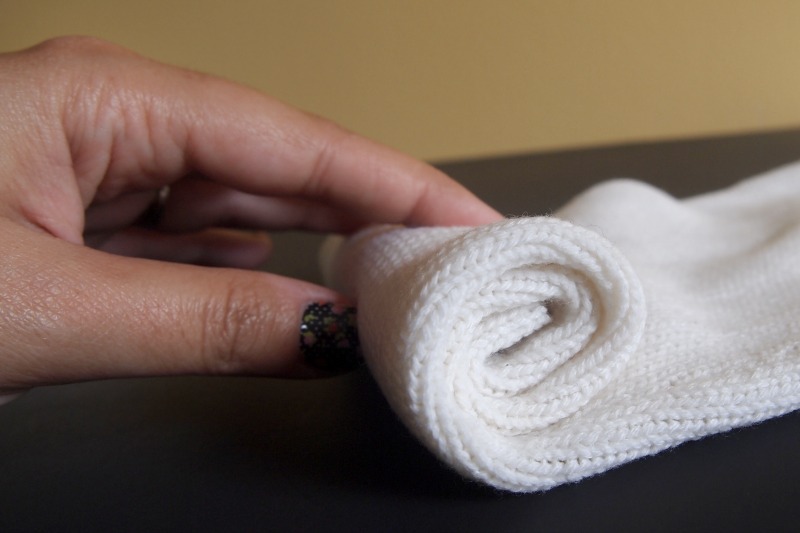
Turn the sweater so the front is facing down and start rolling it from the bottom. How tightly or loosely you do this is up to you and how chunky you want your pumpkin to be. I just let mine roll onto itself naturally.

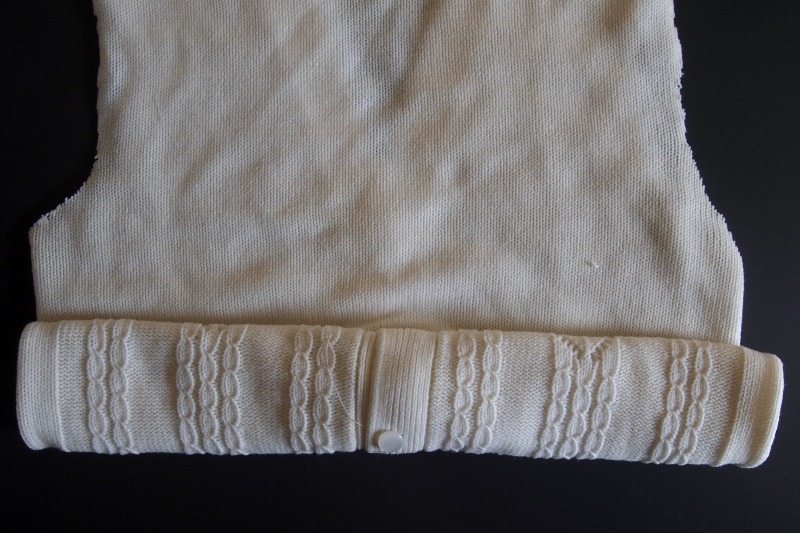
Stop halfway, then roll from the top until both ‘rolls’ meet. Now fold them onto one another and make sure everything is even.

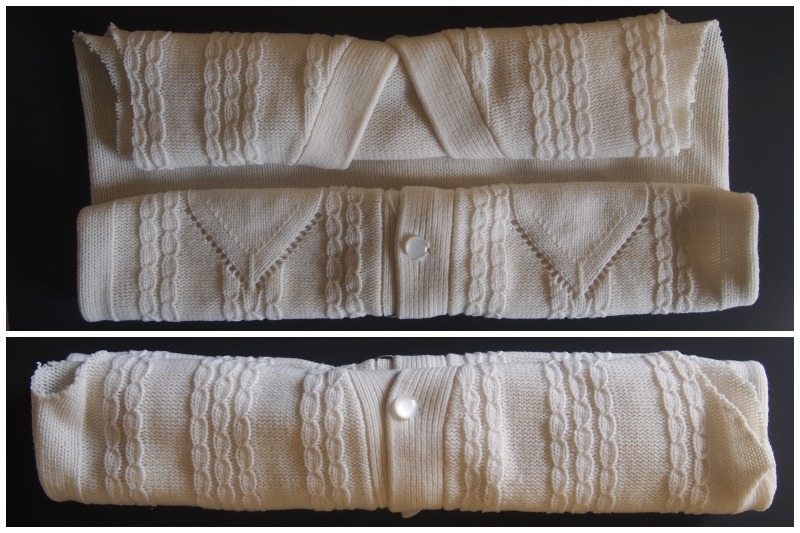
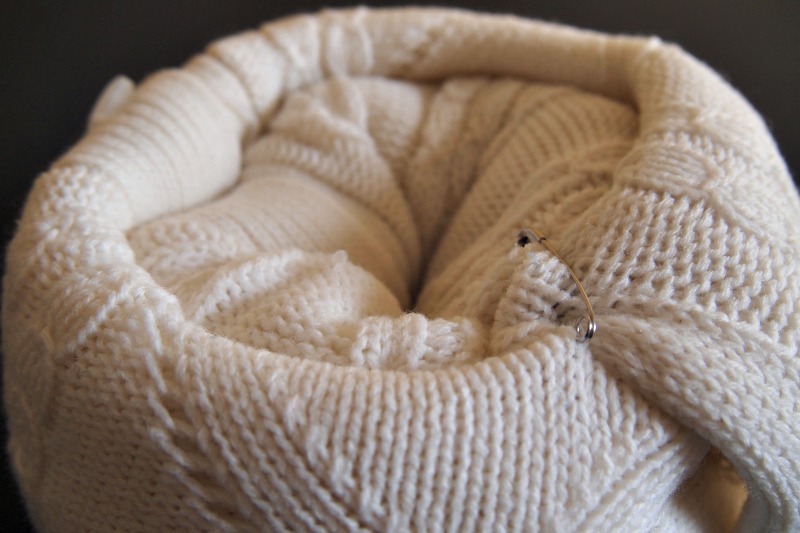
Tuck one end of the sweater into the other so that the sweater tubes go into one another. This sounds confusing, but you’re basically making a circle with your sweater tube.


When you finish, it’ll look something like this. Depending on how much of it you get in there, it might just stay together on its own! That’s the goal, anyway!

In the event that does not work, don’t worry. Use a little safety pin at the bottom and your soon-to-be pumpkin will stay put!

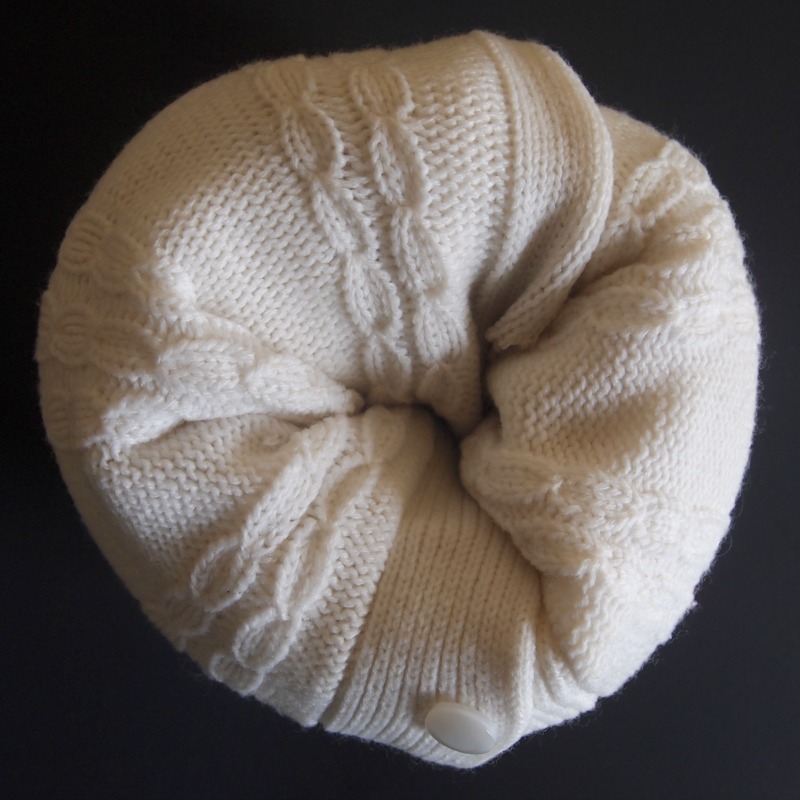
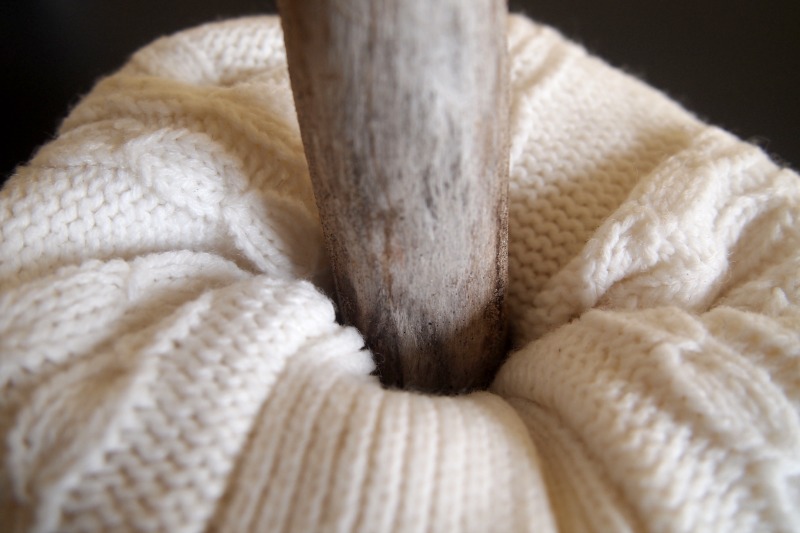
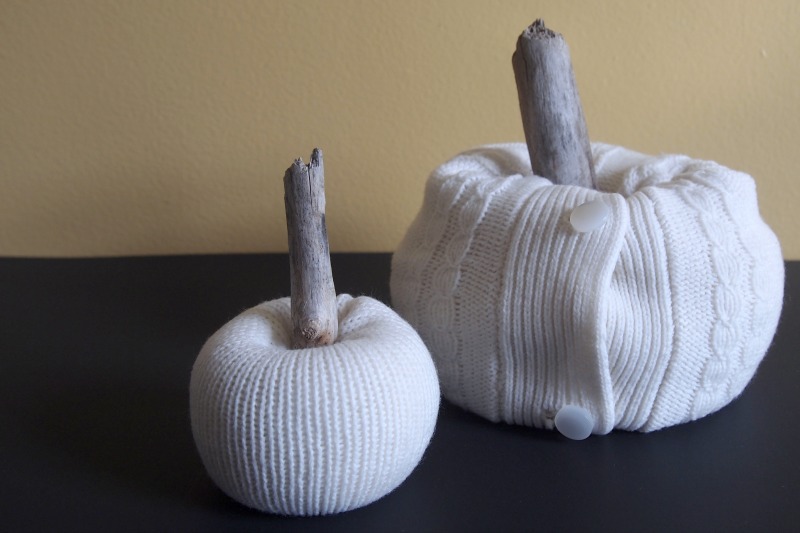
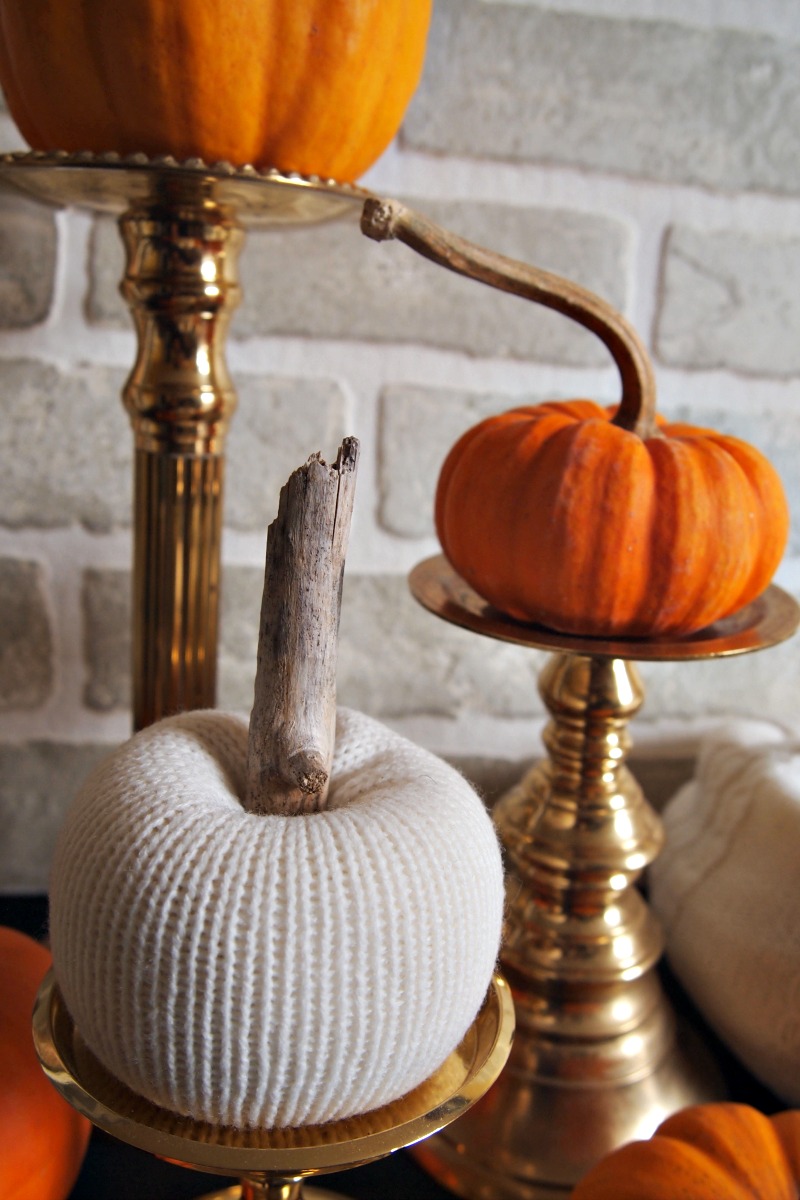
Now flip it over. The finishing touch is to add a little twig to the top. These were leftover from the driftwood candle holder, and I love their weathered look next to the white sweater.

Time to Roll Up Those Sleeves!
Now get back those sleeves you cut off and put one inside the other so it’s extra thick. You’ll also want to cut off about 2 inches from the cuff of the sleeve.

Now roll up your sleeve all the way – no need to just go halfway like with the sweater. This one you’ll want to roll tightly!

It’s trickier this time, but you’ll tuck the roll into itself again. I almost guarantee you’ll want to pin this one closed, but if you don’t, then I high five you! I needed two pins for this one!


Grab another twig and voila! You now have two white sweater pumpkins that don’t even look like they came from the same sweater, which I happen to like!

Blend em’ In!
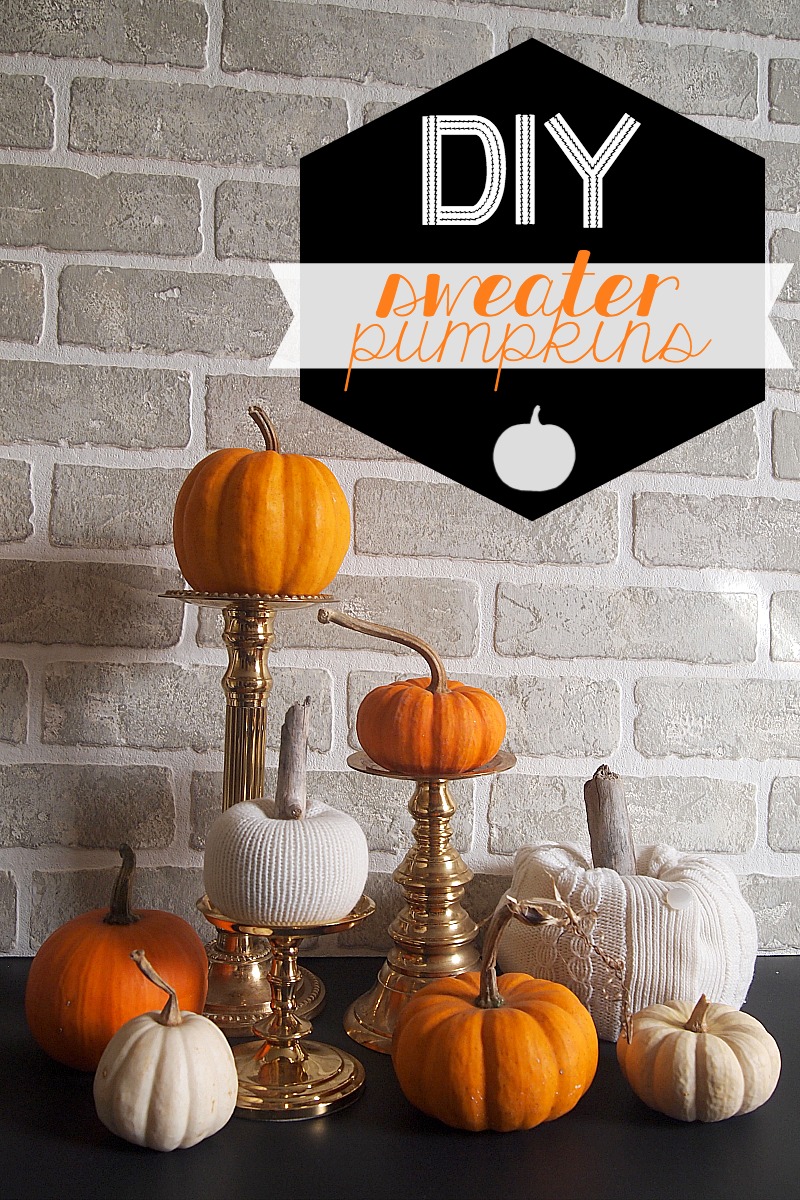
So how can you use these? Well, Halloween may almost be upon us, but Thanksgiving is also fast approaching, and I think these would make lovely decor for a table setting!

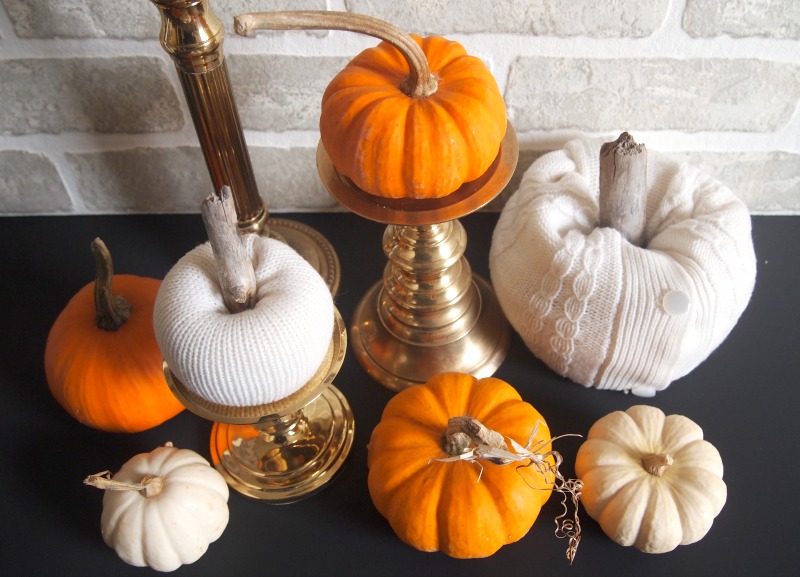
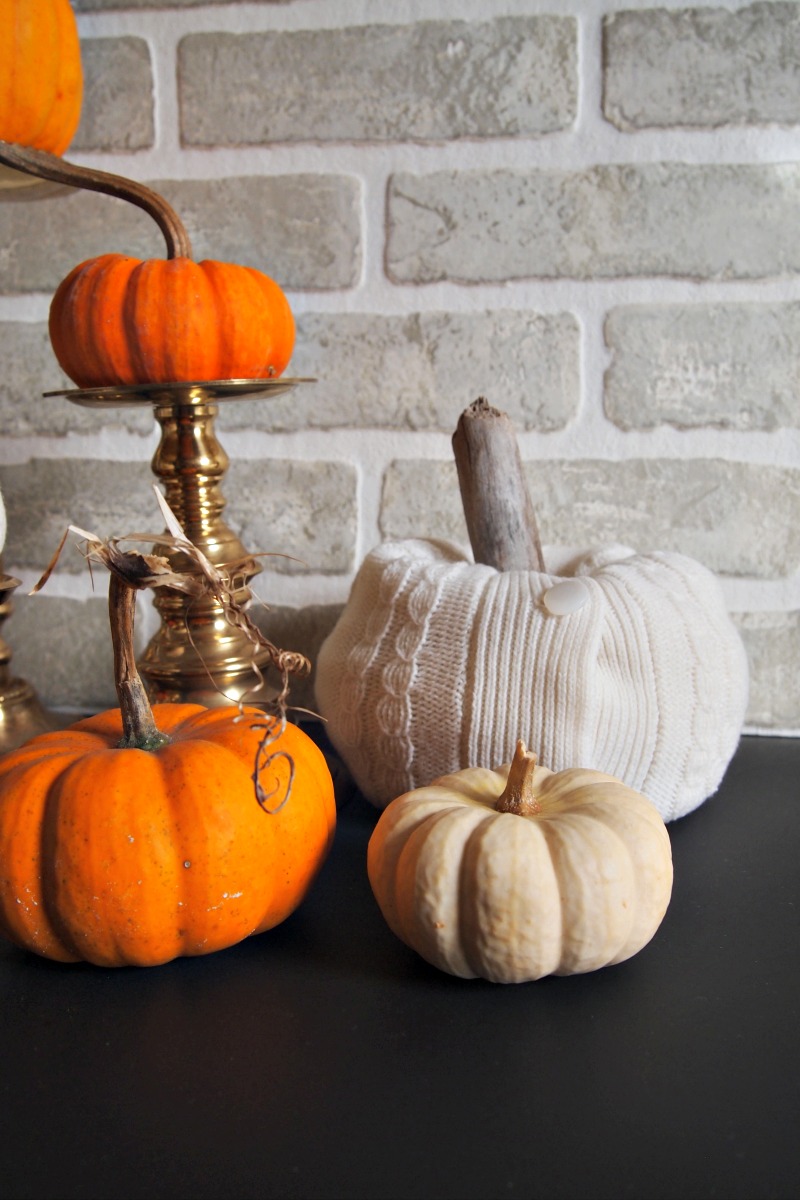
Mix them up with some real pumpkins, maybe even some candles? You can use them on a mantel, as a centerpiece, or just on your coffee table!

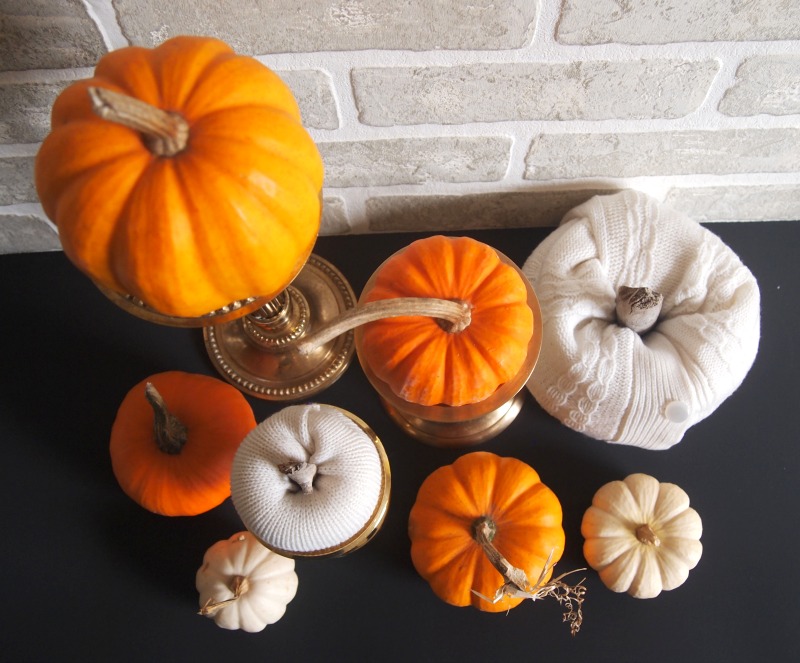
I love how they blend with the real pumpkins, and yet are different. It’s also great that unlike the real pumpkins, you’ll be able to use these again next year and you don’t have to worry about them going bad!

I love that the ribs of the sweater mimic the real ribs in pumpkins! As for the buttons, I like them too. Though obviously not part of real pumpkins, they’re a cute embellishment on these. You can always choose a sweater with no buttons, though!

So there you have it! A cute little project you can totally do last minute (if you need to), and you can even keep them for next year, so no last-minute crafts will be needed! Give it a shot!


