Did you catch Thalita’s post on DIY painted pumpkin ideas? ‘Tis the season to decorate fall produce! Yesterday I decided to embark on a little pumpkin painting project of my own, and today I’m sharing the results with you. This pumpkin decorating idea with geo flair proves that painter’s tape can be your friend. Not to mention, acrylic paint is an easy way to embellish your favorite pumpkin, especially when a hint of neon is involved. Read on for all the details…

The best part about today’s project color scheme is the way it blends well with classic autumn colors, such as orange. So get ready to create a fall vignette when you’ve finished the job!

Project Supplies and Steps
Here’s what you’ll need to get started:
- a white pumpkin
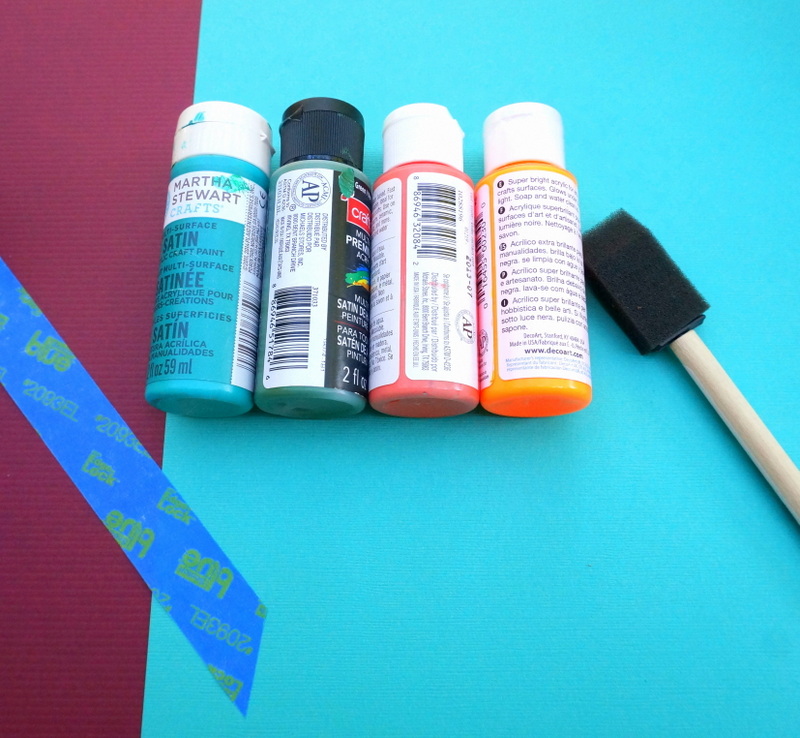
- acrylic craft paint in the colors of your choice
- foam brushes
- foil or another surface for pouring the paint
- painter’s tape
- scissors
- a skewer

Step 1: Use painter’s tape to create a series of triangles on the surface of your pumpkin.
Don’t worry about the tape being perfectly smooth as you create your design. As long as the edges of the tape are smooth along the areas you’ll be painting, all is well. Use thin painter’s tape, or cut each piece of tape in half to create thinner strips. This will ensure that there isn’t too much space between the triangles.

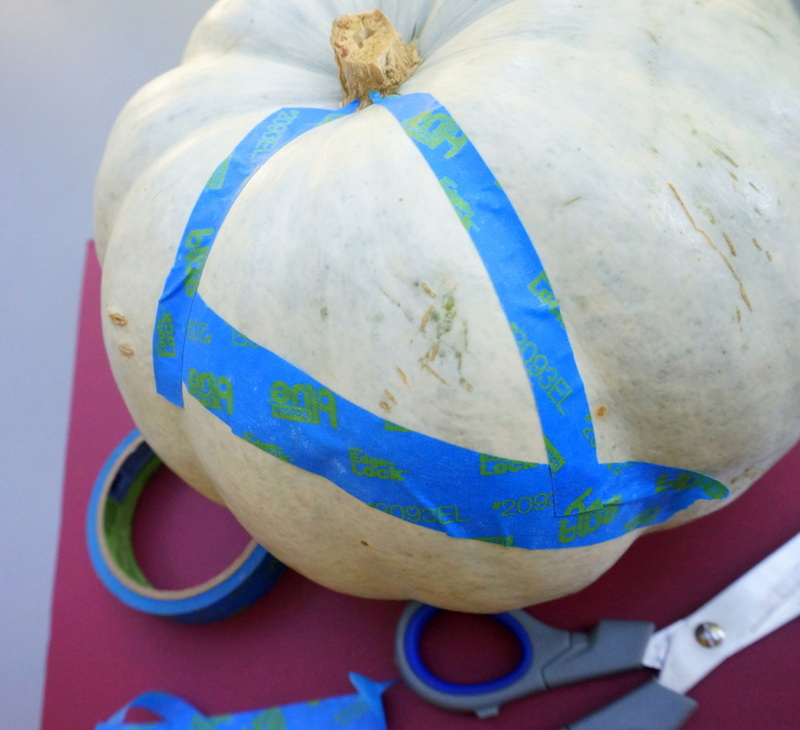
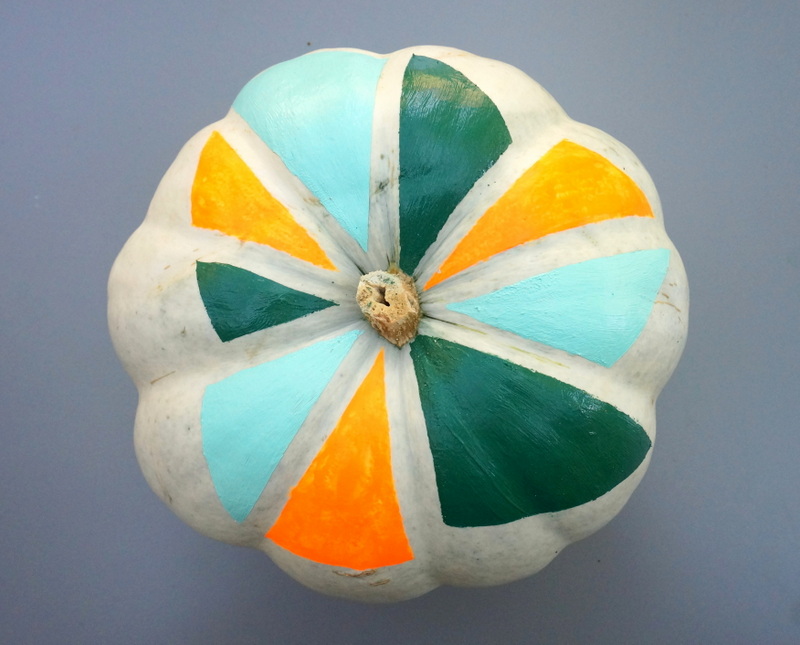
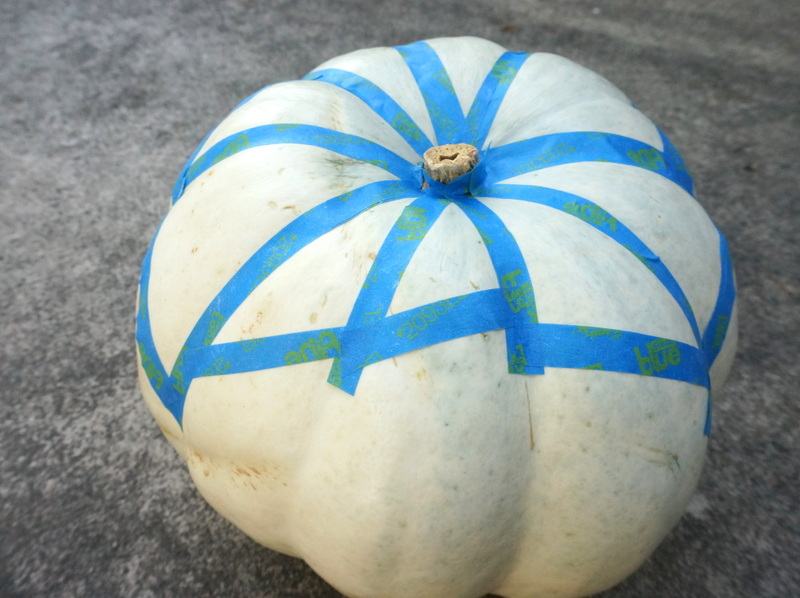
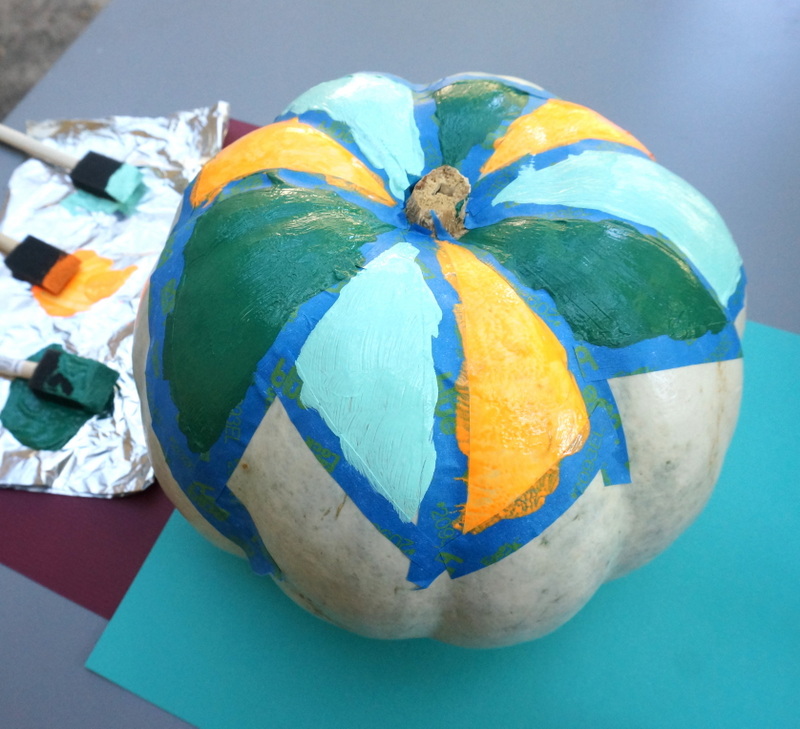
Here’s what my design looked like once all of the painter’s tape was in place. As you can see, the triangles are a variety of sizes, and many different angles are involved:

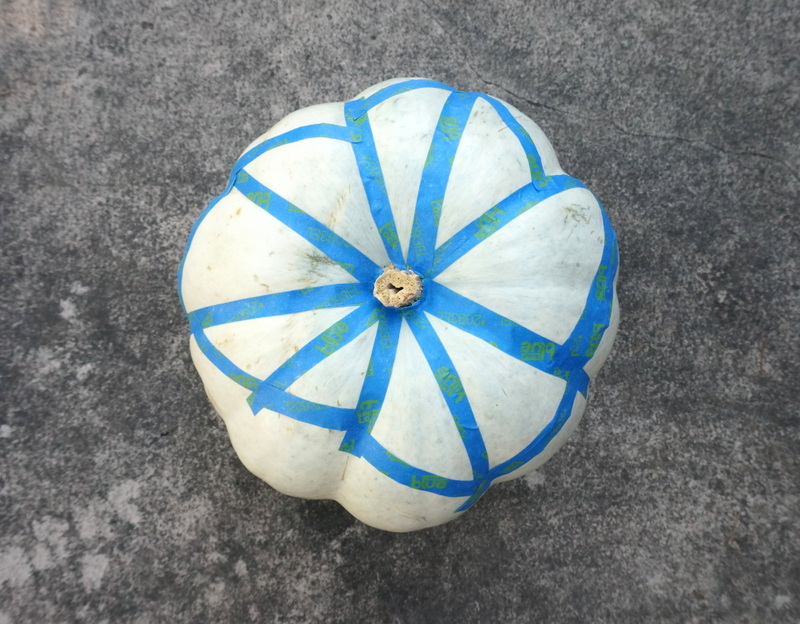
The stem of my pumpkin served as the center of the design. Since there will be white space wherever you see tape, note that no two triangles will be touching once you peel away the tape. I was totally OK with that, especially since the painter’s tape has a tendency to peel the paint away with it at times. It actually helps that you aren’t taping over painted portions of the pumpkin to create side-by-side triangles. In this case, distance is good!

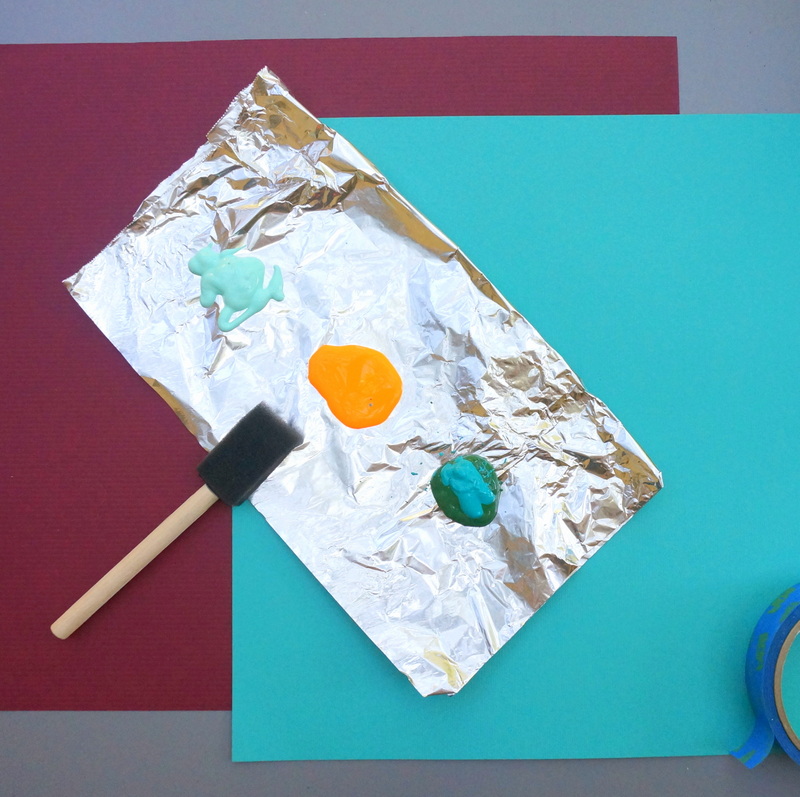
Step 2: Pour your paint, mixing colors if necessary.
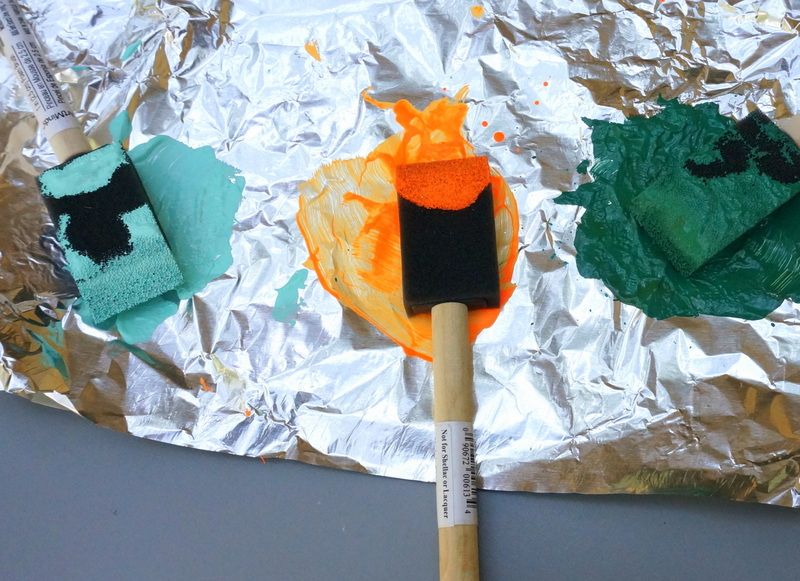
As you can see in the image below, I used three main colors of paint: mint green, neon orange, and a deep shade of green created by mixing teal and forest green. Aluminum foil was the perfect surface for pouring and mixing the paint. I ultimately used three foam brushes in this project–one for each paint color.

Step 3: Fill in the triangular areas with paint.
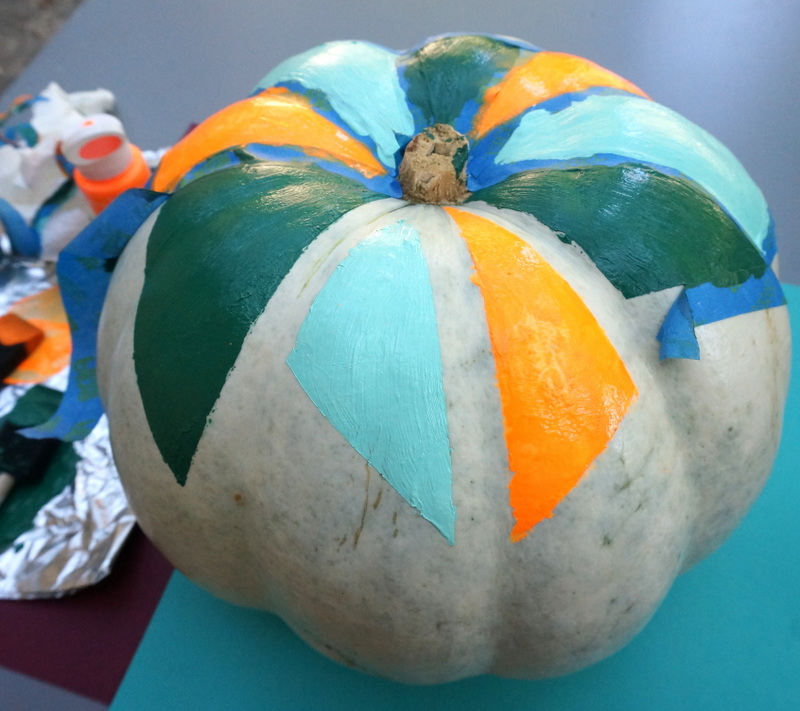
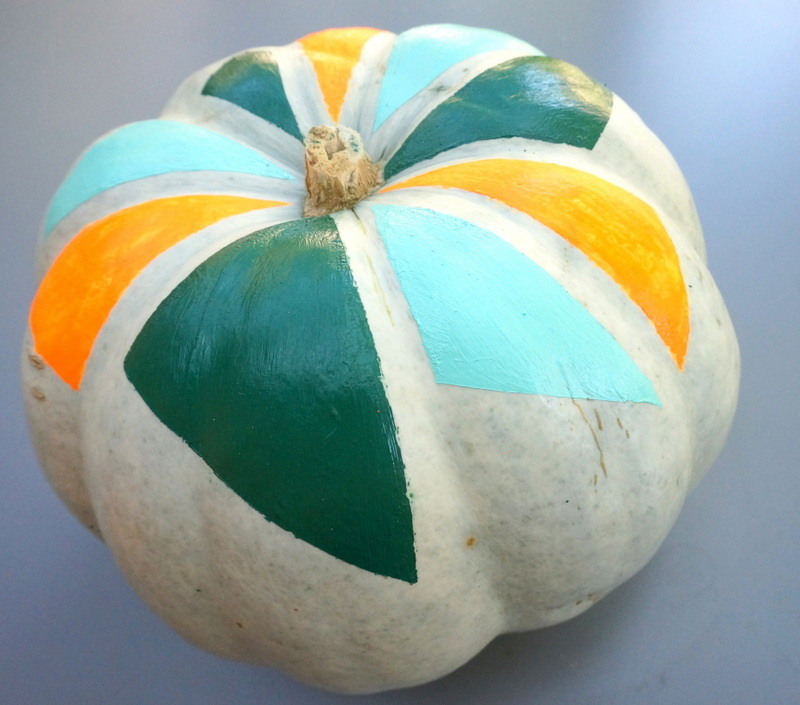
Since my pumpkin had nine triangular sections to be painted, I used three colors of paint–three triangles were filled with deep green, three with mint, and three with neon orange.

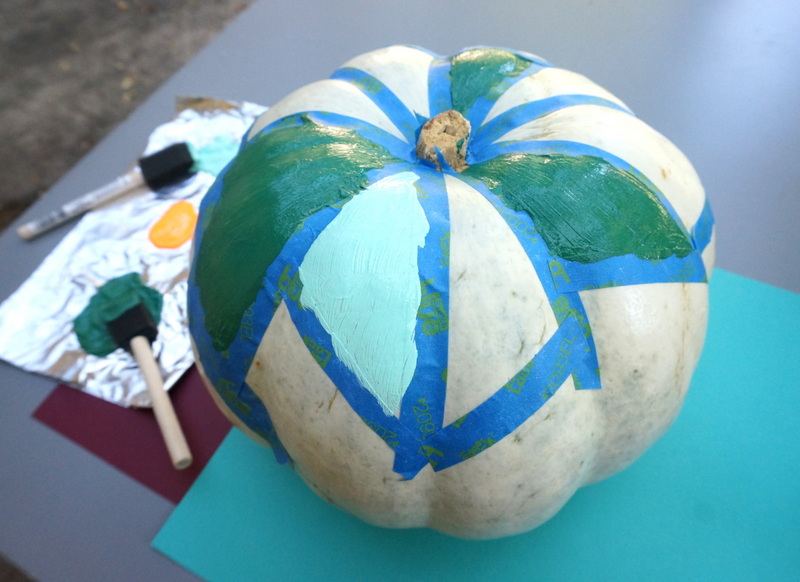
Here’s what it looked like once each triangle was painted. A word about paint coats: neon paint is often thinner than other shades. I used 3-4 coats of neon paint, while I was able to paint the green triangles in just two coats. The extra work was well worth it for a dash of neon flair!

My foam brushes definitely got a workout!

Step 4: Carefully pull away the painter’s tape to reveal the geo design.
A word to the wise: in order to complete today’s project, you have to make peace with the fact that the end result likely won’t be perfect. The painter’s tape may peel away a bit of the paint, even if you remove the tape while the paint is still wet (like I did). Don’t sweat it! Below I’ll show you how I cleaned up the design, flaws and all.

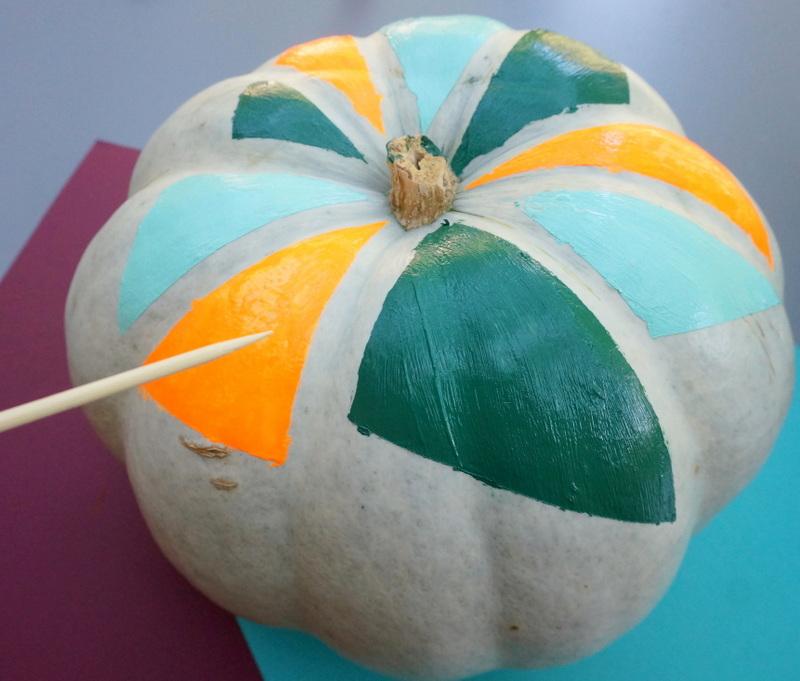
Step 5: Tidy up your design using a skewer and additional paint if necessary.
Yes, when it comes to this pumpkin painting project, a skewer is your friend. Use it to remove splotchy paint from blurry edges. Did the painter’s tape peel off some of your design? No problem! Use a foam brush dipped in paint to redefine the edges. I simply pressed the edge of the foam brush to the pumpkin for a quick fix.

As mentioned, don’t fret if your pumpkin isn’t perfect! The overall design will speak louder than any small inconsistencies. I was definitely happy with the results!

Displaying Your Painted Pumpkin
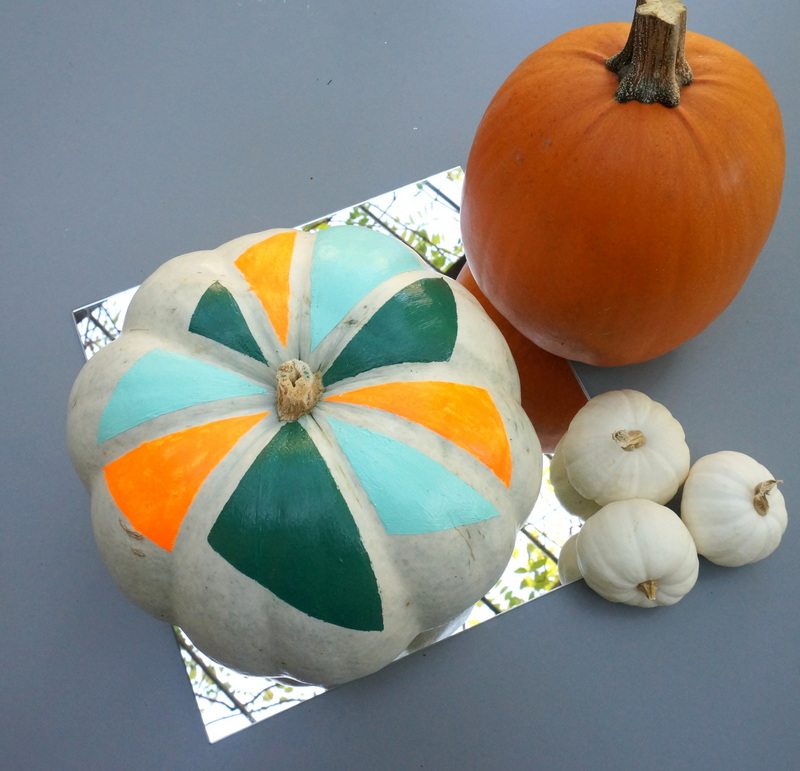
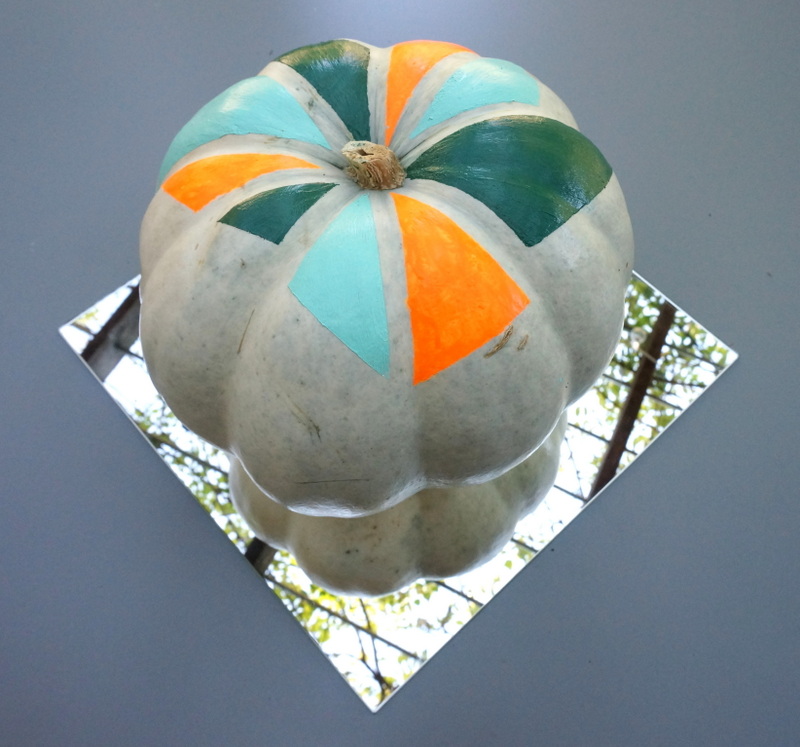
Just where will you display your geo pumpkin once it has dried? The choice is yours! I set mine on a mirrored tile and grouped it with other pumpkins, including a tall orange pumpkin and three white baby boos:


Have fun combining the pumpkin with a variety of fall produce options, including squash. Once your creativity is unleashed, the sky is the limit!


While a vignette can be unforgettable, this pumpkin is also striking enough to be displayed on its own. The best part: since it’s not Halloween-specific, you can enjoy it throughout Thanksgiving as well.

Thanks for joining me on my latest DIY adventure. Wishing you a vibrant, festive fall!…


