It’s that time of year when all of the lovely things you have planted outside start to wilt and slowly die, hopefully to come back after the long and excruciating winter! Ok wait a minute…this sounds like a really negative post!
It’s not. I promise. I’m about to show you a way that you can bring some of those lovely things you planted indoors to keep them with you all winter long! This won’t work for everything you planted, but for the smaller stuff (like herbs) this is perfect!

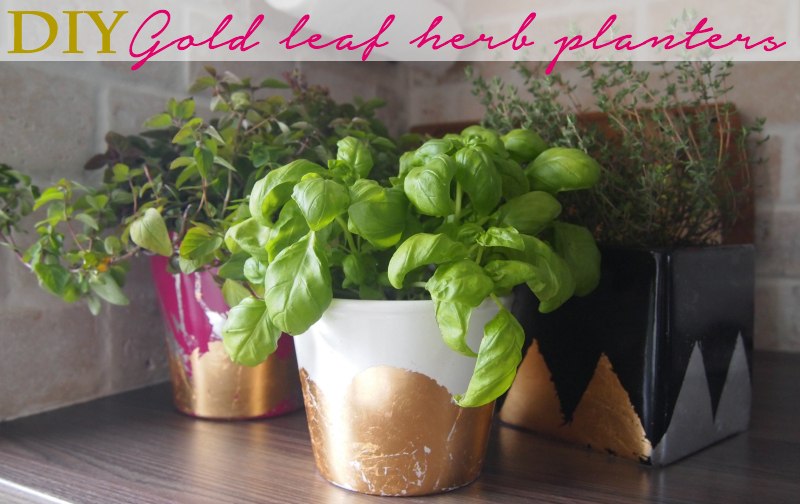
Bringing Greenery Indoors
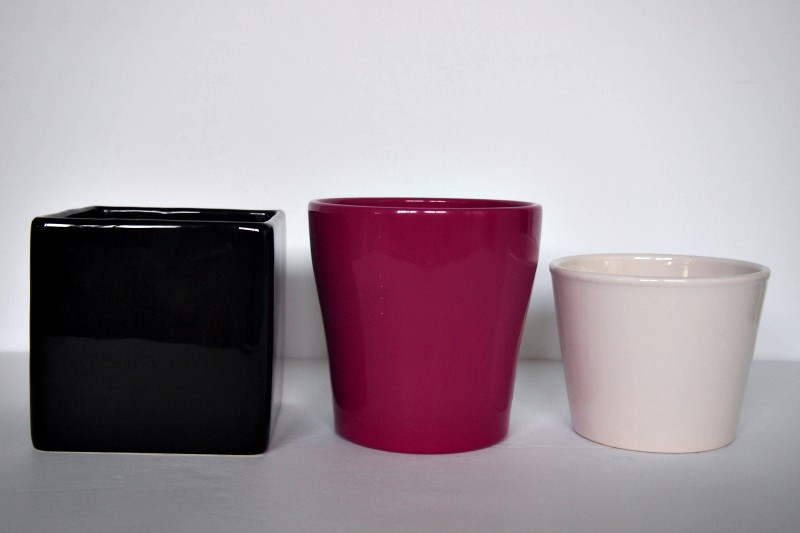
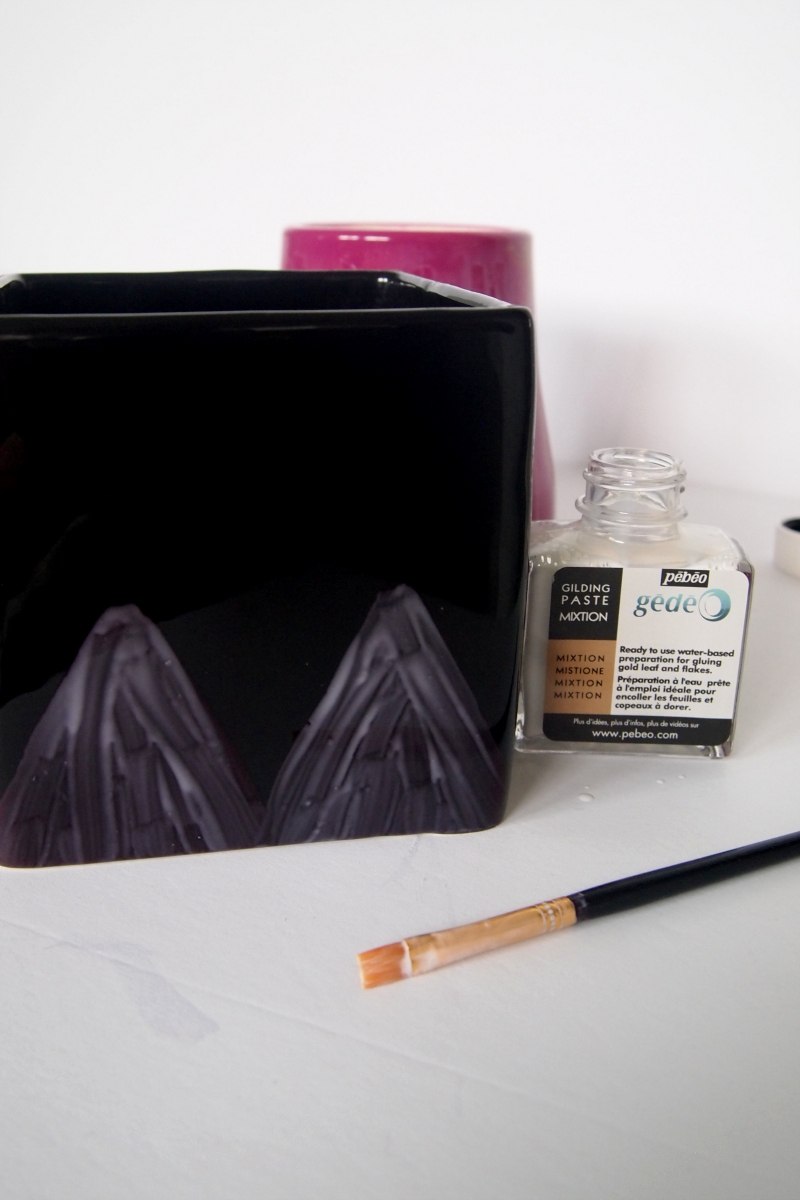
These planters were all thrift store finds, so they didn’t cost very much, and I love that they’re all different shapes and heights. The thing that brings them together is their texture – they’re all glazed porcelain. Since I wanted to display them together, having some similarities was important.

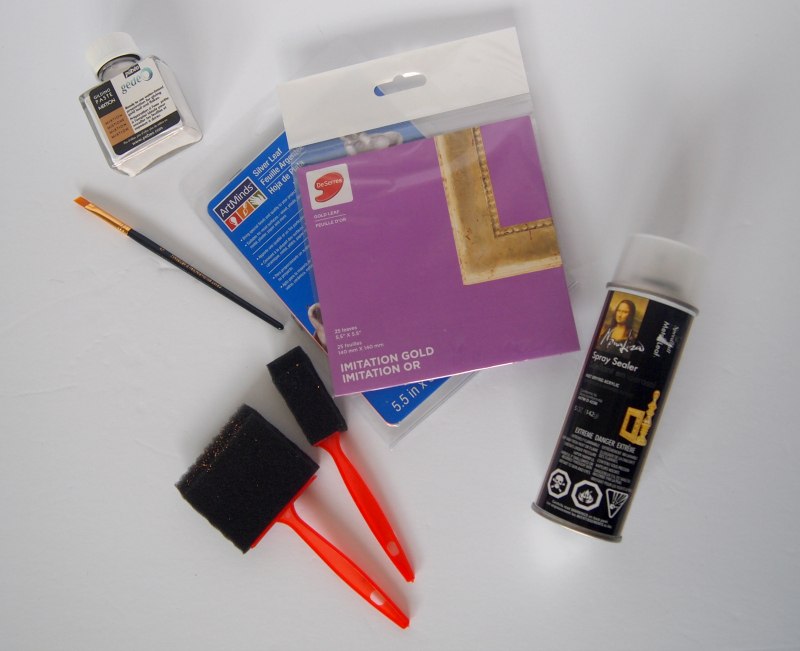
As far as other materials go, I used both gold and silver foils for this, which means I also needed foil adhesive, and I also used a protective spray. The small bristle brush was for applying the foil glue, and the foam for application of the actual foil.

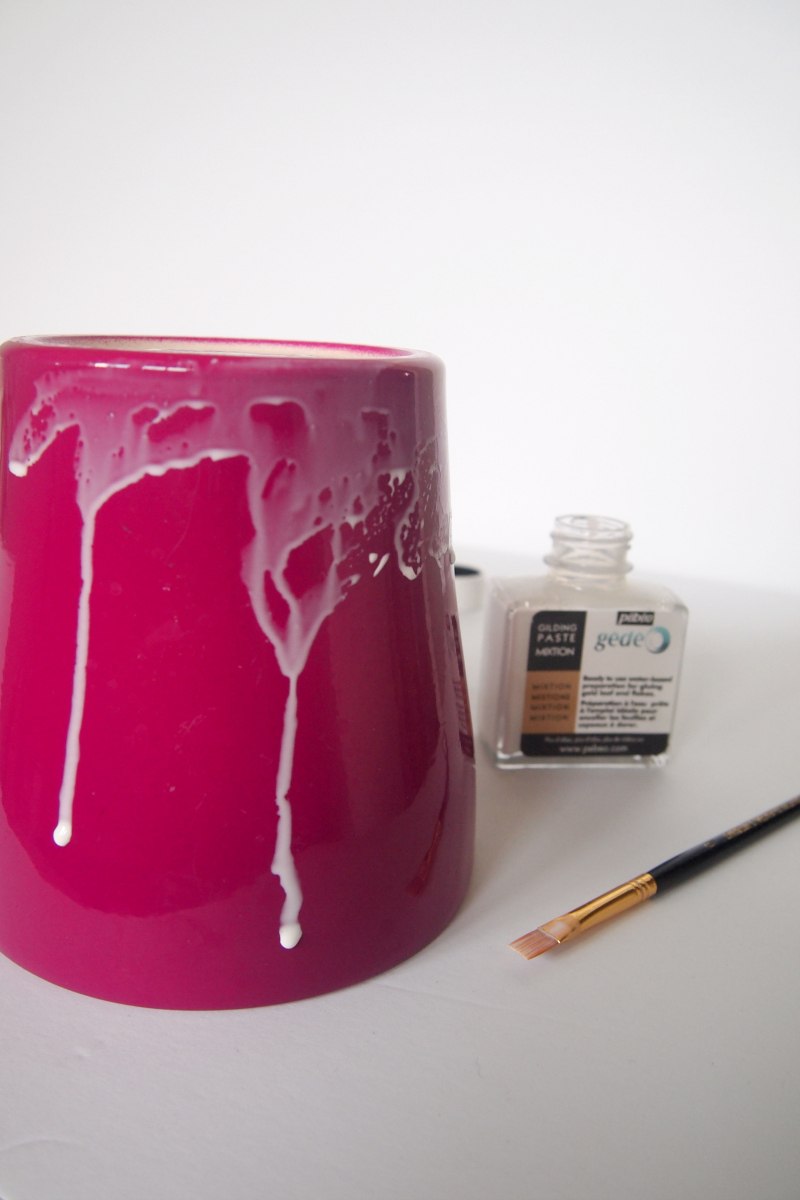
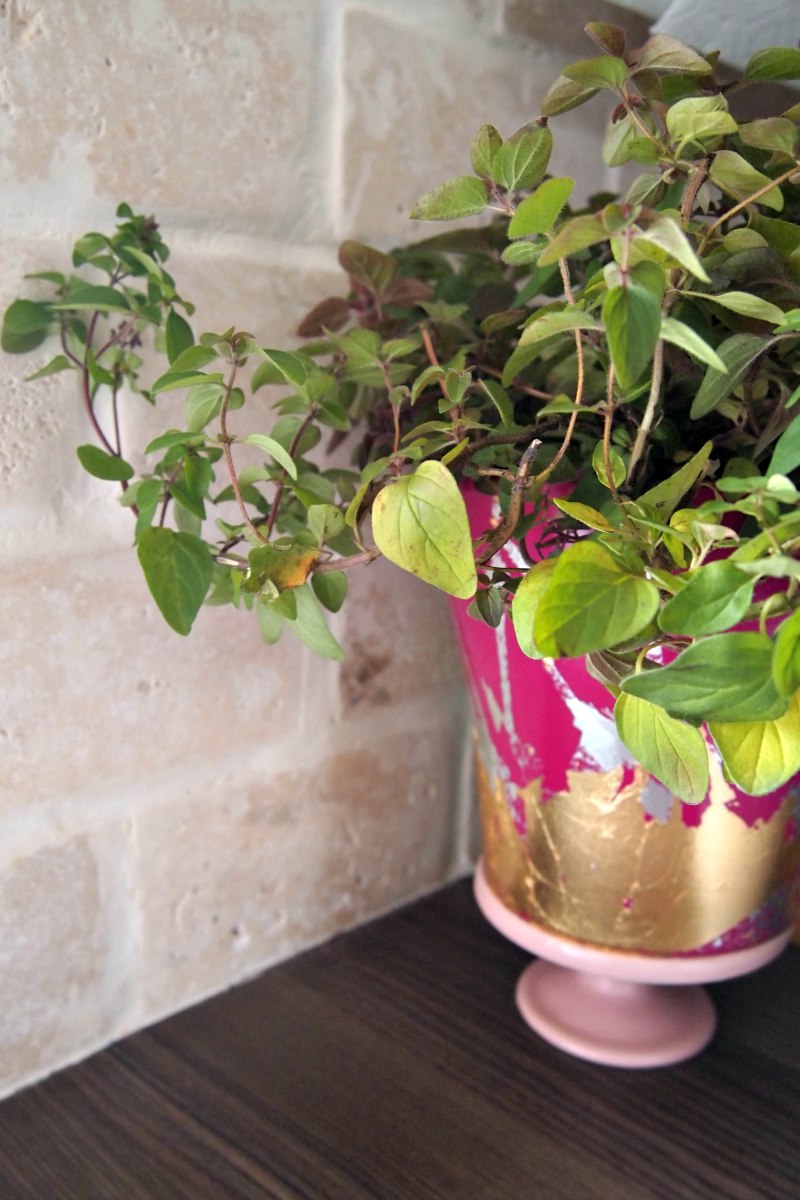
For the pink planter, I simply dabbed glue onto the surface and let it drip. I tipped my planter upside down for this to get a reverse-drip effect, and because I wanted the foil mostly on the bottom.

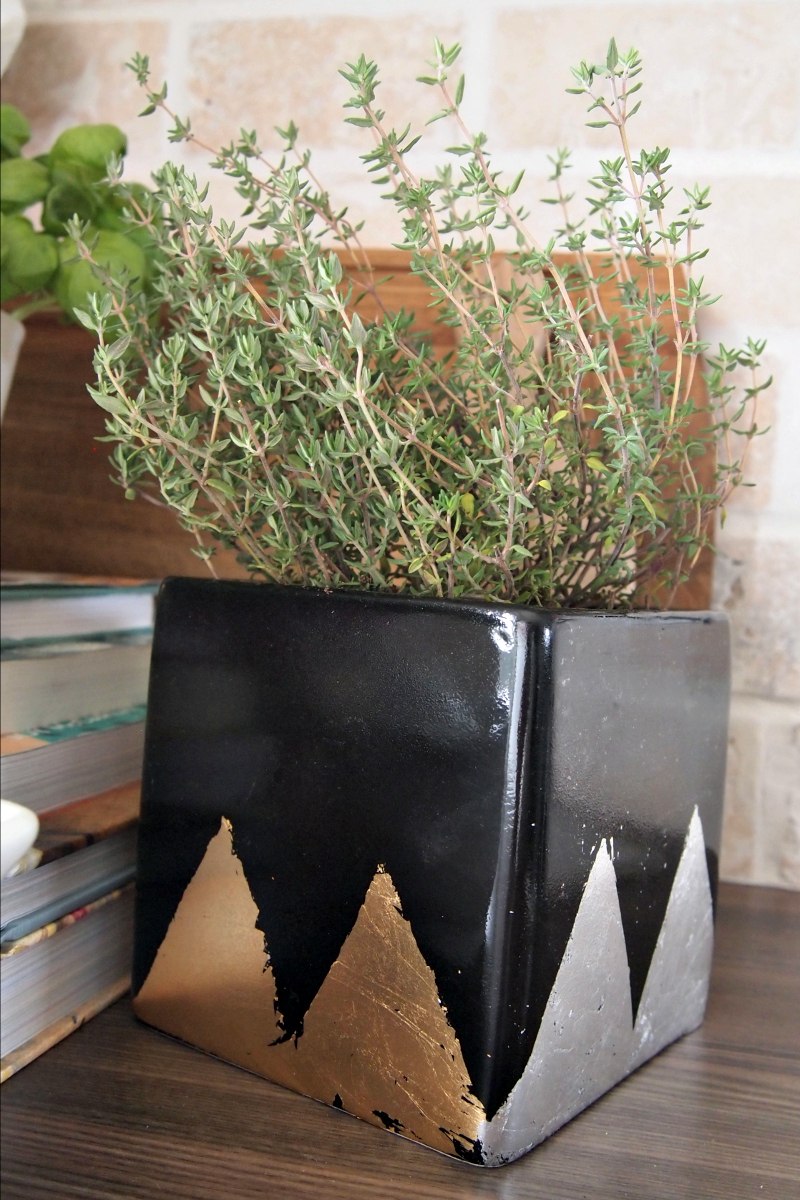
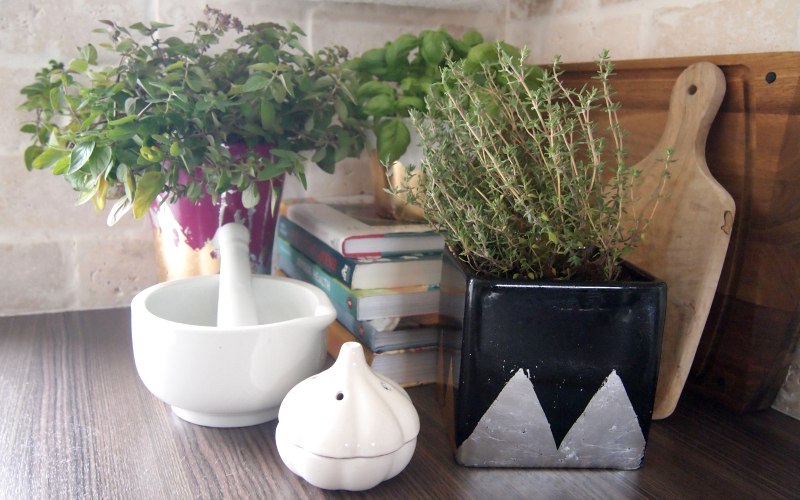
The black and white planters were slightly more meticulous. I painted on a geometric pattern – scallops on the white one and triangles on the black.

The glue needs to sit for about 15 minutes or until it starts to feel tacky. Now you’re ready for foil!
Gold and Silver Glint

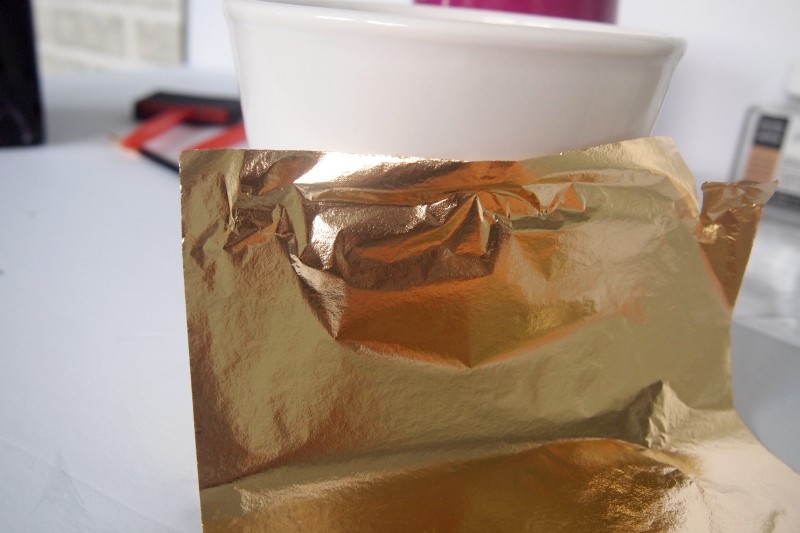
Carefully apply a foil sheet to your first planter and use the brush to make sure the foil touches every part of the tacky surface. At this point you’re brushing very softly, just to get the foil to stick.

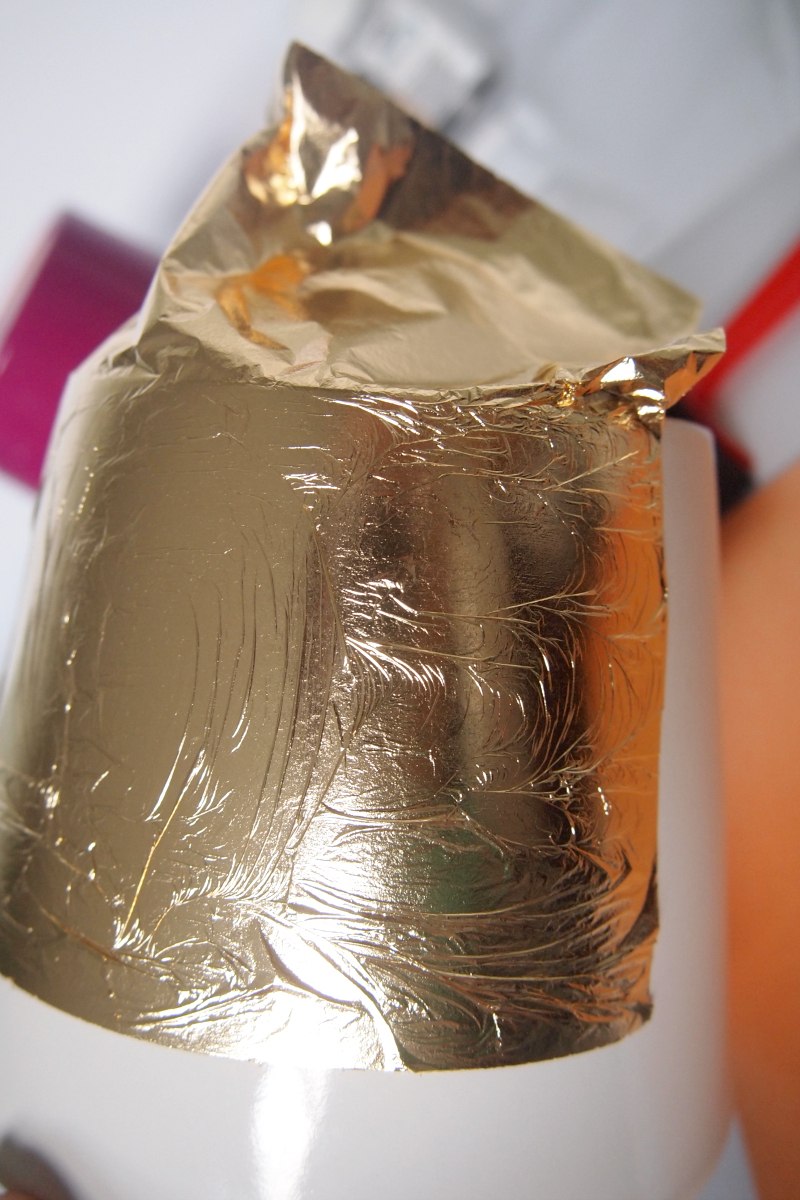
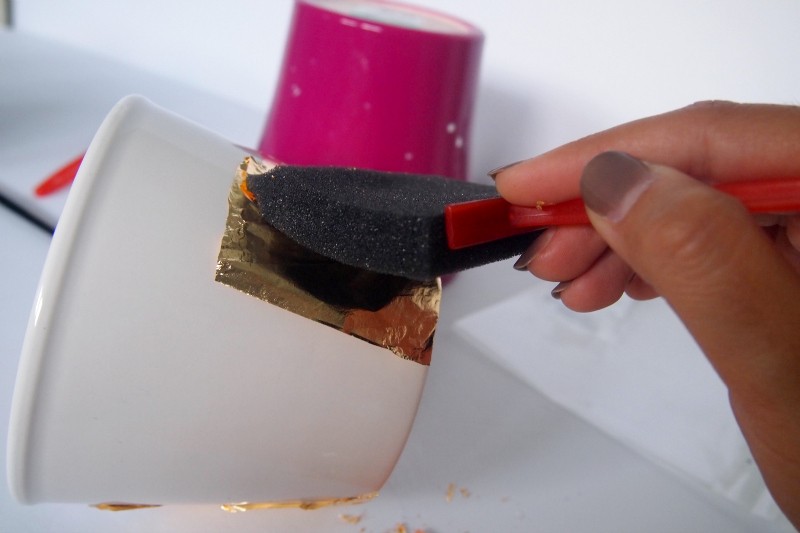
Once it’s all there, you can start to brush a little harder so that the foil not on a sticky surface can come up. If you remove it very carefully, these pieces can be reused.

Once I had every planter done, I put on a coat of the protective spray. Use the spray sparingly, as too much of it will cause some bubbling and it may even peel off later. There was slight bubbling on the black one, but I don’t mind the new texture it gave the planter!

Your final step is to actually get some planting (or replanting) done! I used some fresh soil for the herbs I had growing outside and made sure to water them right away.

Eccentric Mix of Patterns
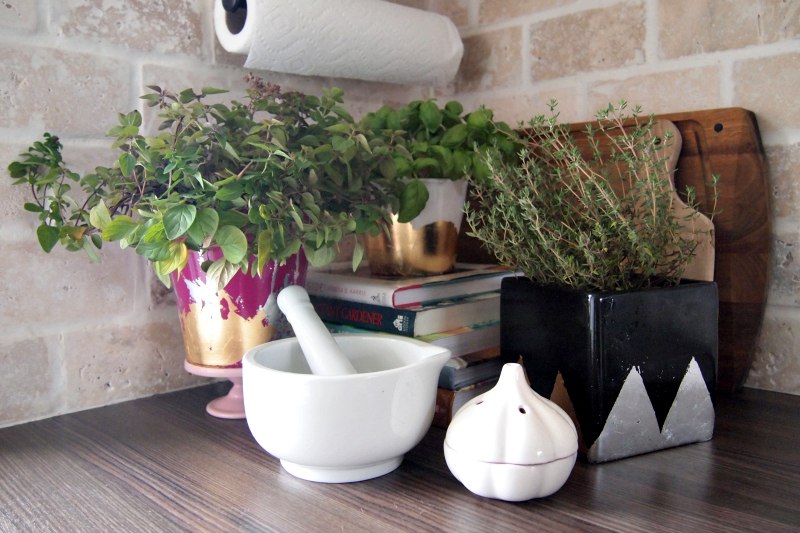
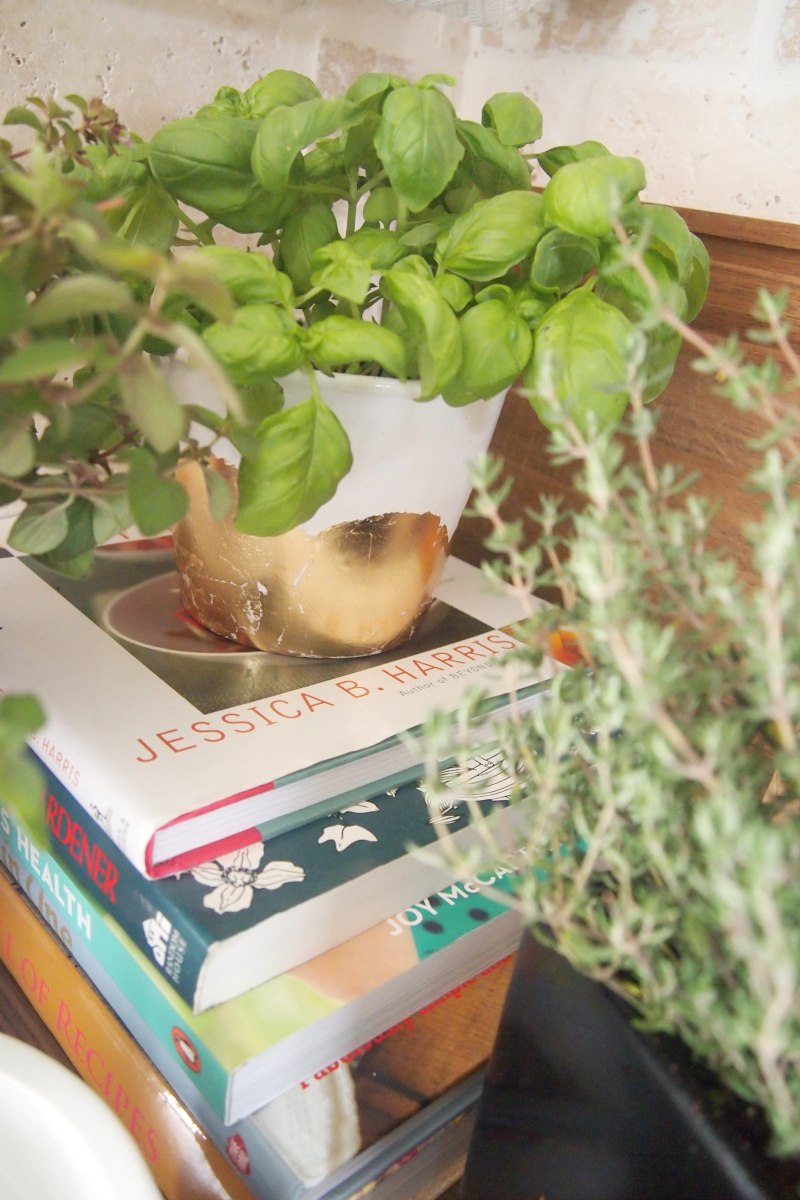
I love the textures, colors and sheen of the planters on my kitchen countertop! Pairing these with some cookbooks and warm wood cutting blocks is such a fun and eclectic mix. All of the texture is just so great together!

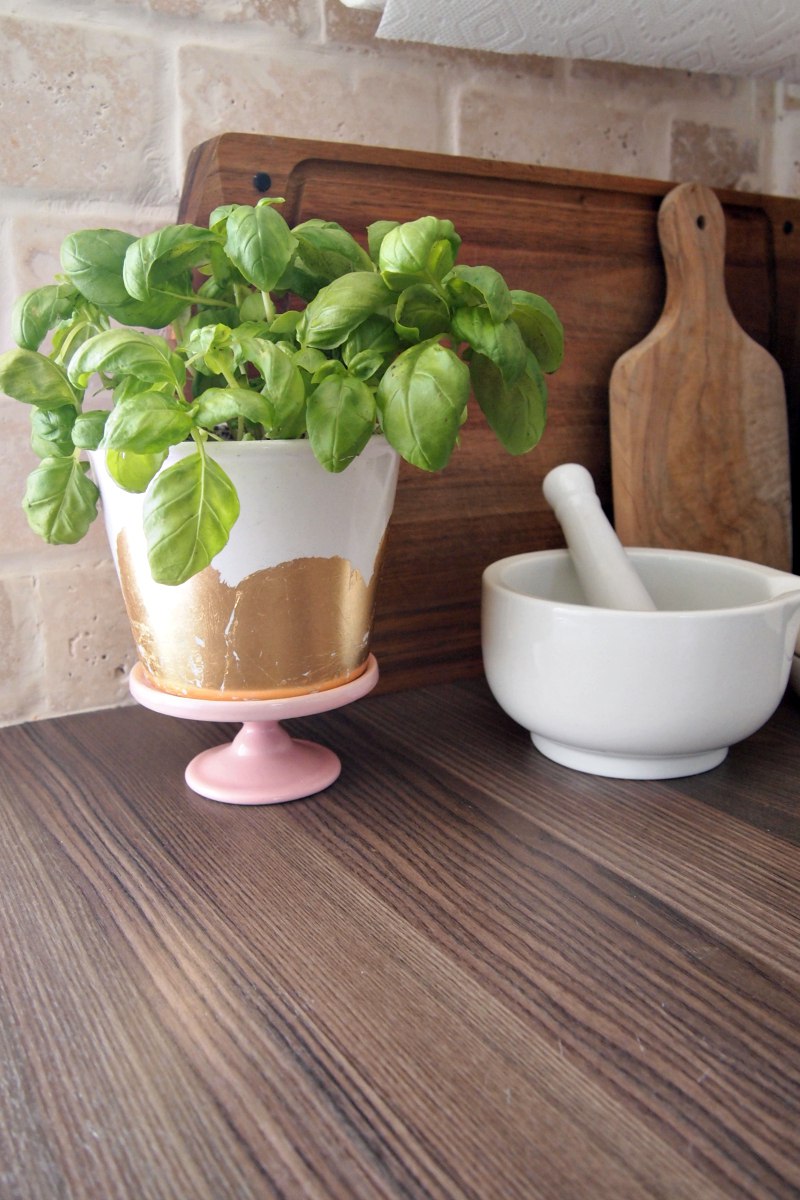
I tried the basil and the oregano planters on this cute little pink cupcake pedestal, and I’m sure this will be interchangeable with time! It’s great to find a new use for something which I honestly don’t get to use very much otherwise. I mean, how often do you need to put a cupcake on its own pedestal?
I have kind of an evolved love relationship going on with gold and metallics in general, so it’s no surprise I chose them for this project too! I especially love them together on the pink planter!

Every angle of the planter is different, and I used both silver and gold on the black planter also. This way I can either have both showing, or just one of them.


I also experimented with these in different places and different compositions as you can see. Maybe it’s just me, but I find that things in the kitchen (more than any other room) tend to change a lot! Things get moved and removed constantly!

I strongly suggest you try out this project for two reasons: 1- Obviously because the planters are super fun to make and adorable! and 2-The smell of fresh herbs in your kitchen is just oh-so-wonderful!!

So what do you say? Bring in those little herbs before it’s too late! Oh, and if it’s already too late, or if you didn’t get to plant any herbs outdoors this year, don’t worry – herbs are the easiest things in the world to find and plant. Heck, even your grocery store might sell them, so you have no excuse, ok?
Until next time!


