Today we shine the spotlight on modern trellis design, as I share an easy DIY project that can be completed in a couple of hours. With a few simple supplies, such as all-weather vinyl fabric, you can punctuate a drab trellis with the color of your choice. Kate here, and for my project, I stuck with neutral tones:

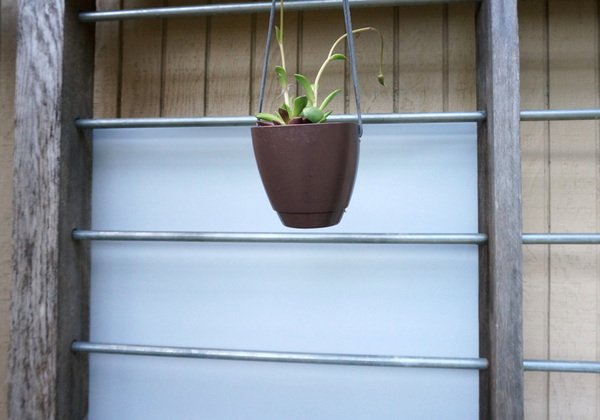
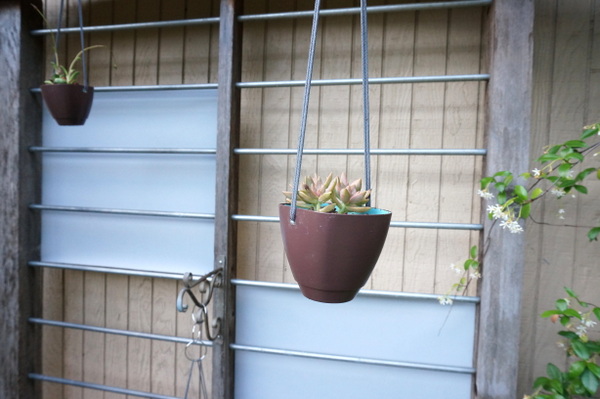
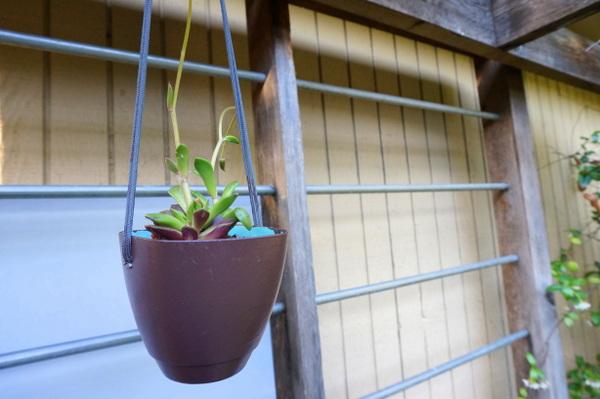
But before I get ahead of myself, let’s rewind! Remember the DIY hanging planter project I created earlier this spring? You can see the finished product below, but pay special attention to the background…


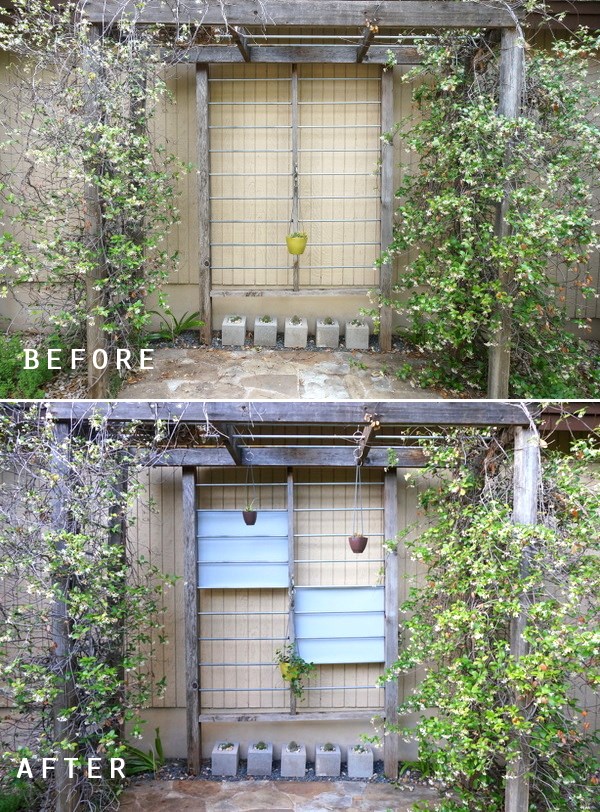
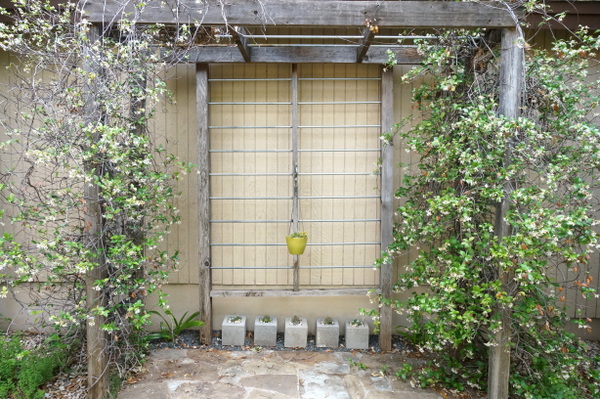
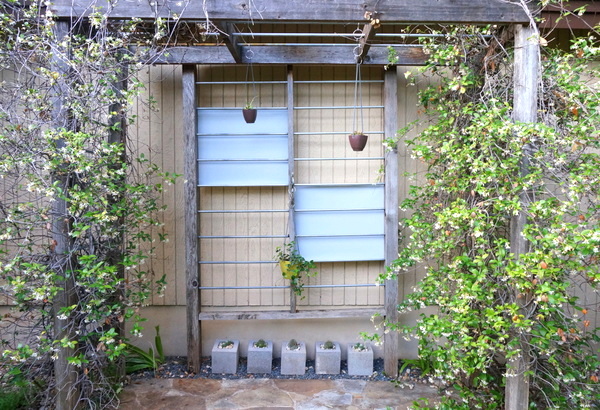
This is the modern trellis in my backyard. I absolutely love it, but it sits against the back of my neighbor’s house. In fact, our entire backyard faces my neighbor’s home, which creates a tan wall that spans the length of my outdoor space. That’s a lot of tan, people! We have jasmine growing up the sides of the trellis, but the lack of fertile ground below the trellis’ center makes planting new vines a bit tricky. In other words, the back of the trellis is rather bare. Again, that’s a lot of taupe!
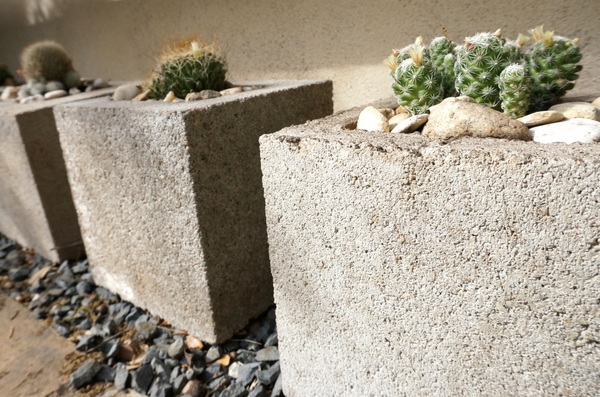
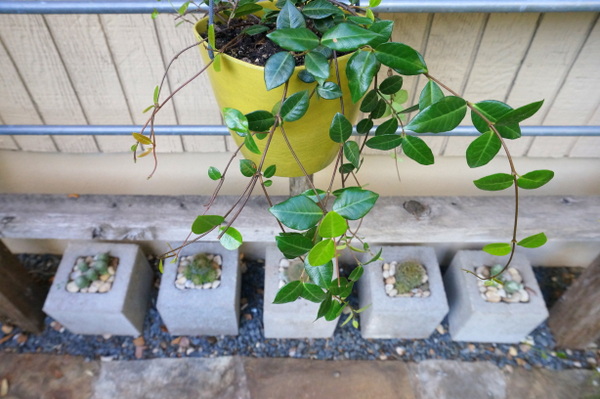
I’ve tried to break up this beige by adding heavy doses of gray to the yard. Like the cinder block planters below, which are super affordable–they provide an instant dose of modern style!

And the basalt gravel walkways:


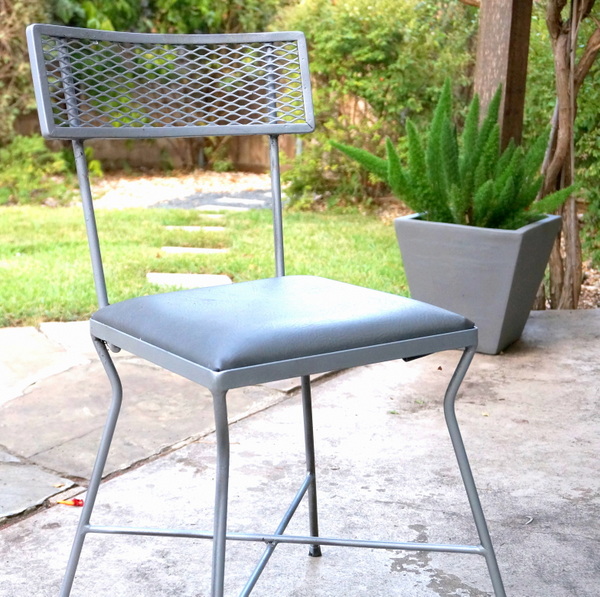
And the chairs upholstered in gray fabric:

Can you tell I like the color gray for outdoor spaces? I know–this yard could use a big dose of color! I actually prefer to let the plants steal the show while keeping everything else rather neutral. But I think we can all agree that the trellis was in need of some TLC. Here’s another “before” shot…

Getting Started
Now let’s talk about my inspiration for the project. As noted above, I’m very drawn to combinations of neutral tones, but I’ve recently come to realize the importance of contrast, created through a juxtaposition of dark and light. Although the trellis in the yard below (designed by Webber + Studio) is overhead rather than against a wall, it perfectly showcases the look I love. [from Paul Bardagjy Photography]

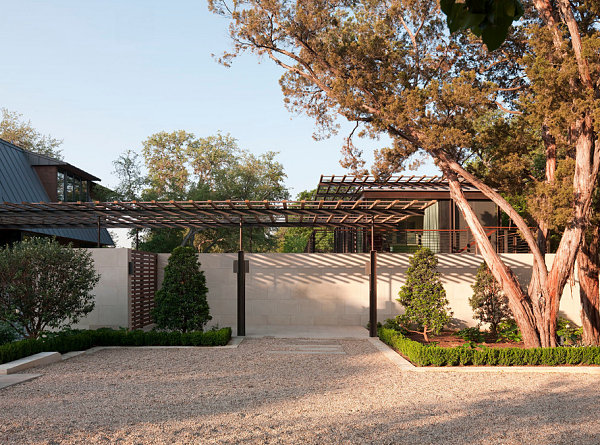
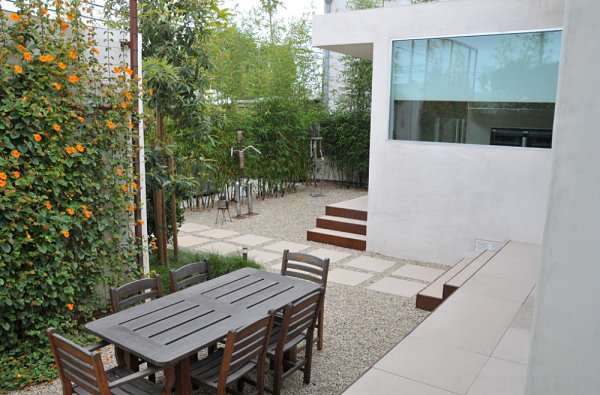
Note the use of mild neutrals, contrasted with the rich tone of the metal trim. The accent color is a deep reddish brown, which perfectly offsets the lighter shades. Here’s another outdoor space with a similar look: [from SB Garden Design]

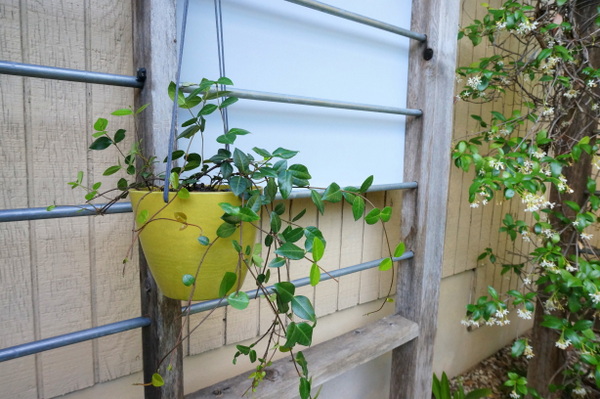
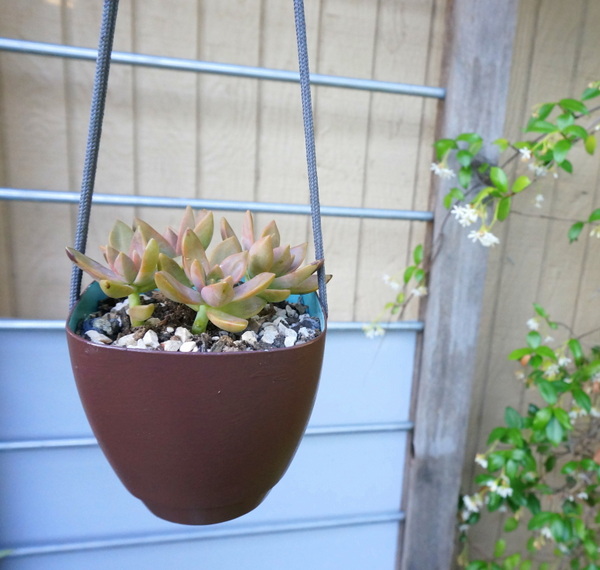
Now take a look at a couple of shots from my yard, after the trellis transformation. I will continue to embellish this space, but I’m happy with the initial effort:

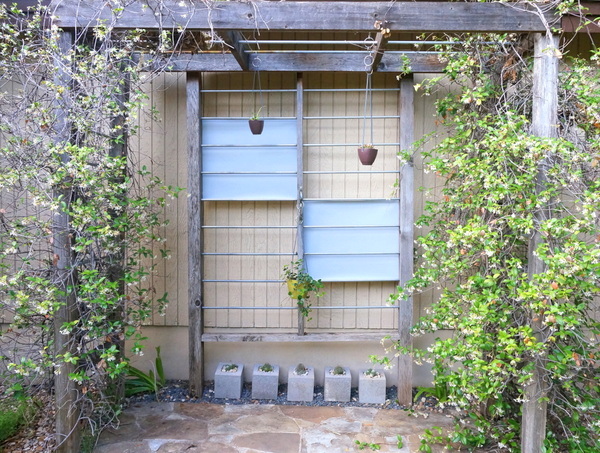
As you may have noticed, I repainted the outside of the small aqua hanging planters to create contrast and add depth through the use of rich color. As shown below, I left the inside of these planters aqua.


Trellis Makeover Supplies and Steps
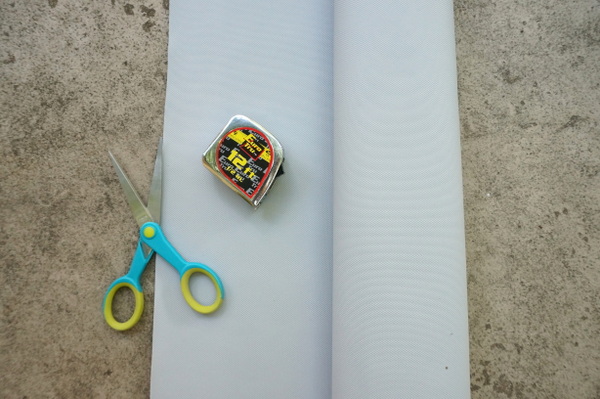
Ready for some project details? Here’s what you’ll need to get started:
- vinyl fabric suitable for outdoor use
- scissors
- a tape measure
- a yardstick
- a pencil
- tacks or small nails

You can choose any color for the vinyl fabric. At the store today, I browsed a variety of shades, from bright yellow and vivid teal to muted grays and browns. Ultimately, my love of subtlety won out, and I went with a light shade of gray!

You may also want to purchase or make a hanging planter or two. Since today’s project is mostly appropriate for sections of your trellis where vines will NOT be growing, added greenery is always welcome!

See the gray vinyl behind the planter? It’s vinyl fabric, stretched across the width of the trellis and tacked to the wooden beams. That’s it! Simply measure the area of your trellis that you want to embellish, use a yardstick to neatly measure and cut the vinyl so it will cover the desired area, and then secure it to the back of your trellis with tacks or nails.

Once you’re done, it’s time to add the plants! Cascading greenery is the ideal dramatic touch. This is a trellis, after all!

For my project, I opted for two vinyl panels that offset one another in their respective sections of the trellis. However, you can get creative by covering more surface area and adding multiple panels in various colors.

You can also have fun choosing plants to fill the space. Since filled planters provide an instant dose of greenery (unlike vines, which take some time to grow up the length of the trellis), the plants you add to the vignette can really make the area special.

Don’t hesitate to add some plants to the area below the trellis for even more greenery. For example, I’m considering adding a pedestal or table to the ground near the less abundant side of the trellis. After the jasmine is finished blooming, the left side will look a little sparse.

How will you personalize this project to make it your own? Thanks for joining me on my trellis makeover journey!


