Taper candles have traditionally been associated with vintage decor and the Victorian era design trend. They have long been a pop culture symbol in tales of ghosts and witchcraft, collecting at shrines and suspended in the halls of extravagant old mansions. The past year has witnessed a resurgence of taper candles as designers have started using them as decor pieces in modern homes.
No longer are designers keeping the long, skinny shape of the candles though. Their shape makes them easy to modify and mold their shape. Advancements in technology have changed the traditional taper candle from plain white wax and brass stands to multicolored waxes with a preference for minimalist decorative stands. Decor lovers have embraced pastel and ombre tones in the wax, as well as organic lines and curved shapes, challenging the notion of what we understand a typical taper candle to look like. Check out these examples of modern taper candles that are available for purchase:

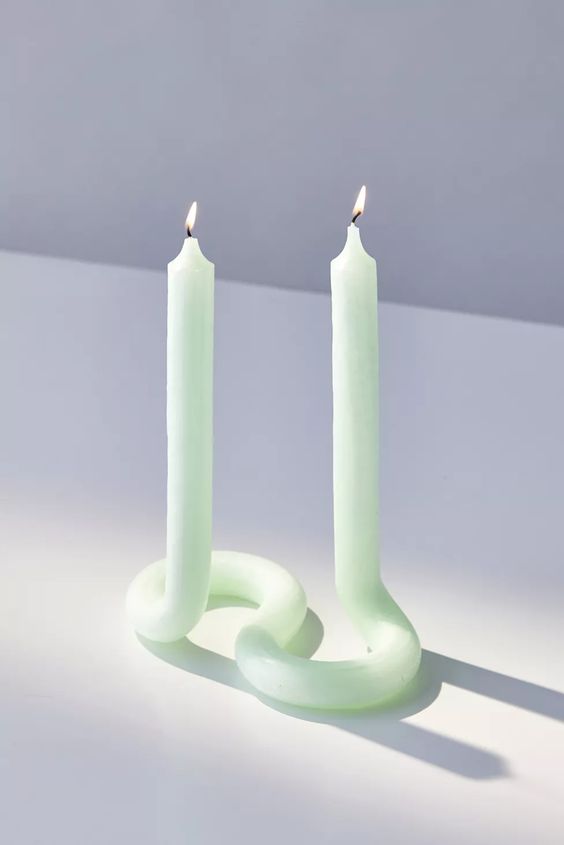

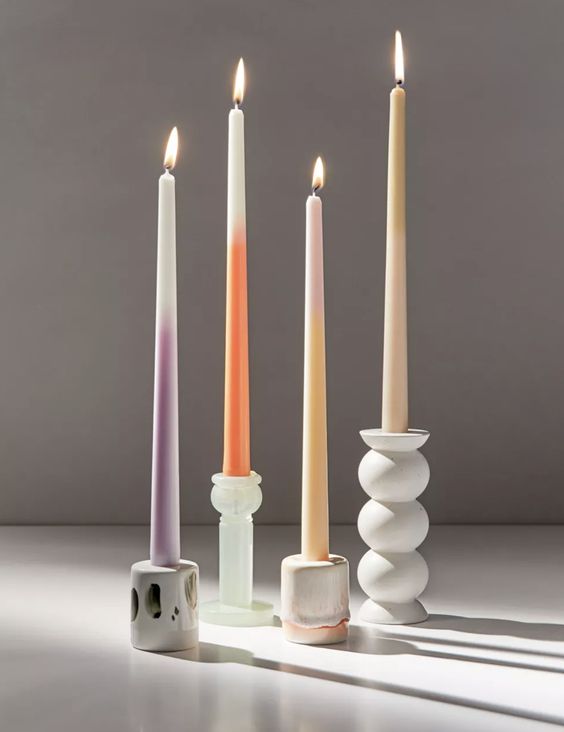

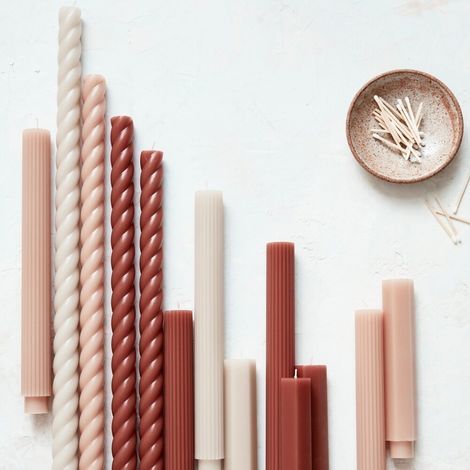
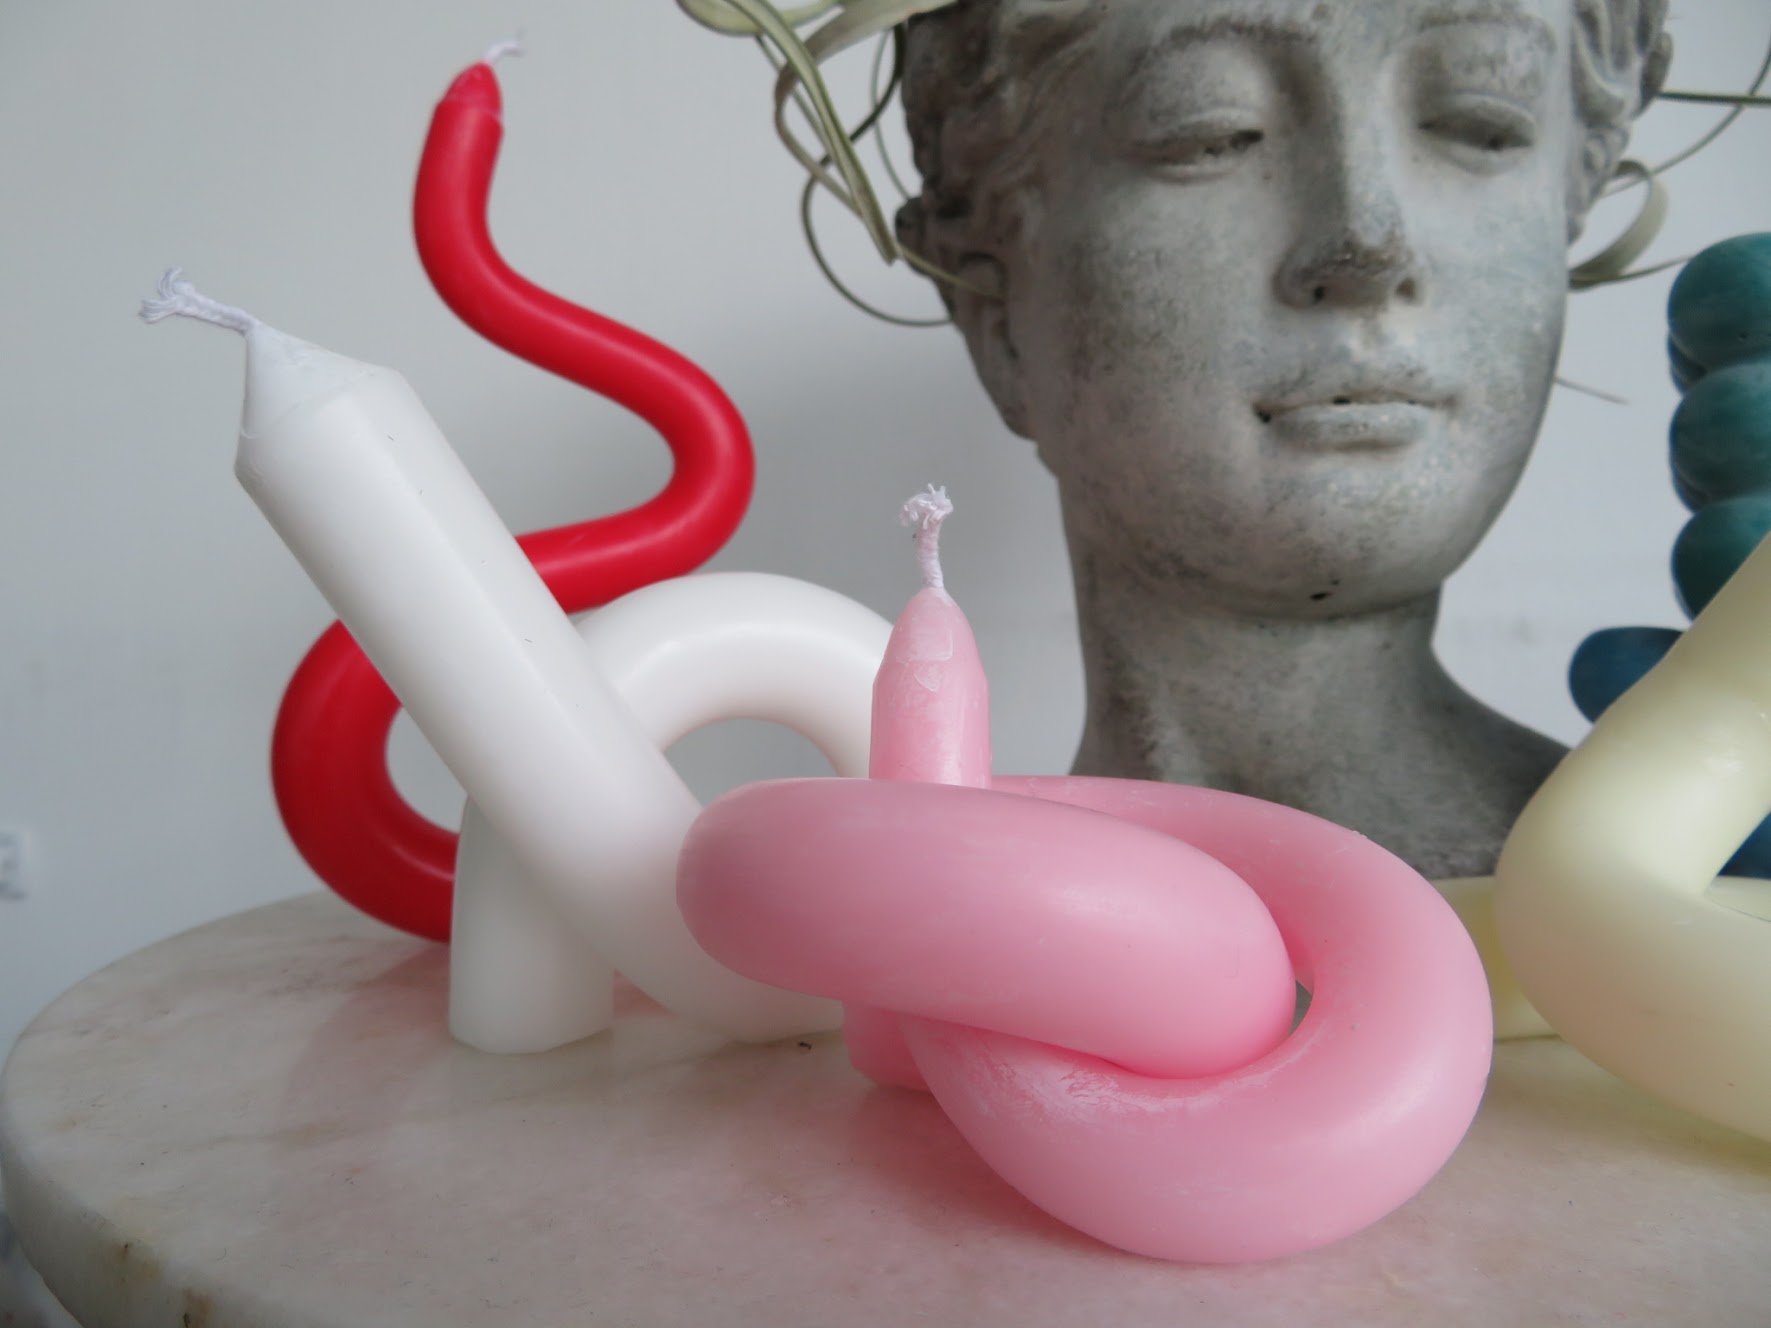
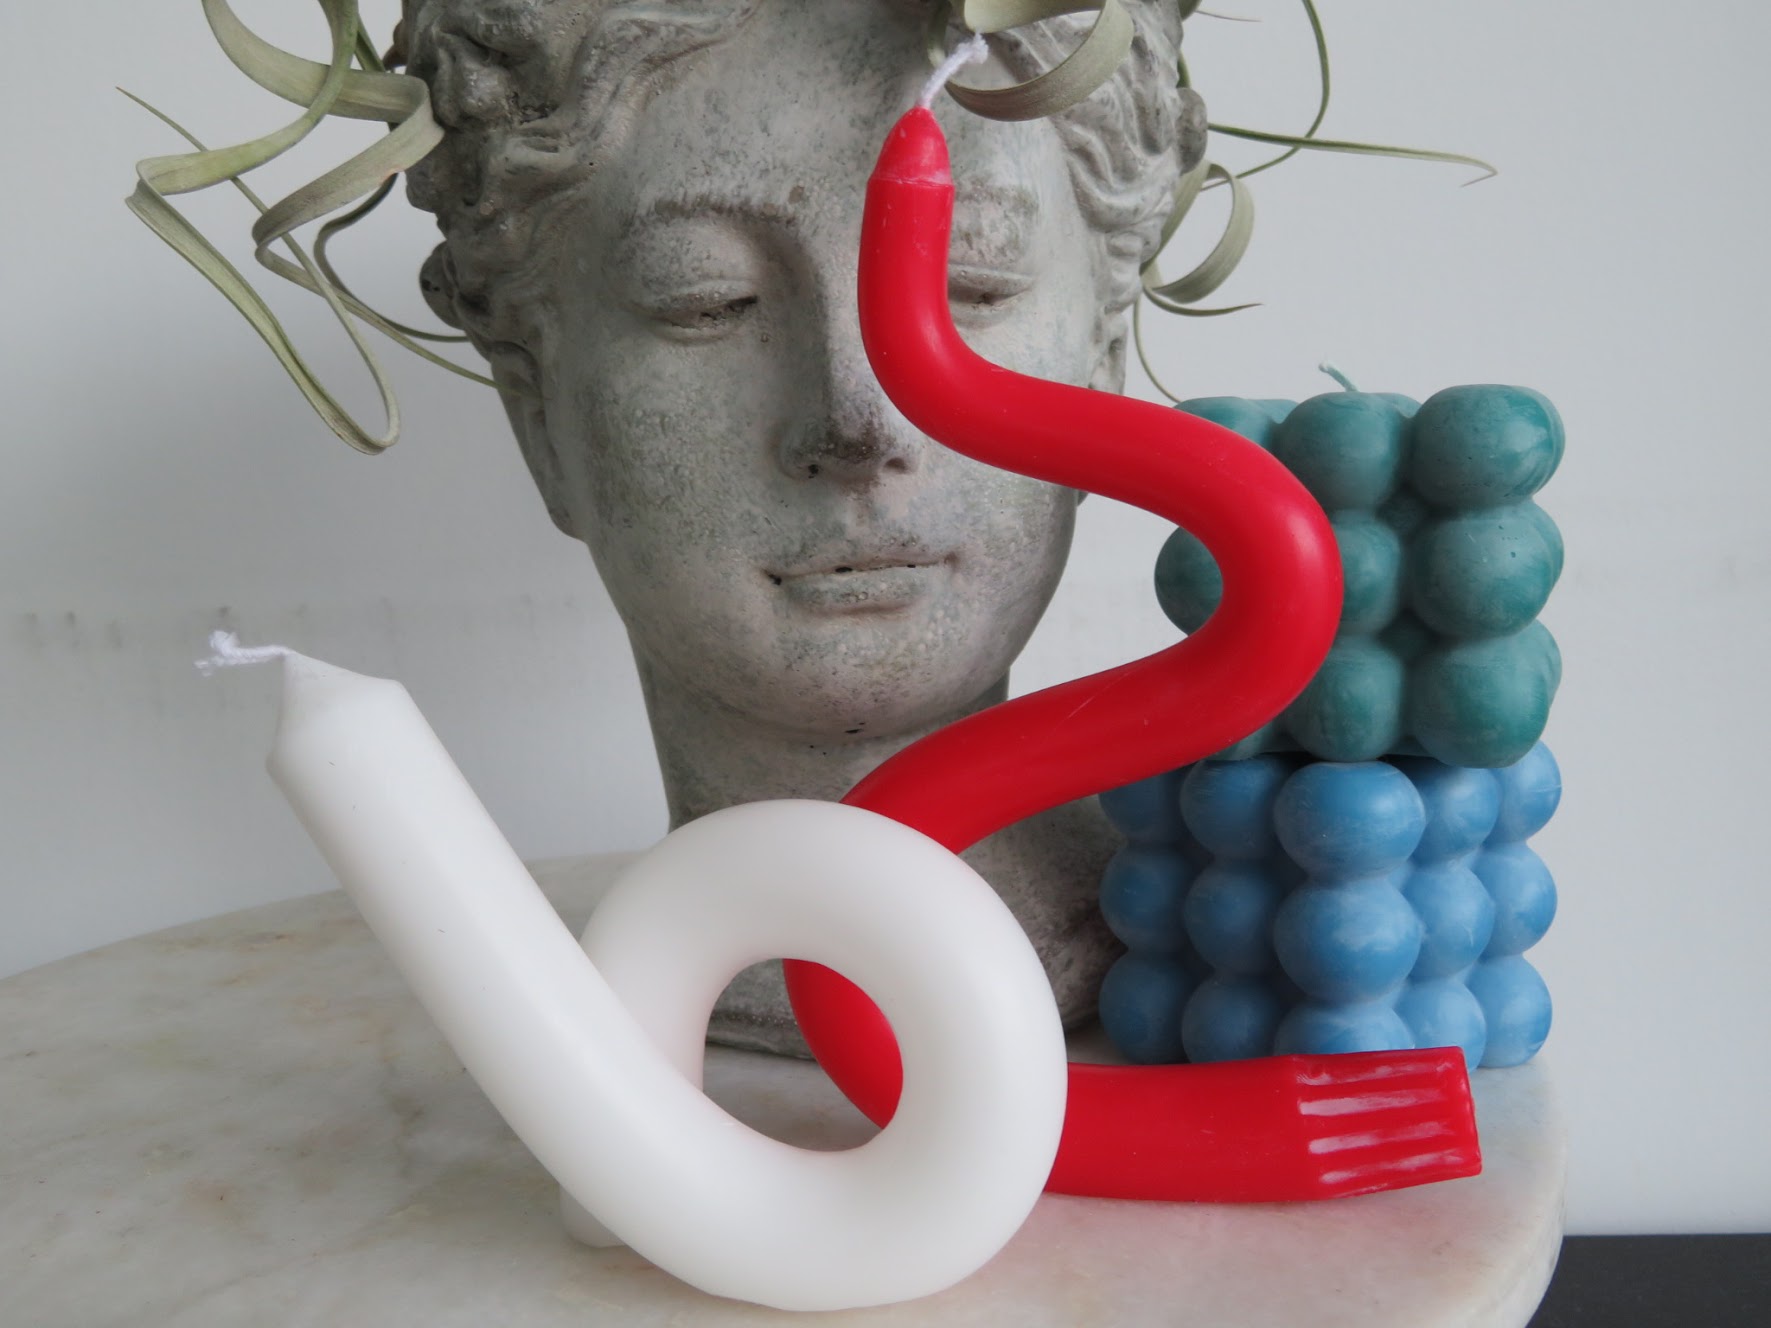
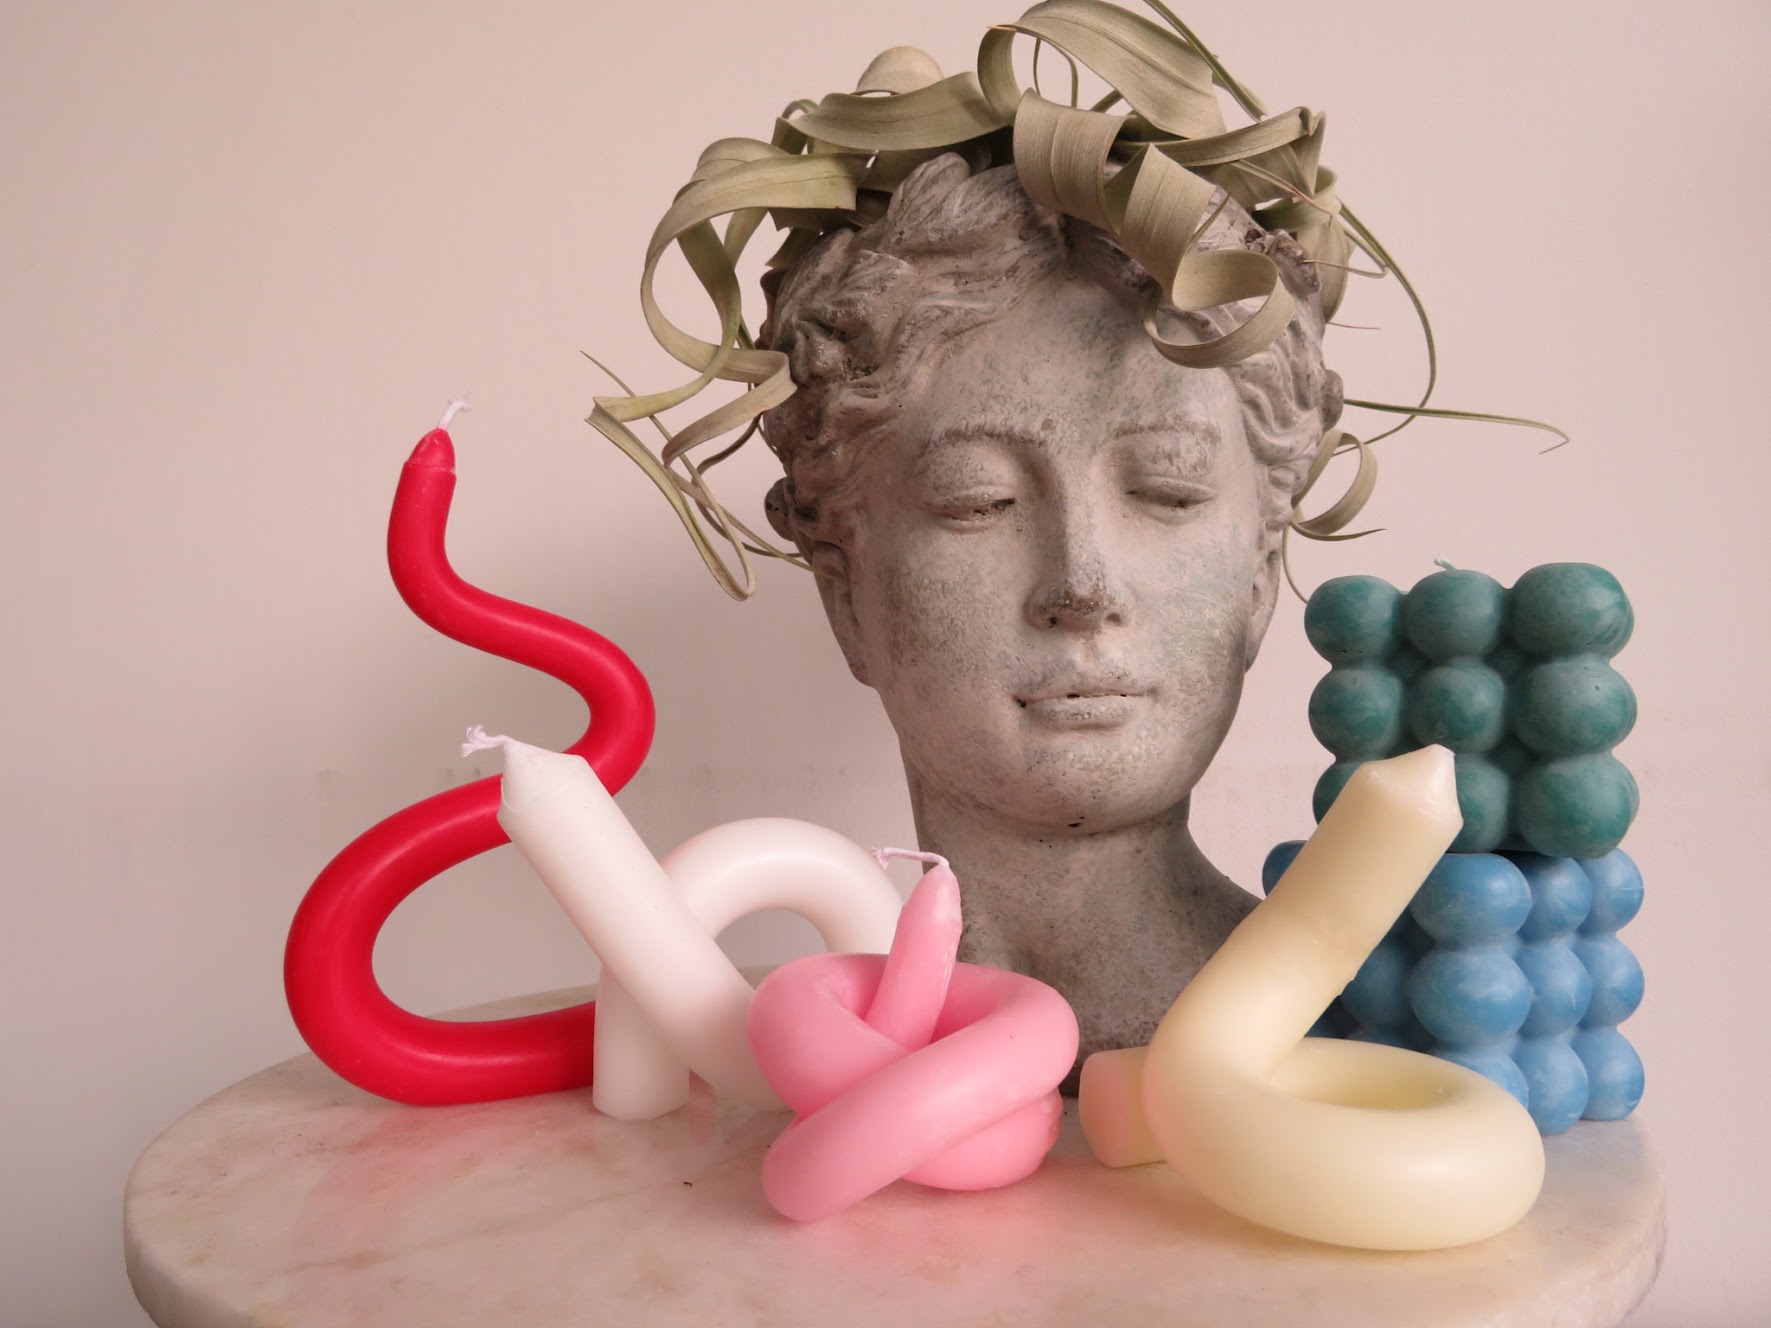
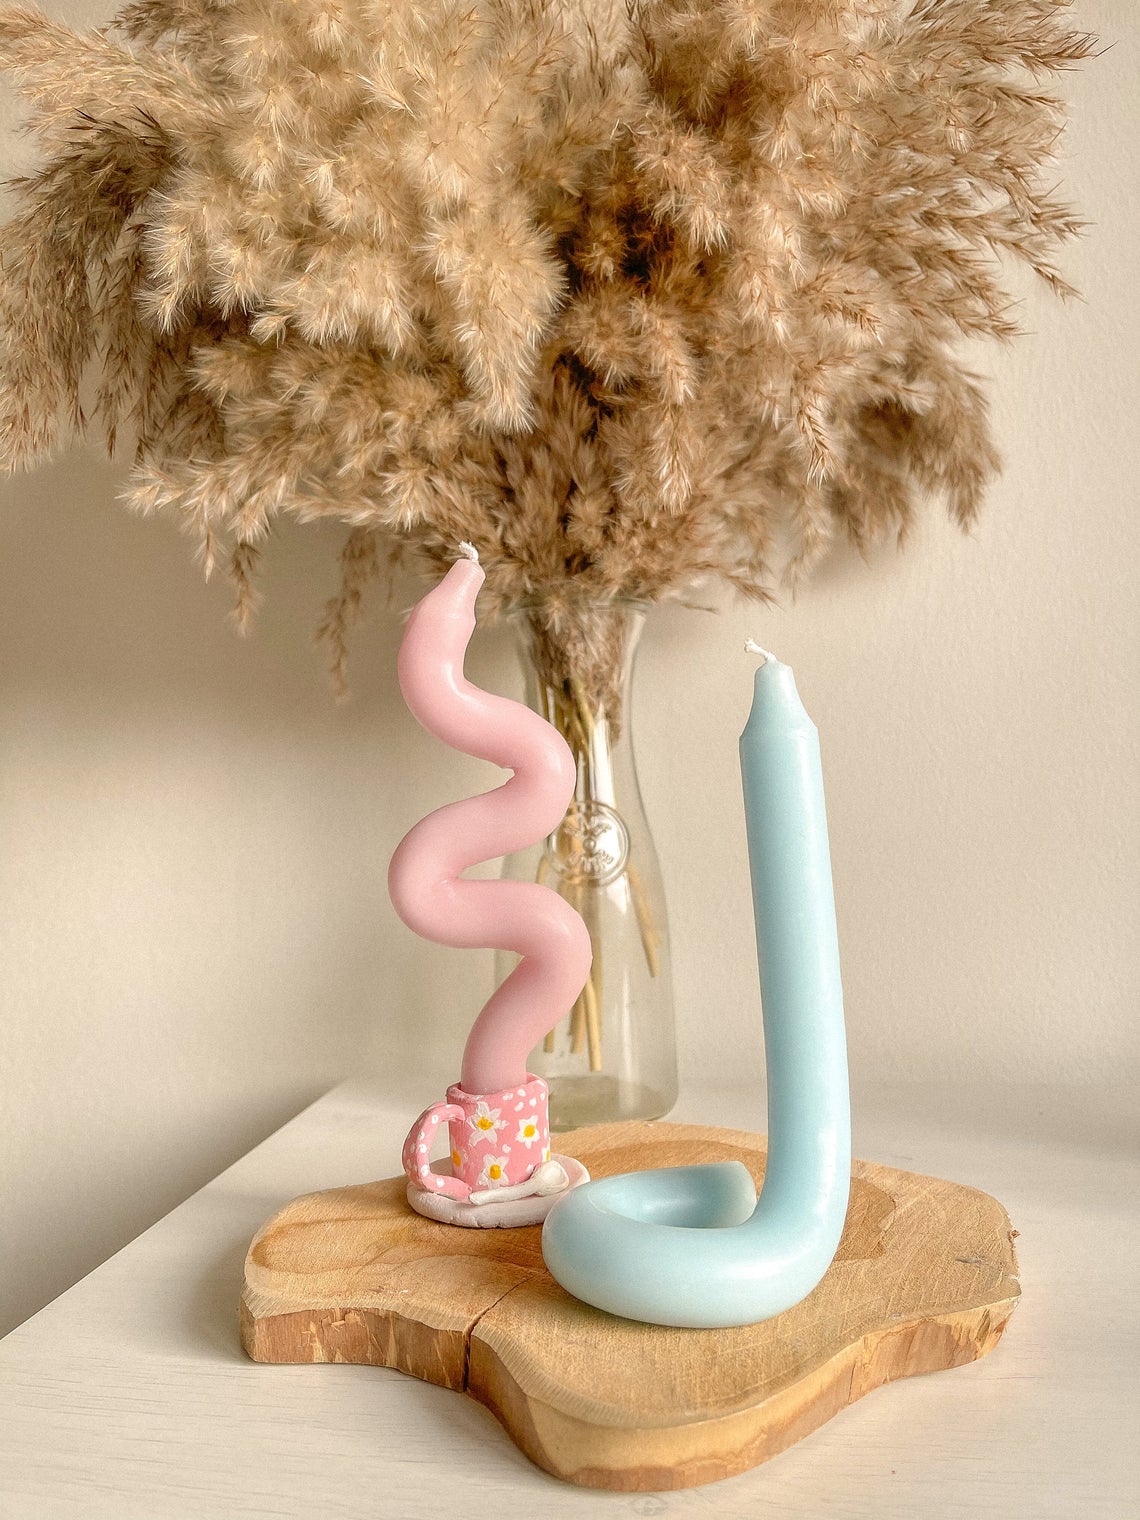
These stylish takes on the taper candle fit into any contemporary space which makes them desirable among influencers and interior design enthusiasts. As you might expect, they can be expensive to purchase from a retailer and sometimes end up sold out before you can get your hands on them. Thankfully, a handful of clever crafters have gone ahead and figured out the best way to DIY these candles from the comfort and affordability of your own home. After going viral on TikTok, the candle bending trend has taken the internet by storm while DIYers and bloggers attempt to recreate the artsy twisted and curved candles. Check out some of the homemade versions that are being sold on Etsy:

Follow our step-by-step guide below to achieve the perfect artsy, trendy-bendy candles yourself with this easy and affordable DIY project:
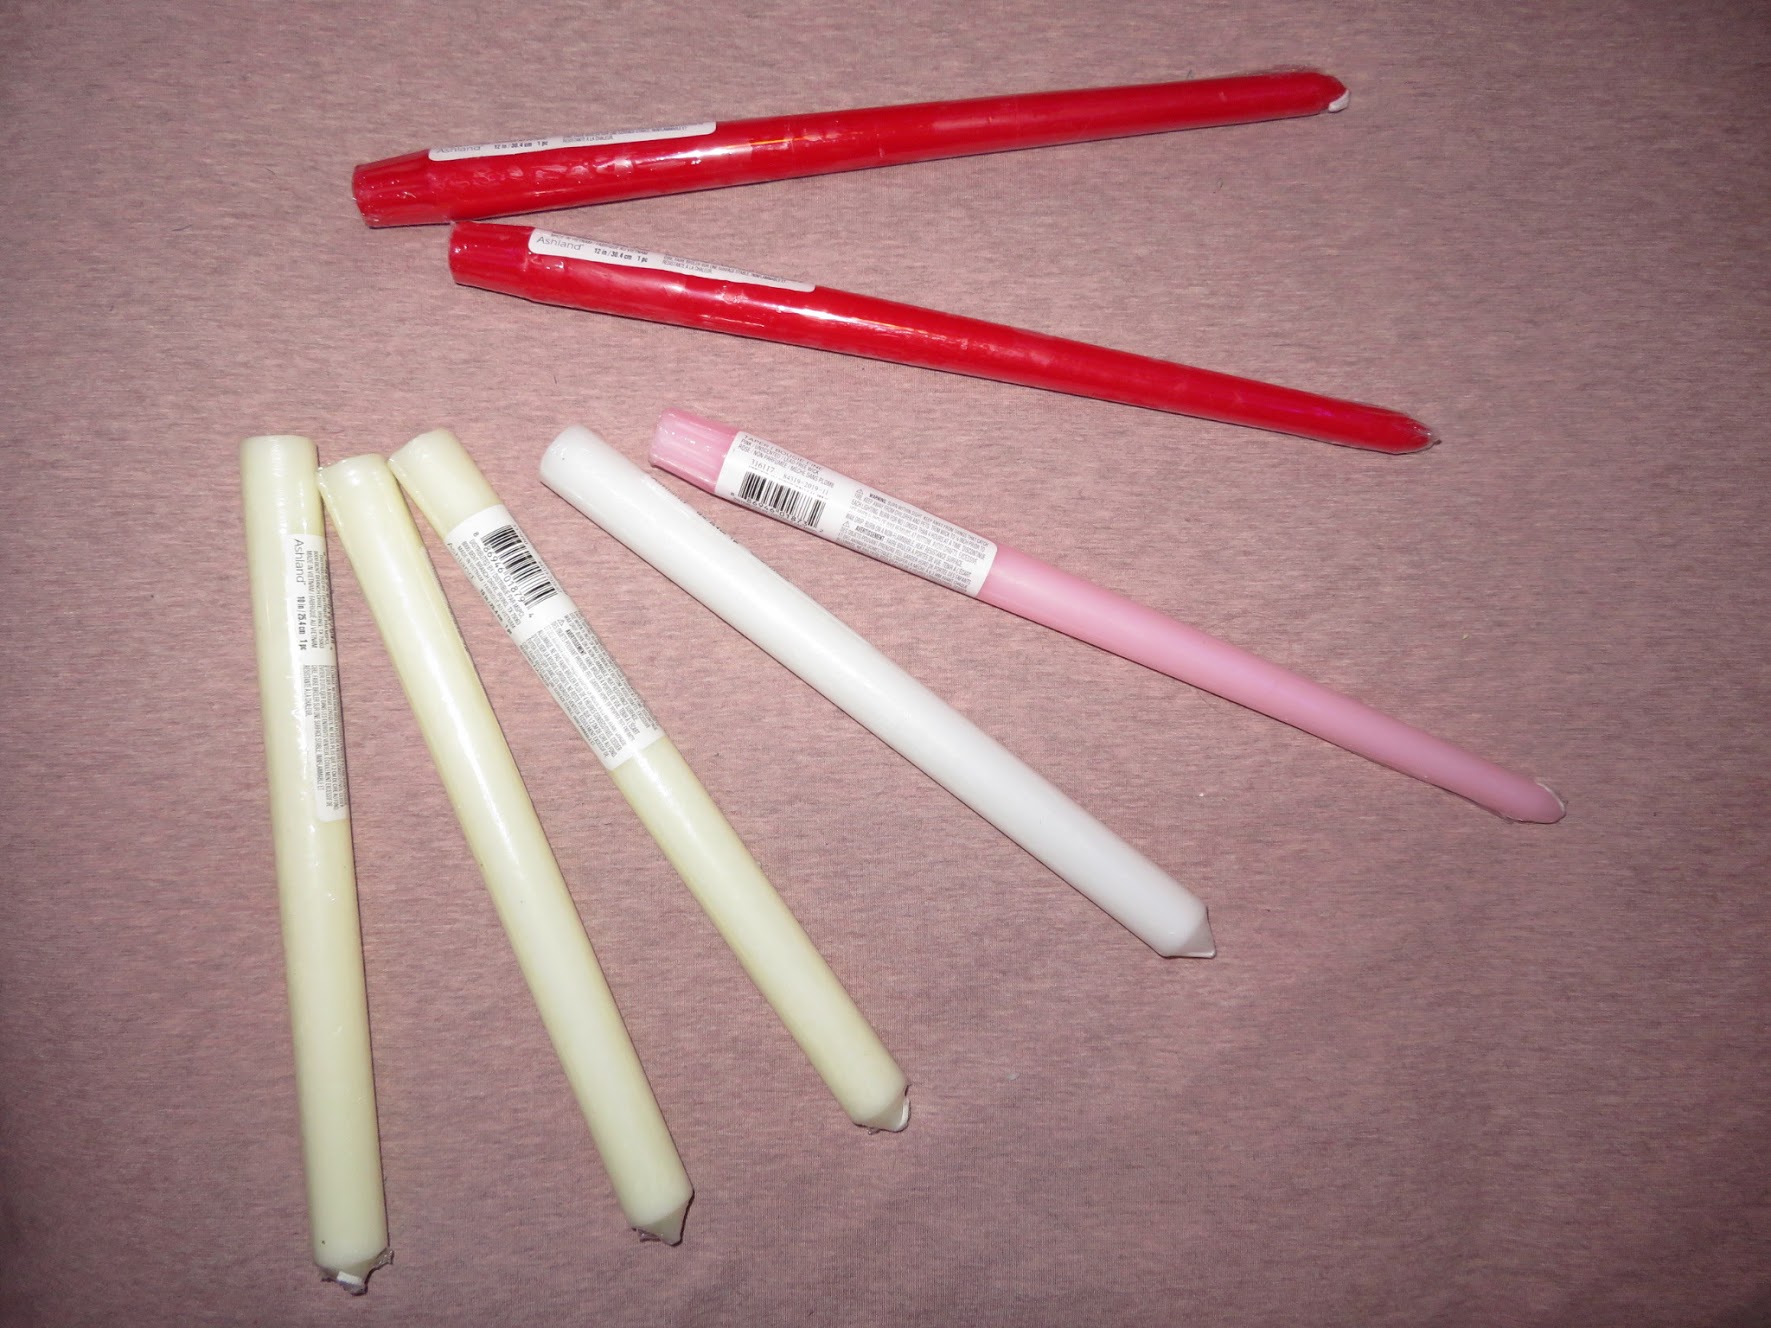
Supply List
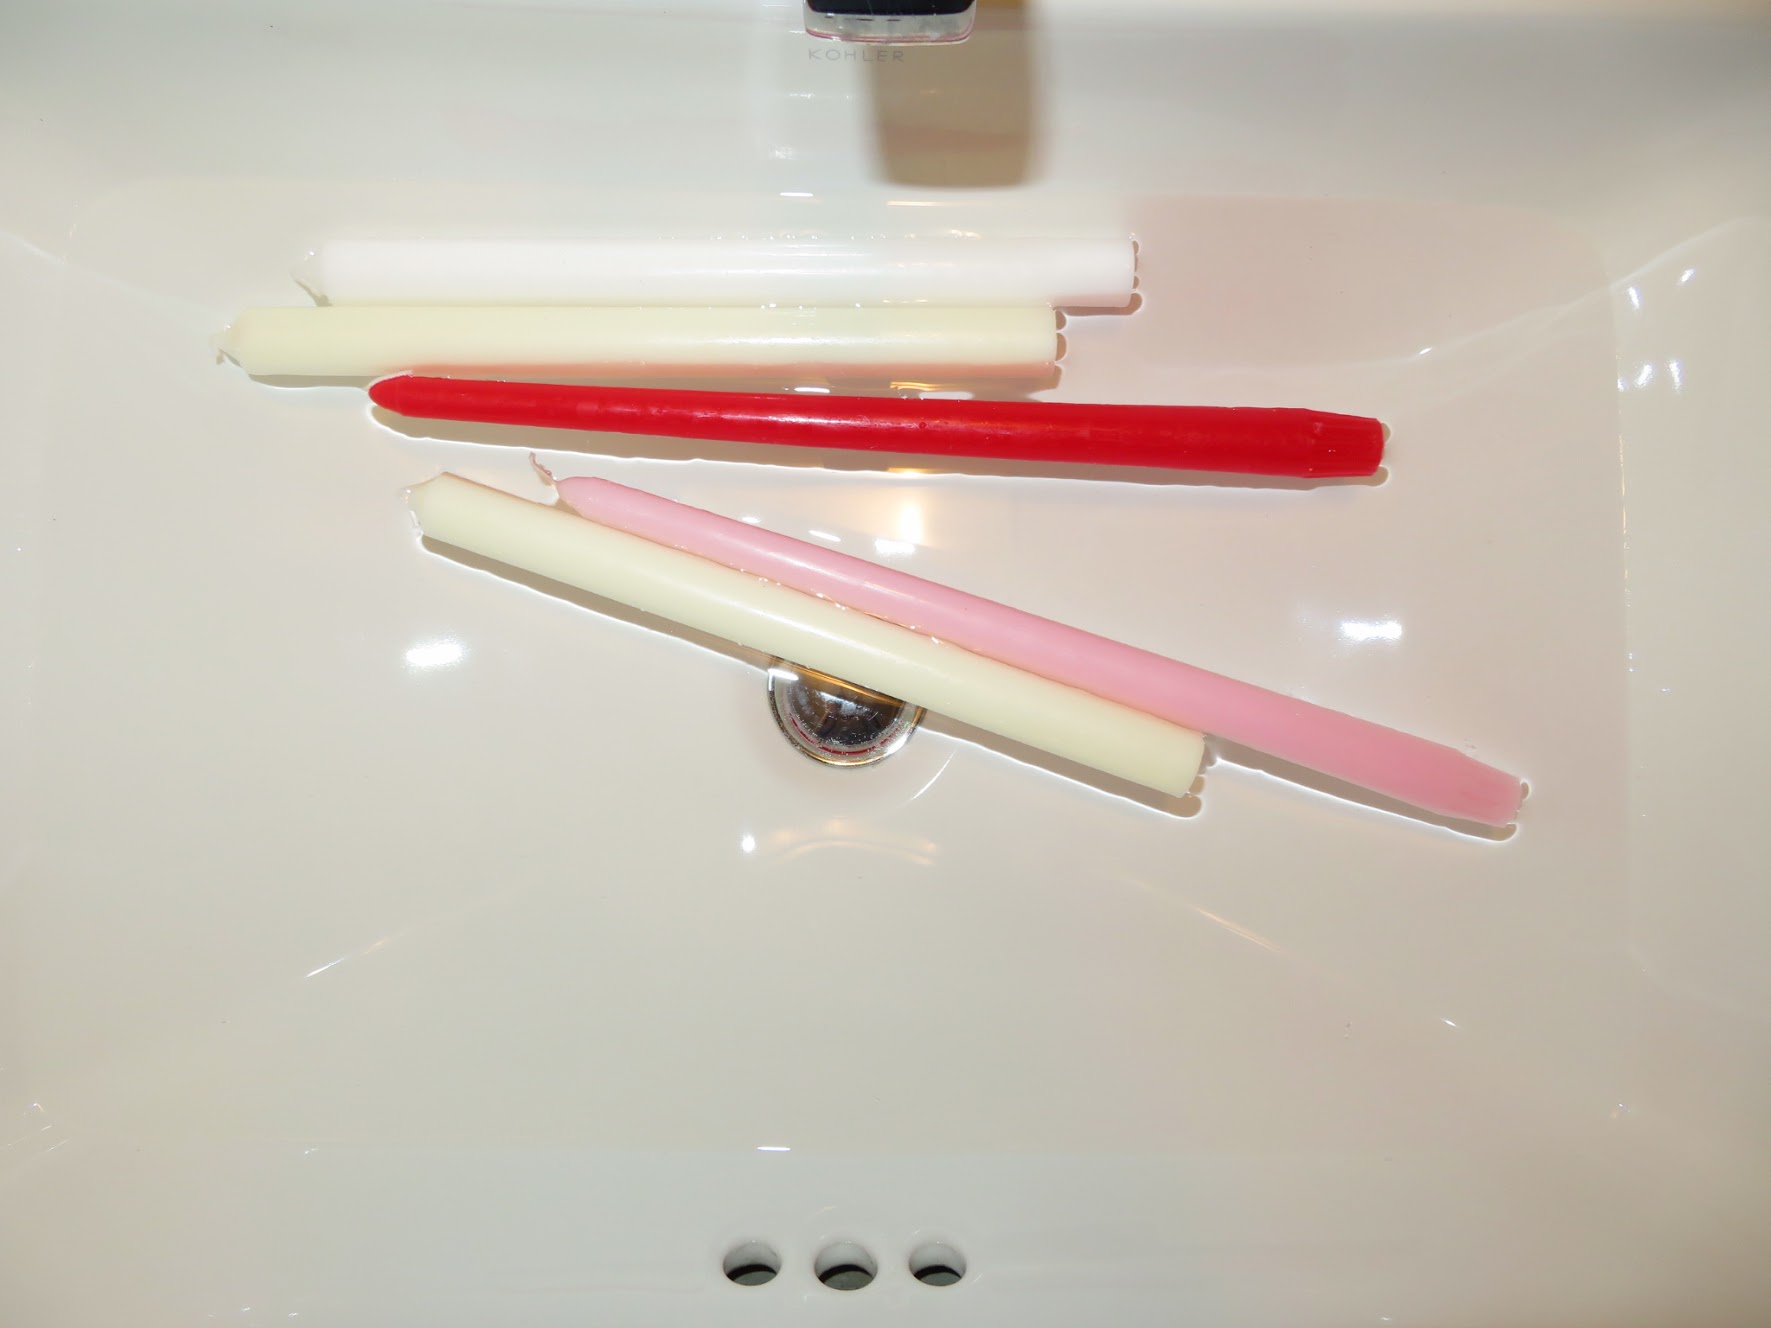
Taper candles (available at craft stores and superstores, we shopped Michael’s)
Large vase or sink space filled with hot water
Sharp knife or utility blade
Rolling pin (optional)

Step 1
Fill your basin (whether it’s a sink, bucket, or vase) with hot tap water. Do not use boiling water because it will melt the wax when you add the candles, just let the tap run hot to fill. Soak the candles in the water for 12-15 minutes.

PROTIP: Add some more hot water a few minutes before you begin shaping them, and continue to add some throughout the process – this keeps the candles flexible and easier to shape.
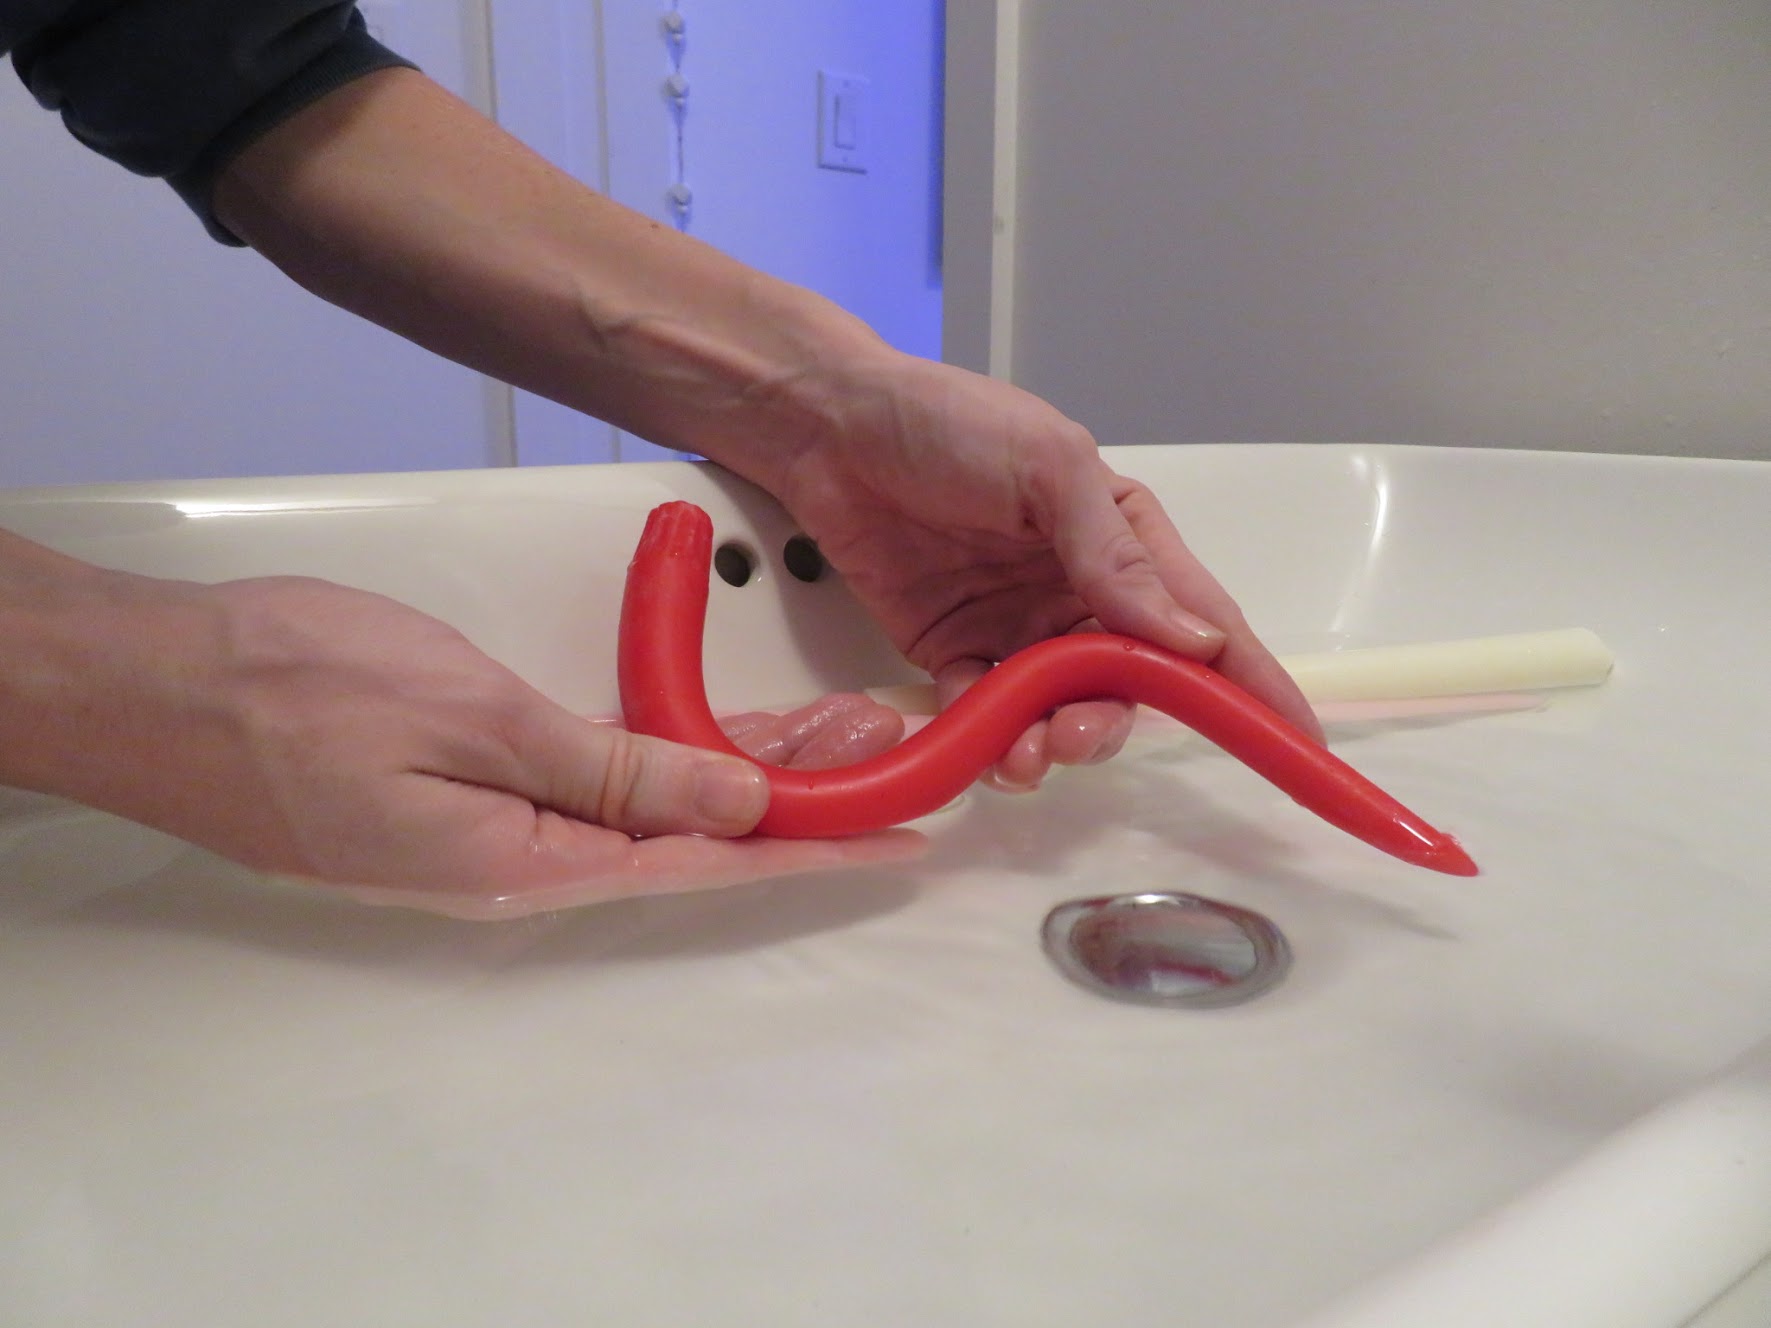
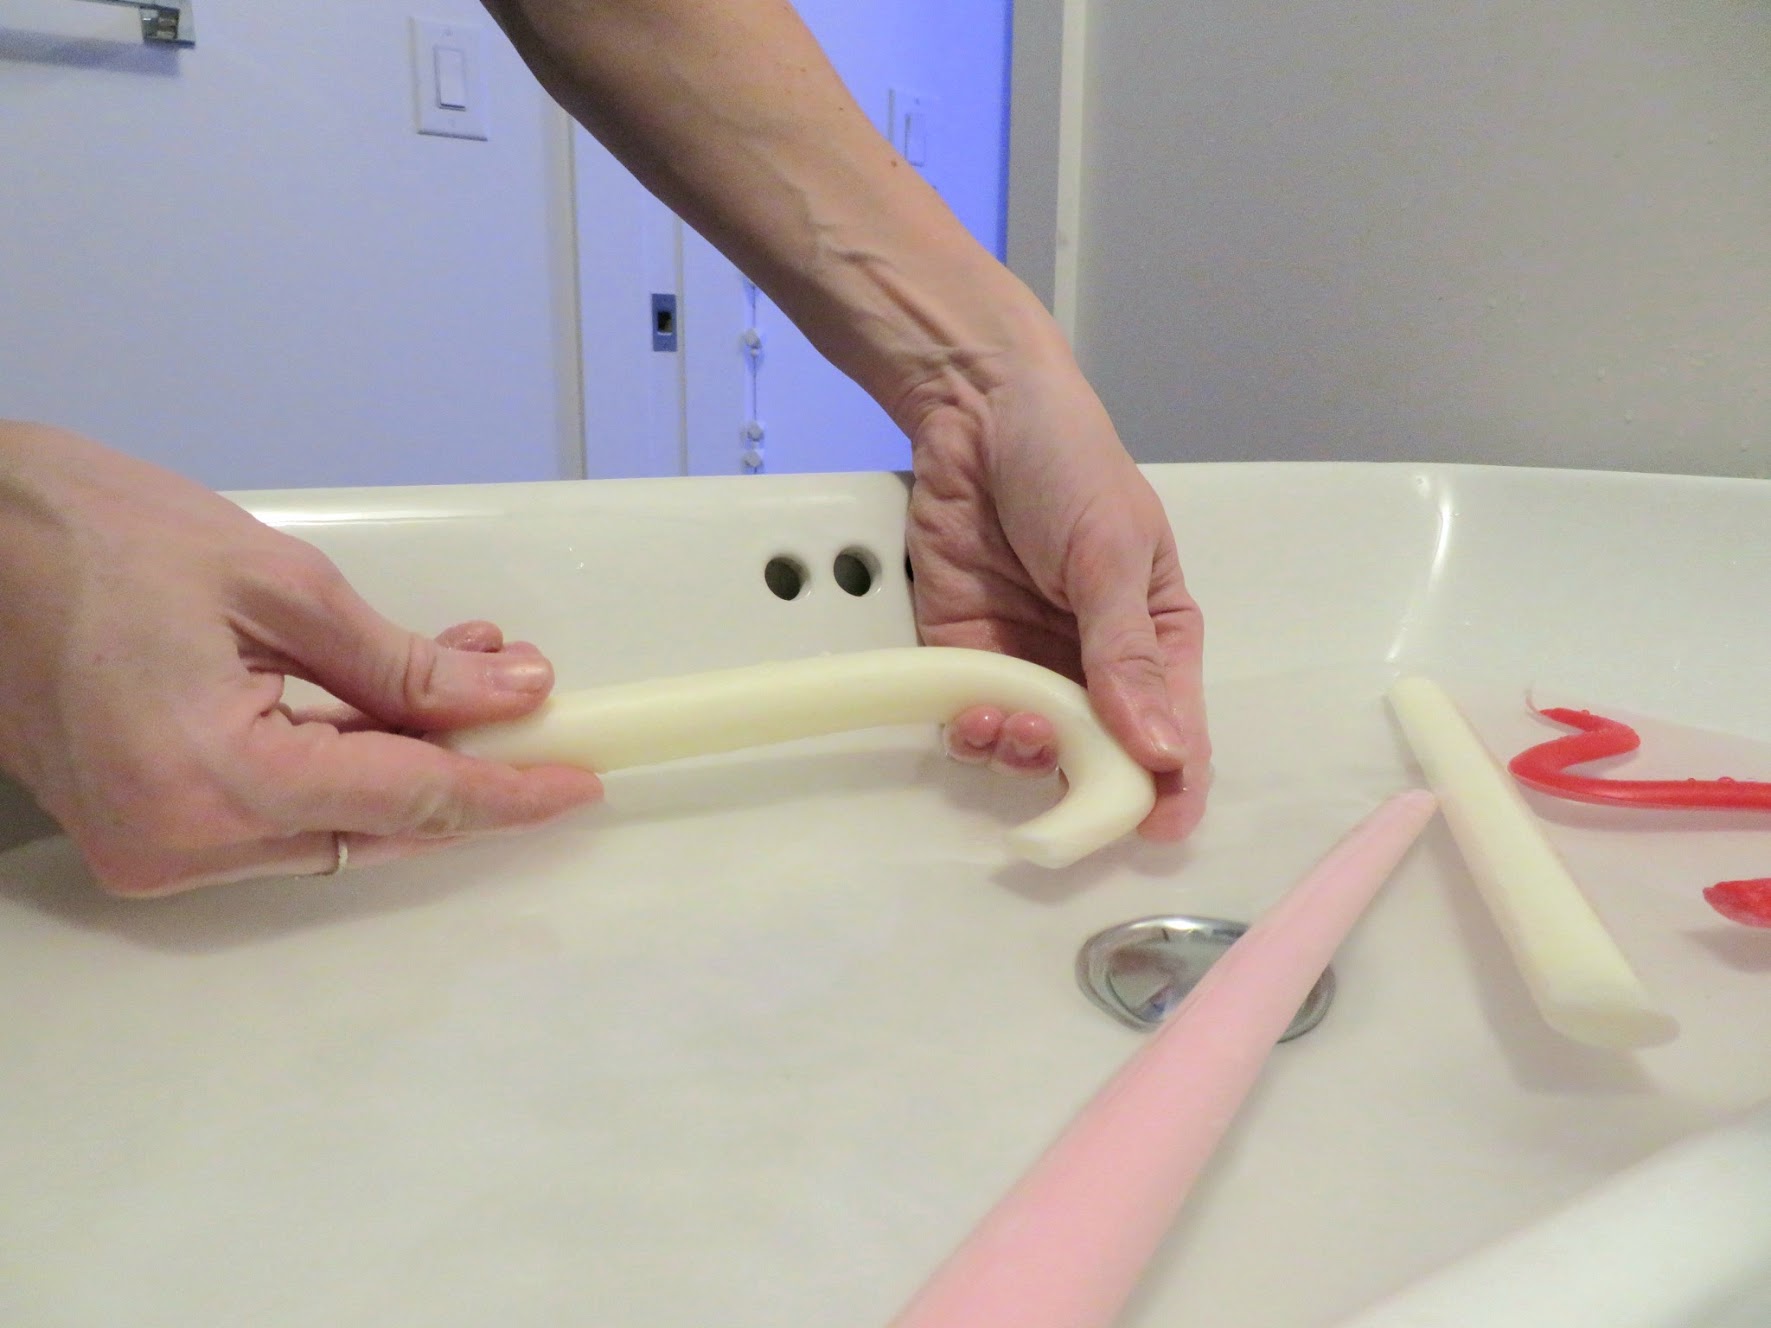
Step 2
Gently and slowly bend the candles to your desired shape. Work in the water if possible to keep the candle wax malleable. If you try to finish this step too fast, or if the candle cools down too much, the wax will harden, crack and break. Slow and steady wins the race here.


If you want to attempt the “twisted candle” by using a rolling pin, this is the time to do it. We didn’t twist any for this project but we’ll walk you through how to do it because it’s super straightforward! Use the rolling pin to flatten the middle of the candle, leaving the wick and the base in their original form. Holding the candle, gently twist your hands in opposite directions (as if you were ringing out a wet towel), and form the twists of the candle. Remember to be gentle to avoid the wax cracking, and return the candle to the hot water if it starts to become hard to work with.
Step 3
Remove the newly shaped candles and using a sharp knife or utility blade, cut a flat base in the wax to create a spot for the candle to free stand. It is easier to do this step while the wax is still warm!


Step 4
Display your new chic candle decor, snap a picture, and share it with us on Facebook, Pinterest, and Instagram!