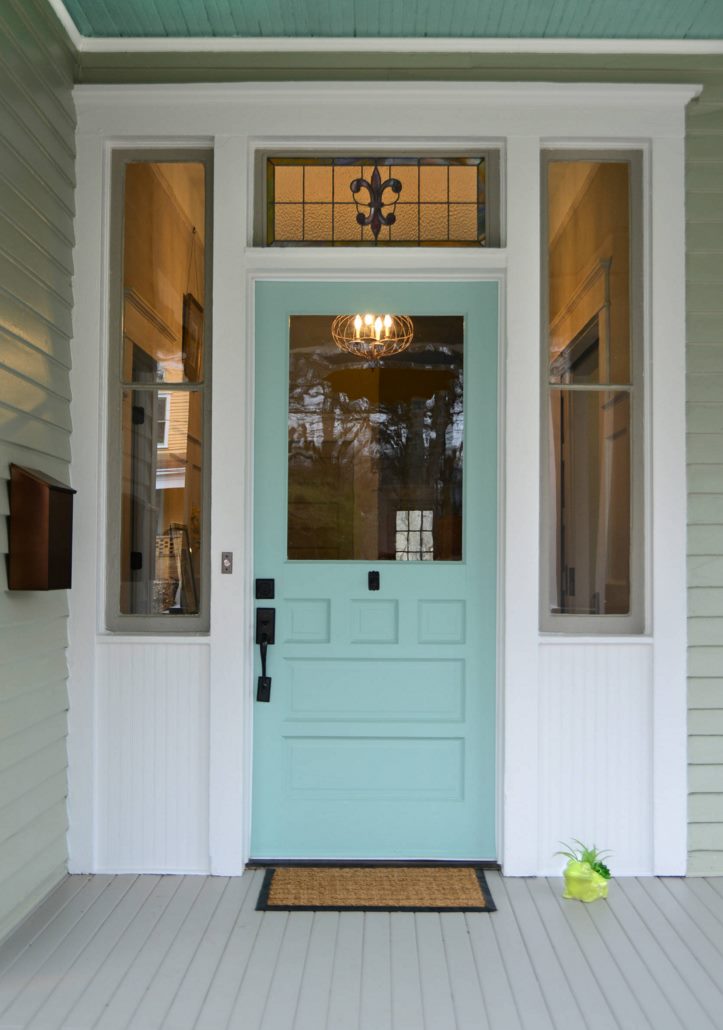
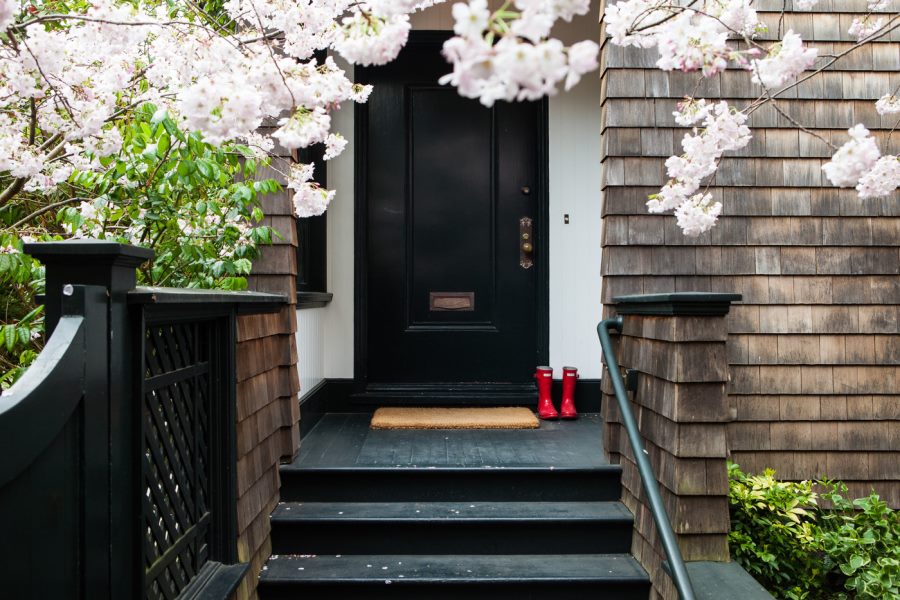
If you’re looking into painting (or repainting) the front door, today’s post is for you! We at Decoist are big believers in doing it the right way, but we also love coming across time-saving tips. Is it possible to cut corners when painting the door? Yes. But some corners just shouldn’t be cut. After all, the front door is the entrance to your home. It’s hard to hide a botched paint job from guests when they must pass through this door to get to your living room. On that note, here are are some helpful and effective tips for you to consider as you paint the front door…
Set Aside the Time
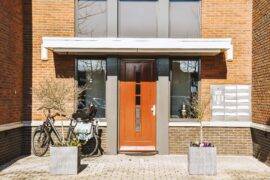
We know. This was supposed to be a quick project for an easy home refresher. But it’s kind of hard to do a great job painting a door in only a couple of hours. Expect to set aside a good chunk of the day, and if you’re a stickler for removing the door and following instructions as thoroughly as possible, you just might find this project taking more than a day. But there are ways to avoid that. So keep reading… [photo from Amory Brown]

Consider the Weather
Yes, the weather makes a difference. A wet and humid day will increase paint drying times. Not to mention, as pointed out at SFGate, painting at a time of day when the sun is shining directly on the door can cause paint to blister. Choose a day that’s not too hot or too cold. For example, SFGate recommends painting while outdoor temps are between 50 and 90 degrees Fahrenheit. [from Cushing Custom Homes]

Consult an Expert
Painting a wooden door is different from painting a metal door. Painting a brand new door is different from re-painting an existing door, especially if there is peeling paint involved. Visiting with an expert (we’re talking 10 minutes at the home improvement store, folks) is a great way to get a customized set of instructions for your front door, from the best paintbrushes to the specific paint strippers, primers and paints. [from Carl Mattison Design]

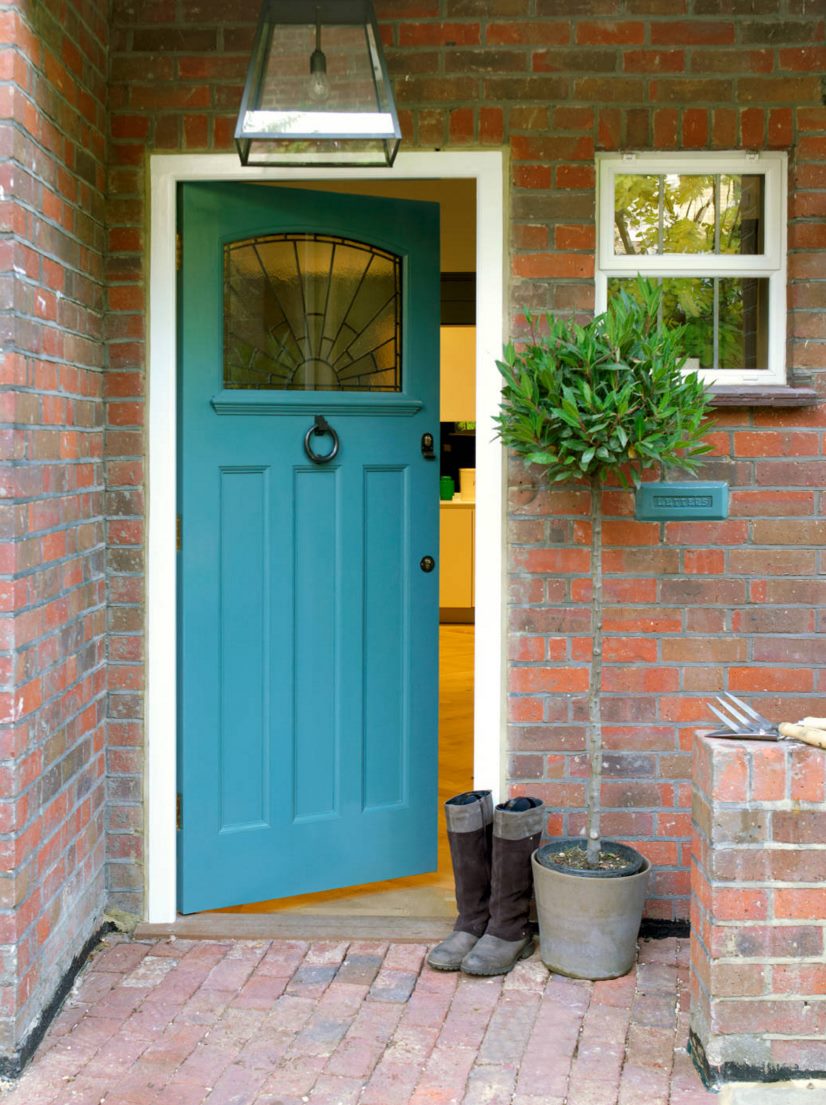
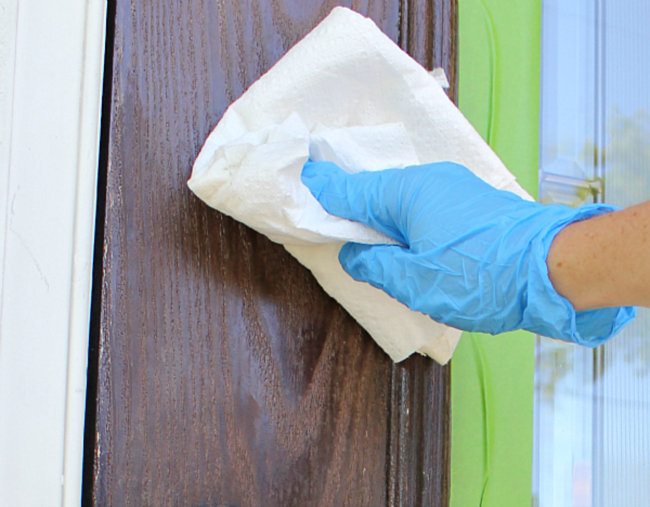
Clean Your Door Before Painting
We’re all about the shortcuts here at Decoist, but not cleaning your door before painting is just lazy. The last thing you want is a bumpy finish thanks to dirt buildup, and the paint won’t adhere well to grit and grime. So clean off that door before you begin! And don’t forget to clean it after sanding at any time during the process. [photo from Bright Bold & Beautiful]

Be Smart About Shortcuts
Here’s the info about shortcuts: you can probably get by without taking the door off the hinges, and you can probably tape over the hinges to avoid painting them. But you shouldn’t skip key steps such as removing peeling paint or stripping the paint if necessary. You can’t camouflage a bad paint job, and the importance of a smooth surface is key, as you’ll see in the next section. [from Koch Architects]

And about the doorknob and lock…you will find tutorials online where people did not remove these items before painting. But unless you’re planning on keeping them forever, you will eventually change them out. And you probably won’t want to deal with the irregular paint pattern that results once they’re gone and the old paint color is underneath!
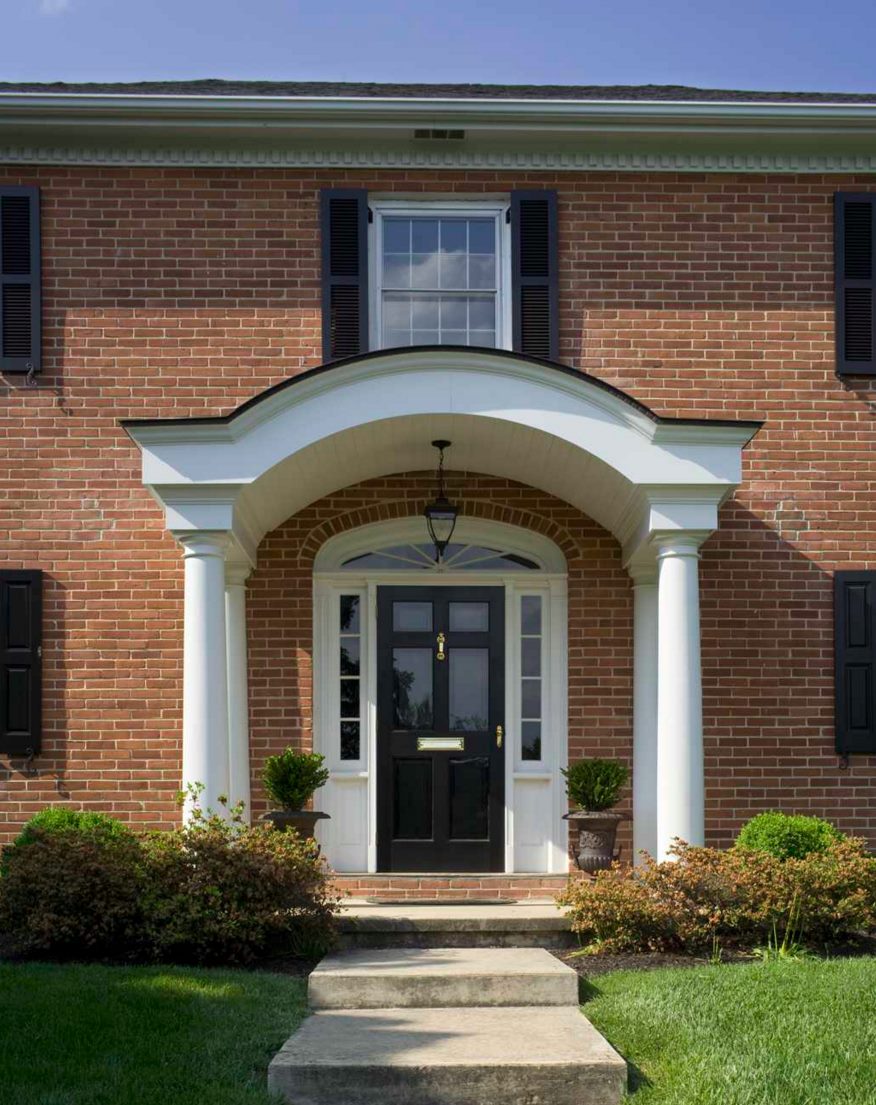
Strive for a Smooth Surface
Regardless of the type of door you’re repainting, you will want the surface to be smooth before you apply primer and paint. You will also want to sand the door after filling holes and dents. And then possibly again after priming it, and as needed throughout the process. Yes, that’s a lot of sanding. But you will thank yourself when the finished product is a smooth, professional-looking door! [photo from Living on the Bliss]


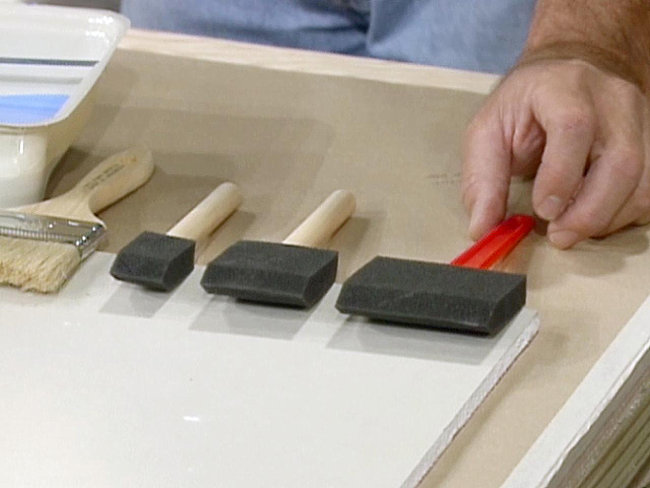
Have Multiple Paintbrushes on Hand
Paintbrushes are great, but for a professional finish, it can be helpful to use a tool such as a foam roller to paint your front door. The specifics of your door might require a different type of brush (which is why we recommend consulting with an expert). And if your door has panels, you may want to use foam brushes to fill in the details, or at least have foam rollers of different sizes on hand for different areas of the door. Variety can be a good thing when hunting for the best painting tools. [photo from DIY Network]

It’s All About the Coats!
Yes, your door will likely need more than one coat of paint, but you may get away with one coat of primer. Again, consult an expert before you begin, but be prepared to take your time and do the job right, giving each coat plenty of time to dry before applying a new one. Starting the painting process in the morning is helpful if you really want that door dry, closed and locked by bedtime. [photo from Lonny]

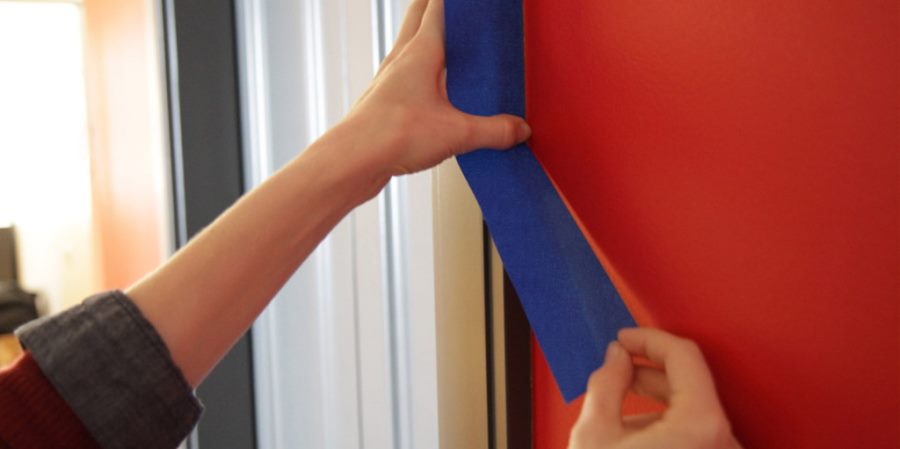
Remember the Weatherstripping
As much as we all wish we could take the door off the hinges and give it ample time to dry before hanging it again, it’s not always practical for home security reasons. But you don’t want a sticky situation. If you need to hang that door back up and you’re concerned about humid weather or necessary drying time, cover the weatherstripping with painter’s tape. It’s the extra protection you need for peace of mind. And to prevent sticking! This helpful tip comes from The Family Handyman. Note that some DIYers recommend removing the weatherstripping altogether until the paint has cured. Do your research and make an informed decision. [photo from The Paint Place]

The Process Is What You Make It
Is it possible to cut a few corners? Yes. Itching to try a few shortcuts? Go for it! But we’ve found that you get back what you put into the process. If you use painter’s tape to cover a doorknob or a knocker, is there a chance that it will look less than professional? Yes. And the painting process will take longer, as you’ll have to be extremely careful when painting. But if the thought of removing everything prevents you from even starting the project, or you’re afraid the door won’t hang just right when you re-install it, it might be worth trying a shortcut, such as leaving the door on the hinges (try at your own risk). [from Lonny]

Just don’t skimp on the “smooth surface” part of the project (sanding, removing peeling paint, etc.). While you can probably remove stray paint marks if needed, it’s hard to camouflage a bumpy door that starts to peel way before you’d hoped because you rushed through the process. With that said, talk to an expert, make a plan, know your budget, and go for it! And if you simply don’t have time, you can always hire someone to get the job done!