Are you tired of tripping over shoes scattered around your home? A DIY shoe rack might be the perfect solution for you. Not only does it keep your space organized, but it also adds a touch of creativity and personalization to your home. In this comprehensive guide, we will walk you through the process of building your own DIY shoe rack, providing step-by-step instructions, creative design ideas, and helpful tips to ensure your project is a success.
The Benefits of Building Your Own Shoe Rack
Building a DIY shoe rack offers numerous benefits. Not only does it help you declutter and organize your space, but it also allows you to customize the design to fit your specific needs and style preferences. Additionally, creating your own shoe rack can be a cost-effective and rewarding project. By understanding the advantages of a DIY shoe rack, you can feel motivated and inspired to embark on this creative endeavor.
Planning Your DIY Shoe Rack Project
Before you start building your DIY shoe rack, it’s important to plan and visualize the end result. Consider factors such as the available space, the number of shoes you need to accommodate, and the overall design aesthetic you want to achieve. Sketching out your ideas and taking measurements will help you create a clear plan for your project, ensuring that the end result meets your expectations.
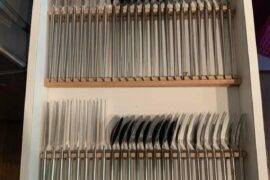
Design Ideas and Inspiration for Your DIY Shoe Rack
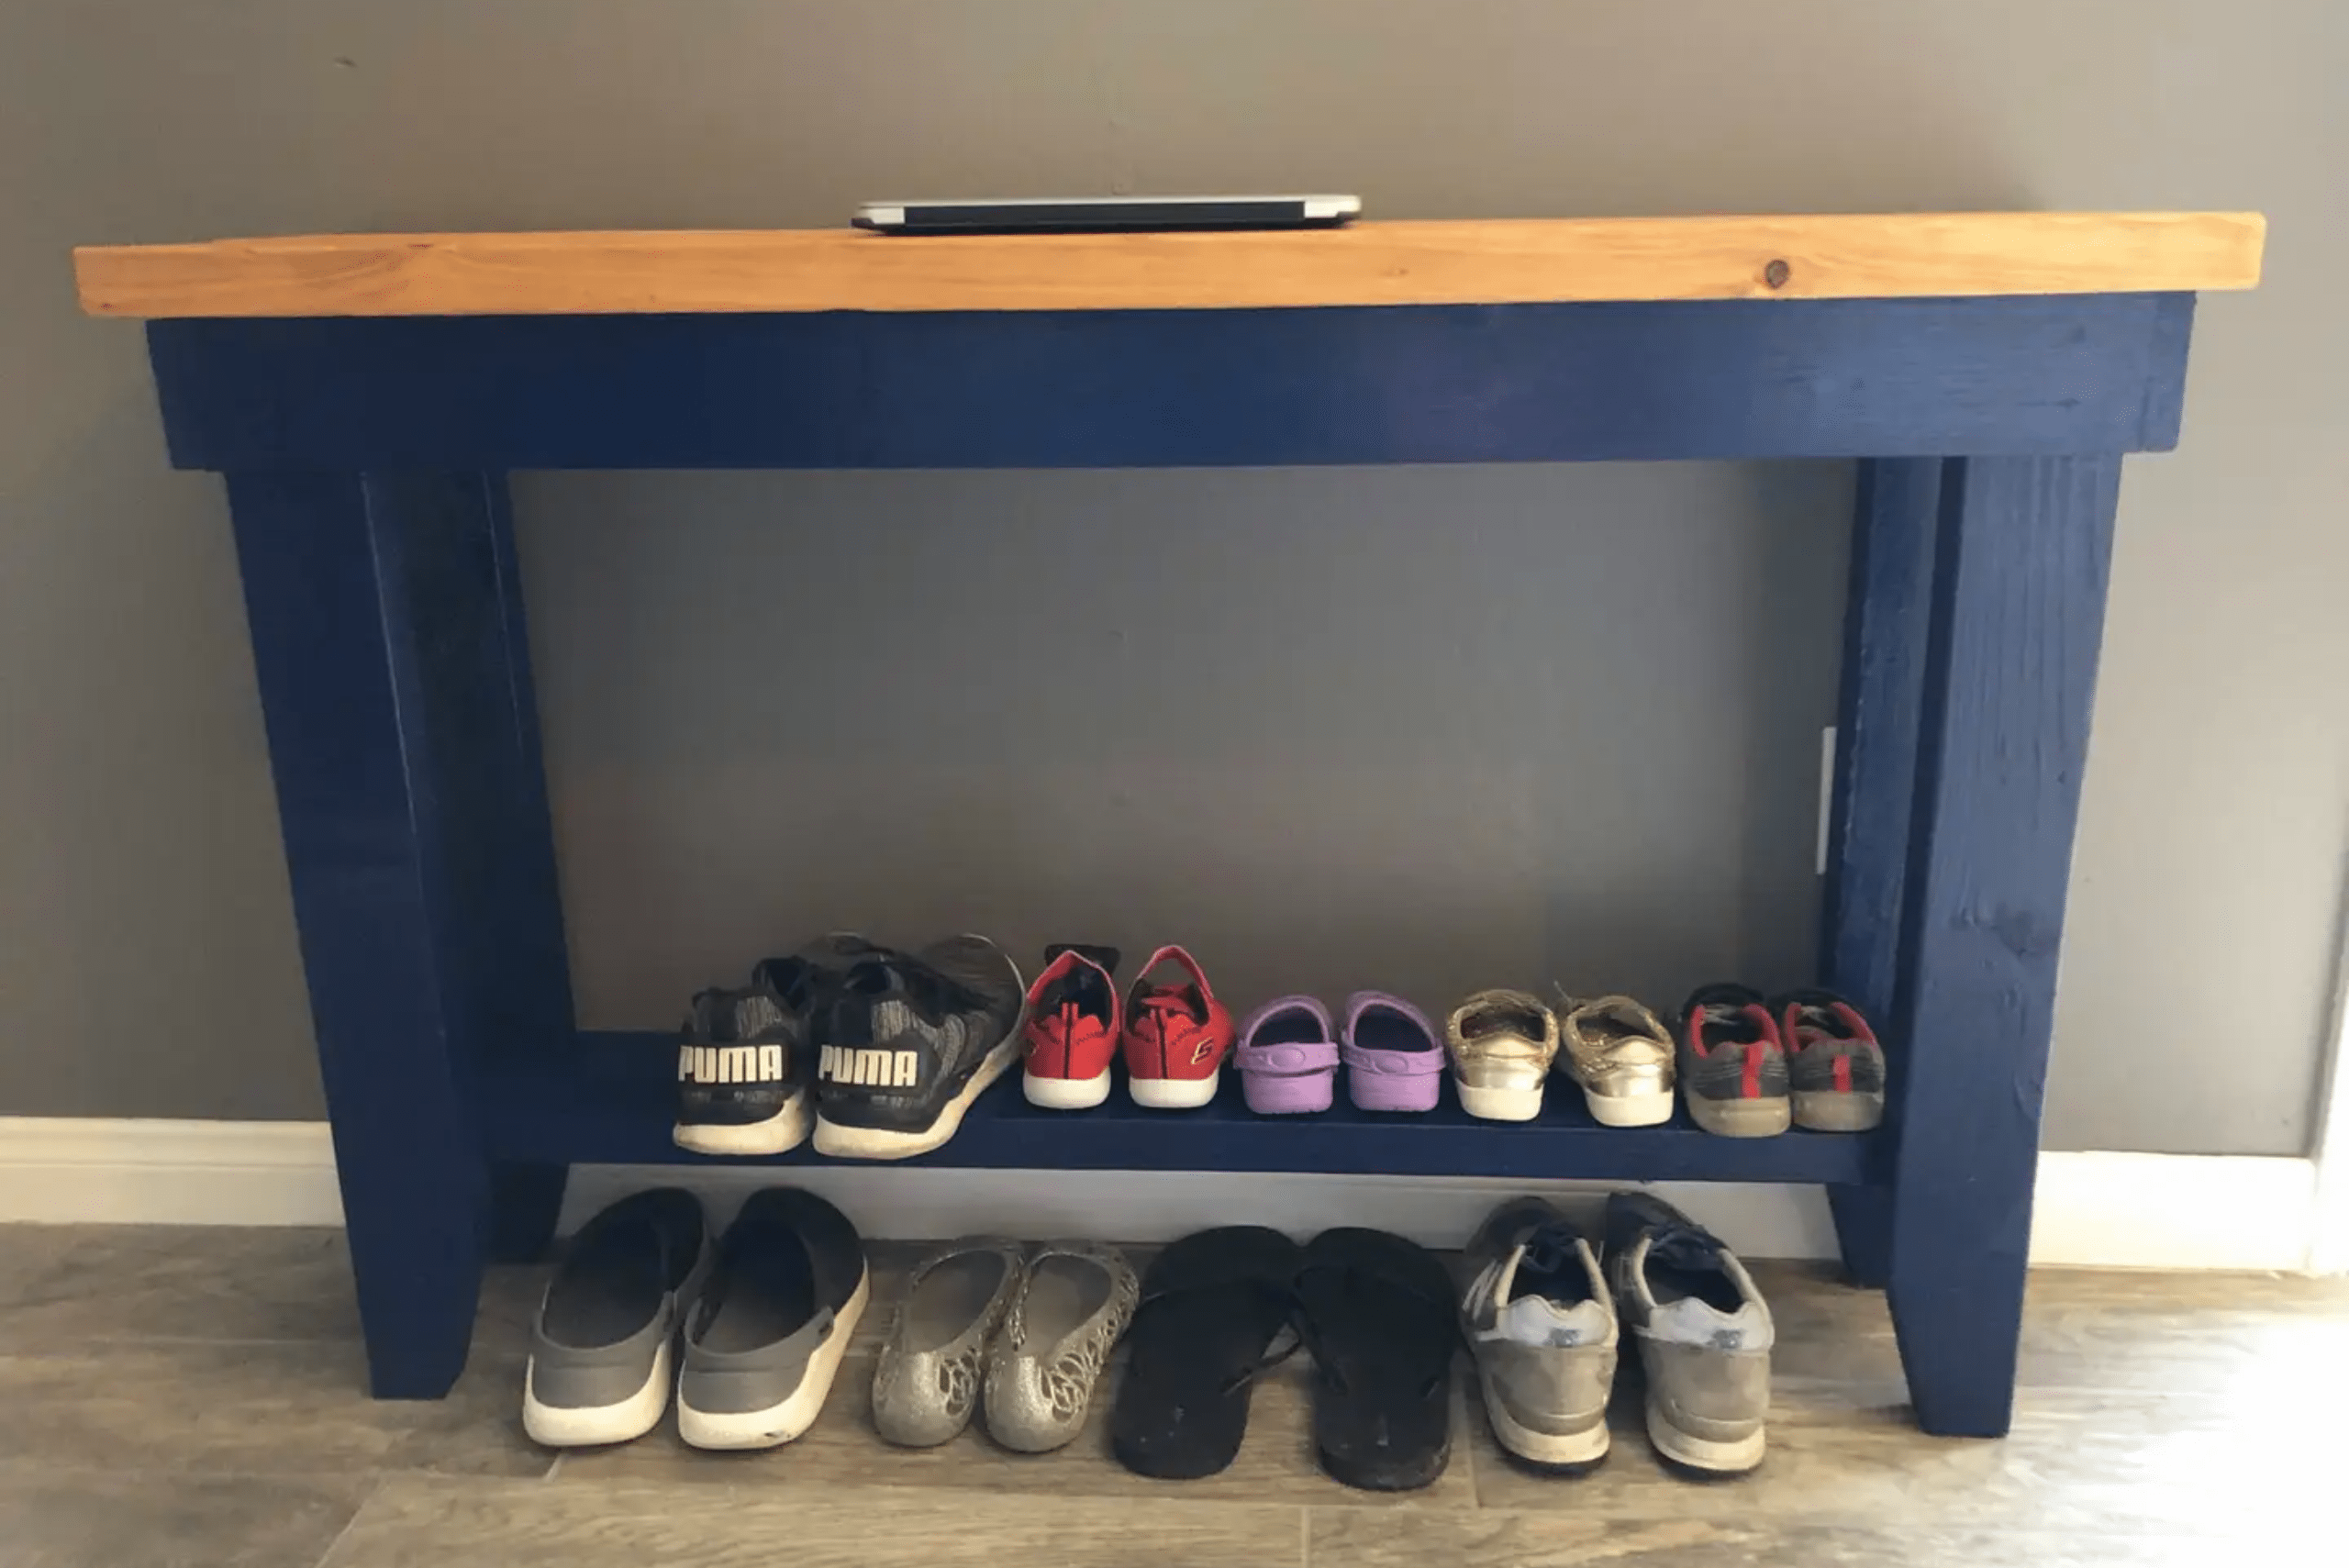
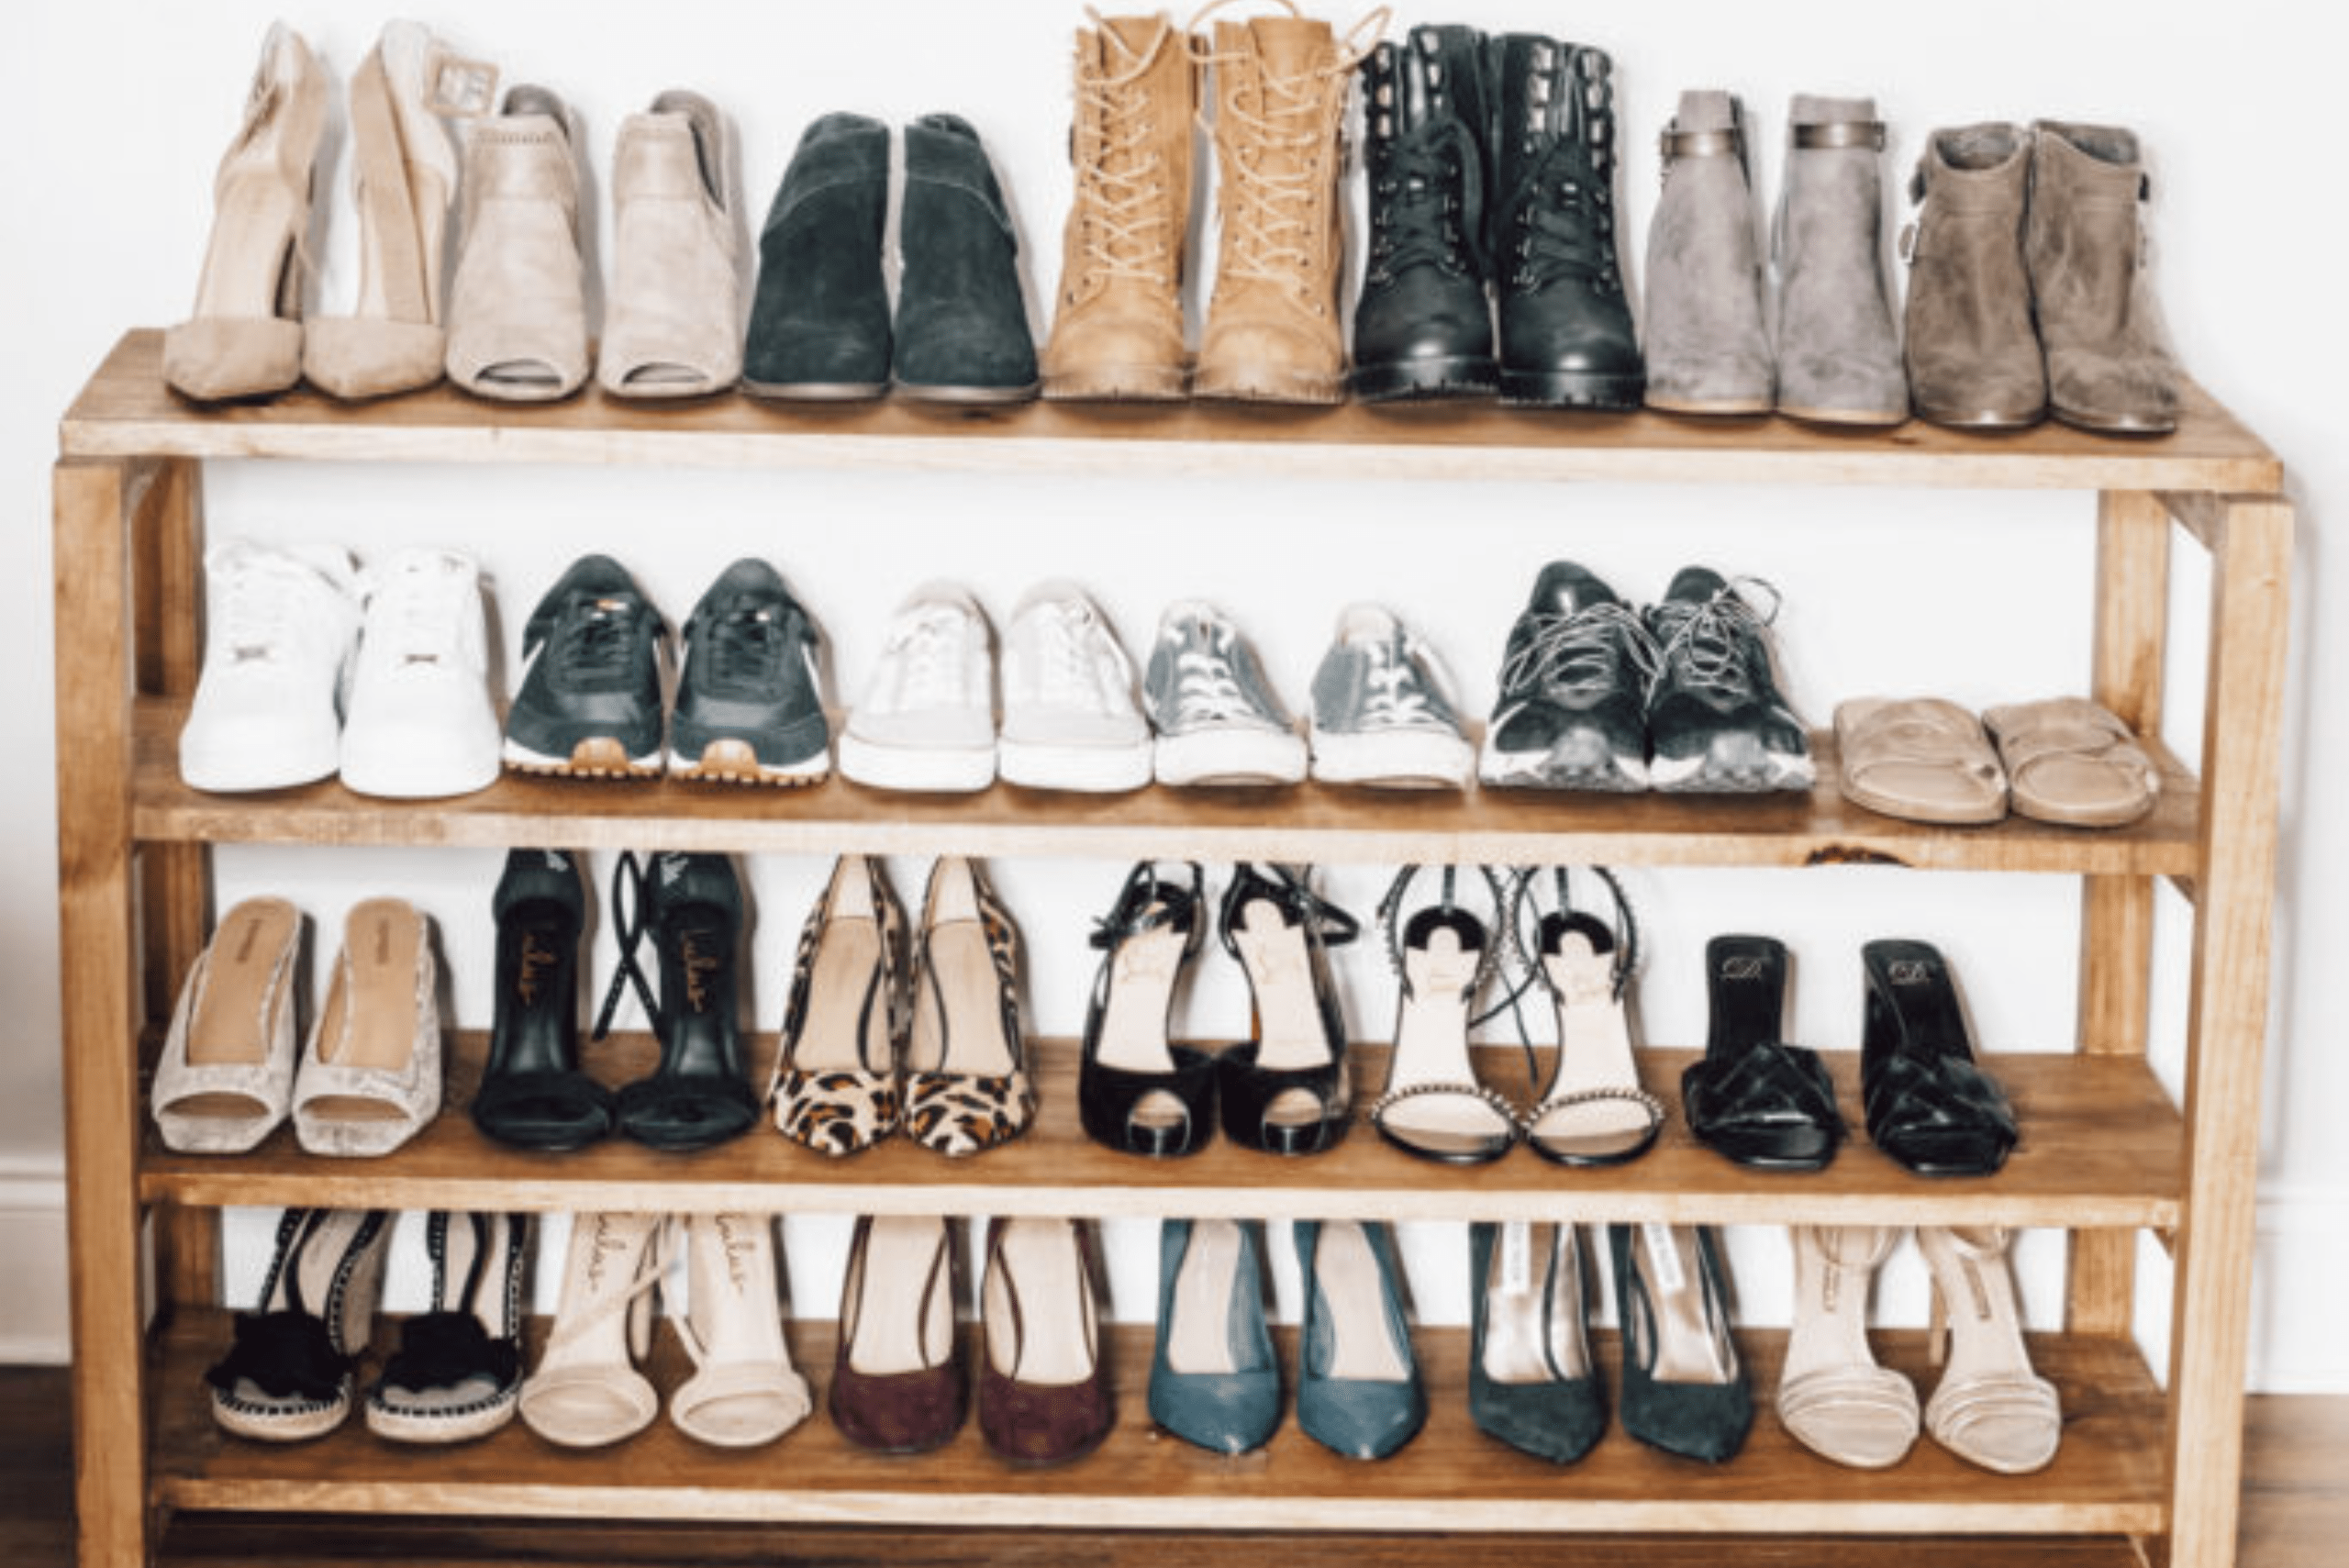
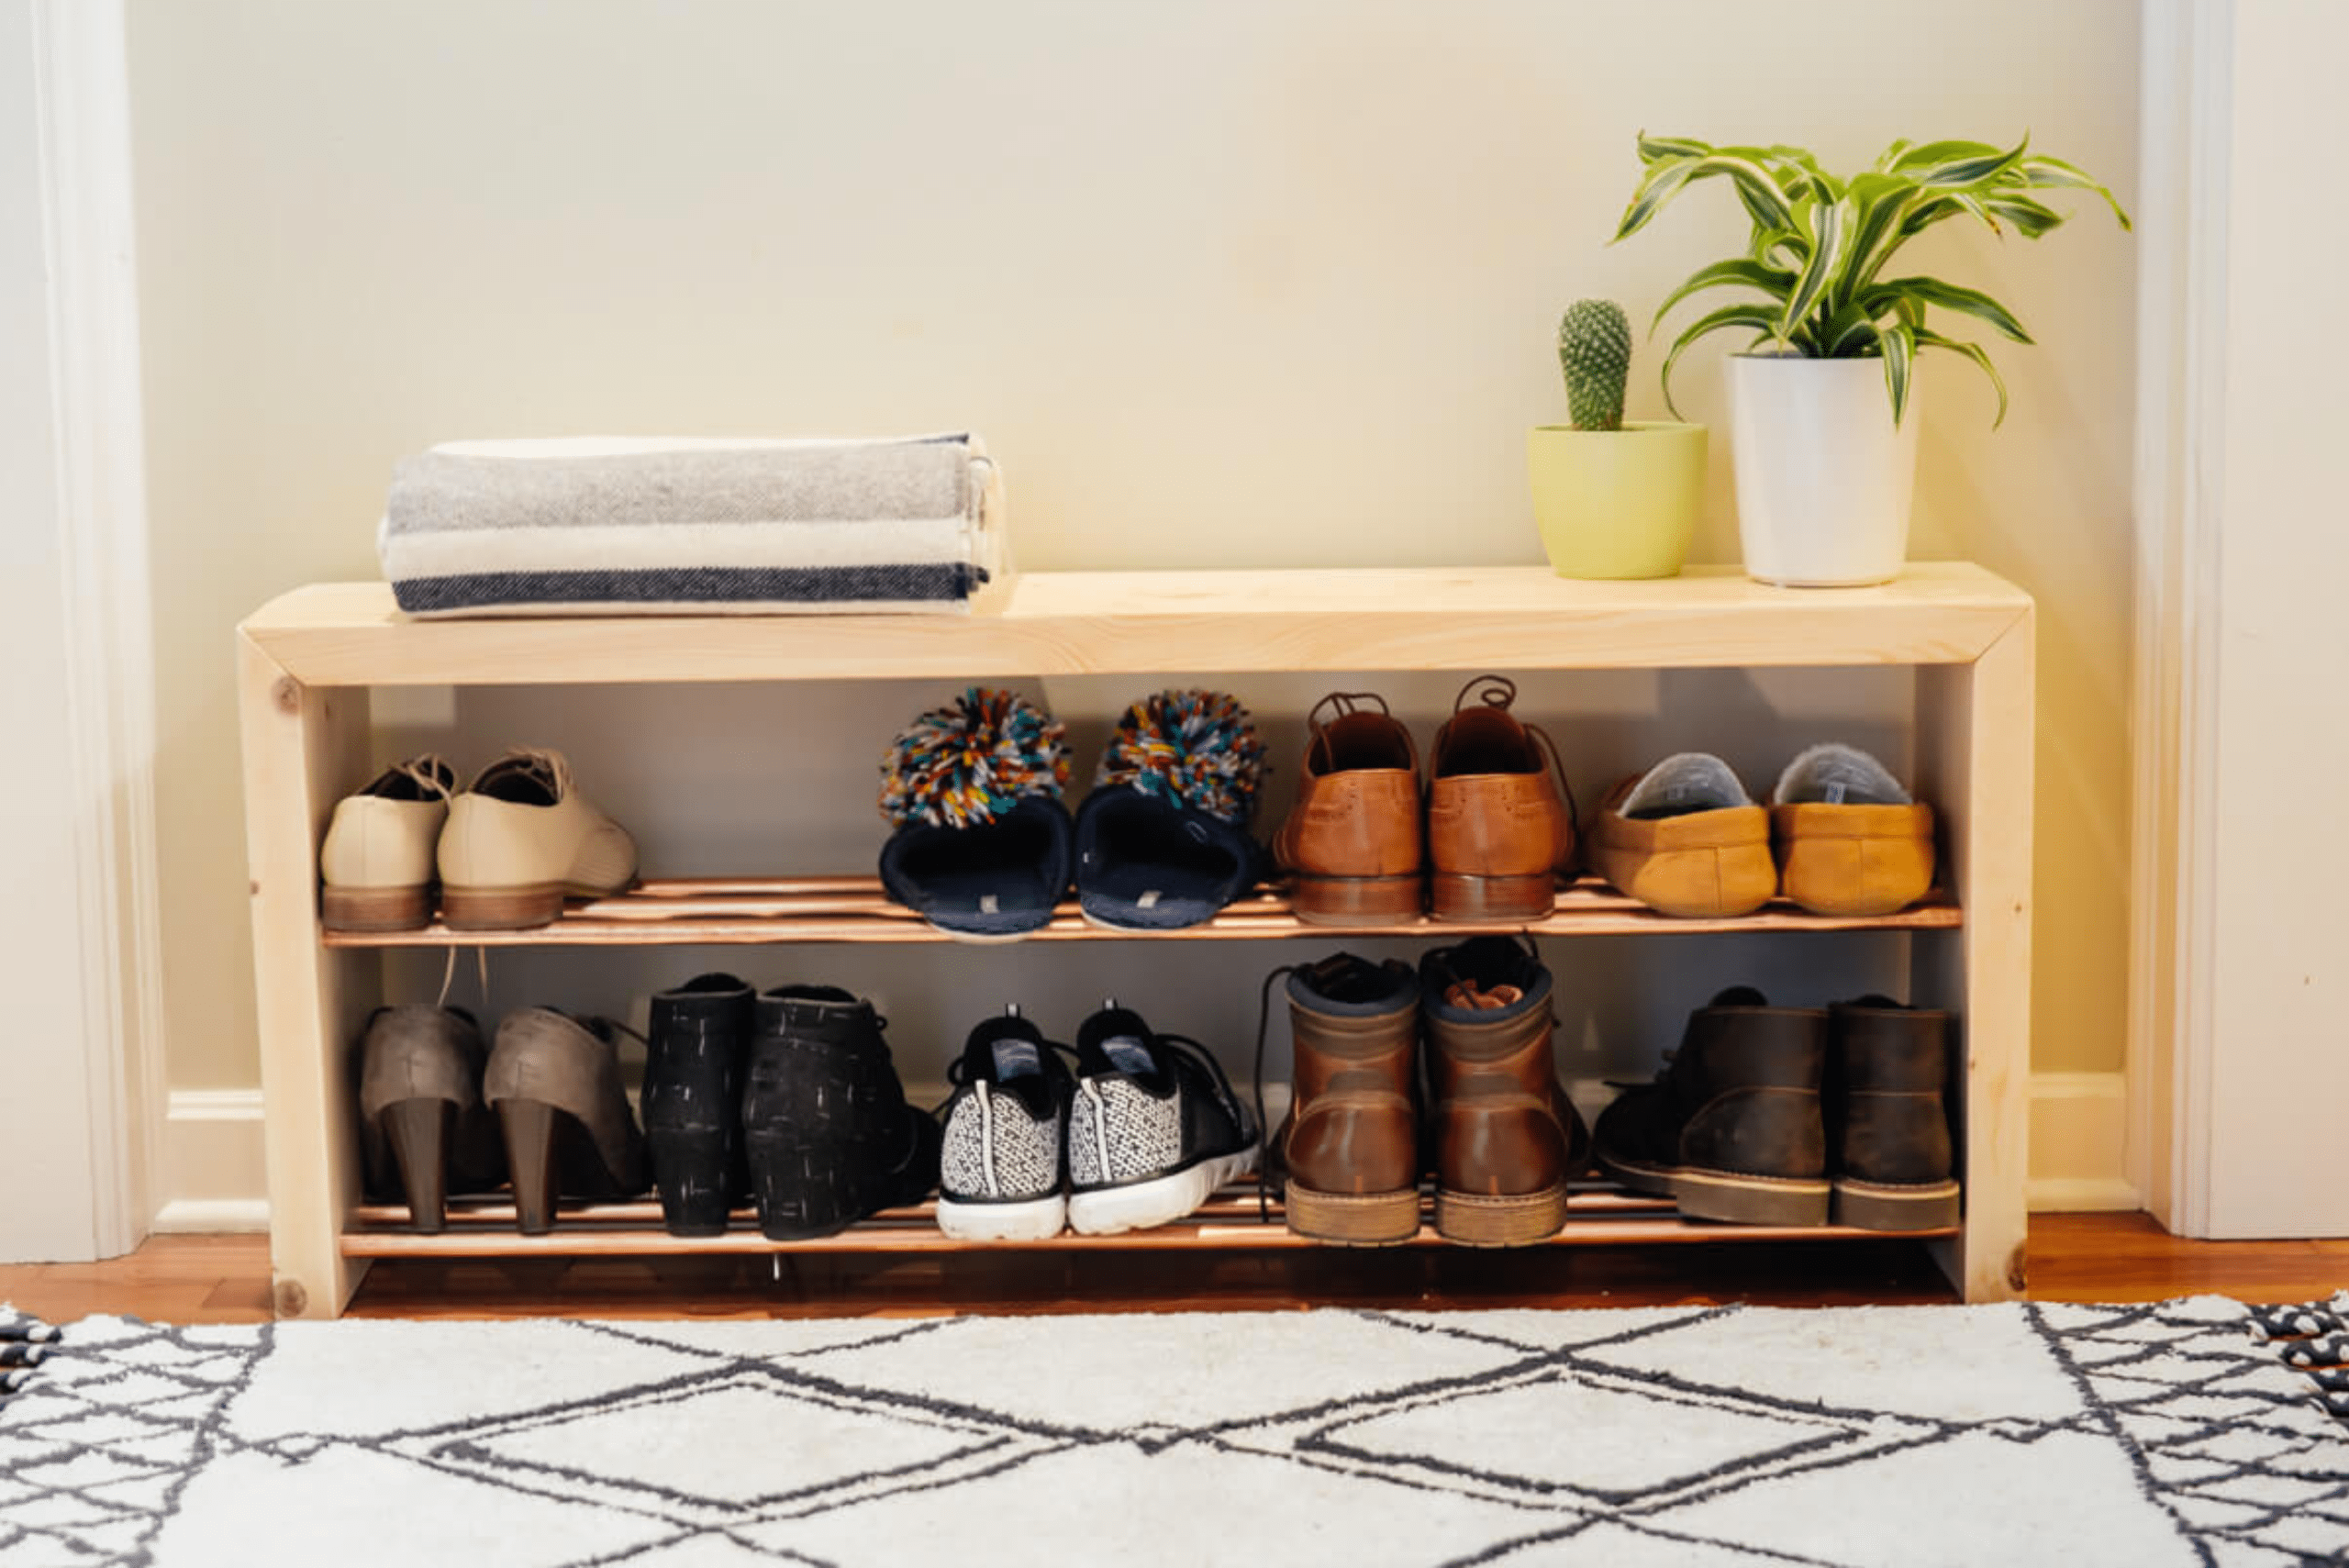
When it comes to designing your DIY shoe rack, the possibilities are endless. Whether you prefer a minimalist, modern look or a rustic farmhouse style, there are numerous design ideas and inspirations to explore. Consider incorporating features such as adjustable shelves, built-in seating, or decorative accents to elevate the functionality and visual appeal of your shoe rack. By exploring different design options, you can find the perfect style that complements your home decor.
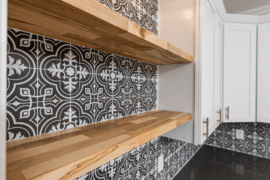
Choosing the Right Materials for Your DIY Shoe Rack
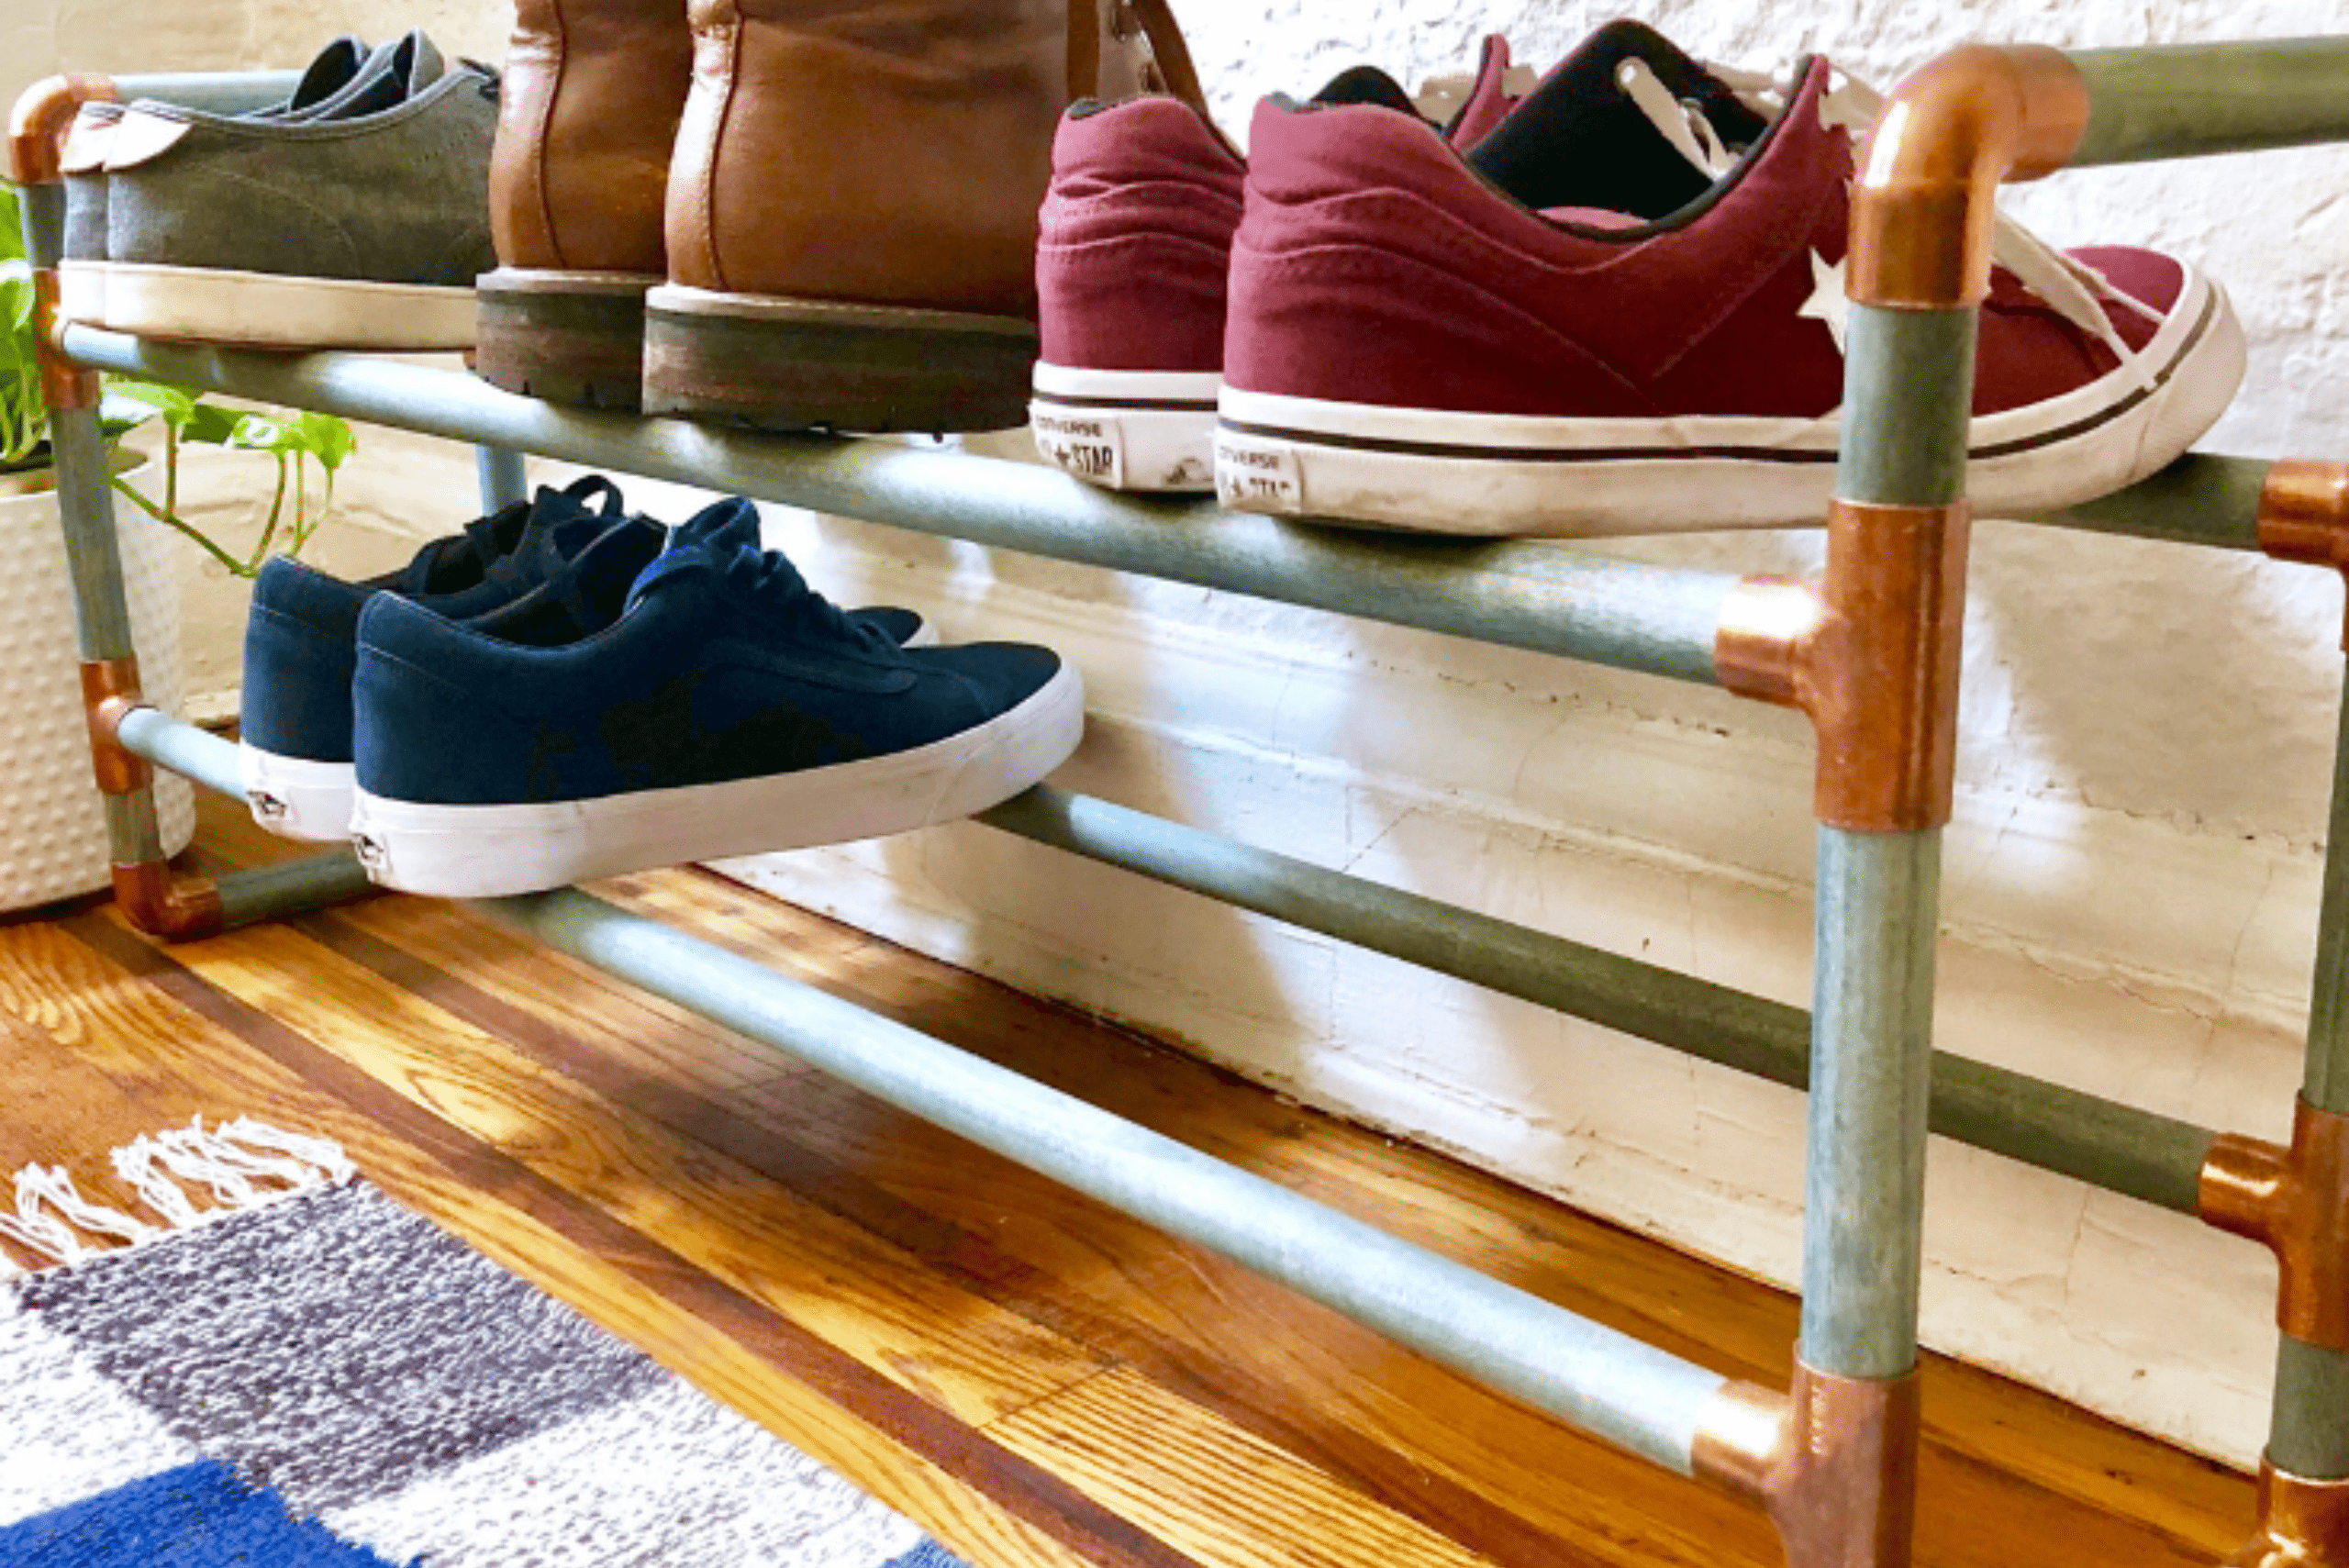
Selecting the appropriate materials is crucial for the success of your DIY shoe rack project. Depending on your design preferences and skill level, you can choose from a variety of materials such as wood, metal, or even repurposed items. Consider factors such as durability, aesthetics, and ease of construction when making your material choices. Additionally, ensure that the materials you select align with your overall vision for the shoe rack.
Step-by-Step Instructions for Building Your DIY Shoe Rack
Now that you have a clear plan and design in mind, it’s time to start building your DIY shoe rack. We will provide you with detailed, step-by-step instructions to guide you through the construction process. From cutting the materials to assembling the pieces, we will cover each stage of the project, ensuring that you can successfully build your own custom shoe rack.
Materials:
- 1×12-inch pine boards (quantity depends on the desired size)
- 1×2-inch pine boards (you can opt for hardwood, but it’s harder to work with)
- Wood screws (2-inch and 1-inch)
- Wood glue
- Sandpaper (medium and fine grit)
- Wood stain or paint
- Polyurethane (optional for a glossy finish)
Tools:
- Brushes or rags for staining/painting
- Screwdriver or drill
- Saw (circular or miter saw)
- Measuring tape
- Pencil
- Safety equipment (gloves, safety glasses)
Step-by-Step Build Instructions
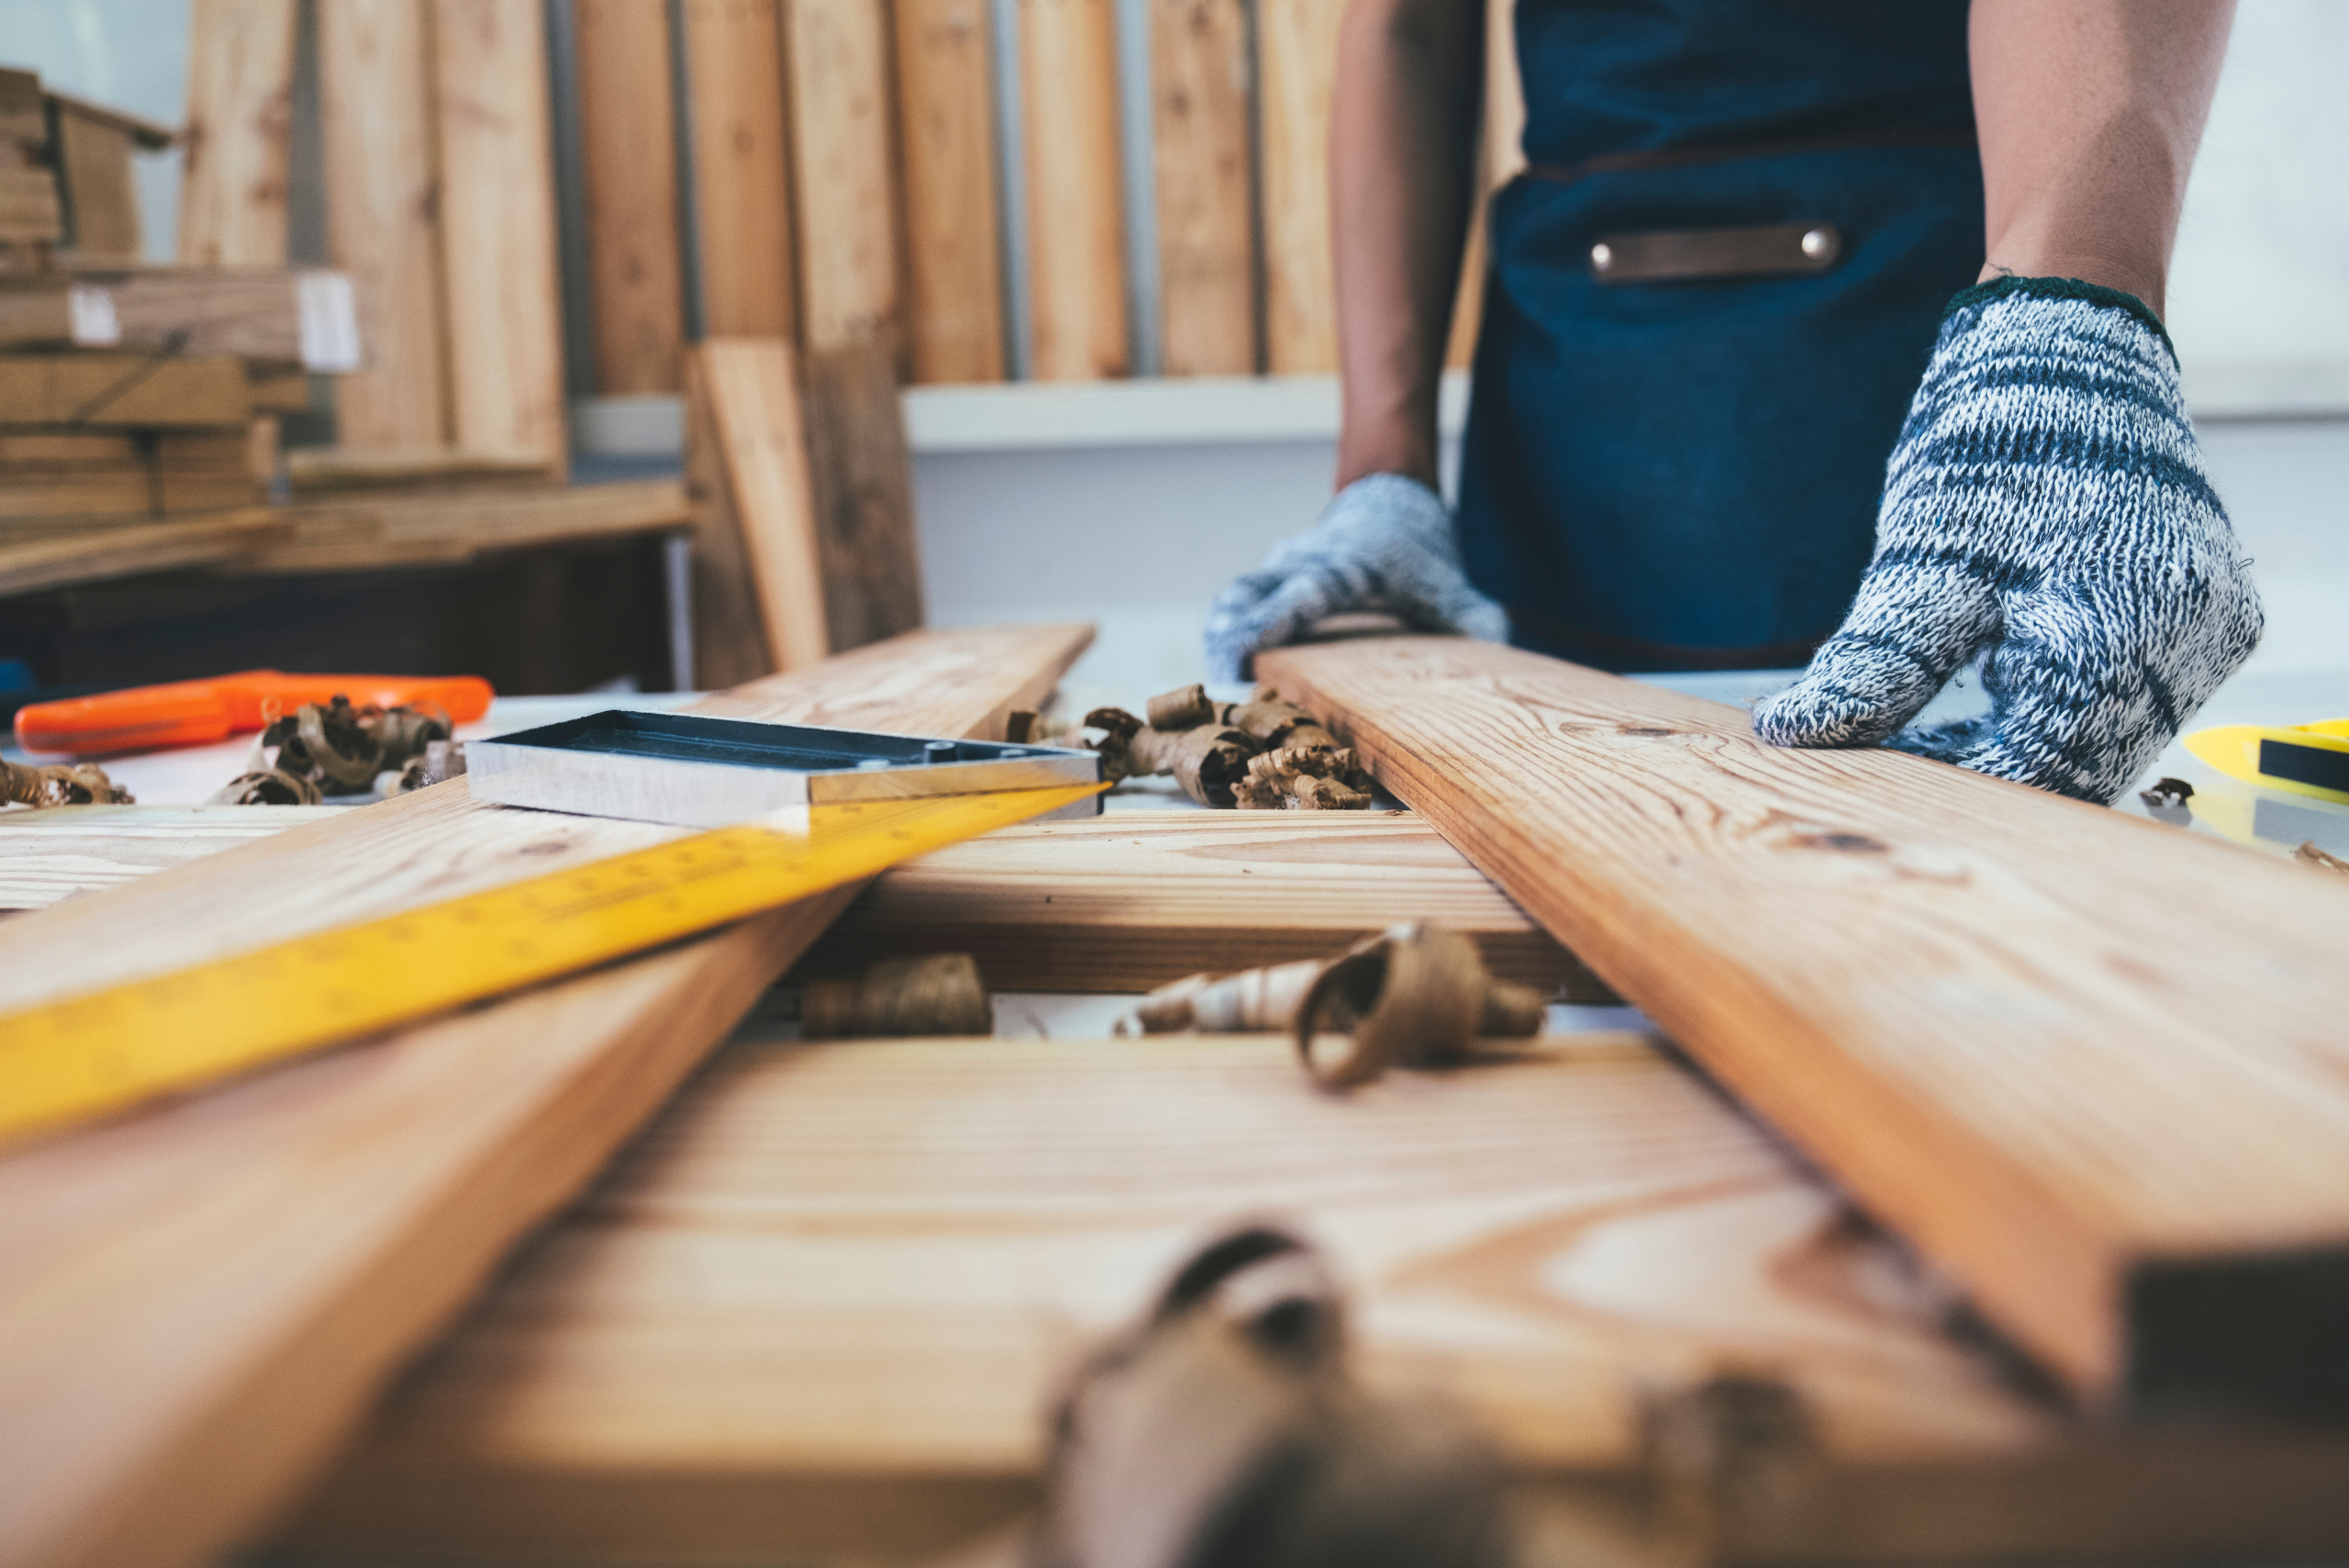
Step 1: Design and Measurement
- Determine the size of your shoe rack. Measure the available space and decide on the height, width, and depth of the rack.
- Sketch a design with the number of shelves and their spacing. This will serve as your blueprint.
Step 2: Cut the Boards
- Using a saw, cut the 1×12-inch pine boards to the desired lengths for the shelves. Also, cut the 1×2-inch boards for the frame and supports.
- Sand all cut edges with medium grit sandpaper to smooth out any rough spots.
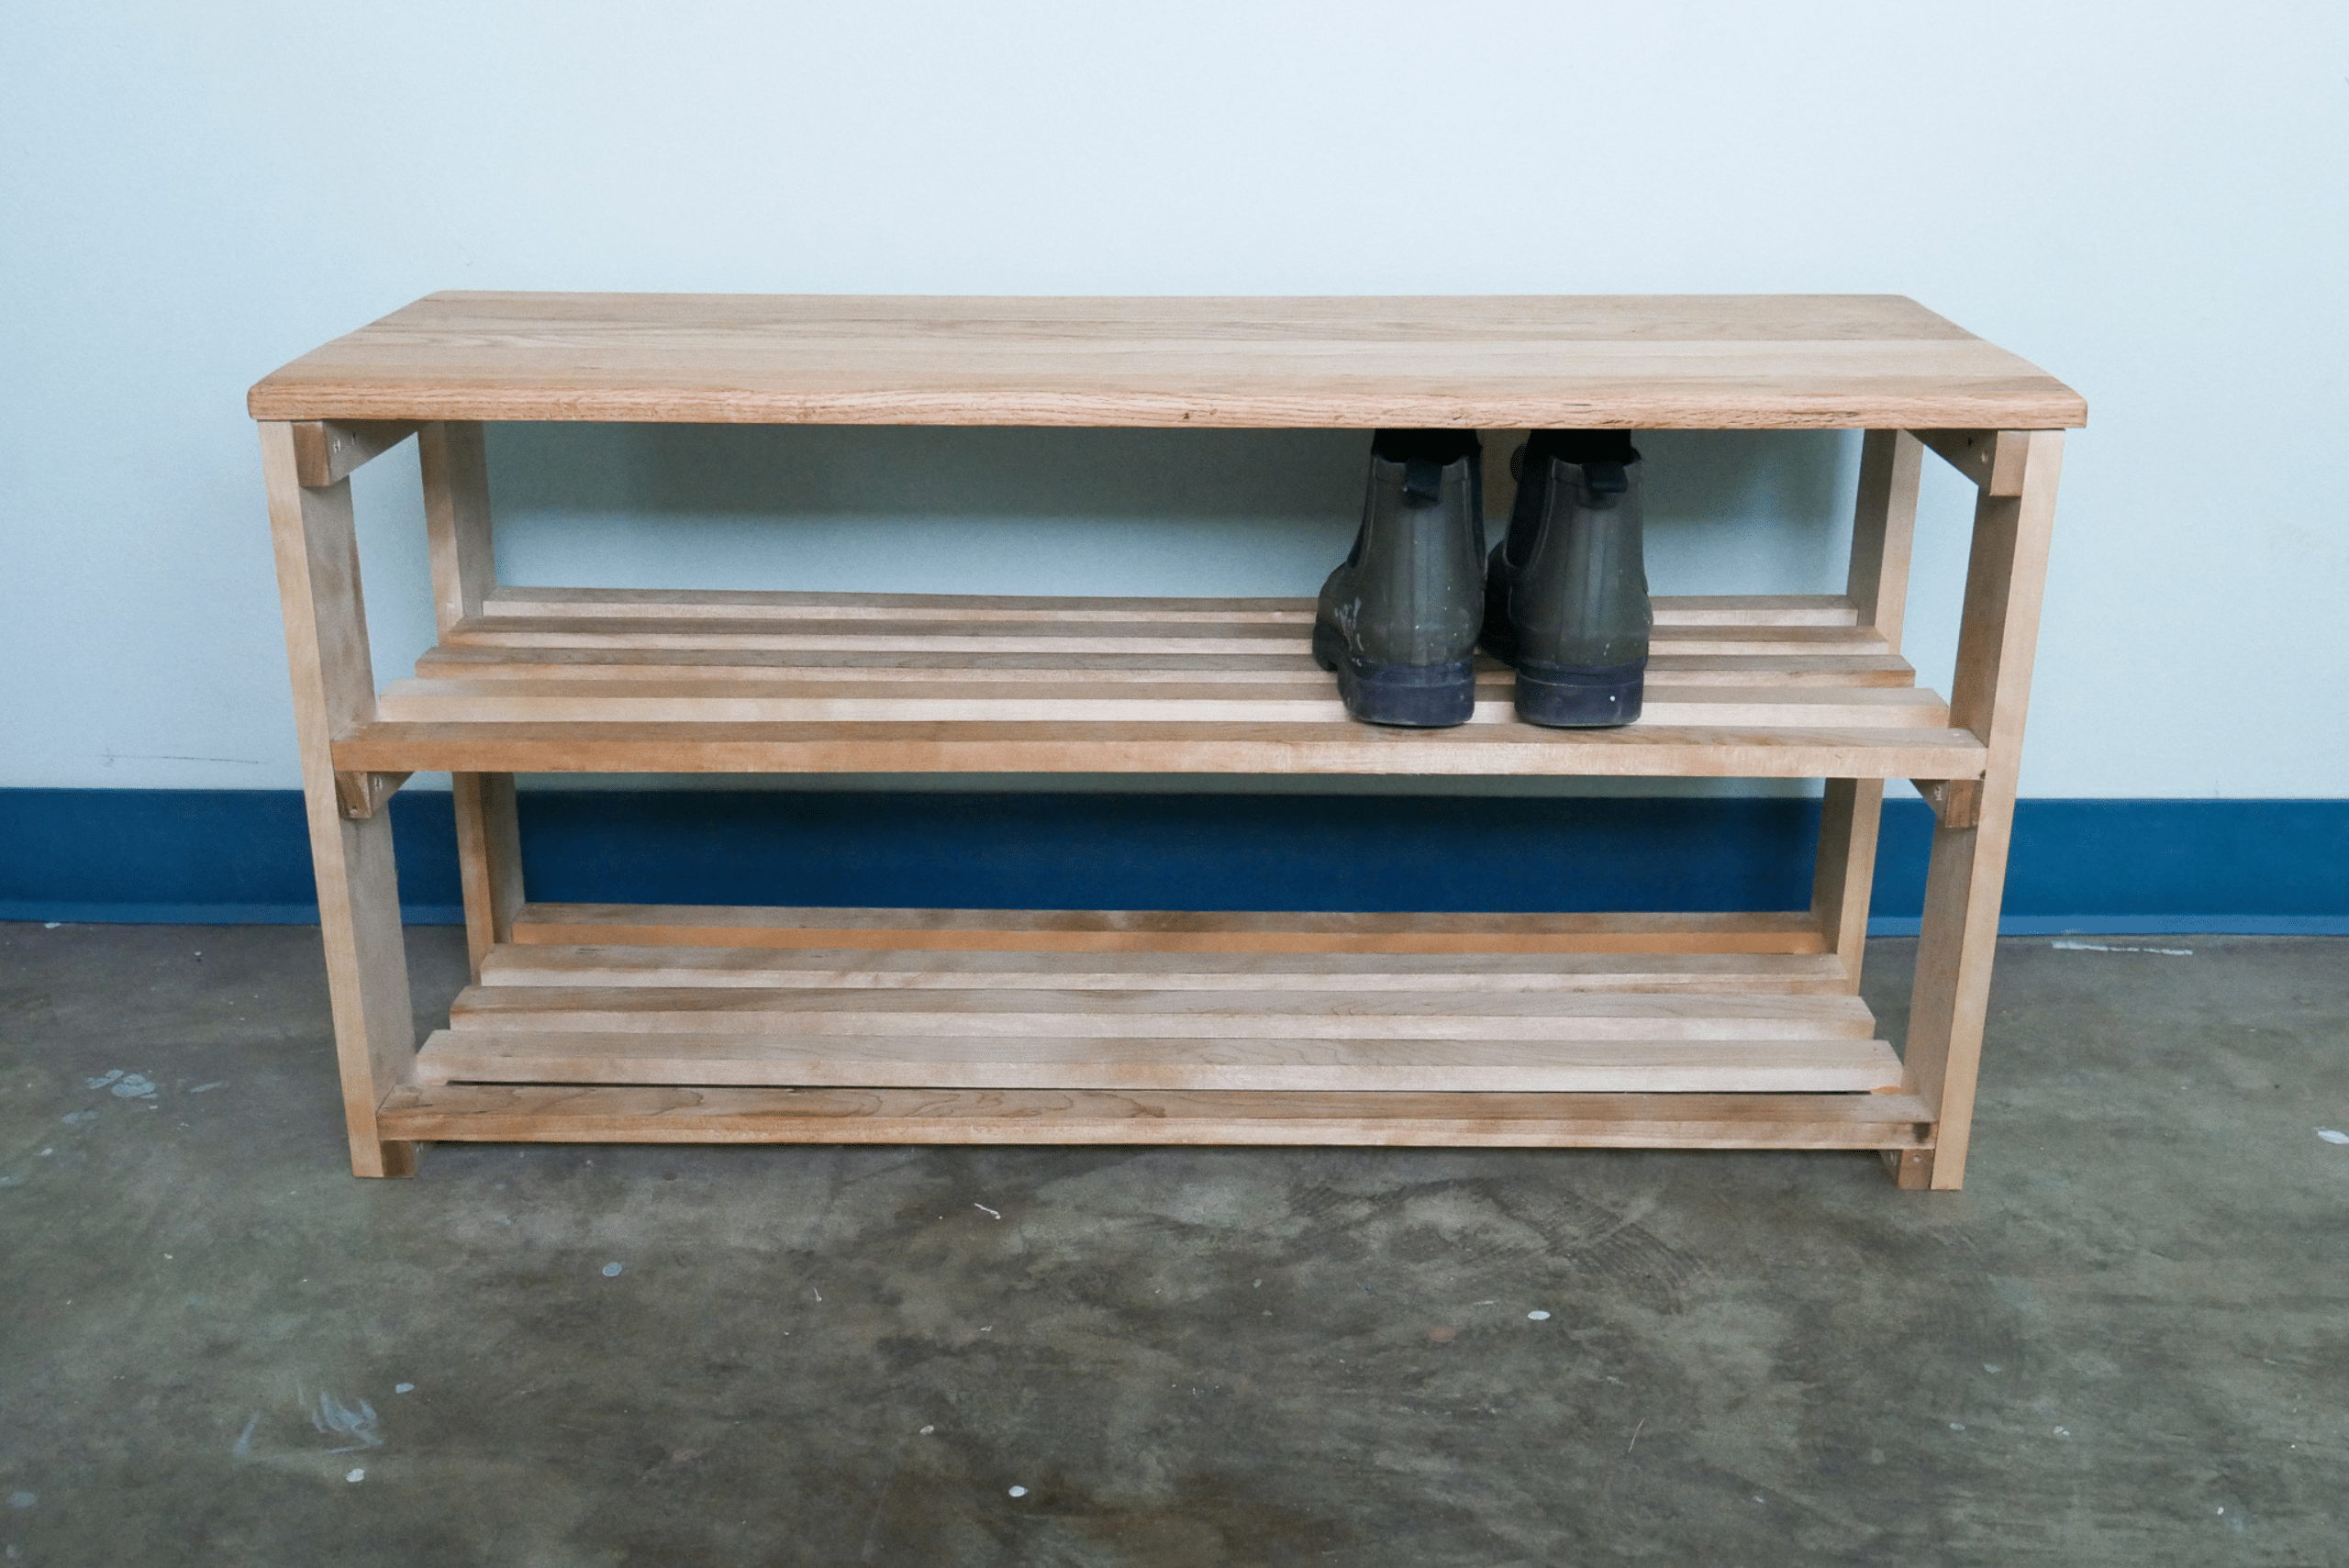
Step 3: Assemble the Frame
- Lay out the 1×2-inch boards to form the vertical sides and horizontal supports of the frame.
- Apply wood glue to the joints and secure them with 2-inch wood screws.
- Ensure the frame is square by measuring diagonally from corner to corner. Adjust if needed.
Step 4: Attach the Shelves
- Apply wood glue to the top edges of the frame.
- Place the 1×12-inch boards on top, ensuring they are evenly spaced.
- Secure the shelves by driving 1-inch wood screws through the top of the shelves into the frame.
Step 5: Reinforce the Structure
- To add stability, cut additional 1×2-inch boards to the length of the shelves.
- Attach these supports underneath the shelves using wood glue and screws.
Step 6: Sanding
- Smooth all surfaces with fine-grit sandpaper. Pay special attention to corners and edges.
- Round the edges slightly for a finished look.
Step 7: Stain or Paint
- Apply your chosen wood stain or paint using brushes or rags.
- Allow it to dry completely before applying a second coat, if necessary.
Step 8: Finish with Polyurethane (Optional)
- For added protection and a glossy finish, apply a coat of polyurethane.
- Let it dry according to the manufacturer’s instructions.
Step 9: Mount or Place
- Decide whether you want to mount the shoe rack on the wall or place it on the floor.
- If mounting, use appropriate wall anchors and screws.
Tips and Things to Look Out For:
- Wear safety gear, especially when using power tools.
- Double-check measurements before cutting to avoid errors.
- Sand thoroughly to achieve a professional finish.
- Follow the recommended drying times for glue, paint, and polyurethane.
- Consider the weight capacity if planning to store heavy items on the shelves.
- Secure the shoe rack firmly if mounting to the wall to prevent accidents.
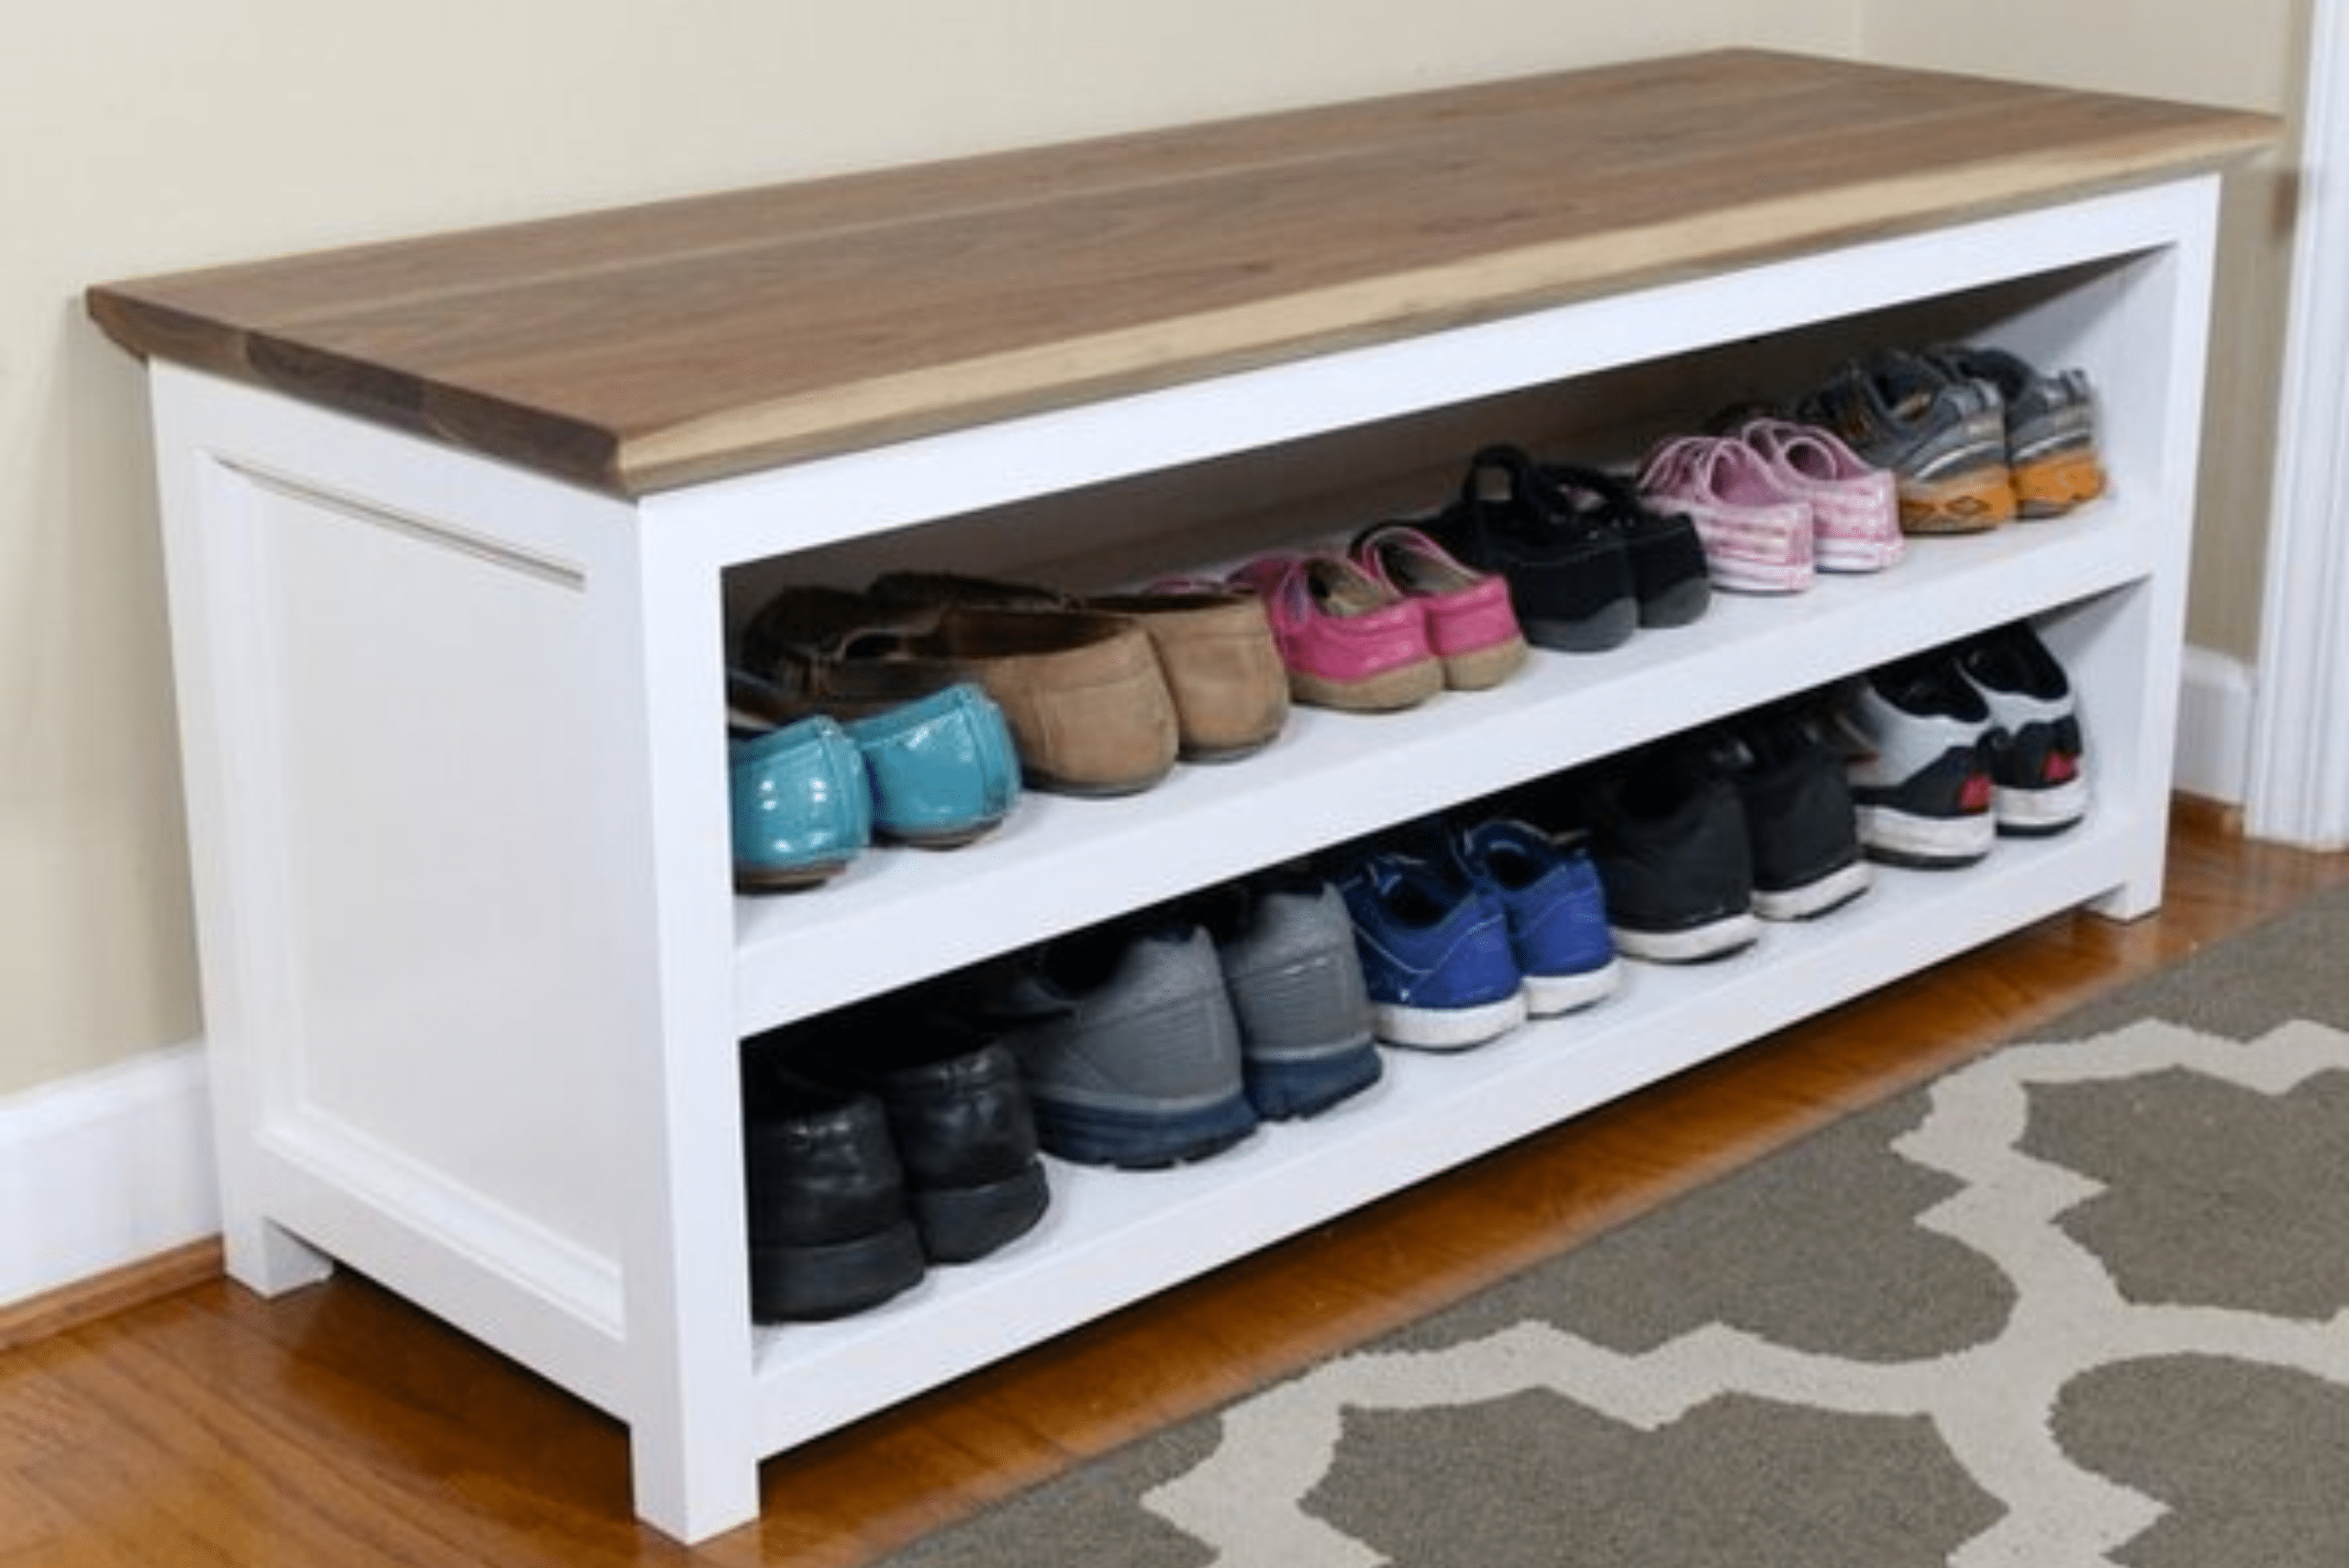
Tips for Finishing and Customizing Your DIY Shoe Rack
Once the construction phase is complete, it’s time to add the finishing touches to your DIY shoe rack. Whether you choose to stain, paint, or seal the wood, the finishing process allows you to customize the appearance of your shoe rack to match your personal style. We will provide you with tips and techniques for achieving a professional finish, as well as creative ideas for adding decorative elements to your shoe rack.
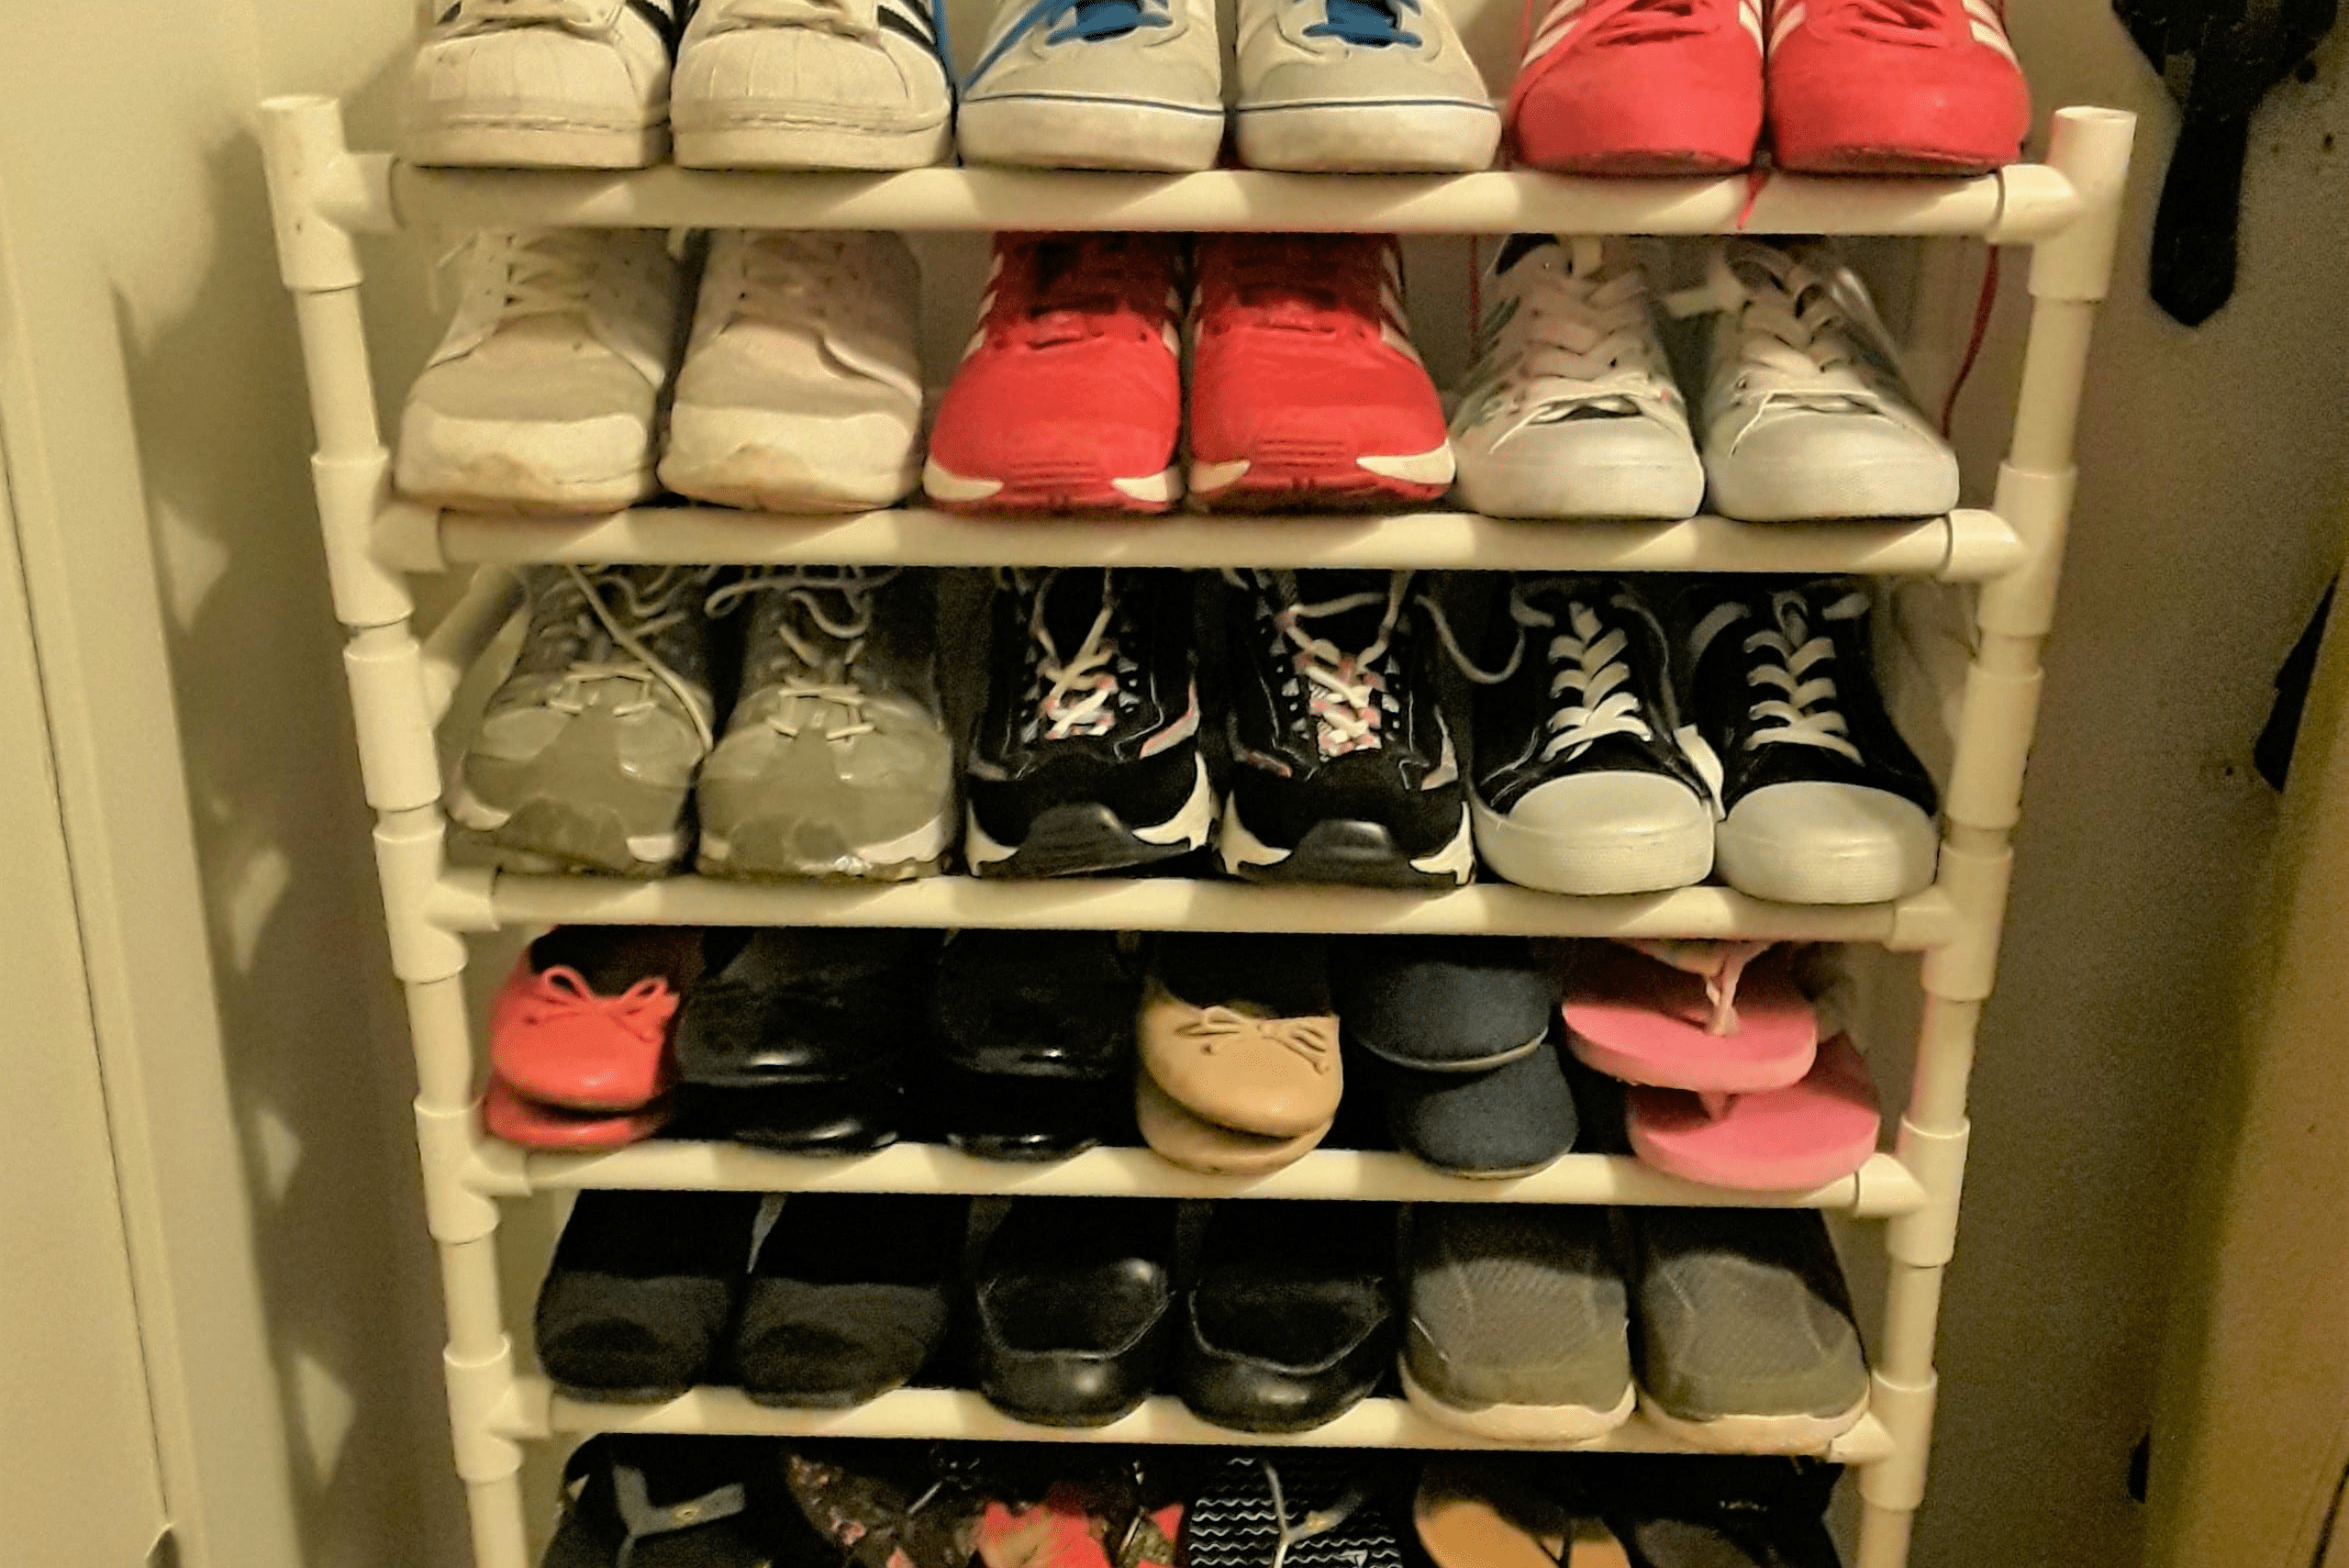
Organizing Your Shoes on the DIY Shoe Rack
With your newly constructed shoe rack in place, it’s time to organize your shoe collection. There are various practical ways to arrange and store your shoes on the rack, maximizing space and accessibility. Whether you prefer to sort your shoes by style, color, or frequency of use, you will have pleasant and efficient access to your shoes.
Building your own DIY shoe rack is a rewarding and practical endeavor that allows you to transform your living space while expressing your creativity. Enjoy creating a functional and visually appealing storage solution for your shoes, and embrace the satisfaction of completing a successful DIY project.
Ready to bring new life to your home? Subscribe to our newsletter for exclusive interior design tips, trends, and ideas that will transform your space. Click here to subscribe!