We know that photos can be an amazing source of design inspiration, so this article may contain affiliate links that will direct you to a particular decor item. Clicking on a link may result in a portion of proceeds being paid to www.decoist.com
Adding rustic elements or accessories to your home can be a great way to decorate home during the fall. You don’t want to over-do it or your house goes from rustic-chic to just plain rusty looking, but adding elements like this DIY rustic metal tiered tray is just what you need for your kitchen or dining room. You can use it to display festive pieces like decorative pumpkins, or for something more practical like spices, dishes, or even desserts!
Supply List:
- Two to three baking pans or springforms
- This set comes in 3 different sizes which make it perfect for the tiered look
- 1″ Plastic tube
- We’re using a toy wand that was purchased from the dollar store, which will be cut into two pieces, one 6″ and one 8″.
- Hot glue gun
- Wooden dowels
- 12 to 15 dowels cut at 6″
- 12 to 15 dowels cut at 8″
- 1 magnifying glass with the lens removed
- Acrylic paint in grey, black, brown, and white
- Plastic shopping bags
- Paintbrush
- Vinegar
- Rust-Oleum Espresso Spray Paint
- A measuring tape


Step 1:
Prepare the surface of your tray by wiping it down with vinegar. This will help to bring out the shine of the tray while cleaning it at the same time.
Step 2:
Pour your acrylic paints onto a spare tray or plate so they’re ready for you to use.
Step 3:
Take an old plastic bag and dip it into the grey paint to start, then dab it onto the first tray. Be sure you’re making a dabbing motion with your bag when applying the paint. Avoid smearing or smoothing the paint on.
Step 4:
Next, take another plastic bag and dab it into the black paint, then dab it around the surface to blend it with the grey. Do not rub it into the tray. You want to create a texture with the paint that seems weathered rather than smooth.
Step 5:
If you feel that your tray is looking too dark, you can dab white paint into darker areas to lighten up the tray.
Step 6:
Use your brown paint in certain areas of the tray to achieve a rust effect, using the same dabbing motion as before. This will help to create the farmhouse rustic style you want.
Step 7:
Repeat the painting process on your remaining trays. Pop the lens out of the magnifying glass and paint the frame in the same style.
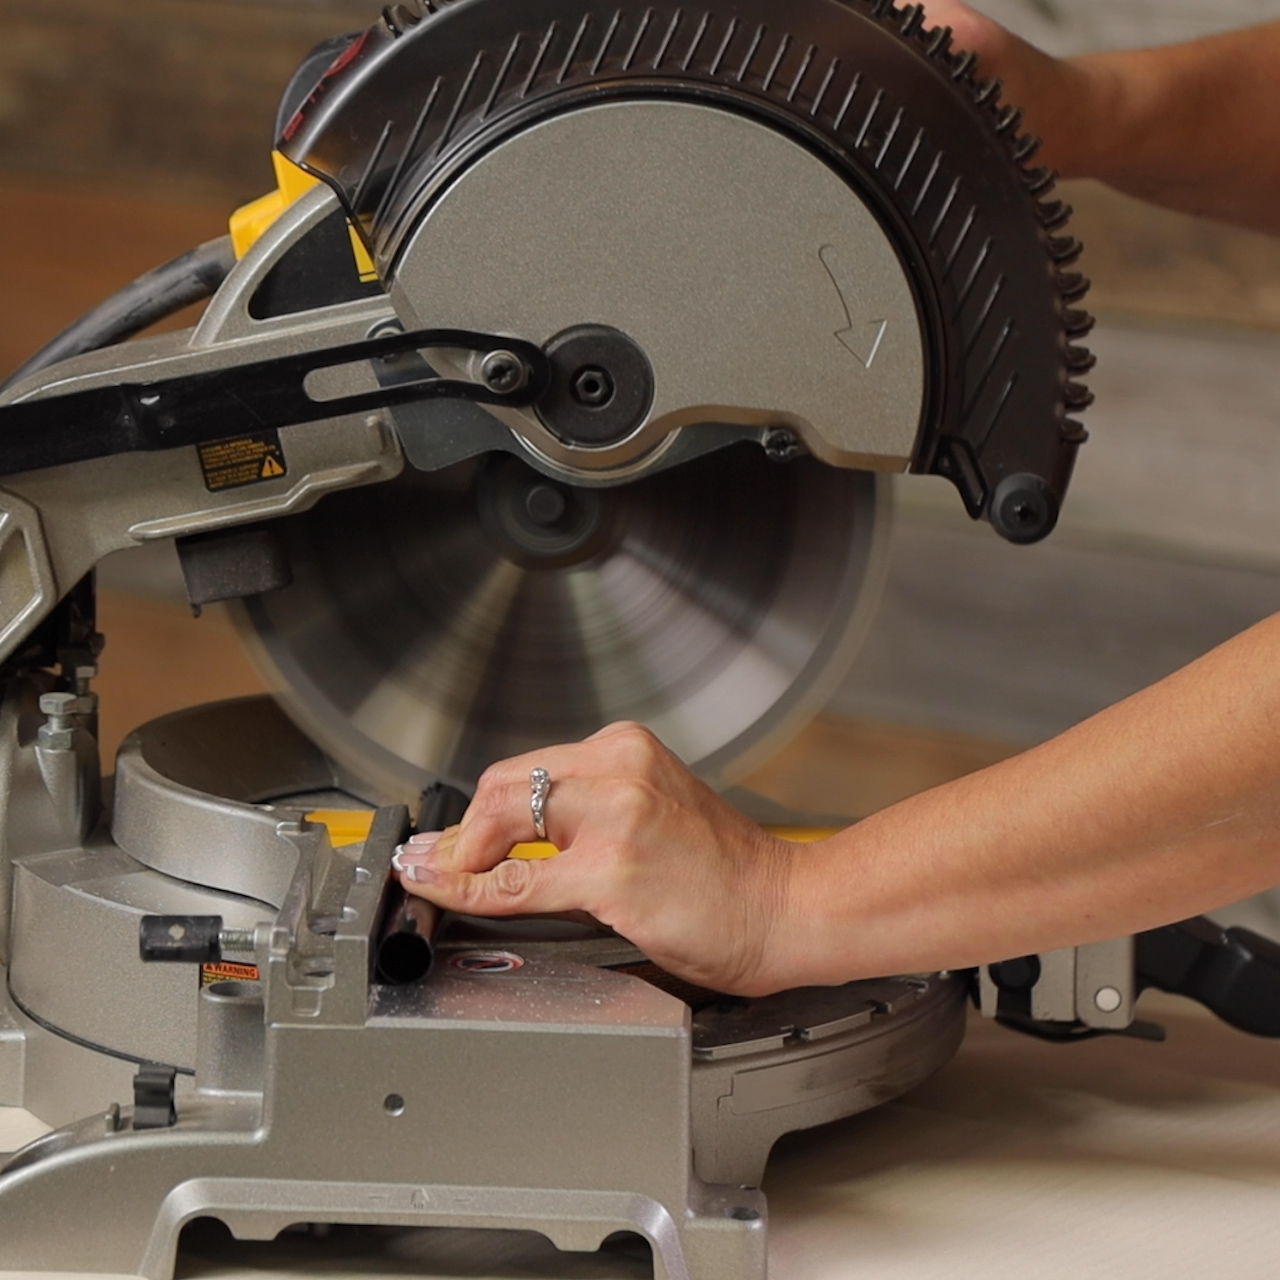
Step 8:
Take your plastic tube and cut it into two pieces, one 6″ piece and one 8″ piece.

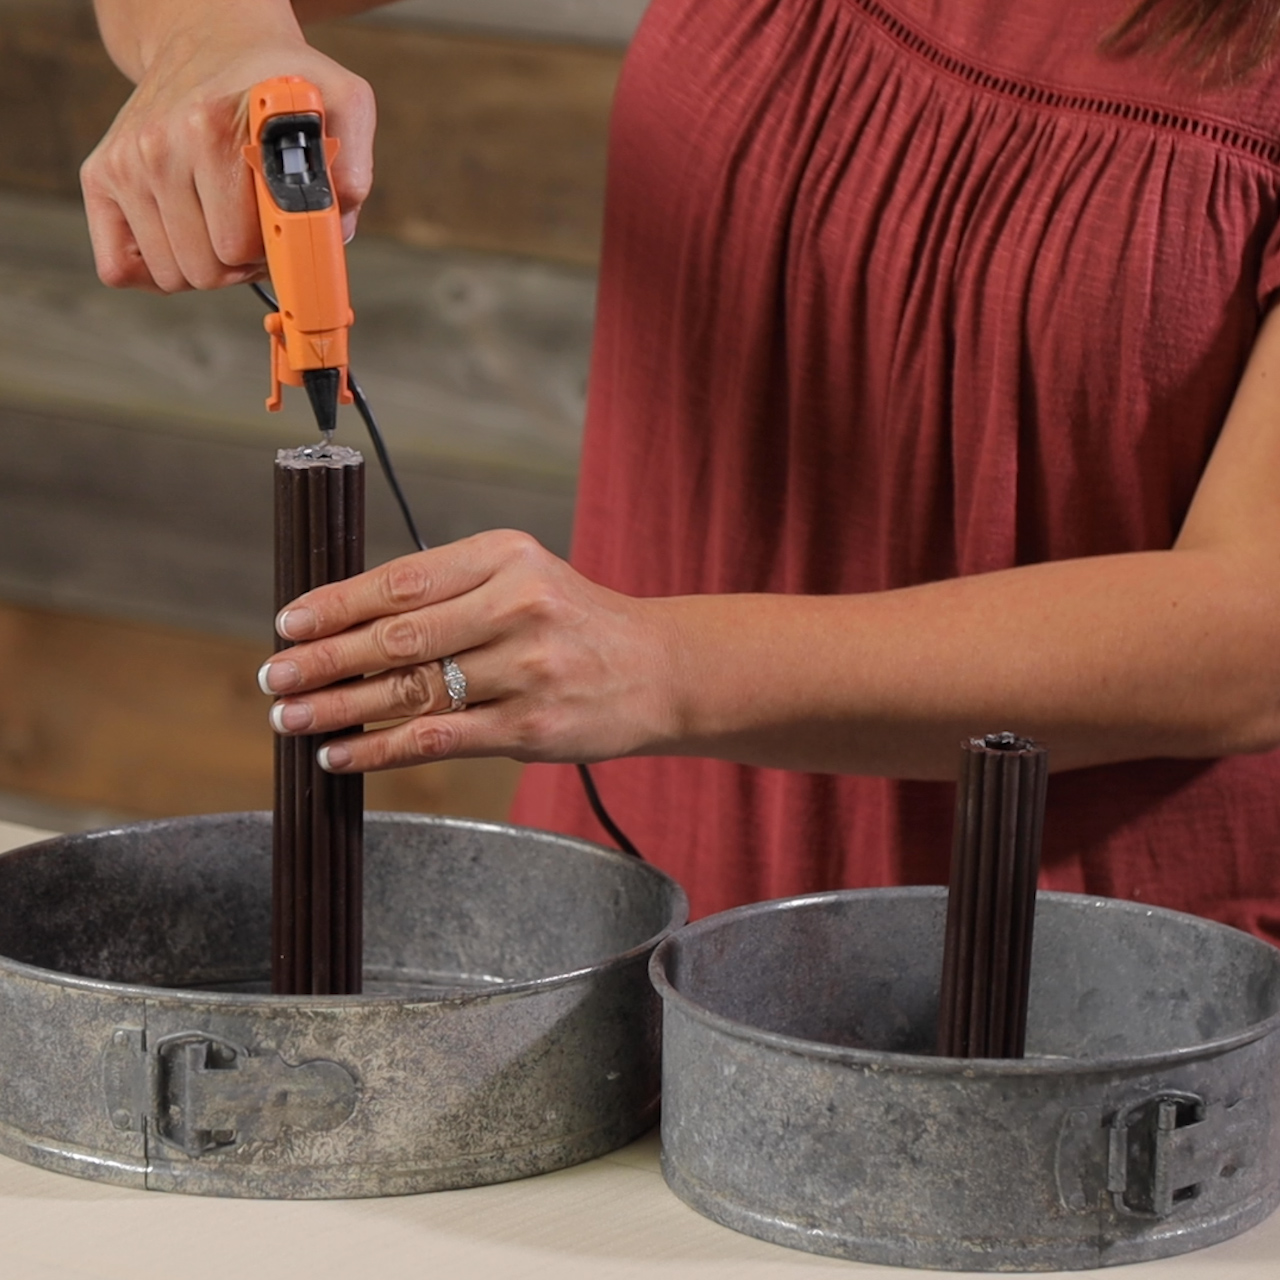
Step 9:
Glue the wooden dowels around the plastic tube. Once glued on, use your Rust-Oleum Espresso Spray Paint to stain the dowels. Do this for both the 6″ and 8″ pieces.
PRO TIP: Make sure the pieces are all lined up at the bottom of the tube.
Step 10:
Now that the dowels have been glued to the tube and stained, you want to glue the 8″ piece to the tray. Use your measuring tape to find the center of the pan and mark the spot with a pen or pencil so you know where to glue on the tube. Glue the 6″ piece to the center of the second tray.

Step 11:
Once both tubes are secured, stack the second tray on top of the first and secure it to the tube using the glue gun.
Step 12:
Once the second tray is secured, you should be able to slide the handle of the magnifying glass into the opening of the tube. Secure the magnifying glass by adding some glue to the interior.
Step 13:
The final step is to seal the tray with a protective clear topcoat, which will help to keep the paint from scratching off.


Now that you’ve created your rustic metal tier tray, you’ve got the perfect display piece to set up on your Thanksgiving table! Be sure to share your creation with Decoist on Facebook, Instagram, or Pinterest too.


