We know that photos can be an amazing source of design inspiration, so this article may contain affiliate links that will direct you to a particular decor item. Clicking on a link may result in a portion of proceeds being paid to www.decoist.com
Lighting in your home is something that if you wanted to, you could spend all your money on. It’s not uncommon for someone to spend hundreds or thousands of dollars on a chandelier because they want something that makes a statement and draws the eye of their guests. We’re here, though, to show you that you don’t need to spend a lot of money to have a beautiful chandelier in your home. A modern DIY pendant lamp is the perfect piece of everyday decor for you to create for your home that you can be proud to have hanging in your dining room or living room while knowing that you didn’t have to break the bank to get it.
Supply List:
- One 12″ circular lampshade
- You can purchase it separately or take it from an existing lamp you want to give a facelift to.
- Hot glue gun & hot glue sticks
- Pebeo Studio high viscosity acrylic paints
- We chose to use the colors Mars Black, Iridescent Gold, and Blue-Green
- Paintbrushes
- Five-gallon wooden paint stir sticks
- You can purchase them here or many stores will give them to you for free!
- 18″ wooden quilter’s hoop
Step 1:
Cut your 18″ wooden quilters hoop in half so it becomes two hoops. Paint the hoop a color of your choice—we chose Mars Black as a neutral base.


Step 2:
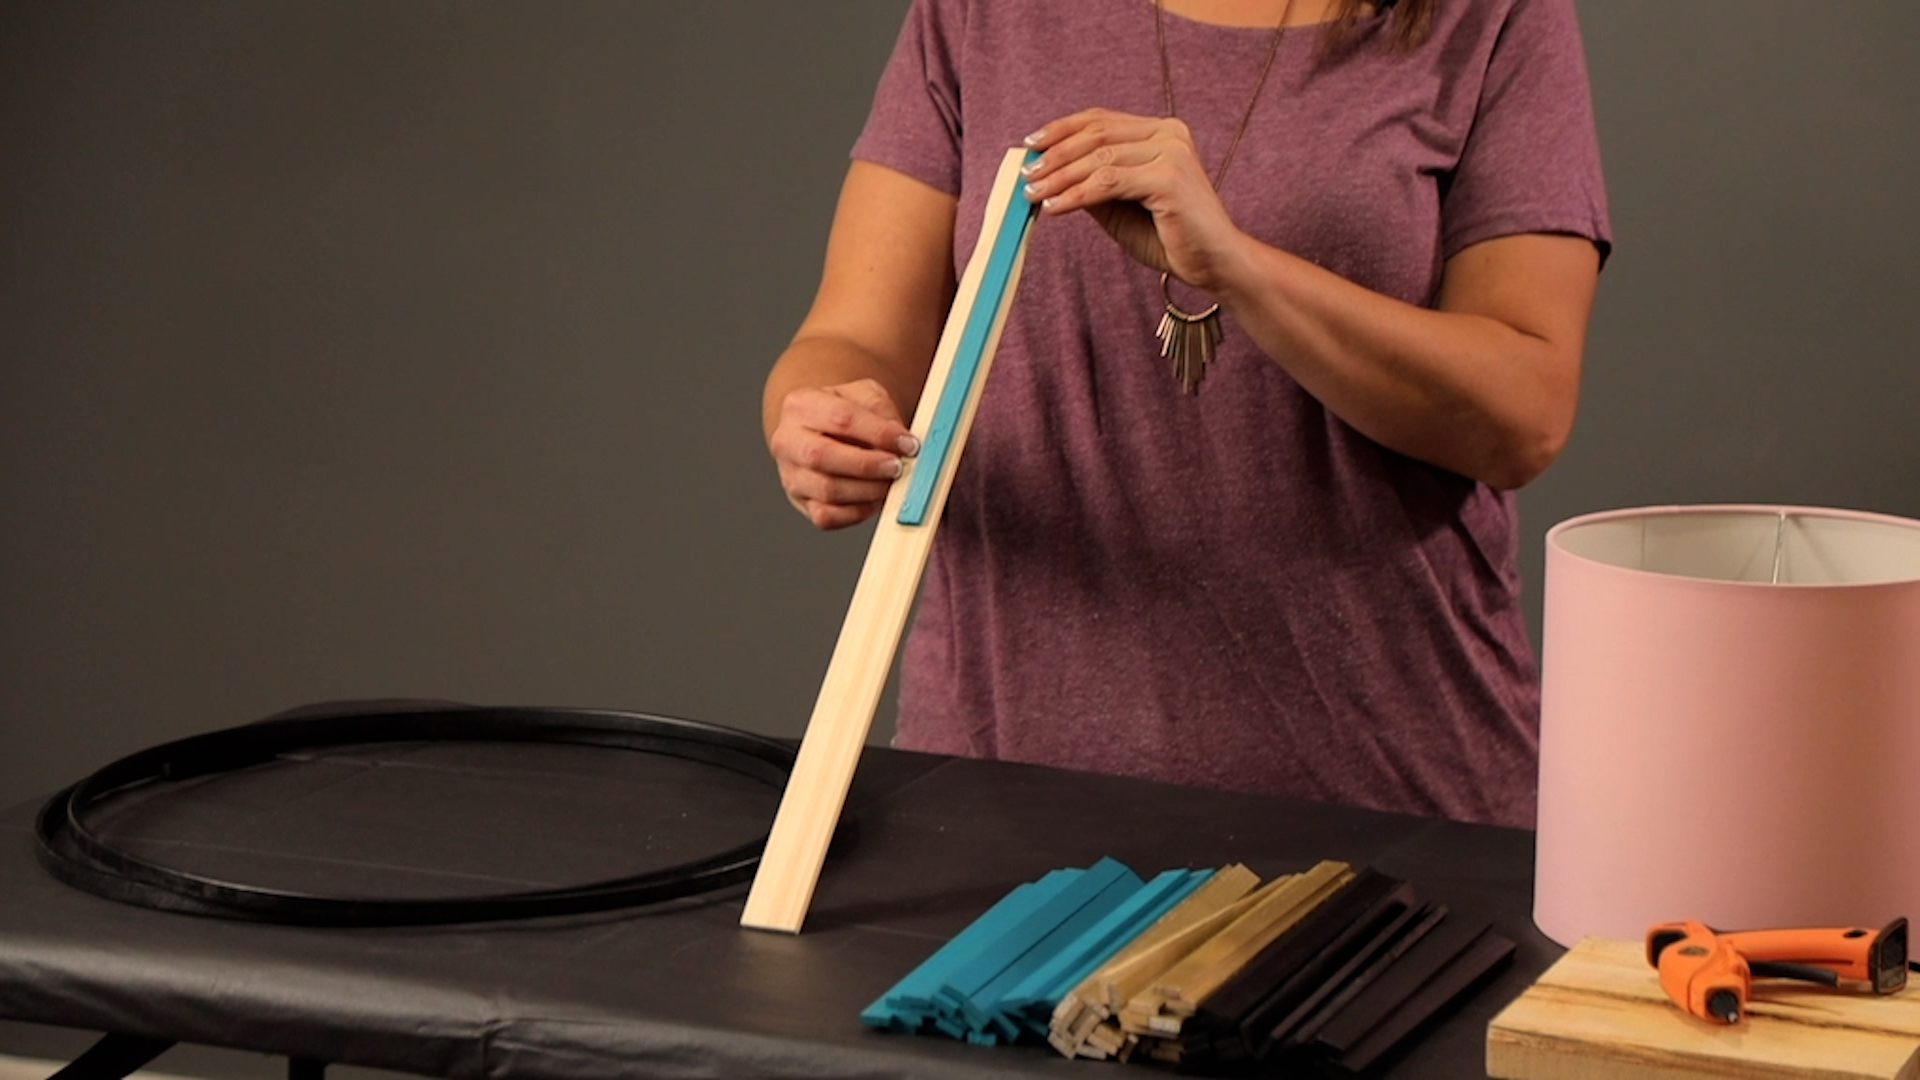
Take your five-gallon wooden stir sticks and cut them lengthwise, then in half to create the smaller sticks needed to build your lamp. You will need approximately 42 smaller sticks for each pendant lamp.
PRO TIP: Use your first five-gallon stick as a tester. Cut it into four pieces and test them against the quilter’s hoop and lampshade to make sure they’re the right length.

Step 3:
Now that you have your wooden sticks for the pendant lamp, it’s time to paint them using your Pebeo Studio acrylic paints. We chose teal, gold, and black as our three colors.
Step 4:
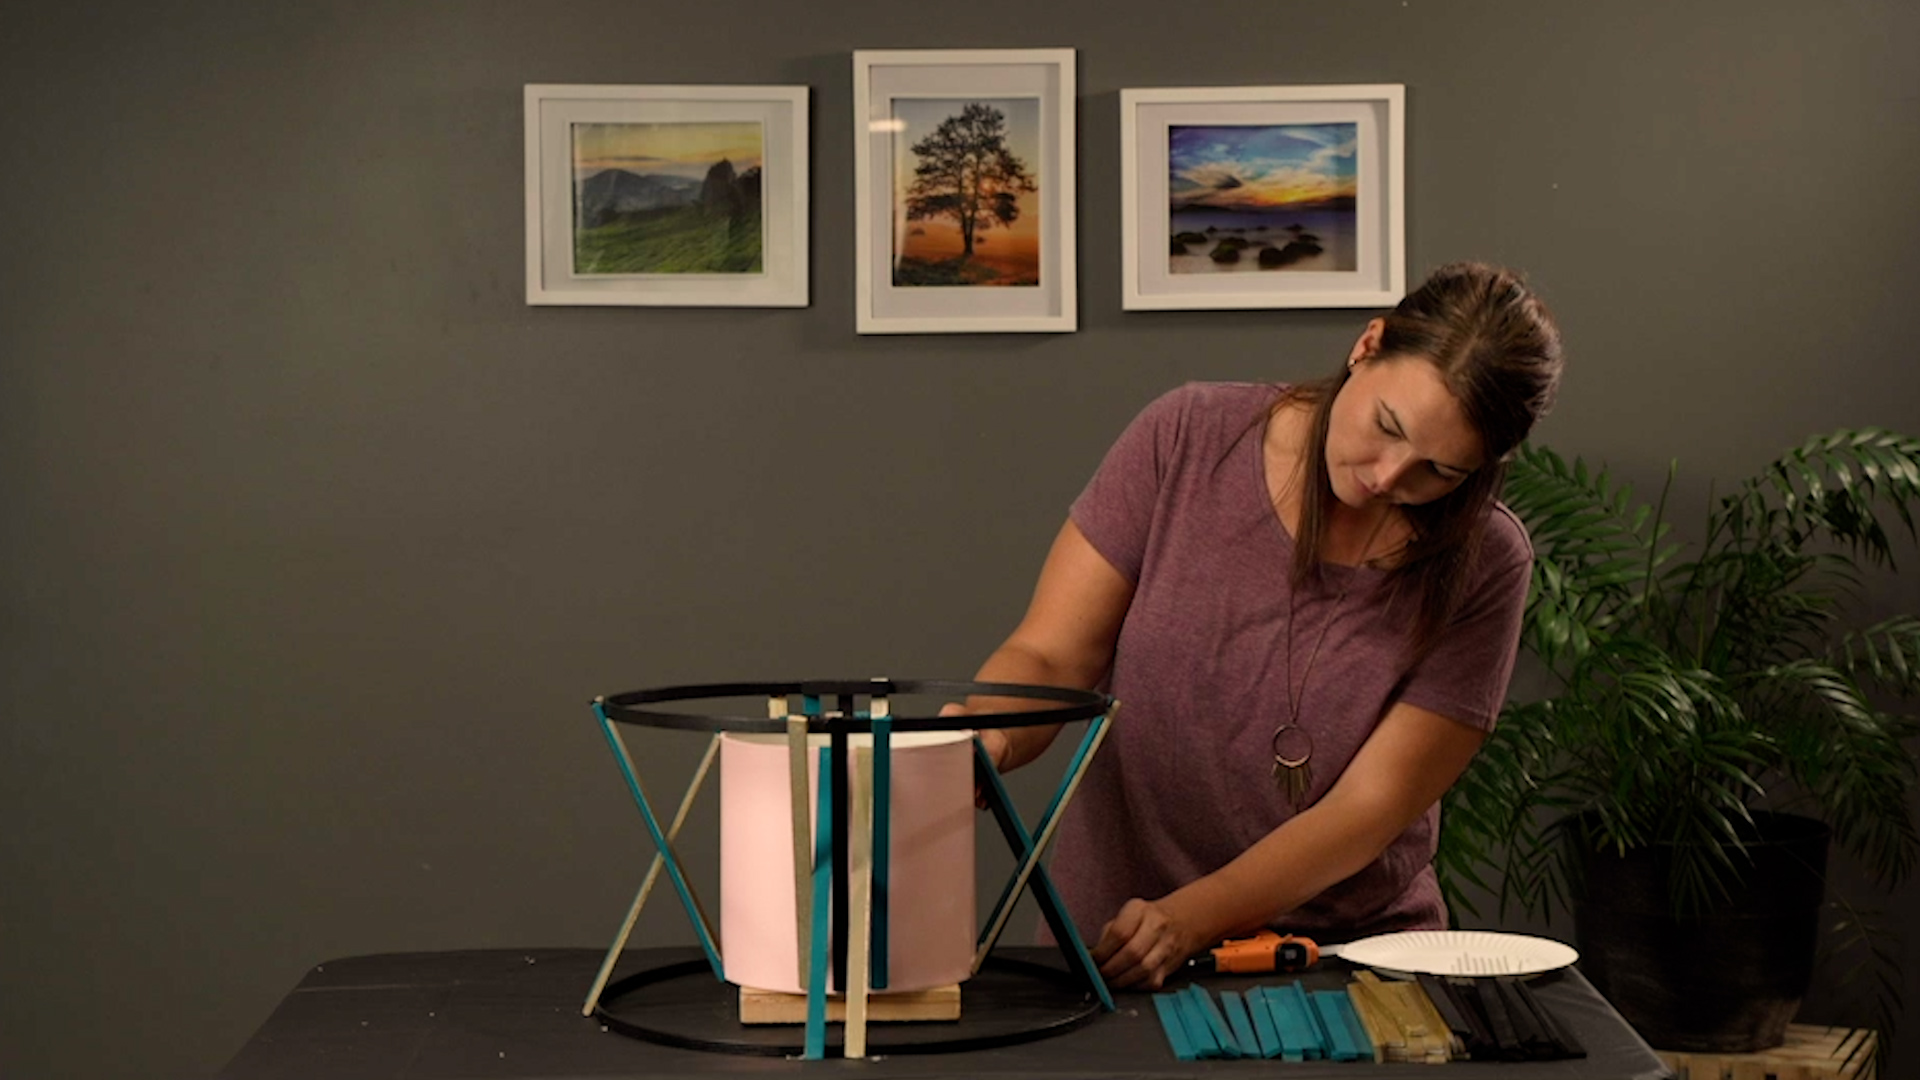
Grab your 12″ lampshade and use your thick wooden board to prop the lampshade on. Place one of the quilter’s hoops on the table so the lampshade is in the center.
Step 5:
Using your hot glue gun, secure four black-painted wooden sticks around the perimeter of the lampshade at the four “corners,” securing one end to the exterior of the hoop and one end to the top of the lampshade.

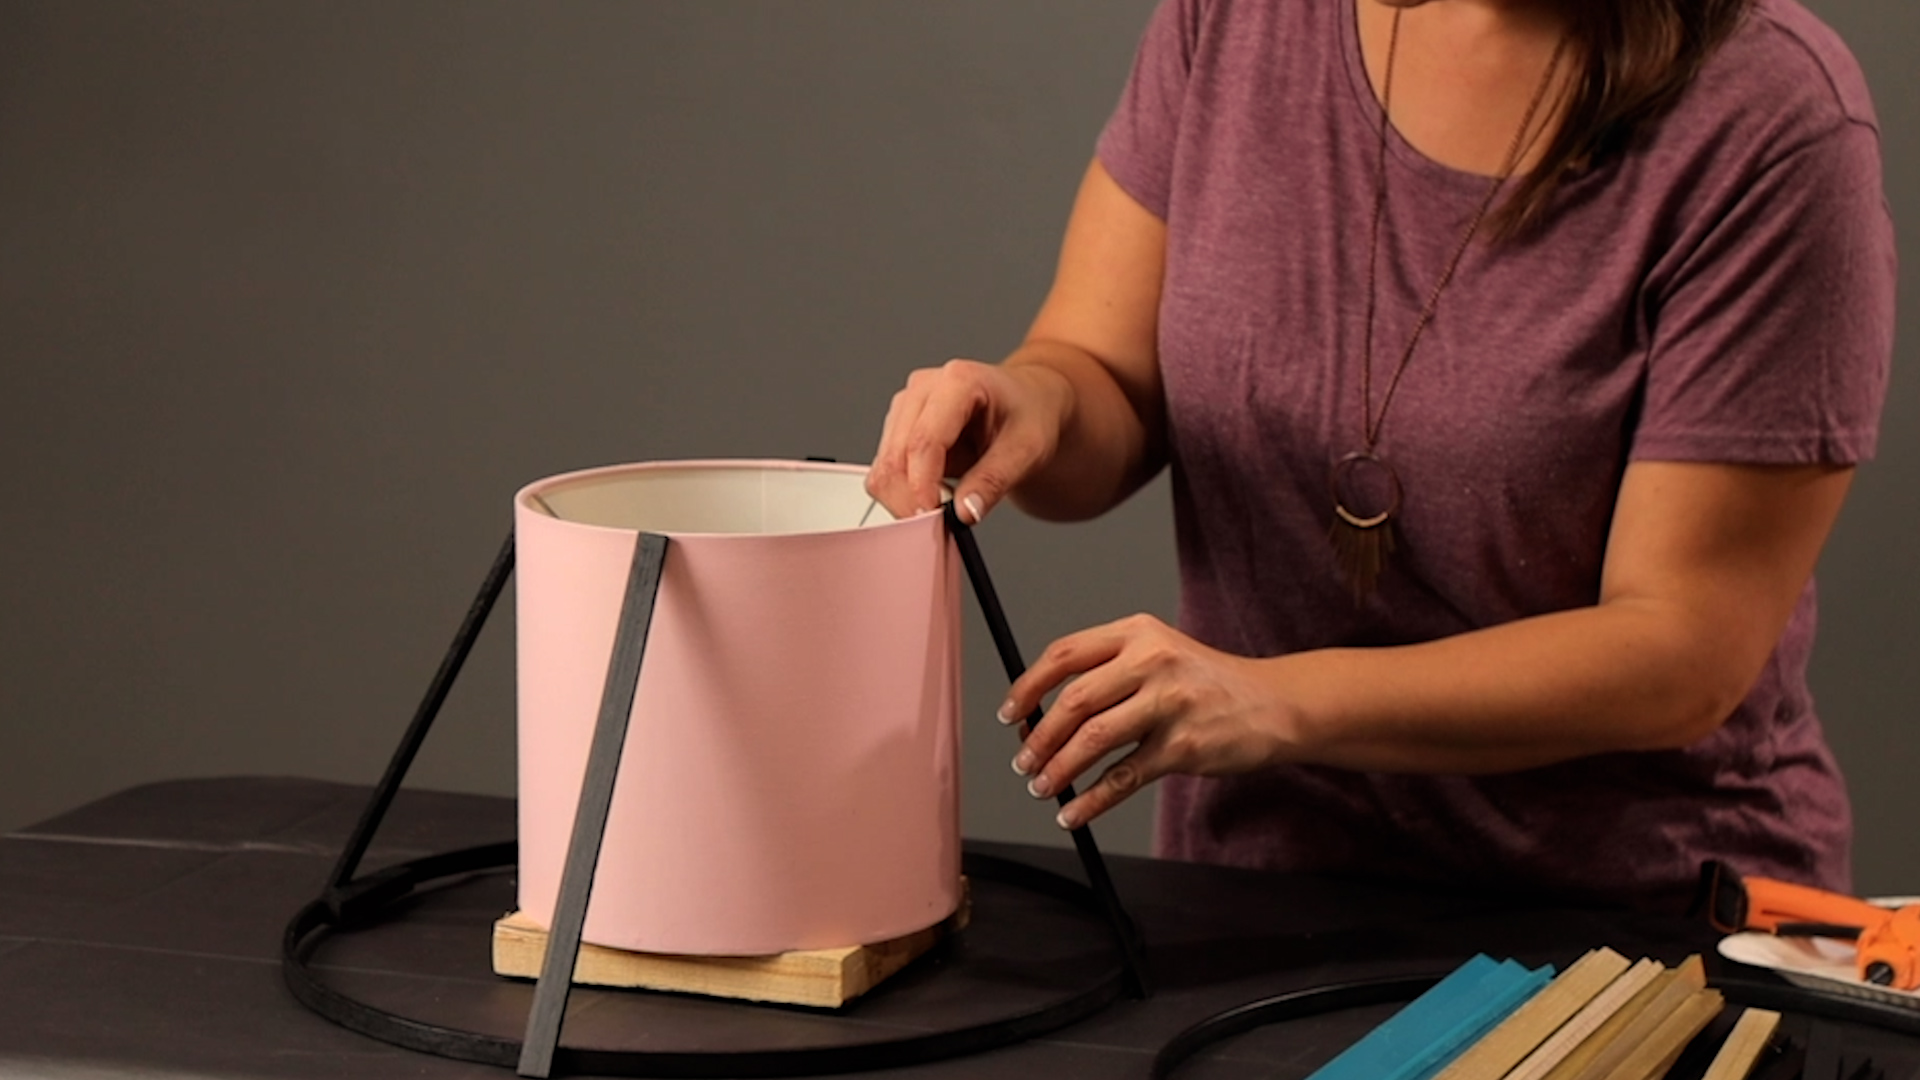
PRO TIP: When applying your hot glue, apply it in lines rather than in a circular dab. This will make it easier to secure your sticks because there’s more glue ready to stick to the hoop and lampshade.
Step 6:
Repeat the process with four sticks in teal, as well as four in gold (or whichever colors you’ve chosen for your pendant lamp).

Step 7:
Let the hot glue on your support sticks dry for at least five minutes, then take the structure and flip it over. As you flip it, take your second quilter’s hoop and place it down on the table.

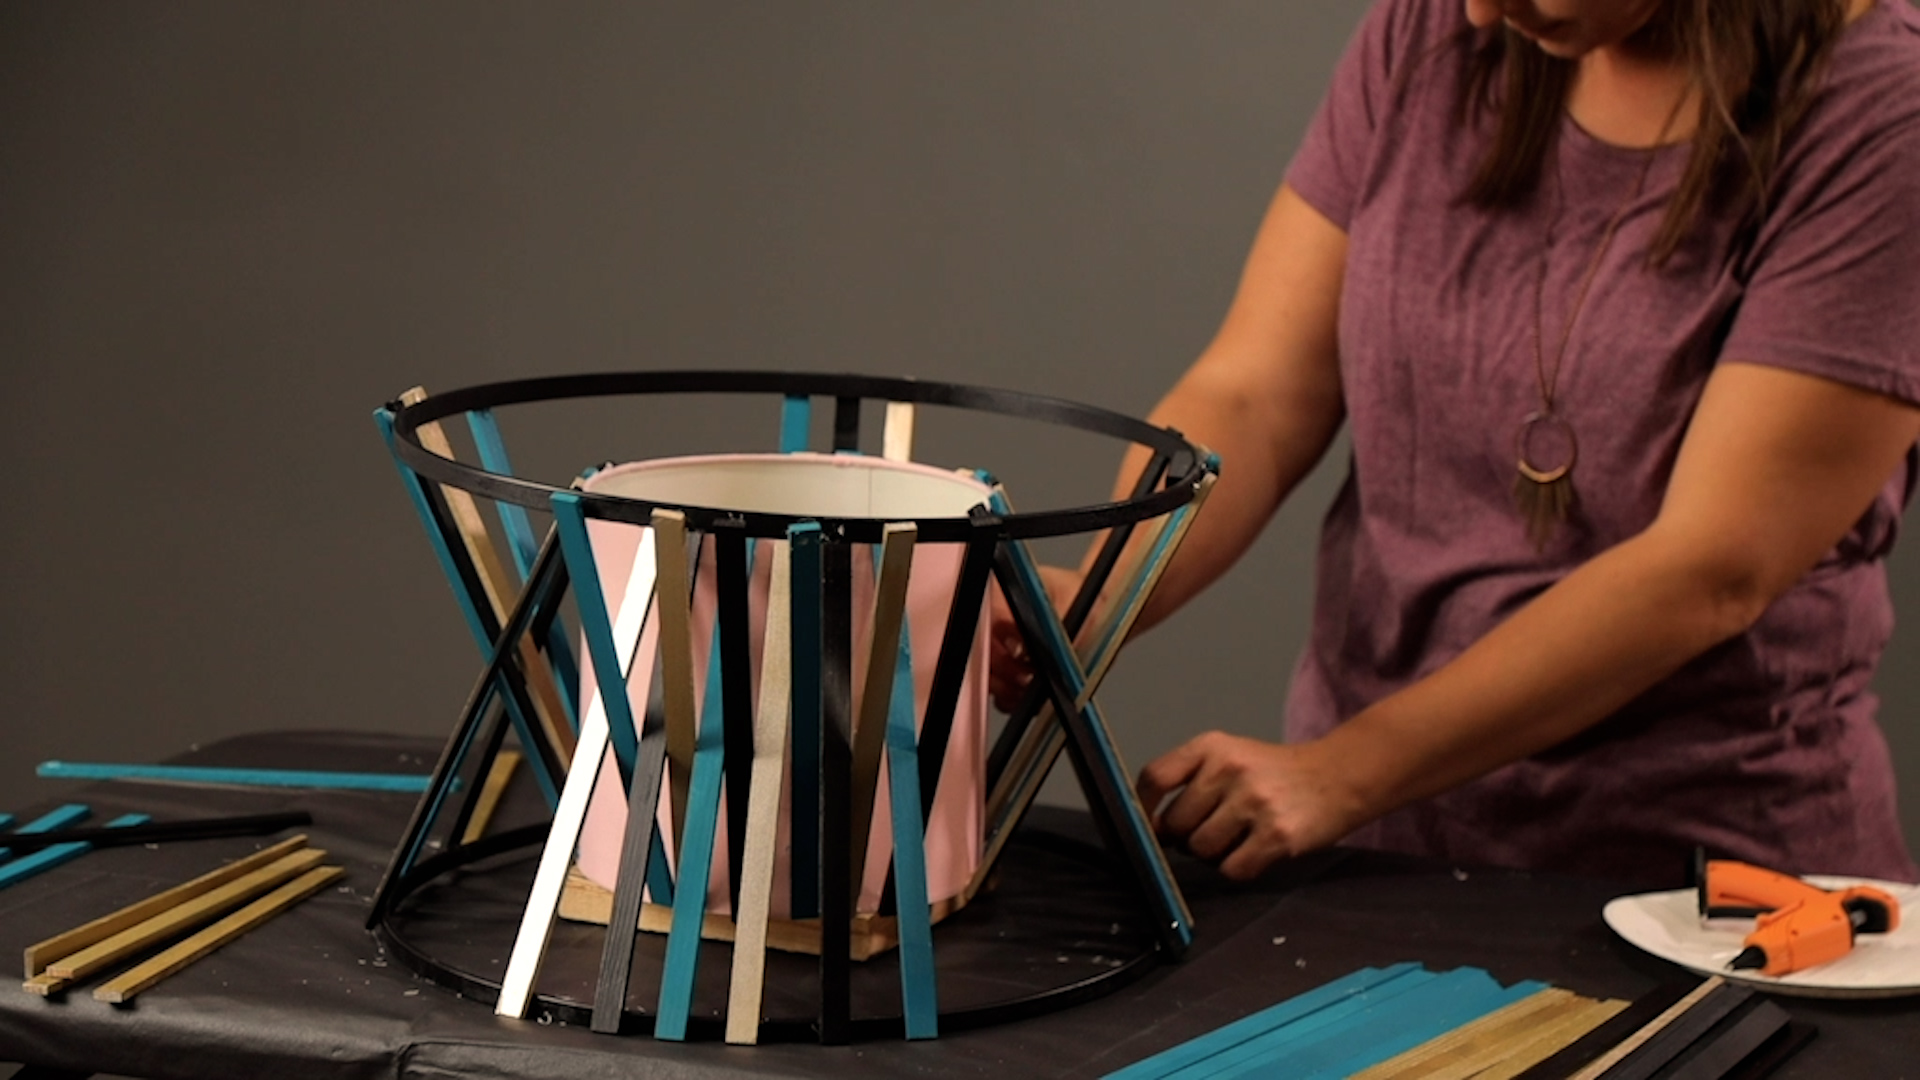
Step 8:
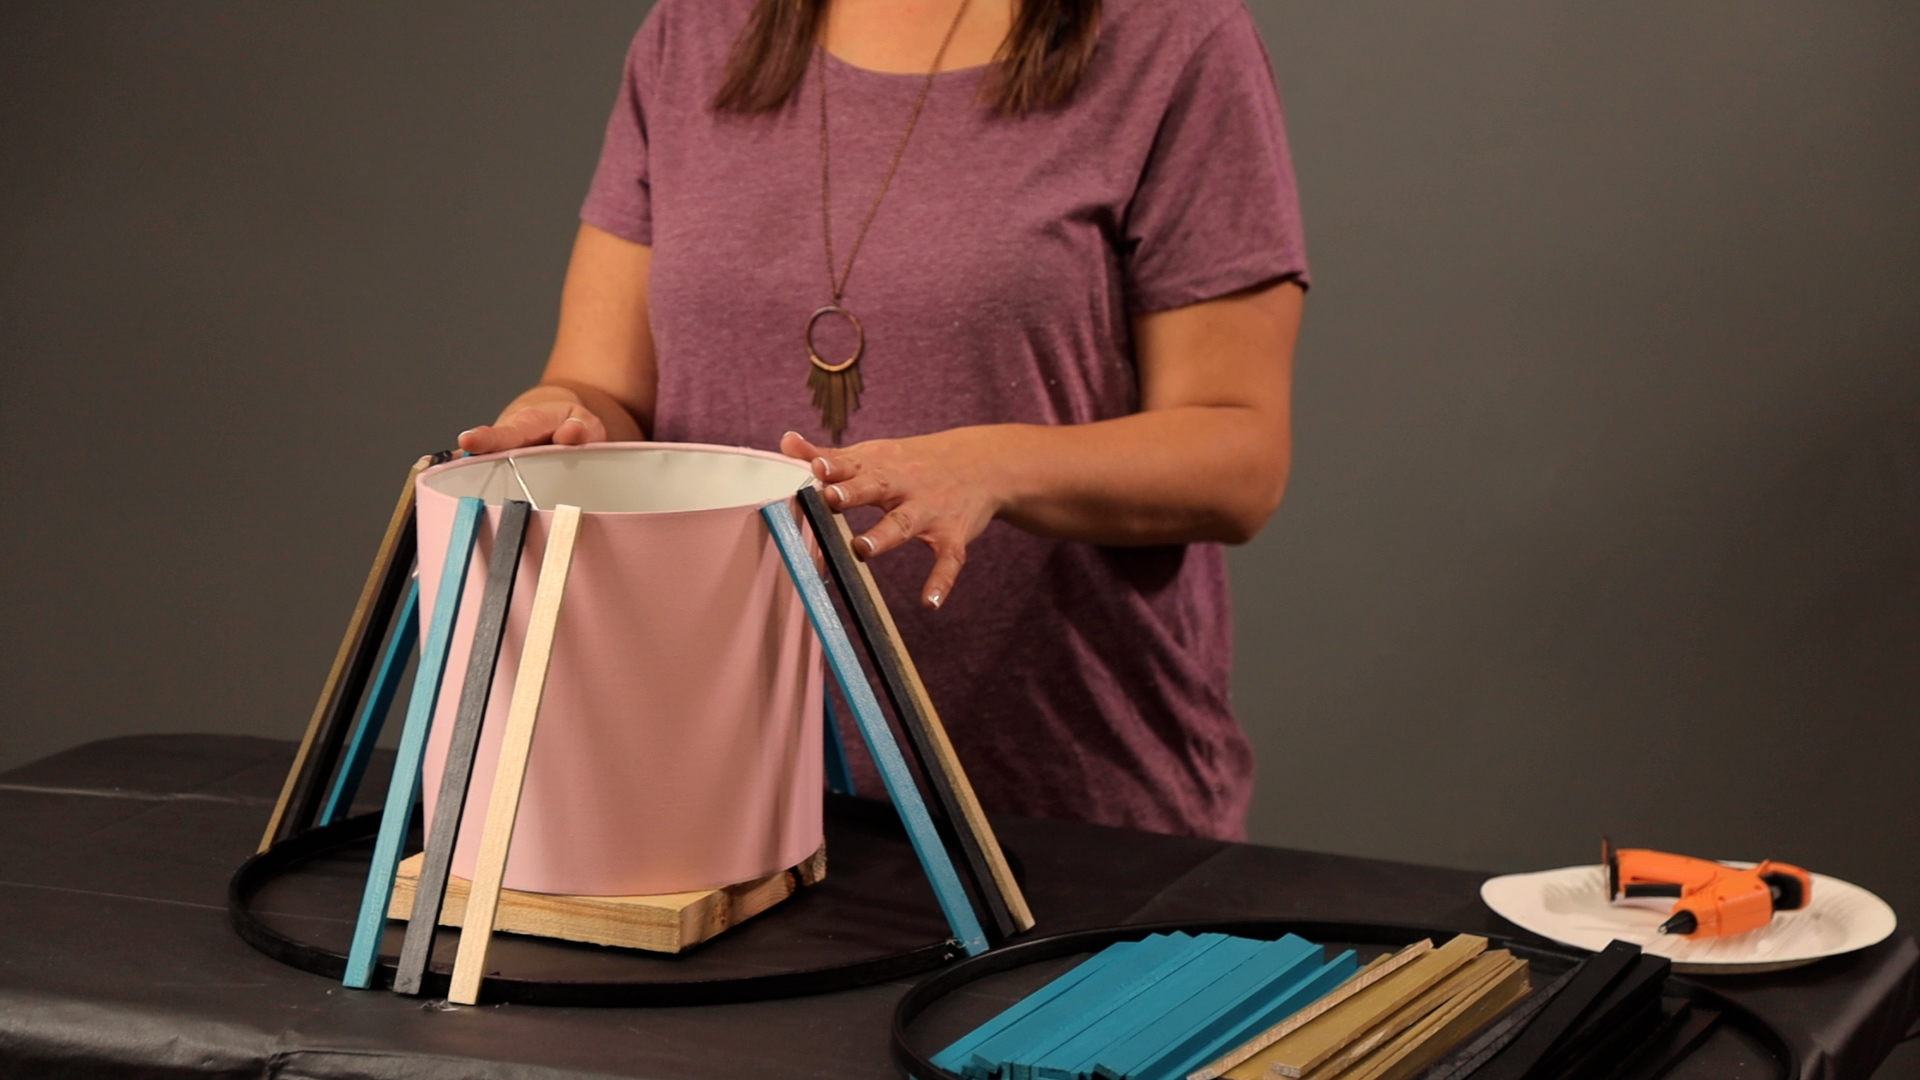
The next step is to glue wooden sticks from the bottom of the quilter’s hoop to the lampshade, interweaving the sticks between the existing support ones. When gluing the sticks from the quilter’s hoop on the table, choose a stick that is painted a different color than the two it’s going between.

Step 9:
Continue with this process, weaving sticks from the hoop to the lampshade in between the existing support sticks until you have three sticks secured in every corner facing both directions.
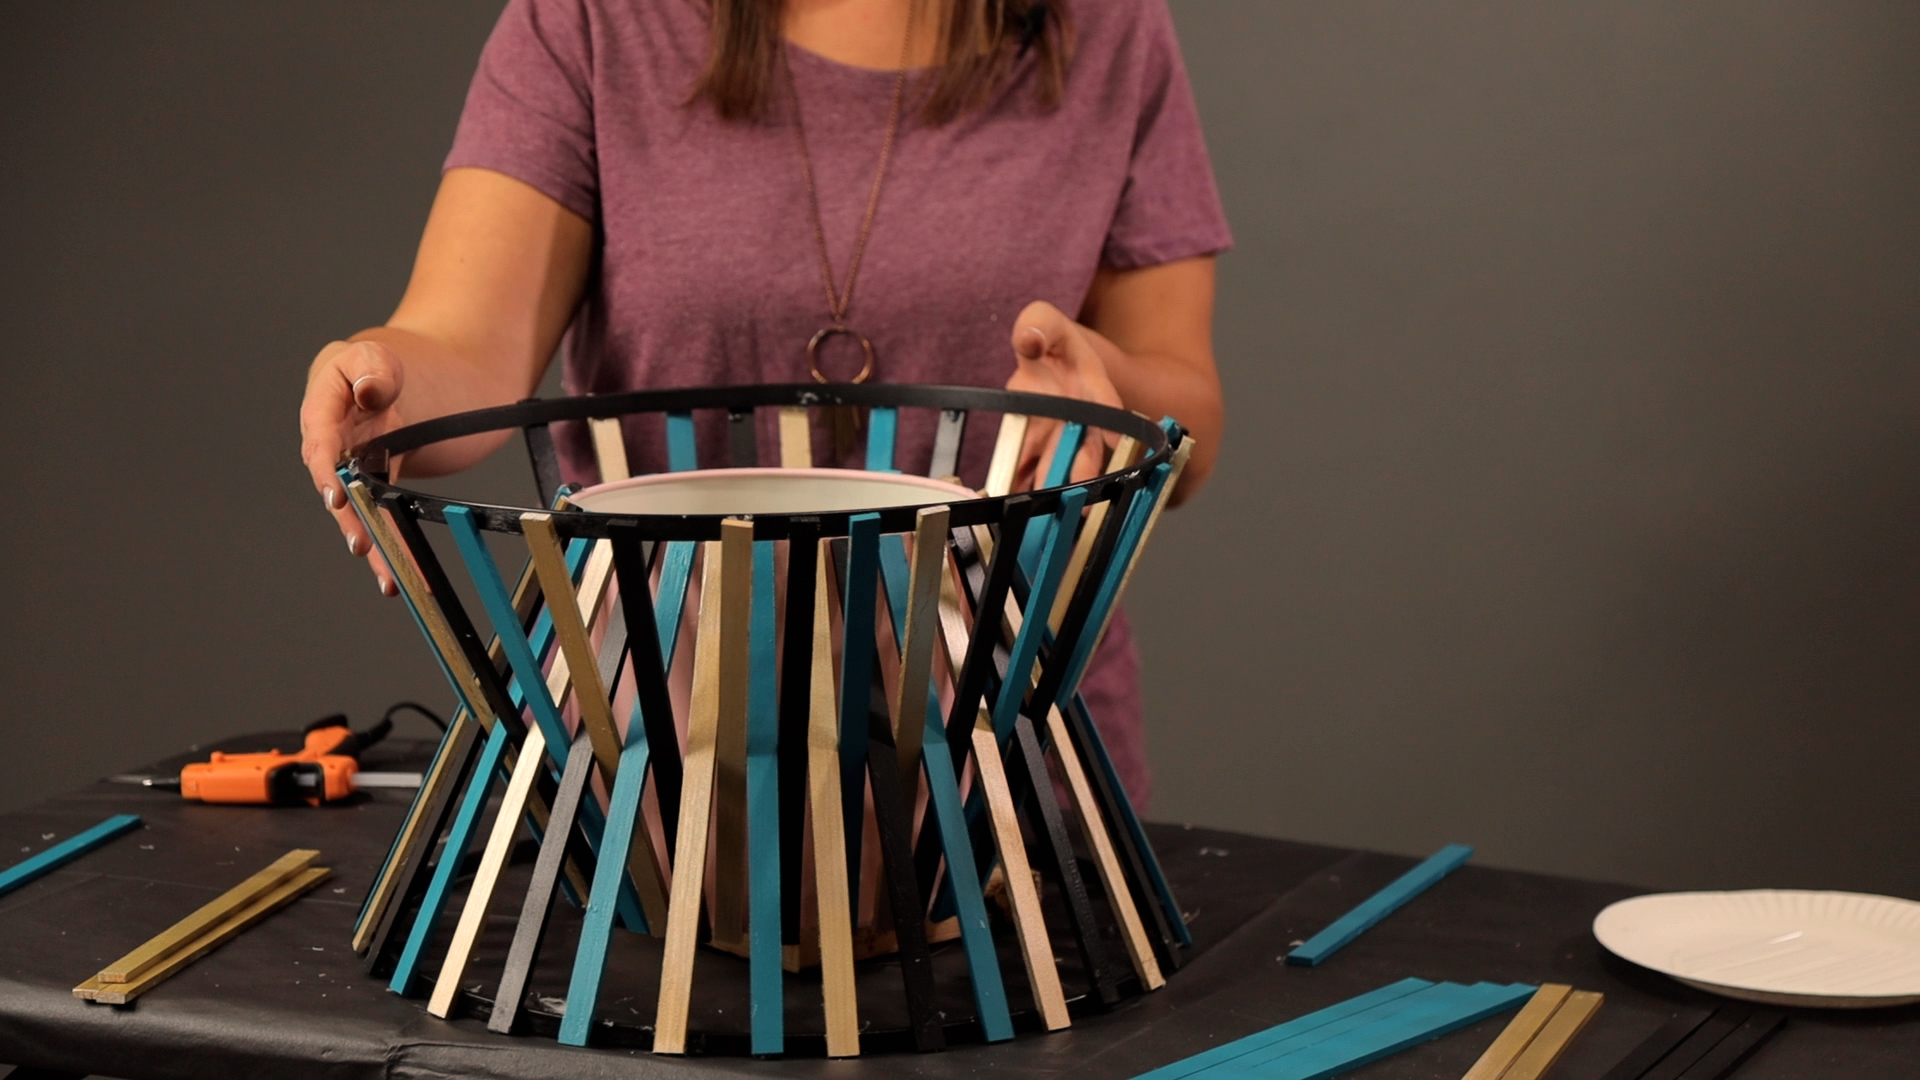
Step 10:
Cover the rest of the lampshade with wooden sticks in alternating colors. As you alternate colors, alternate placements for each stick. The sticks should switch between being connected from the bottom hoop to the top of the lampshade, and from the top of the hoop to the bottom of the lampshade that’s propped on the wooden block. This will create the desired effect for the pendant lamp.

Step 11:
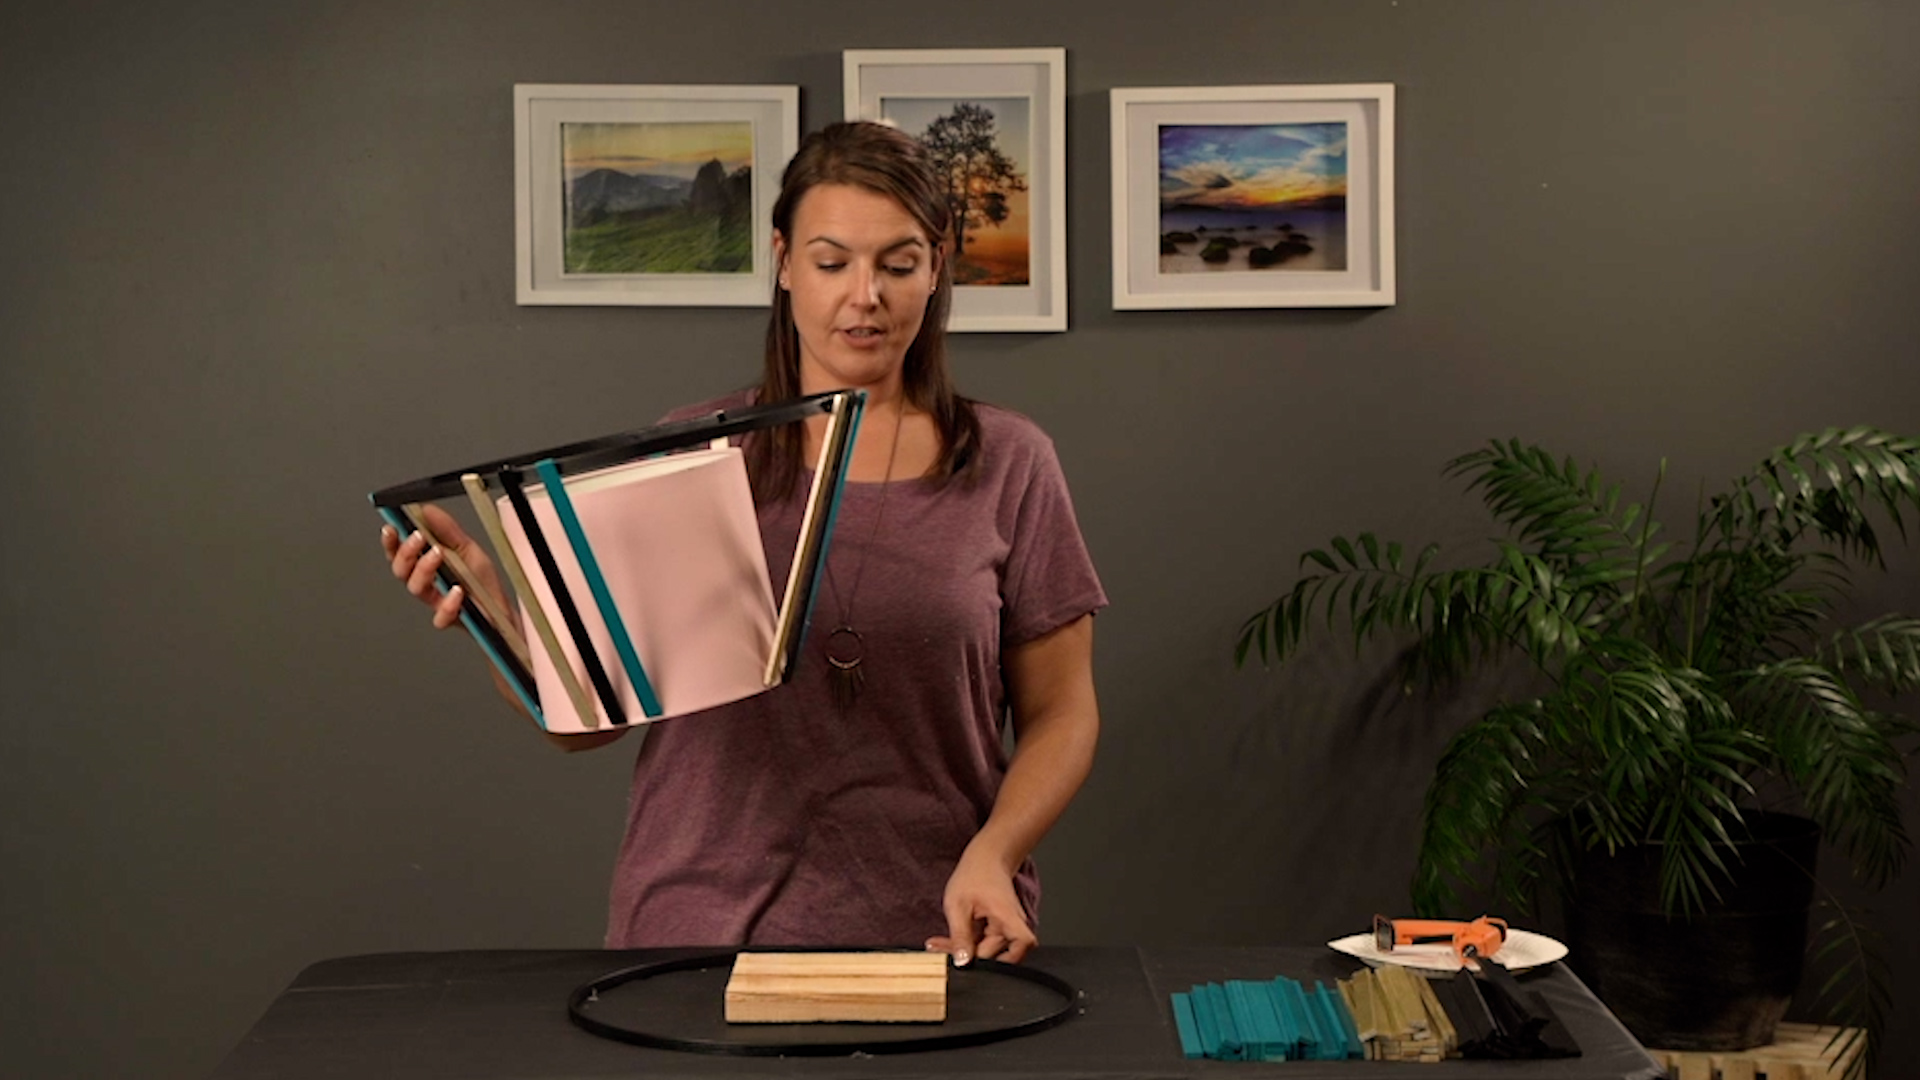
Once you’ve completed your pendant lamp, allow your project time to dry. Once it’s dried completely you can place the pendant lamp back onto the original lamp, or hang it on its own as a chandelier.

Now that you’ve finished your DIY modern pendant lamp, you’re going to want to take pictures of it and share it with your friends. We want you to share it with us at Decoist too by connecting with us on Facebook, Pinterest, or Instagram!


