We know that photos can be an amazing source of design inspiration, so this article may contain affiliate links that will direct you to a particular decor item. Clicking on a link may result in a portion of proceeds being paid to www.decoist.com
Whether you’re new to the houseplant revolution or you’ve been a life-long gardener, you know a vintage hanging wall planter can completely change a space. Sure, plants are great sitting on a shelf or on the floor but adding some height allows for a better visual presentation. You don’t have to be an expert carpenter to build your own wooden pallet planter though. With a few simple cuts of wood, some glue, and a stain of your choice, you’ll have a brand new vintage wall planter that would easily sell for over $100 in retail stores.
Take a look at how to craft your own DIY hanging wall planter and read below for step-by-step instructions, quick product links, and pro-tips.
Supply List:
- 6 pieces of wood — 2.5 inches x 3/4 inches
- 3 pieces of wood —1 inch x 2.5 inches
- Wood/carpenter’s glue
- Brad nails
- Sandpaper — this pack from 3M comes with both the 60 and 120 grit you’ll need
- Wood stain — we used the Varathane Wood Stain in the color Kona for the main pallet, and the color Rose for the planter boxes
- Clear coat spray finish — we used Tremclad Clear Satin Rust Paint but Krylon Rust Protector is a great alternative
- Decorative upholstery pins
Tool List:
Step 1:
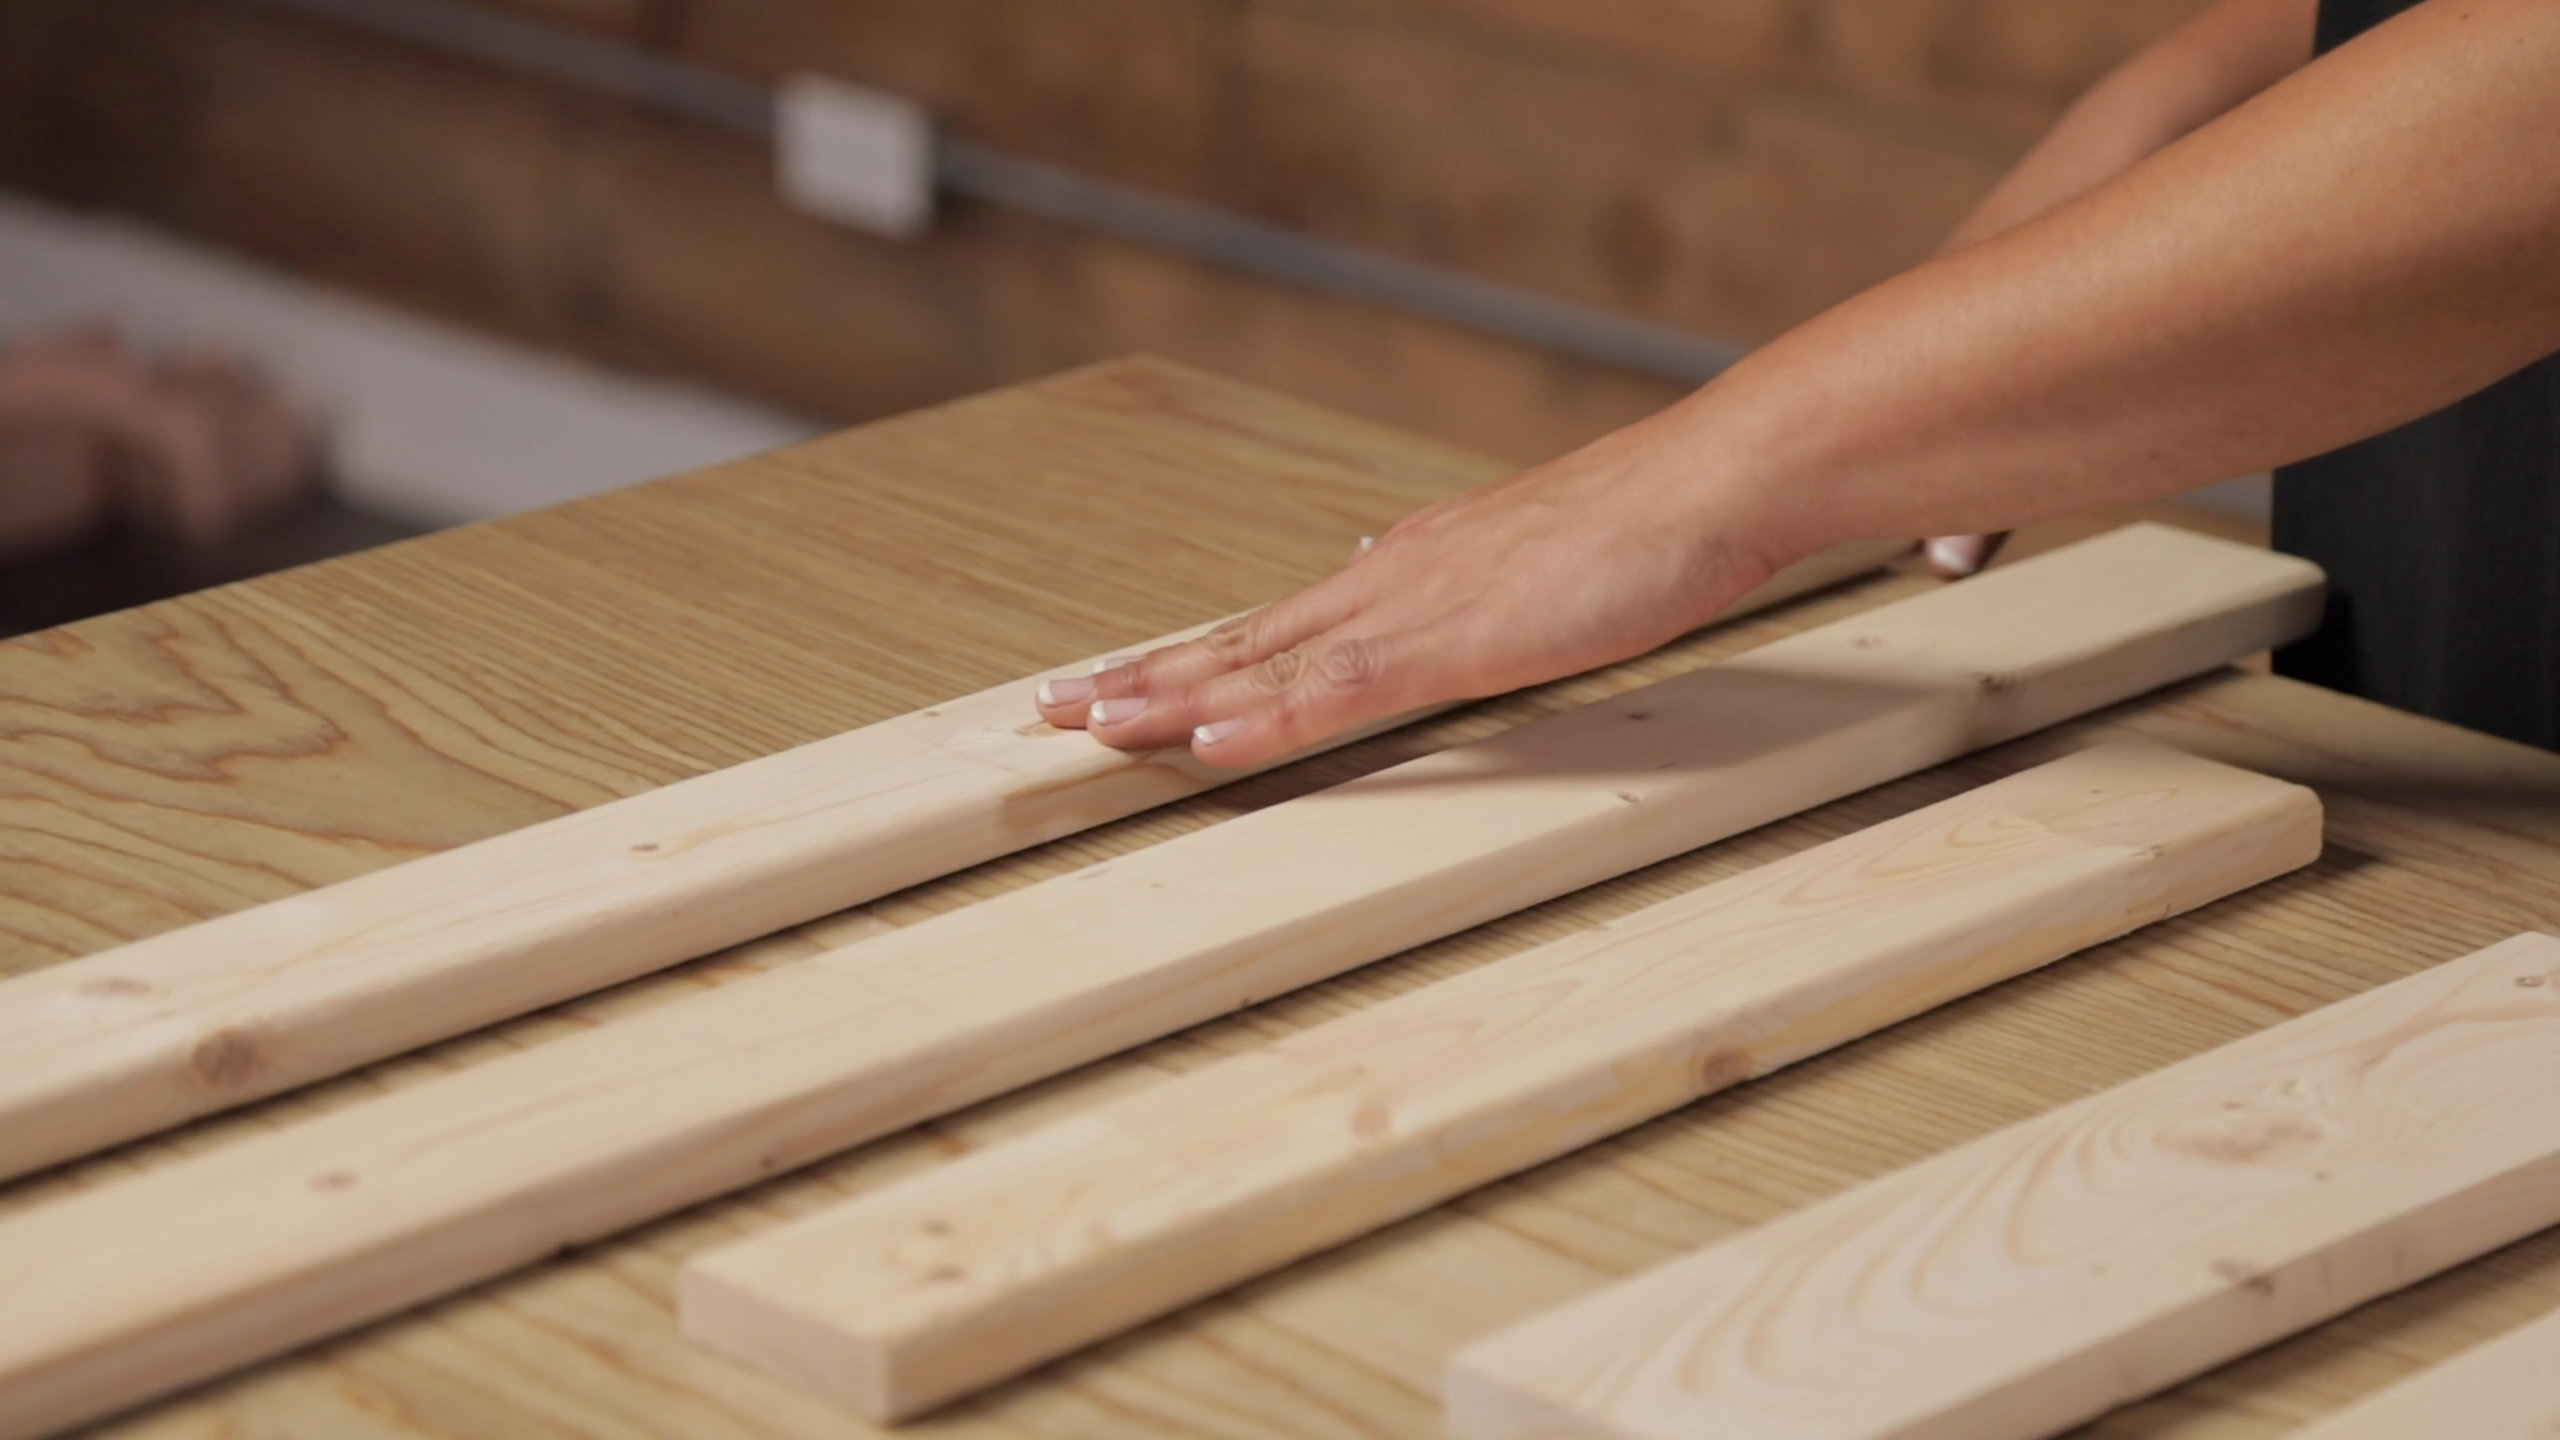
Make the pallet background. Begin by cutting 6 pieces of wood roughly 3 feet long and 2 pieces of wood 2 ½ feet long with a miter saw. Sand all the pieces using a 60 grit sandpaper block to get out the rough edges, then a 220 grit sandpaper to smooth it completely.
Pro Tip: Look for wood with more knots in it for an extra vintage feel

Step 2:
Once sanded and clear of dust, prep the wood with clear Varathane spray then stain the pallet pieces. We chose the Varathane Wood Stain in the color Kona. Make sure to sand all sides of the wood pieces since some will be showing! Use a foam brush and wipe off any excess with a clean rag.
Pro Tip: The longer you let the stain sit, the better it will hold.
Step 3:
Cut the wood for your vintage planter boxes.
- (2) 14″ length pieces for the base and face of the largest box
- (2) 8.5″ length pieces for the base and face of the medium box
- (2) 5 ¼” length pieces for the base and face of the small box
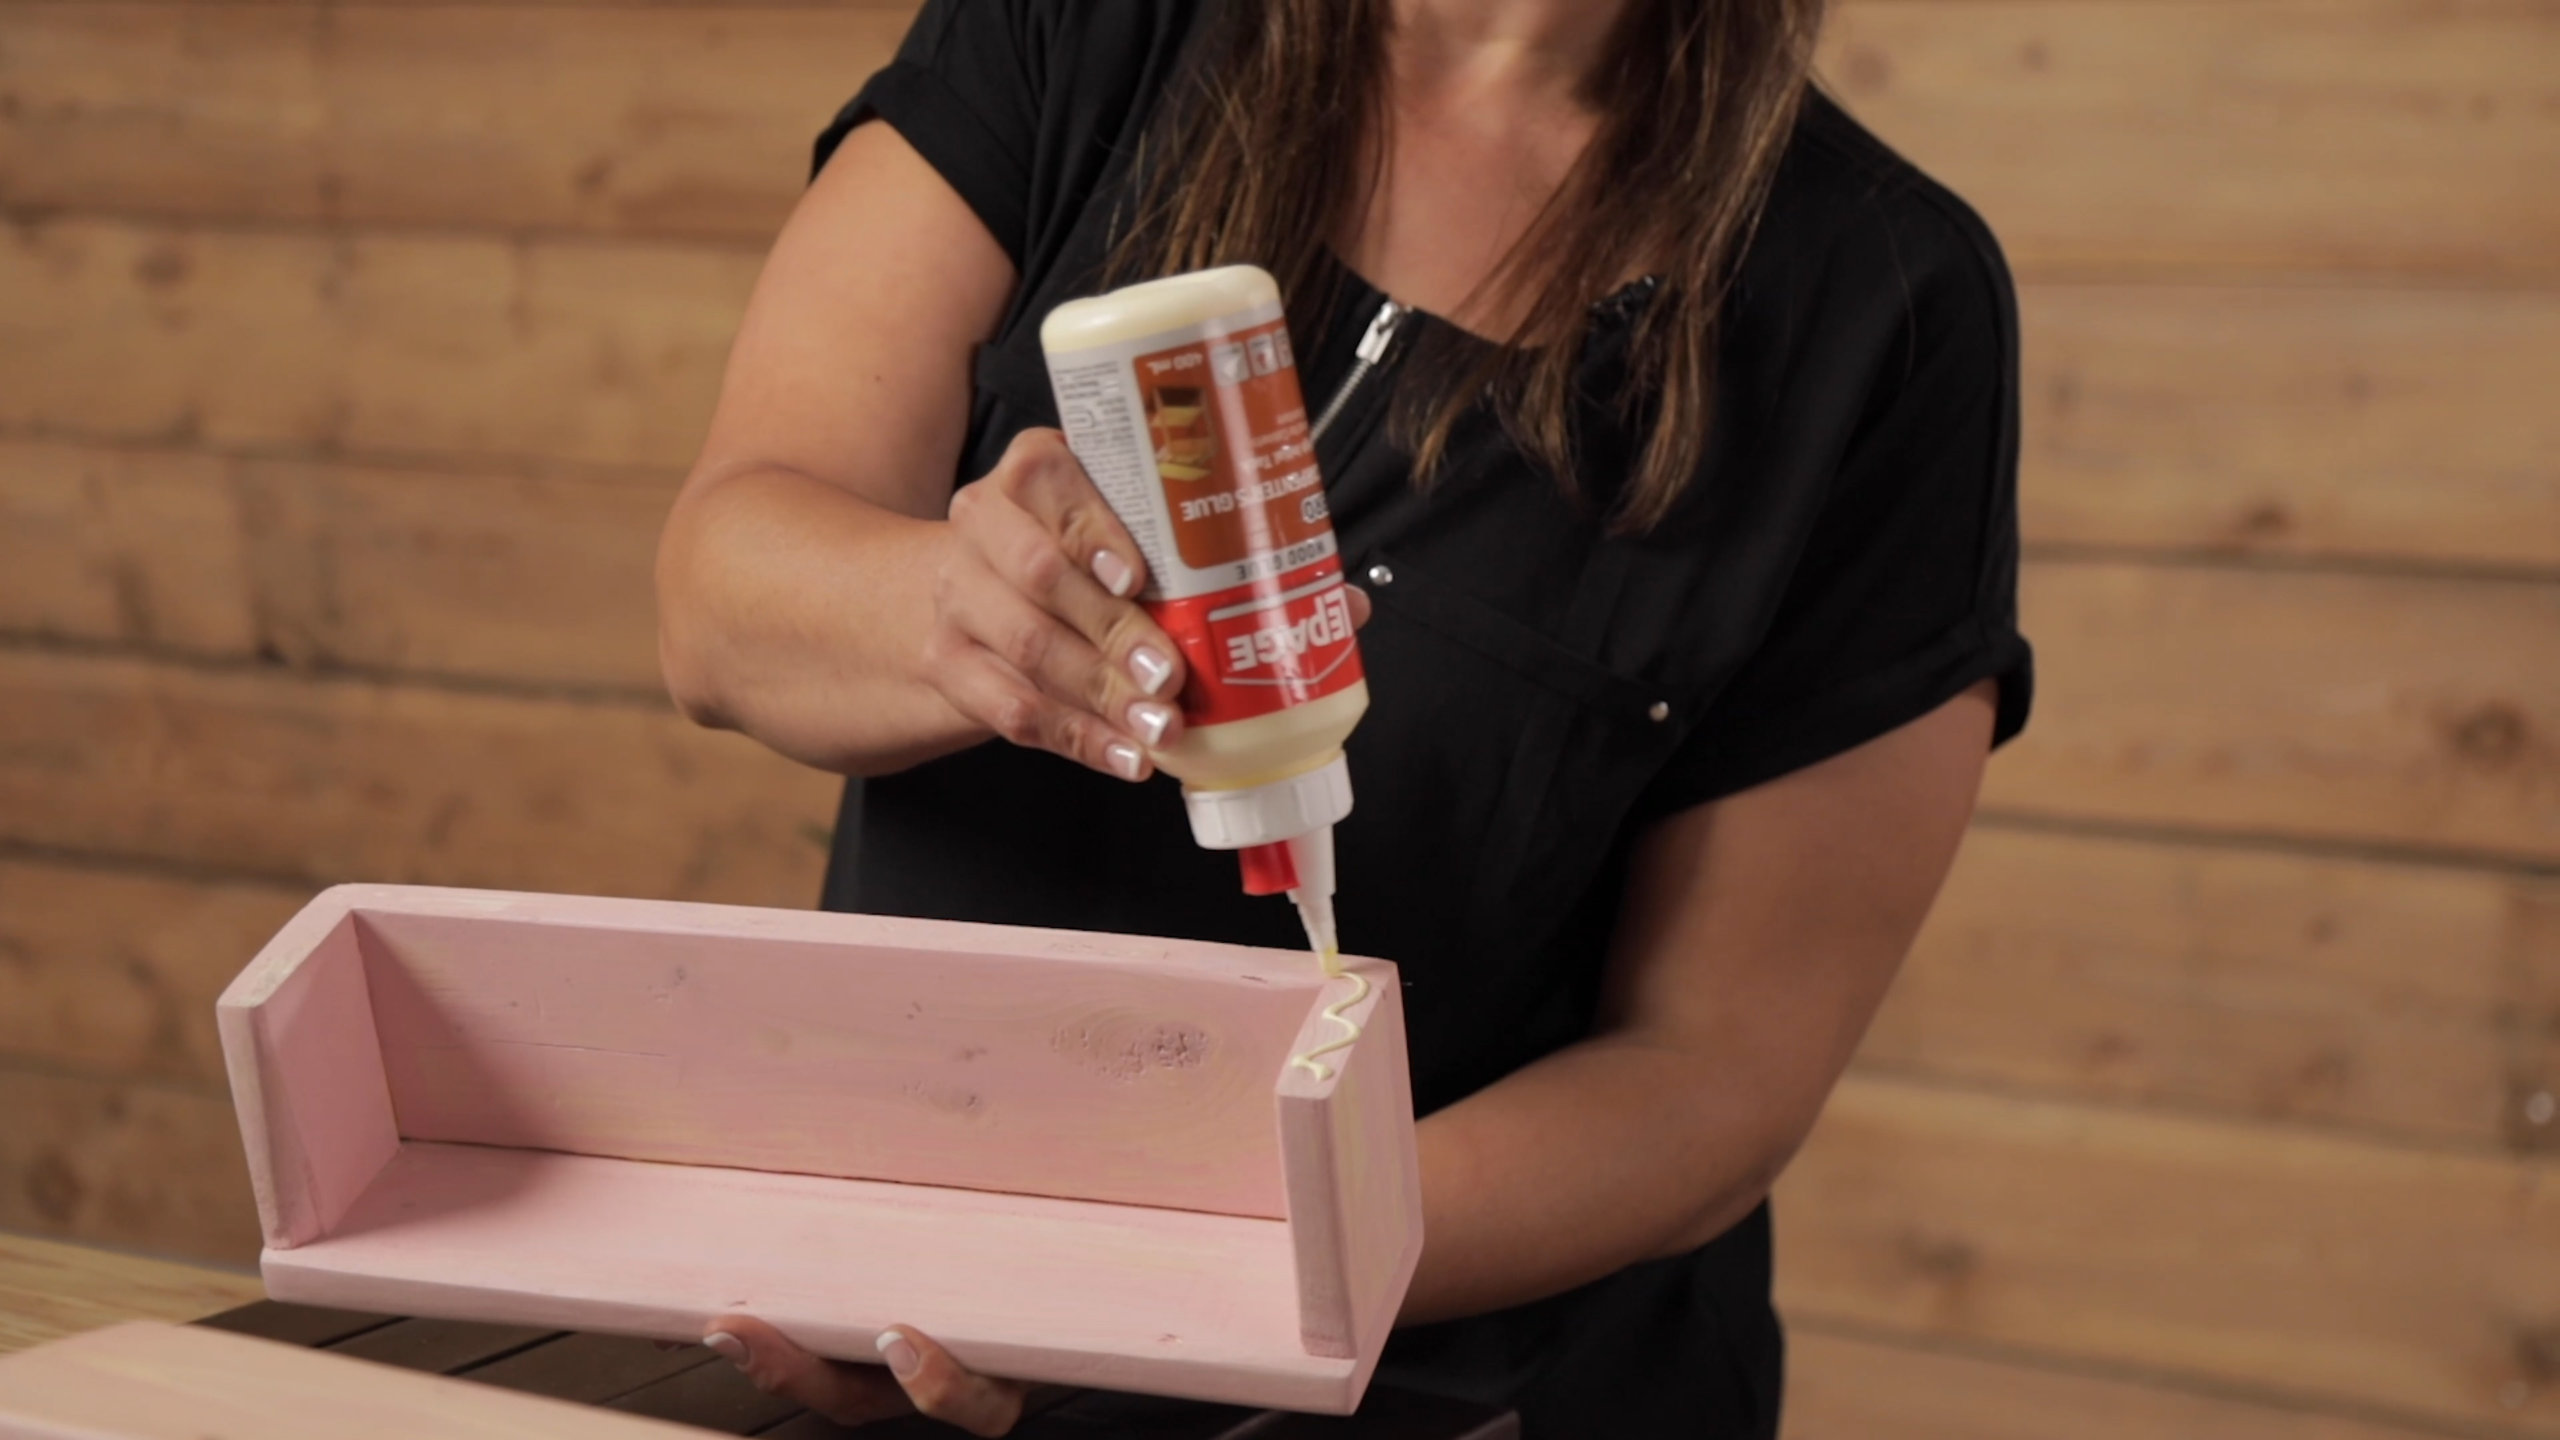
The ends of each box will require (2) 3″ length pieces for the ends of the boxes. Once all the wood pieces are cut, simply glue along the edges and build a three-sided box. Once the glue is dry, go ahead and stain the box. We used the Varathane Rose Wood Stain.

Step 4:
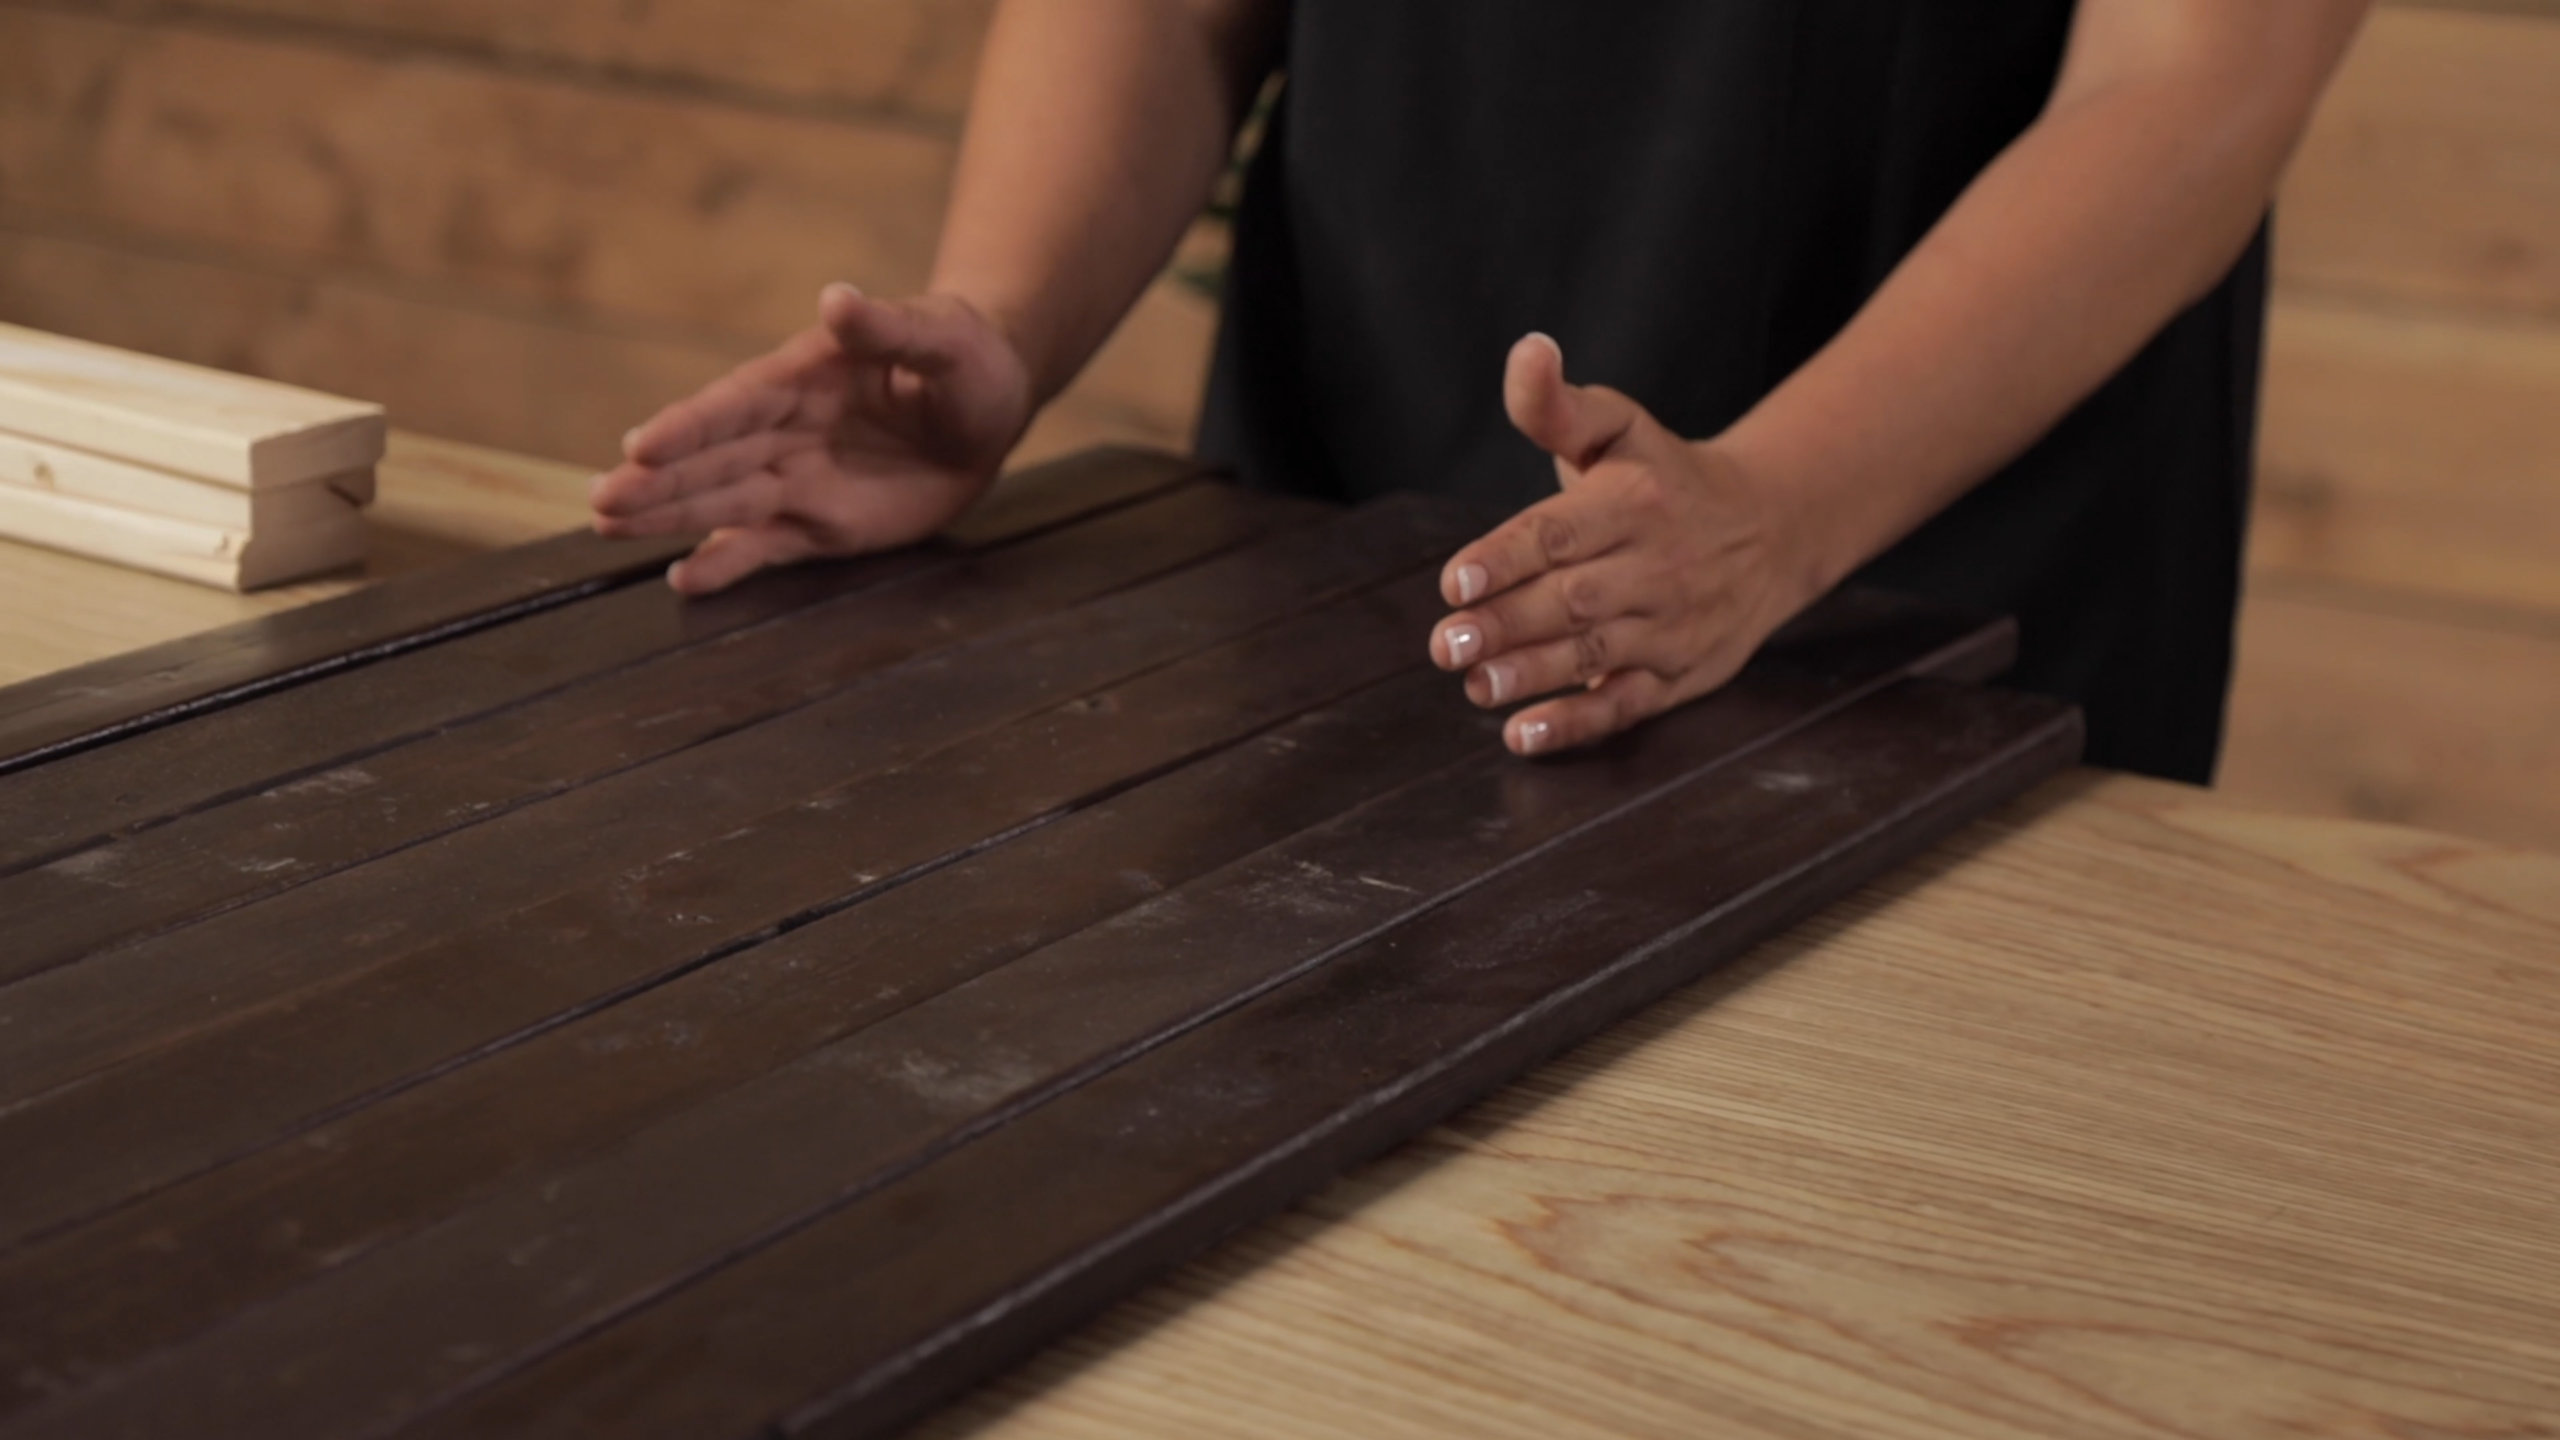
Now take your long pallet pieces lay them down and organize them in an unbalanced pattern or in whichever way looks best to you. Make it your own! Once you’ve decided on the look of the back pallet glue the pieces together. Then, glue three 18” long pieces of wood for the back supports. You can use nails for extra support if you want.

Step 5:
Once you’ve put your board together and assembled your boxes, the last step is to glue the boxes on. Use a zig-zag pattern for the glue and leave it to dry overnight for extra hold.
Step 6:
Finally, we used some gorgeous decorative upholstery pins to add extra bling to the top and bottom of each wood piece.
Step 7:
Fill your planter boxes and hang it up on the wall! This hanging planter works both indoors and outdoors. Share where you decided to hang you Decoist DIY planter with us on Facebook, Instagram, or Pinterest.


