We know that photos can be an amazing source of design inspiration, so this article may contain affiliate links that will direct you to a particular decor item. Clicking on a link may result in a portion of proceeds being paid to www.decoist.com
If you’re looking for a simple way to upcycle an old bowl into a piece you’re proud to have sitting on your bookshelf or coffee table, you’ve come to the right place! This DIY book page rope bowl is a great way to turn a few objects you already have into a piece of decor. The neutral coloring of the twine and cream book pages makes it an easy decorative project that can work in any room, no matter what your color scheme or style is, and it shows all your guests what a well-read person you are.
Supply List:
- Large bowl
- Book
- Twine, rope, or jute cord
- Modge Podge
- Foam brush
- Scissors or Exacto Knife
- Hot glue gun & glue sticks
Step 1:
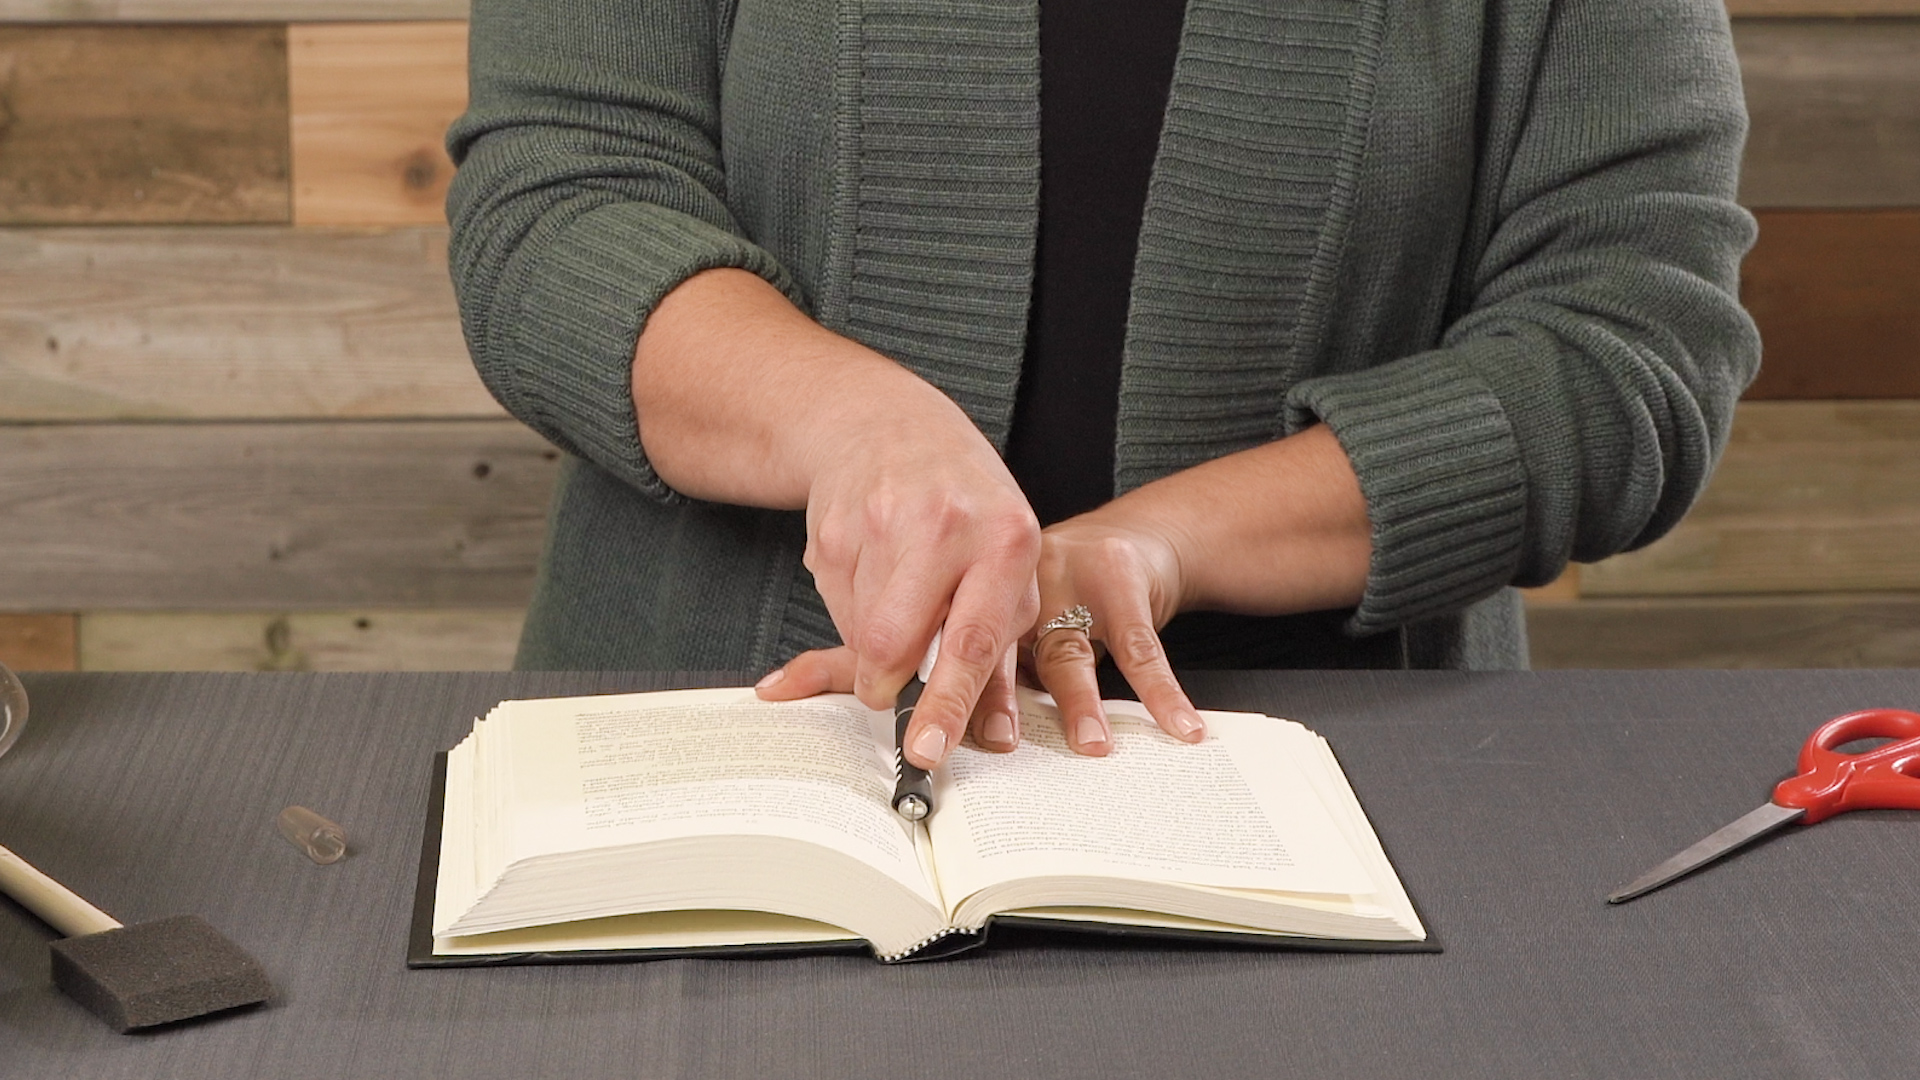
Start by cutting pages out of your book to use to decorate the bowl. Use the Exacto knife to cut a nice straight edge. Once you’ve cut the pages from the book, trim off any large white space around the words, then cut the pages into thirds.

Step 2:
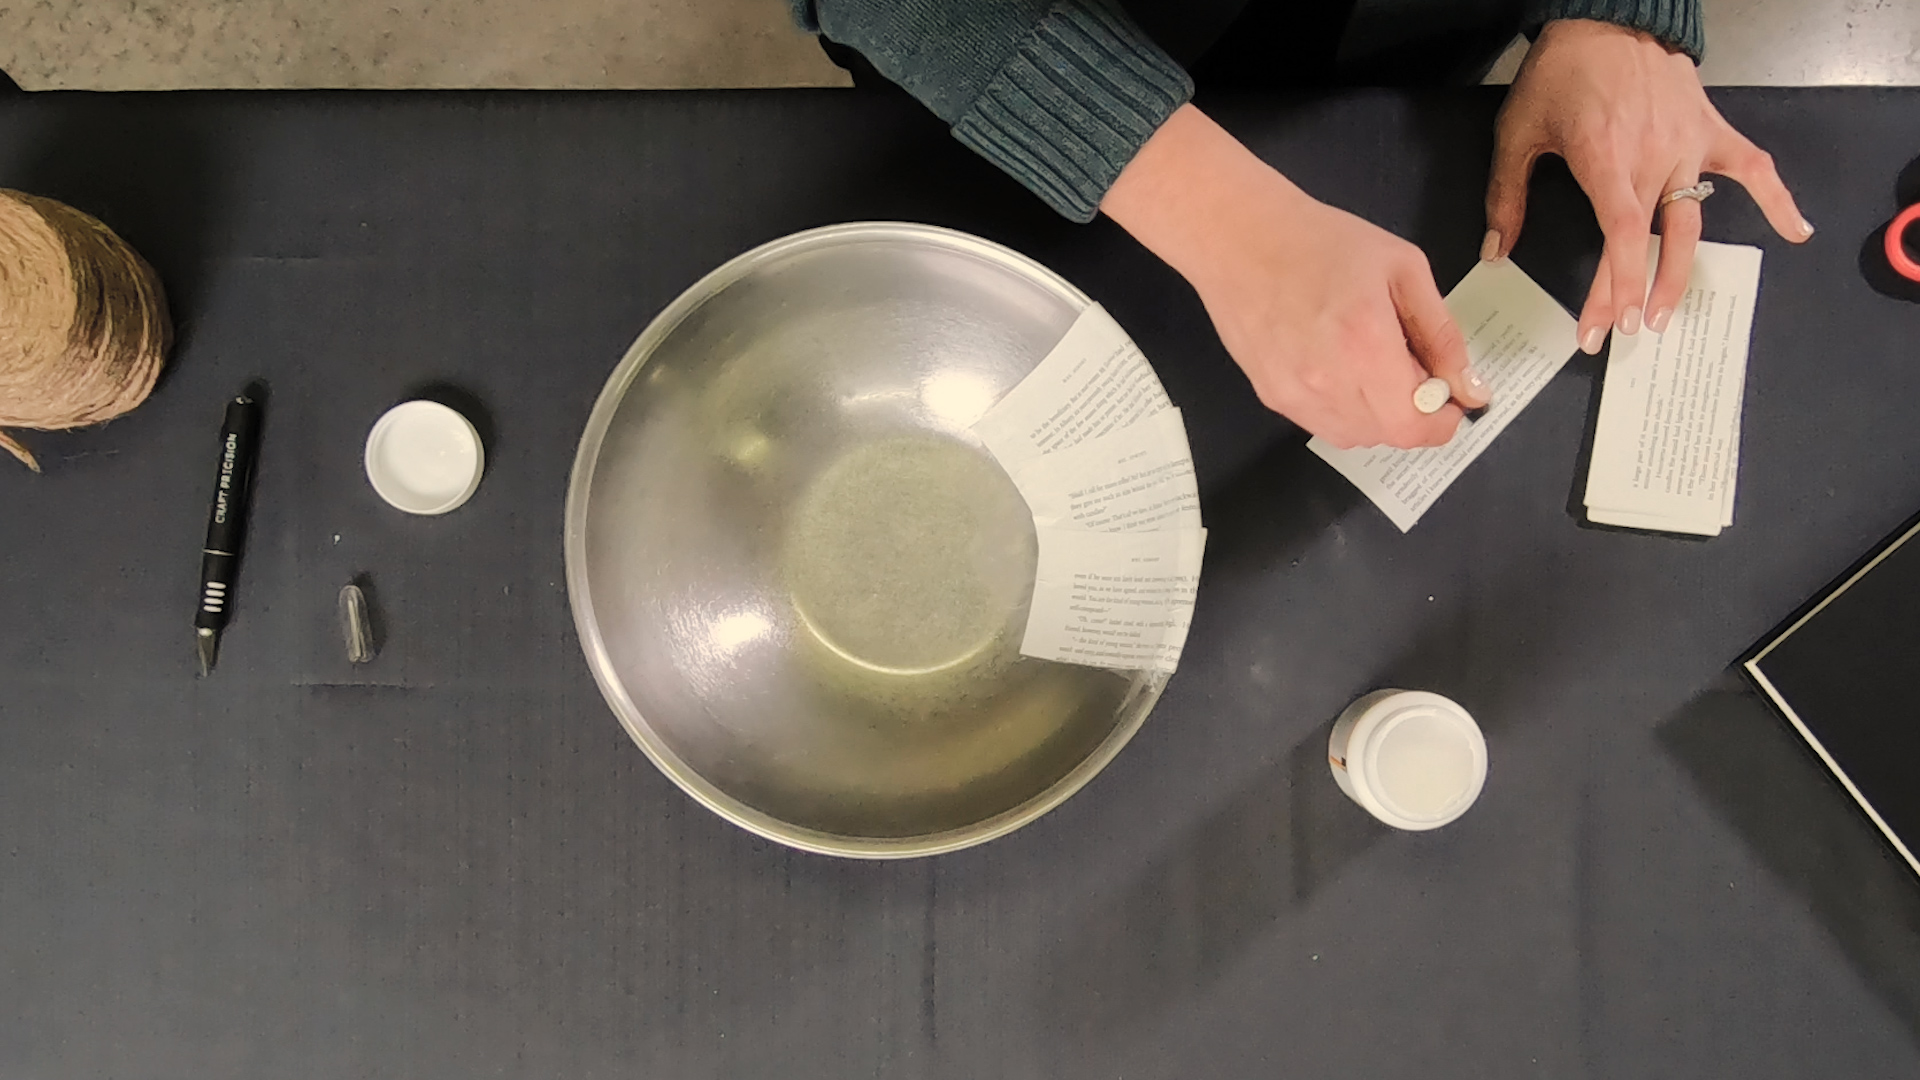
Layer on a thin coat of modge podge to the interior of the bowl using the foam brush. Since the bowl is not a flat surface, it’s easier to stick the pages in place when the bowl already has a coating on it.
Step 3:
Cover the rim of the bowl with pages. Lay the pages over the edge then seal them along the rim, with the majority of the strips facing down toward the center of the bowl. It’s okay if the edges look messy on the exterior because it will be covered with your rope or cord.

Step 4:
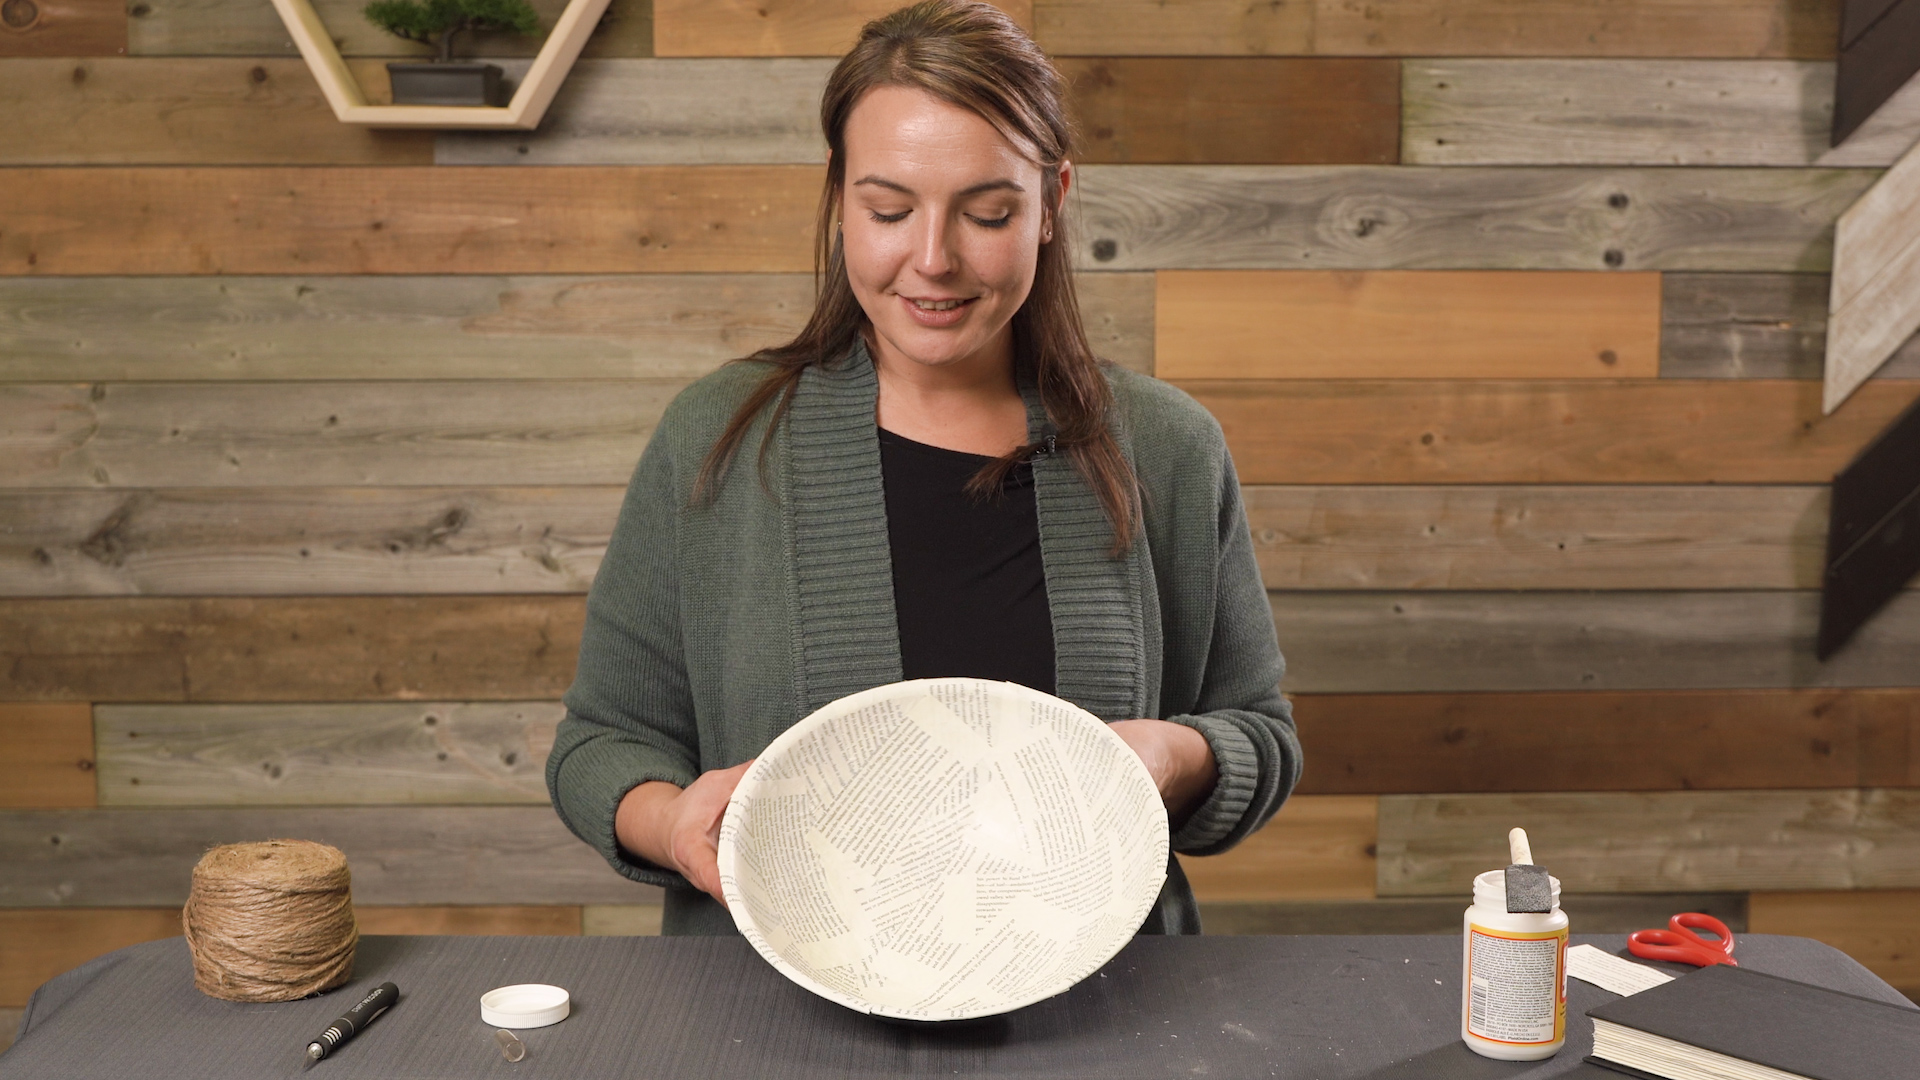
Once you’ve laid down enough pages to cover the exterior of the rim, smooth out all the creases. Next, layer the remaining pages to cover the entire bowl. Placing them horizontally and diagonally over the first layer of pages helps to blend it all together nicely.

Step 5:
Go through and smooth out any air bubbles or creases using your fingers. Let the bowl dry, then go back with one more layer of modge podge to seal and smooth the surface.
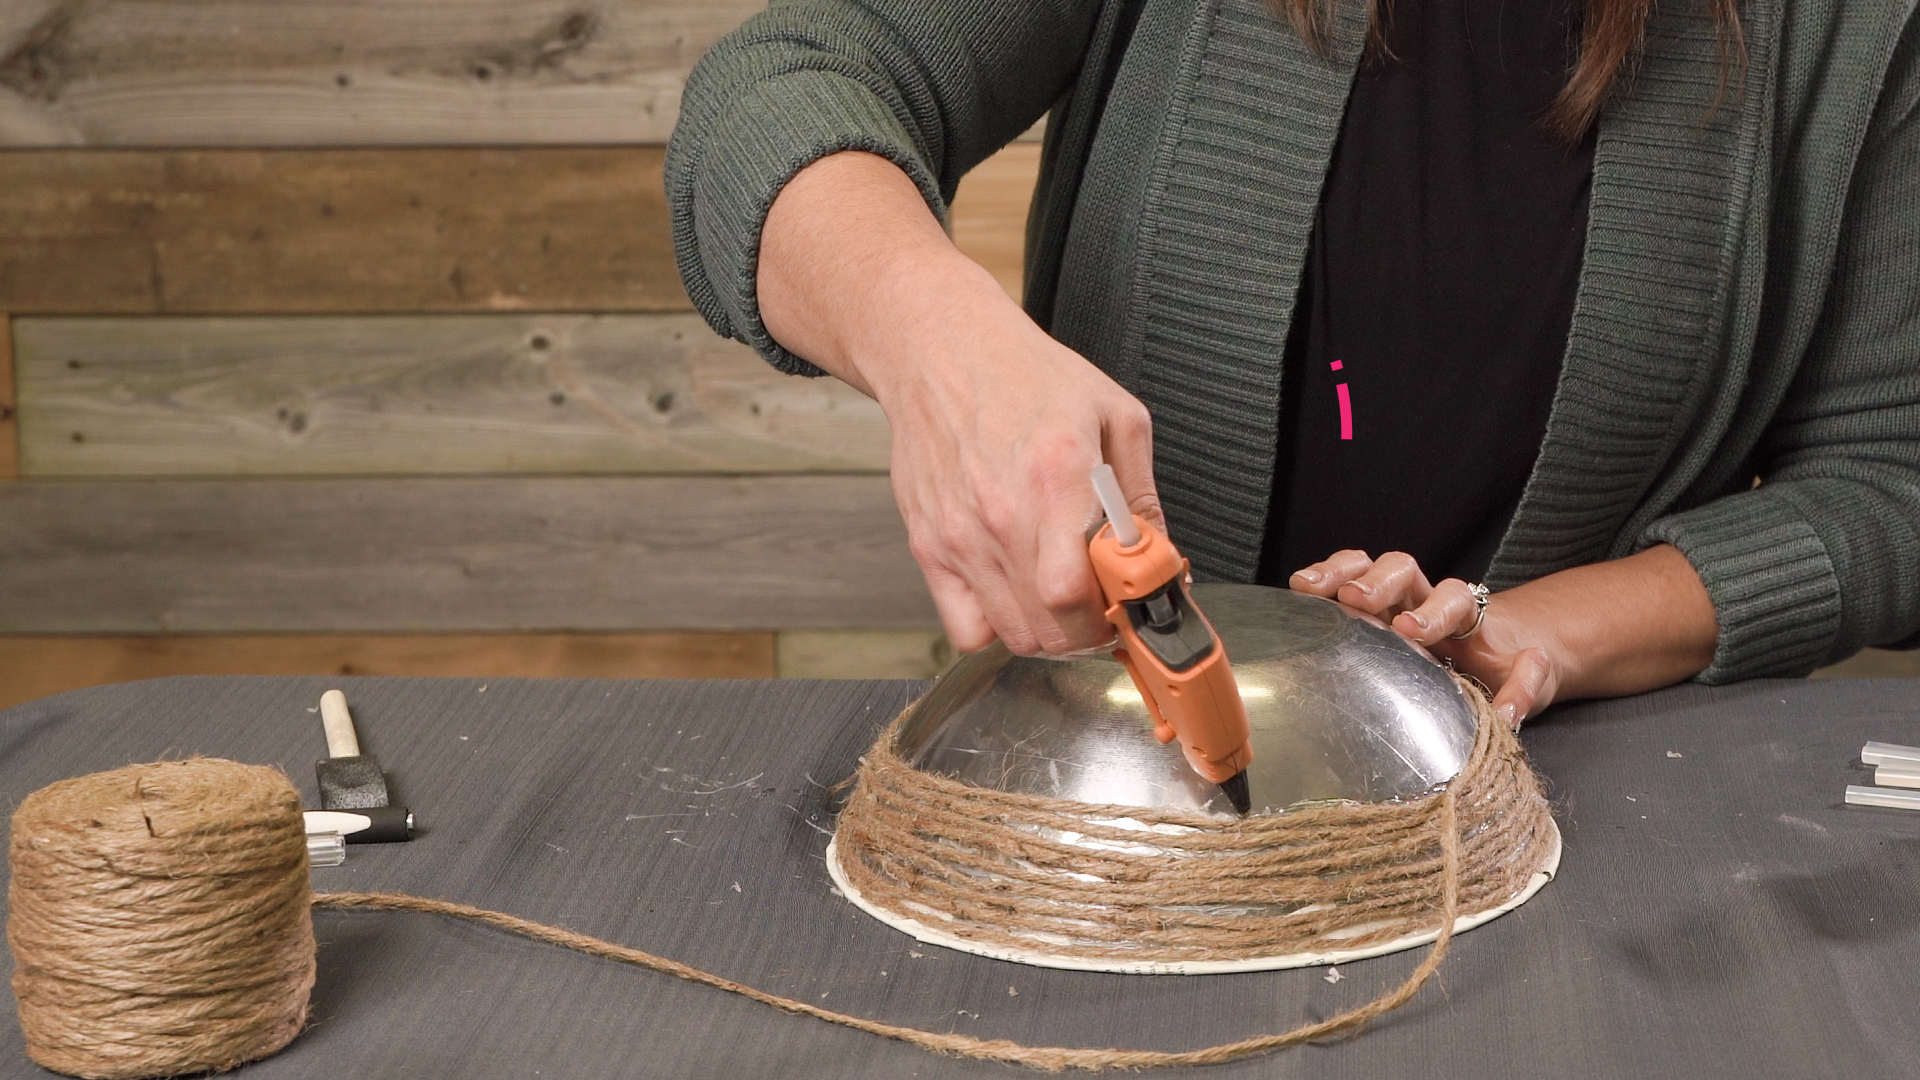
Step 6:
It’s time to wrap the outside of the bowl. It’s easiest if you flip over the bowl and start gluing it just under the top rim, using the hot glue gun to secure the cord. Rotate the bowl as you apply the rope, continuing until it’s fully covered.

Step 7:
Once you’ve finished wrapping the bowl, you can apply one final layer of modge podge over the cord to seal it all and hold down any flyaways.


Be sure to share your finished DIY book page rope bowl with Decoist on Facebook, Instagram, and Pinterest!