Finding the “right” home can seem virtually impossible when you’re caught up in the throes of househunting—a fact that couple Kevin and Krista quickly realized when they began their quest for their current home. As Kevin told Decoist, he and his wife initially began looking for a new house in 2018 but gave up their search because they wanted a turn-key property to focus on their children rather than deal with a major home renovation. They thought it was turn-key home or bust until one particular home caught Kevin’s eye on his way home from work.
The home was one of the only “country in the city” homes he’d seen at that end of the time. The home was a classic big-yard-old-house style, built in 1982.
Kevin and Krista attended the first open house but ruled out the property because “we convinced ourselves that there was just too much work to be done. Good bones but outdated and awkward layout.” Two weeks later though, the couple came back for a second walk through and decided (after a lot of consideration) that they’d be able to make the property work.
After a persuasive letter to the sellers and a $10,000-under asking bid, the home was theirs!
Once the home was theirs, Krista’s top priority was a full redo on the kitchen. Kevin explained “we spent months trying to design the kitchen and incorporating the dining [room], fireplace, living room, front entrance, powder room… it just didn’t stop.
By March 2020, Kevin & Krista were ready to get the ball rolling on their renovation so they could have the home they always dreamed of. Read ahead for Kevin’s breakdown on how they transformed their space!
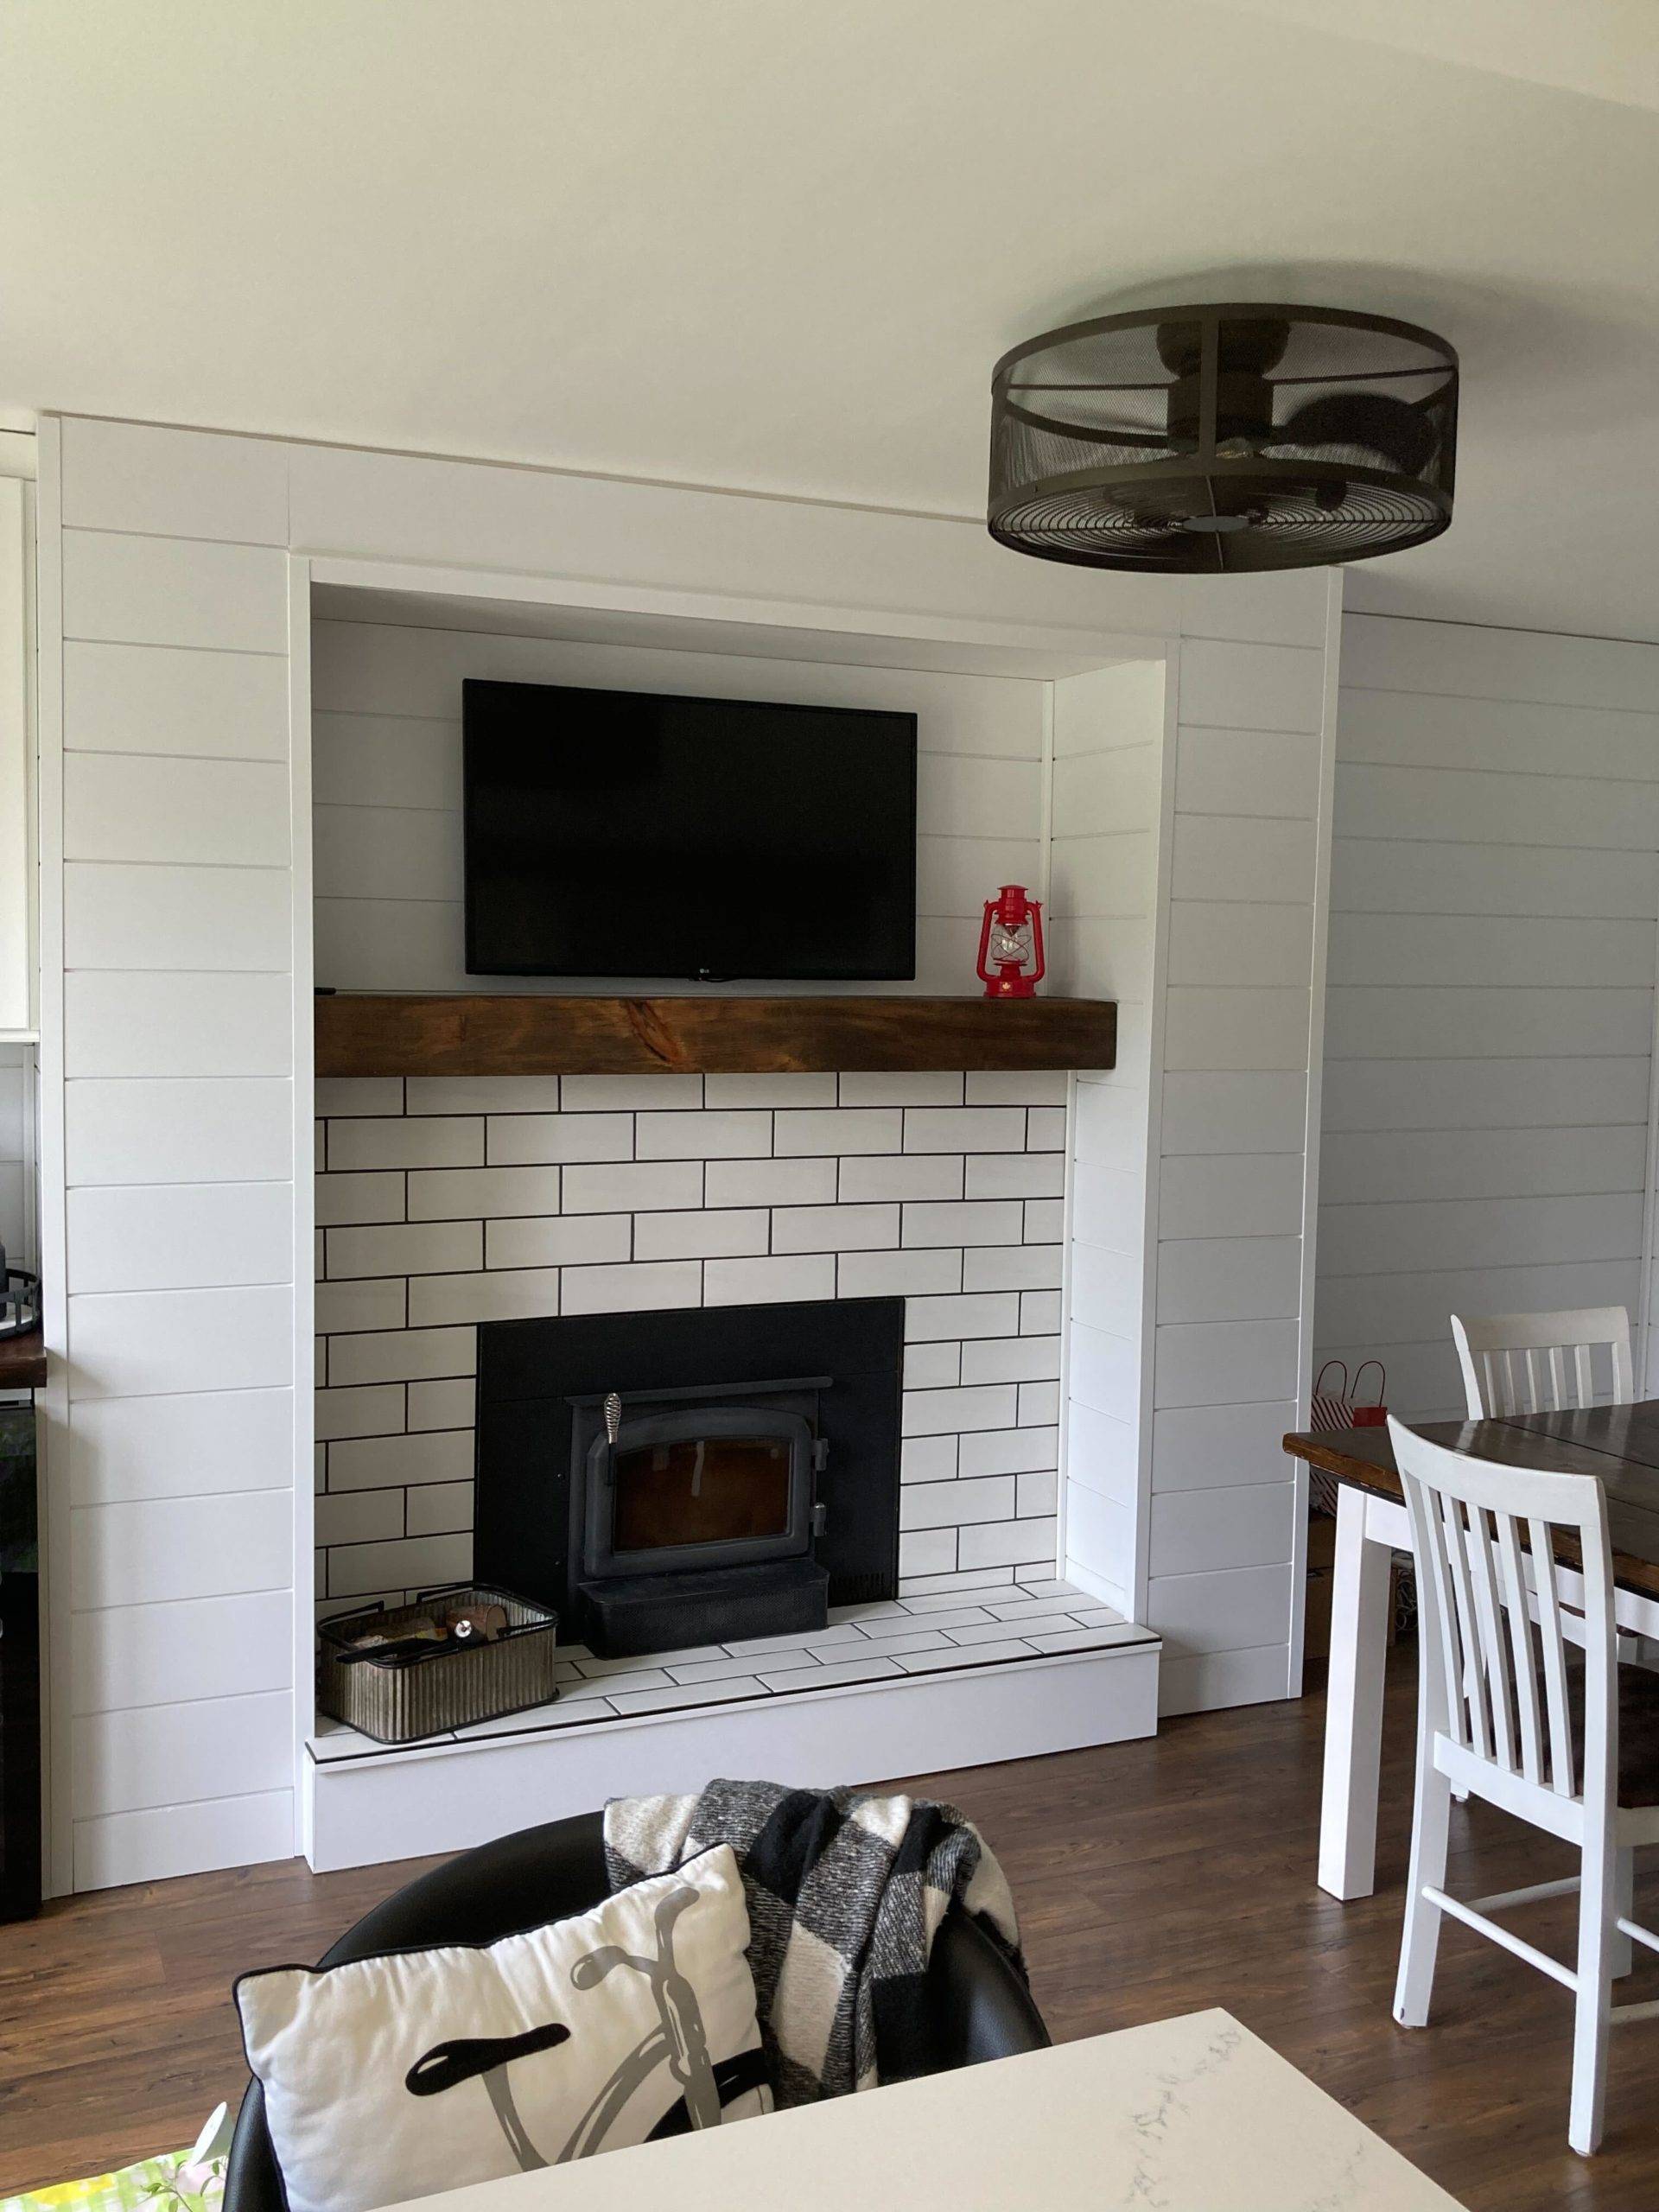
Step 1 – Removing the Fireplace and Knocking Down that Wall!
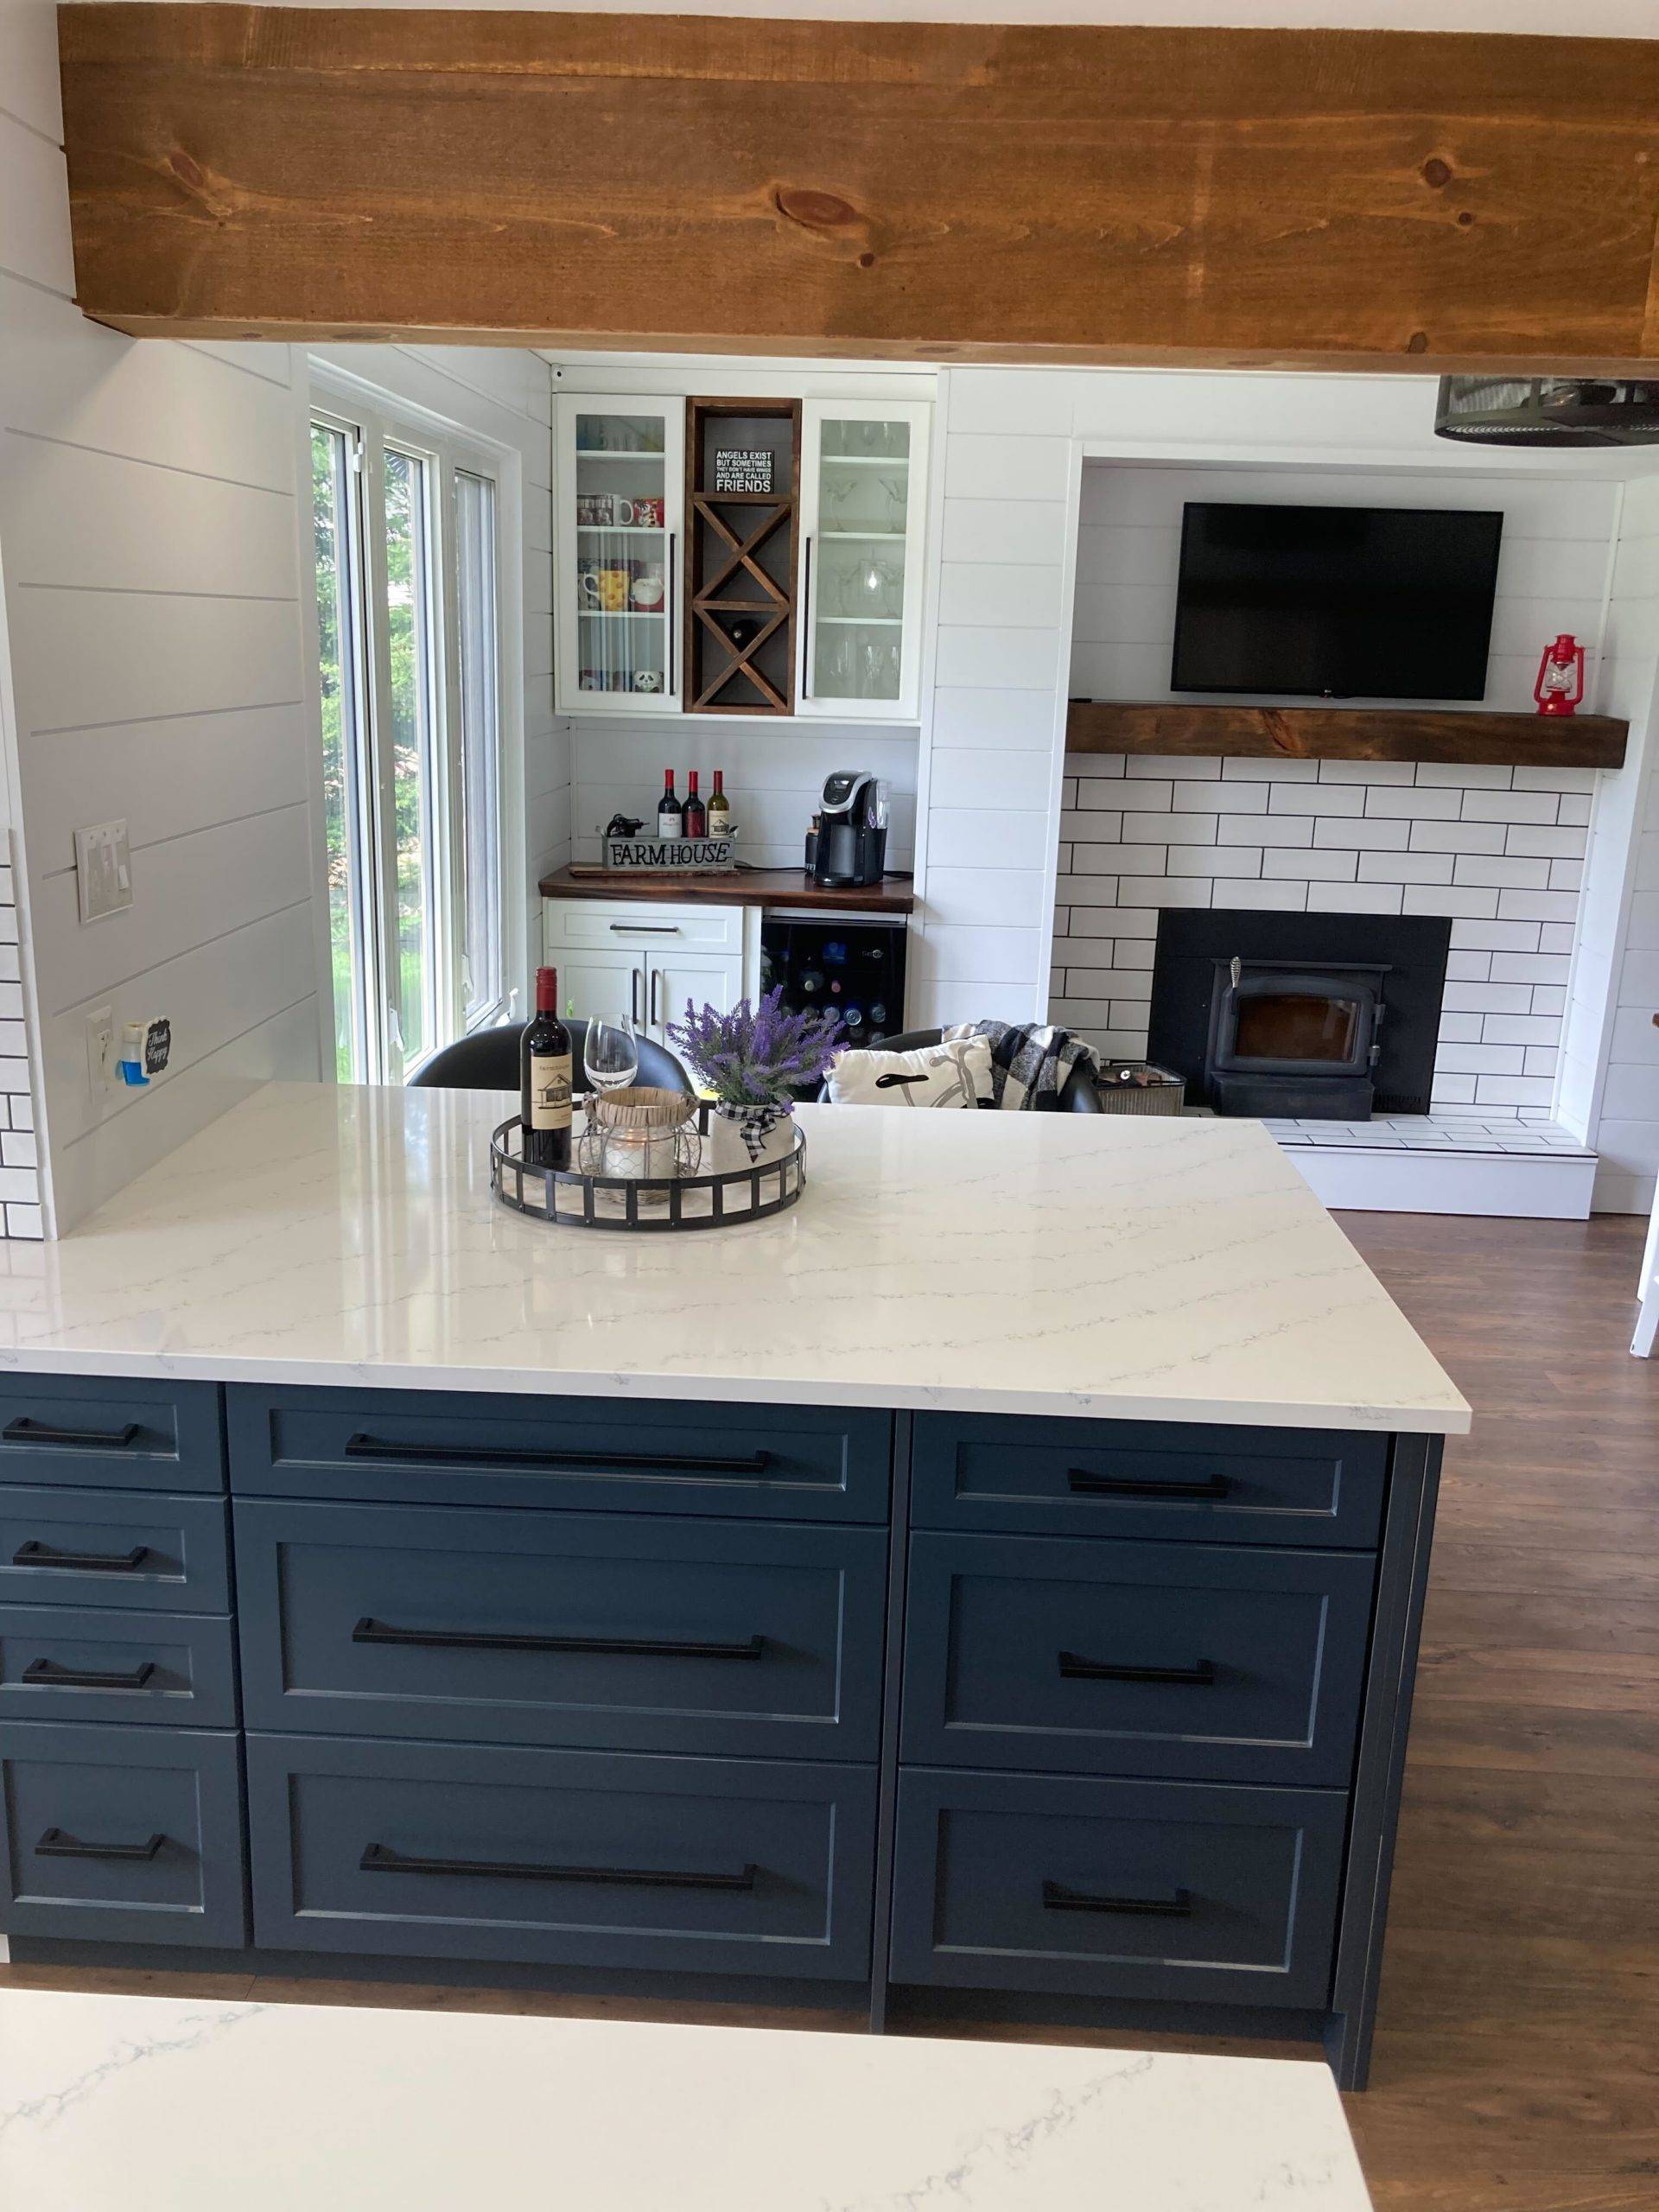
The first step for this project was to knock down a load-bearing wall that was dividing the kitchen and dining room. The dining room also had an old stone fireplace. The fireplace was removed by a licensed contractor who brought along the proper engineering permits. While the family tackled taking down the wall, the contractor’s team safely replaced the old fireplace and added an LVL beam which is a replica for a barn beam. Our first surprise came from the wall being taken down, when we learned that we’d need to reroute the ventilation, which created the bulks around the fireplace. Once that was fixed though we were moving forward.
Open concept accomplished!
Step 2 – Turning Kitchen Dreams Into A Blueprint Reality
Step 2 of the home reno process was complicated by the COVID-19 pandemic. Due to issues with the contractor relating to communication (or lack thereof), pricing, work ethic, and even timelines, I had to say “I’ll take it from here” and stepped in as the contractor.
Now we were tasked with finding a place to draw up our kitchen from our hand-sketched design. IKEA had great kitchen prices and products but was shut down due to the pandemic so that option was out. We looked into professional kitchen stores but found that they were too pricey and weren’t helpful for trying to keep to a budget. We found a great kitchen designer at Lowe’s who was very helpful and understanding throughout the design process. We ordered our kitchen with our design, color palette, and custom tweaks at 20% off thanks to a kitchen sale.
We never thought a big box store is where we would find our kitchen!
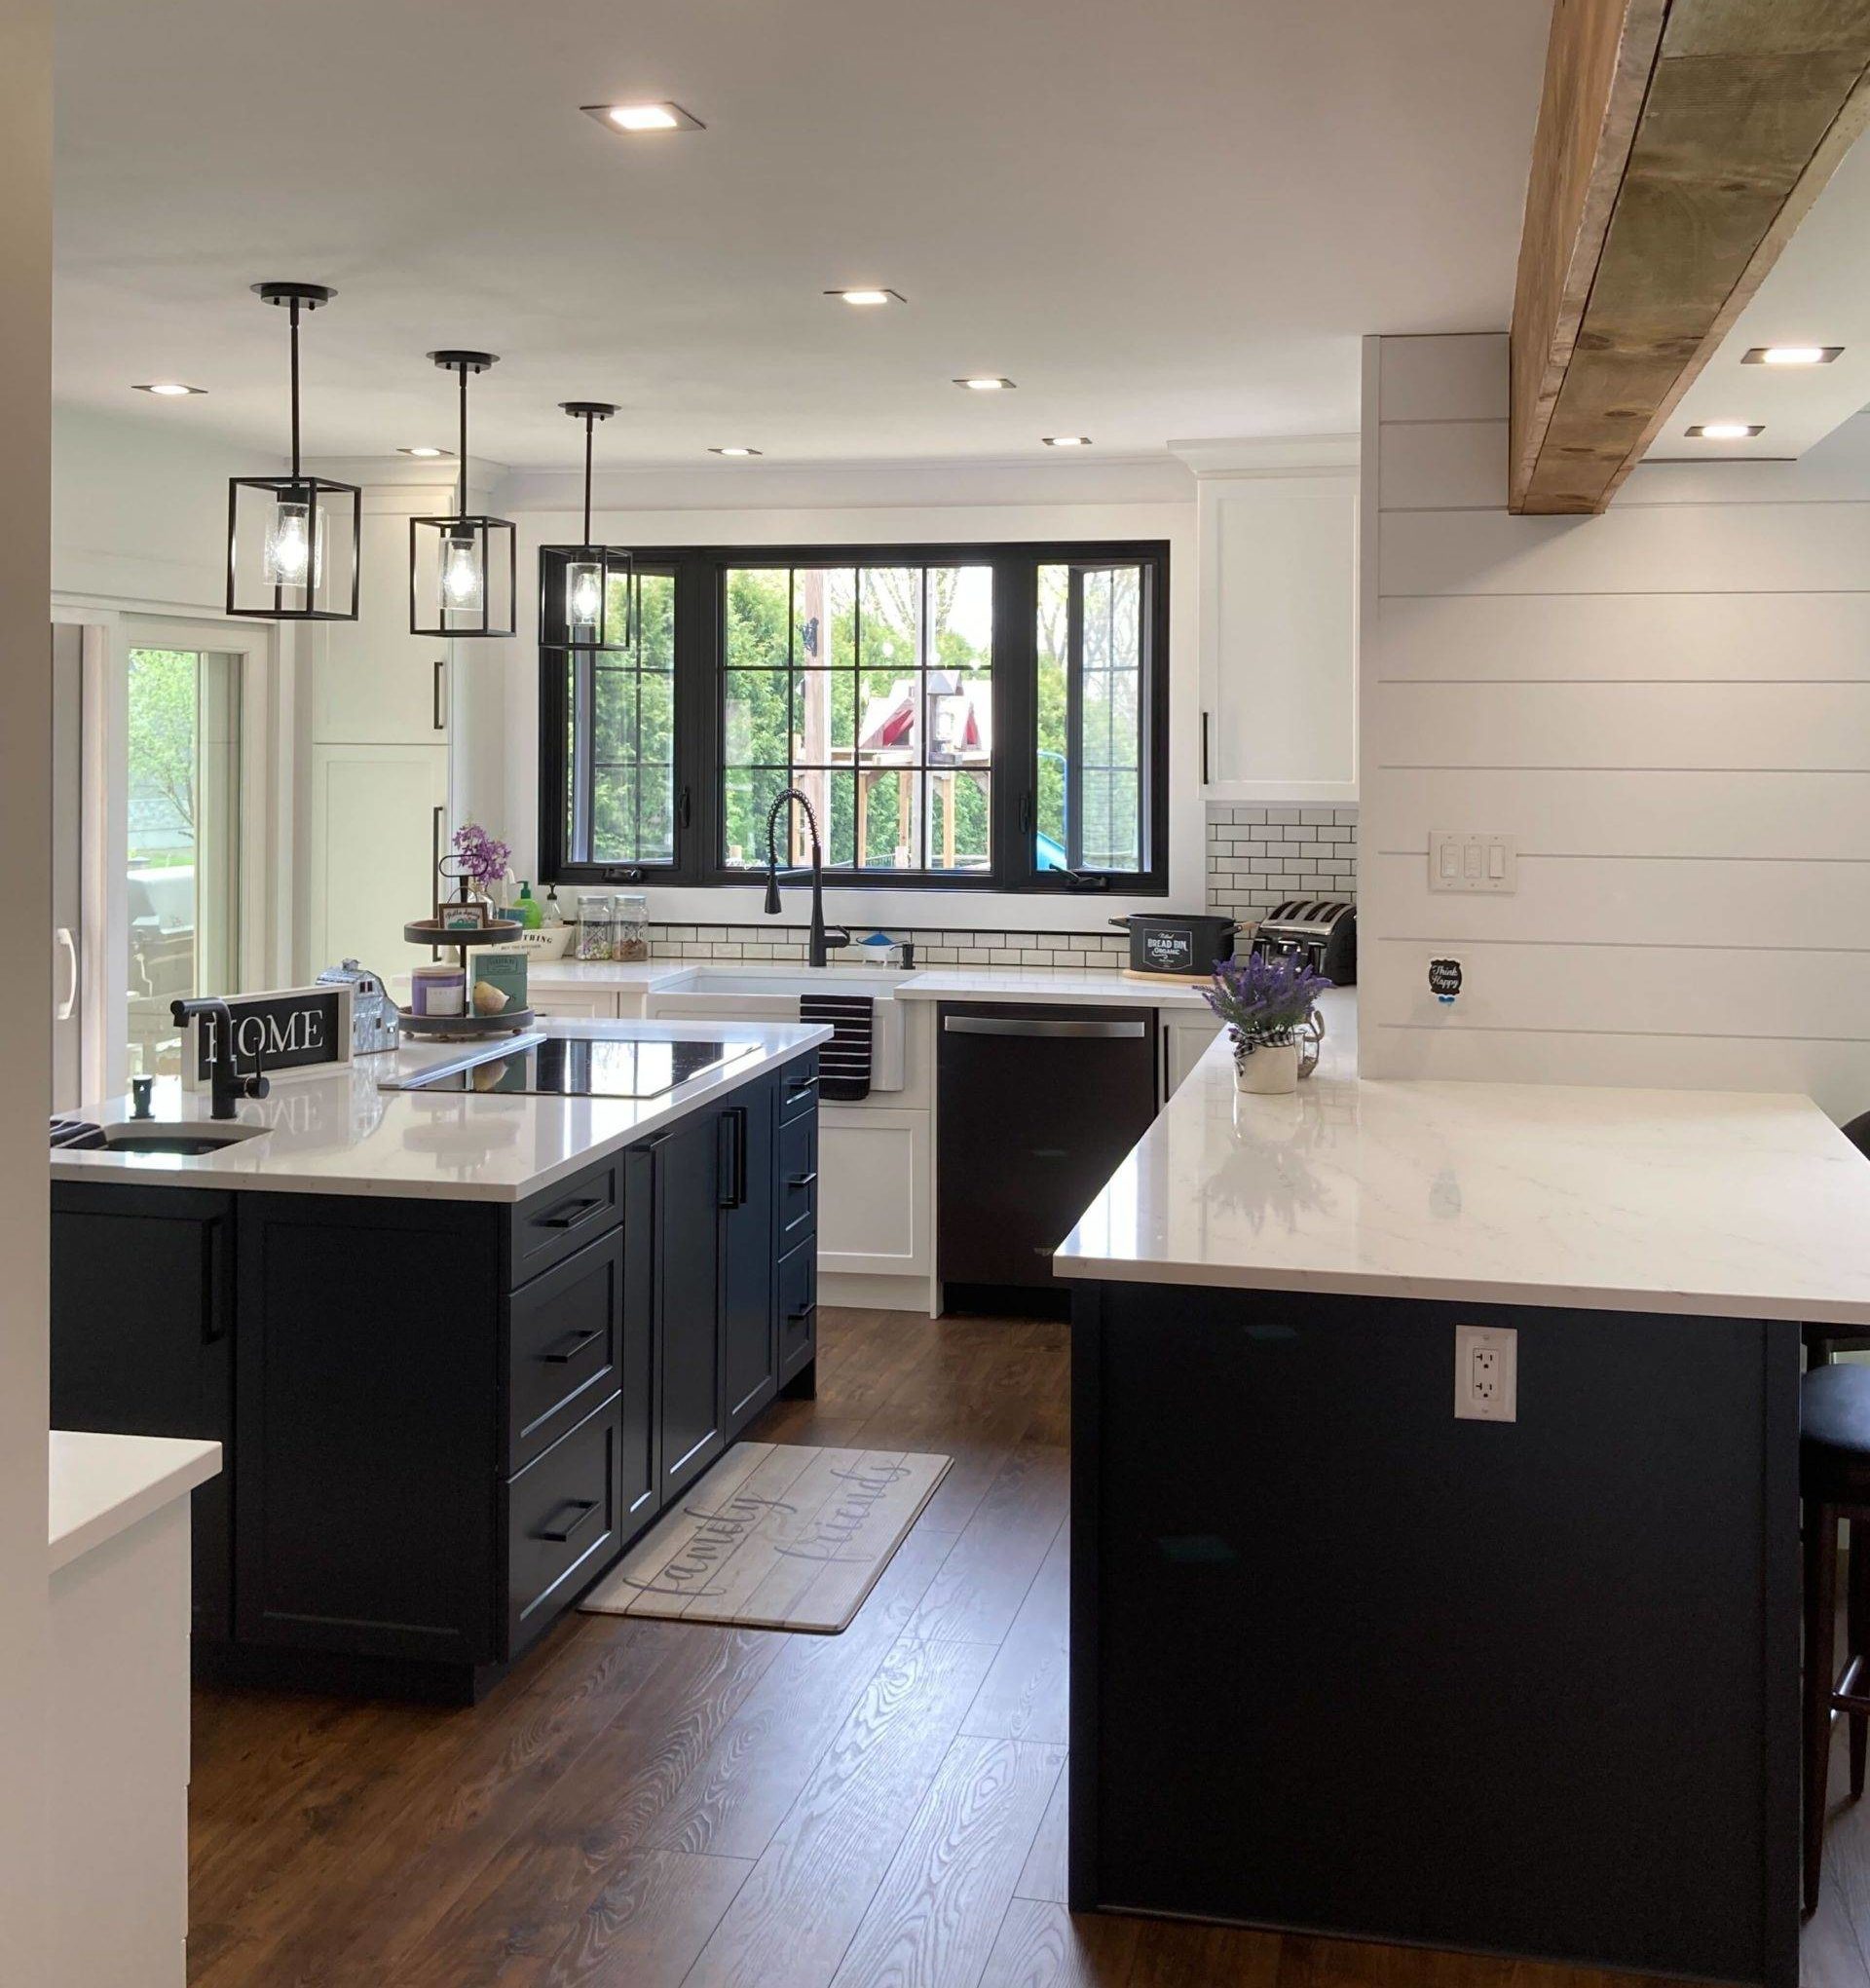
Step 3 – Add A Few New Windows
The next step was windows. We changed one window in the kitchen from a vertical to a horizontal window, and added an additional window to increase the light and view of our yard. We chose the black awning windows and are quite happy with them. We even added a new front door while we were at it.
Step 4 – Finding Our Flooring
Moving on from the windows, it was time to find our flooring. We wanted the look of rustic wood but we also wanted durable floors. I never would have thought that laminate was the way to go but that was what made the most sense in the end for our needs. We went through the same battles as with the kitchen cabinets—professional stores wanted way too much money for the same products, but Lowe’s pulled through for us yet again and we got the closest laminate to our original sketch and at the best price.
Step 5 – So Many Countertops To Choose From…
Who knew there were so many types of countertops?! One could argue there are too many to choose from. We learned that quartz is basically maintenance-free and man-made. Since granite is natural, in terms of pattern you get what you get so we chose quartz countertops because it was a low maintenance option and a safe bet in terms of which pattern you’d get.
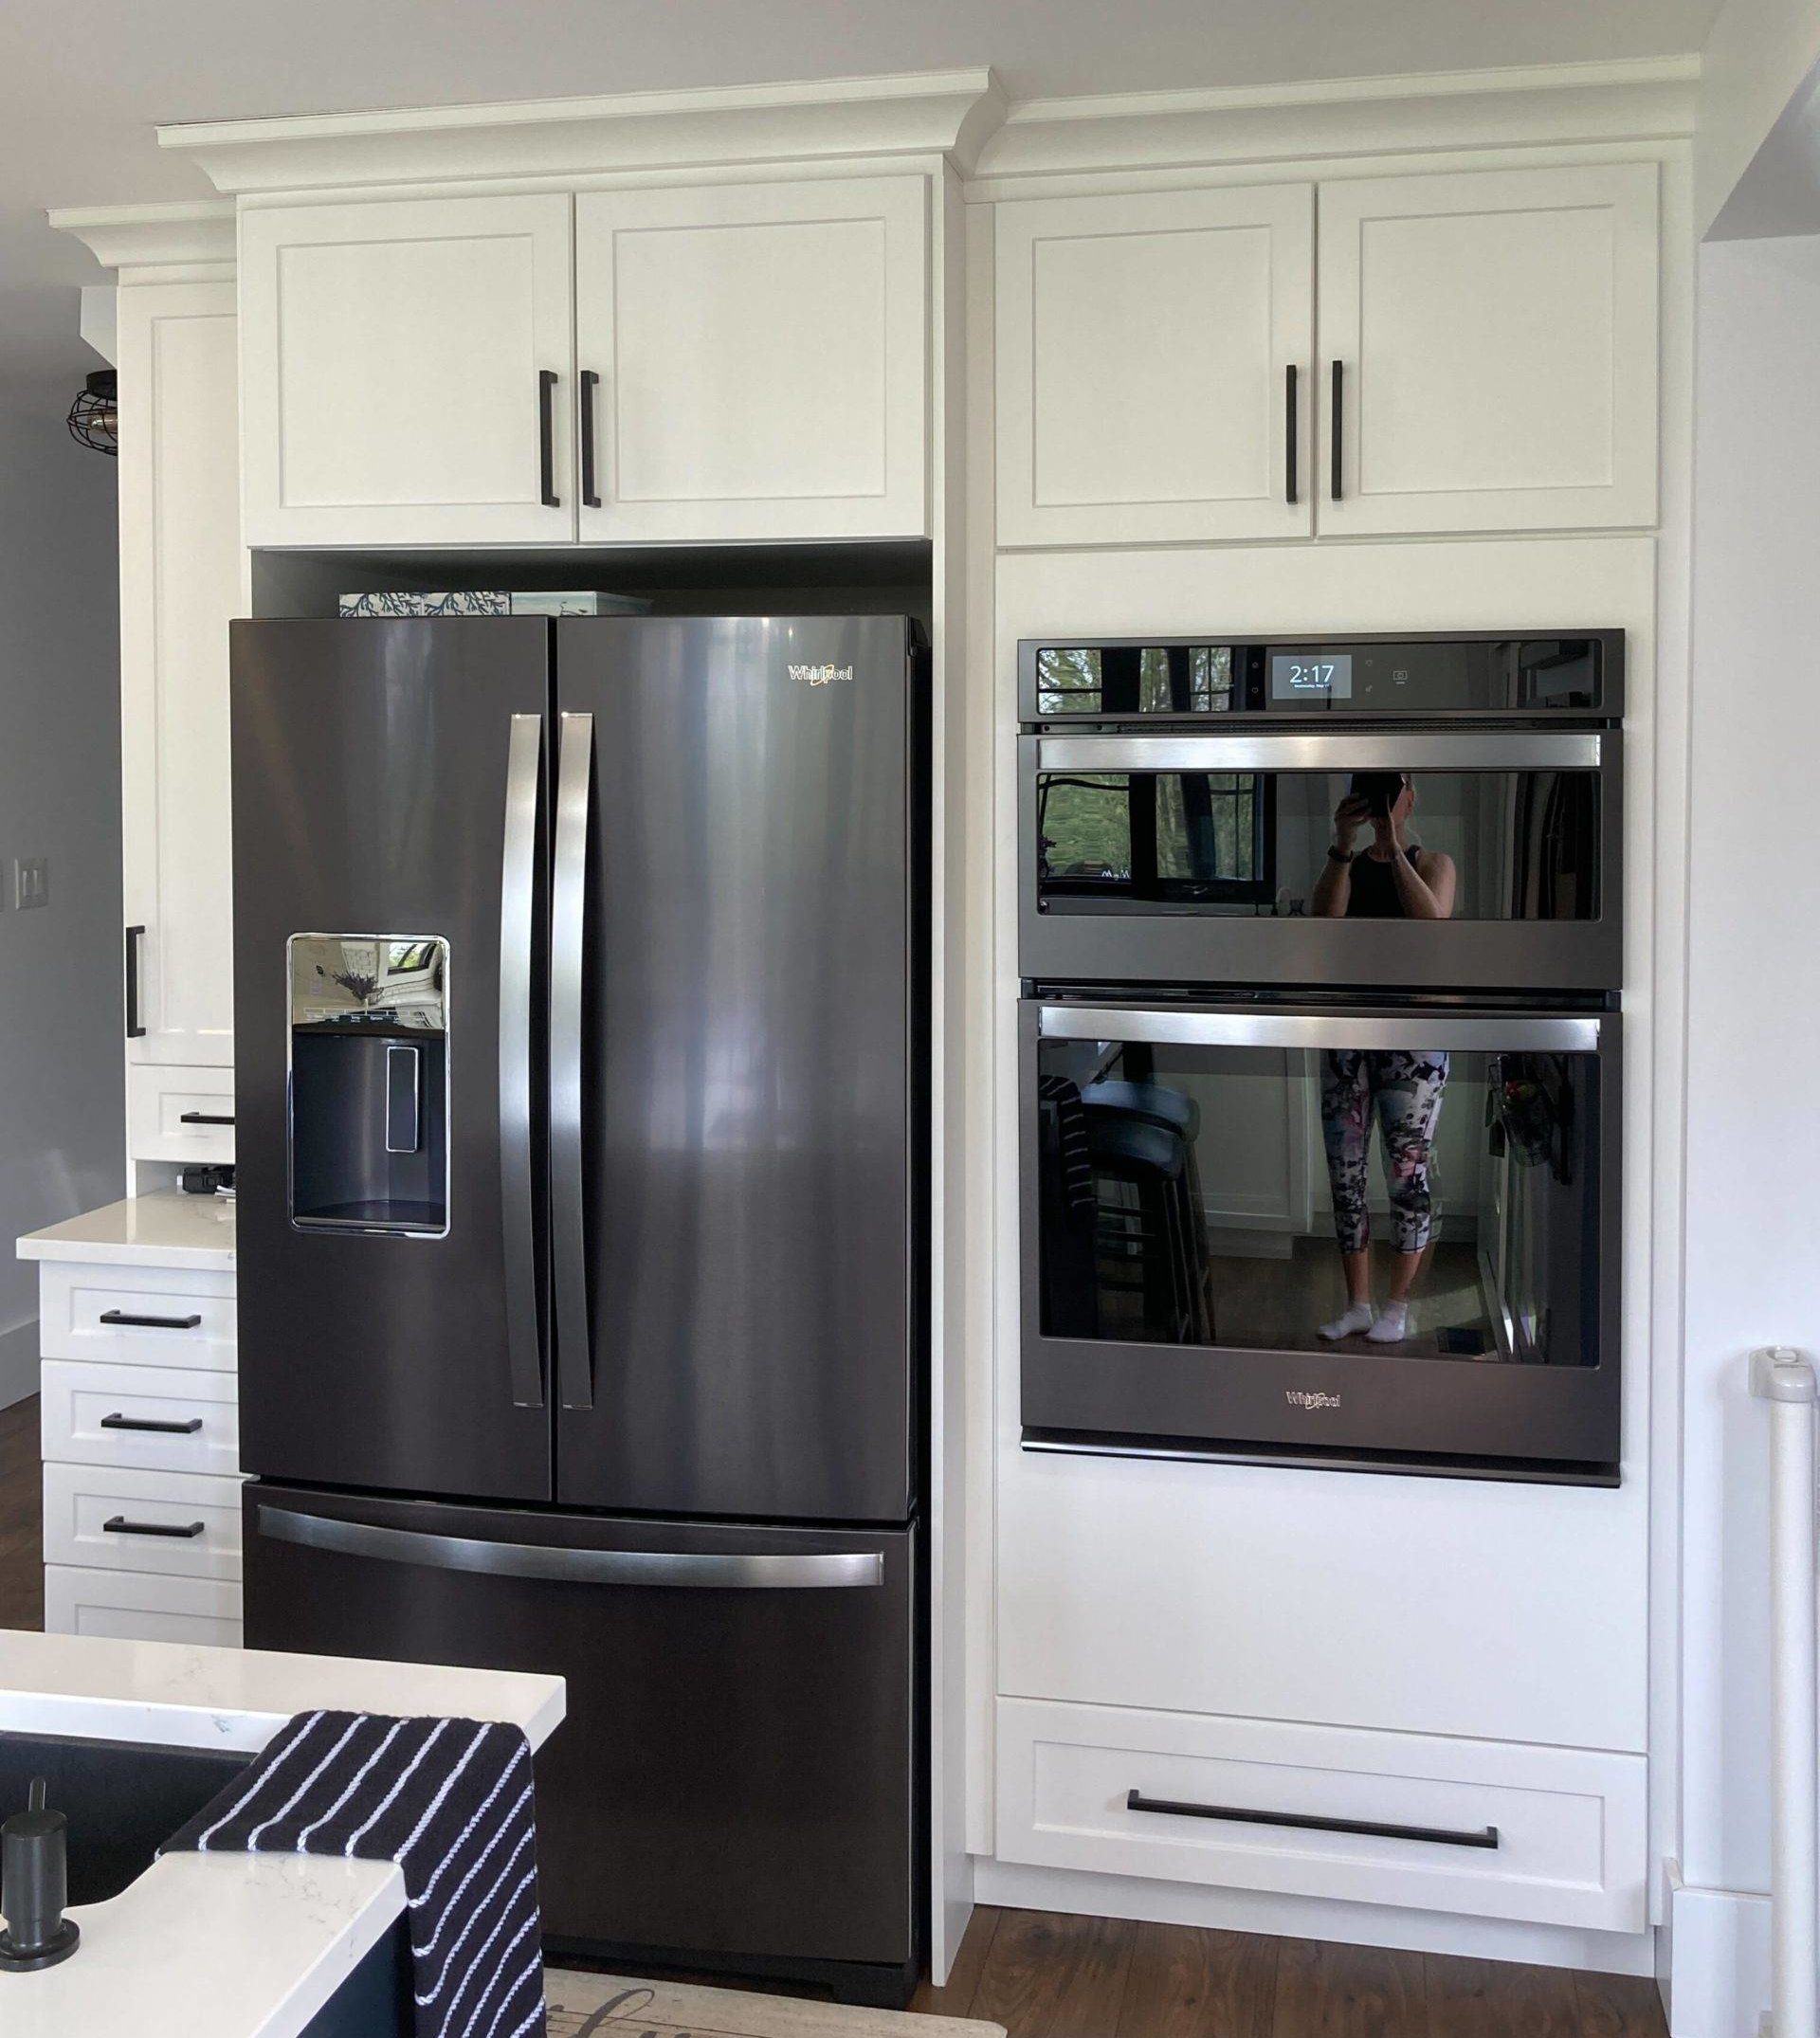
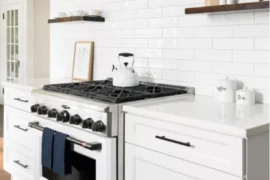
Step 6 – It’s Appliance Time
We ordered our appliances from a reliable local retailer, going with black stainless for the coloring which also matched the windows. There was an elevated cost to order the black stainless because it’s not as popular. The cooktop and vent were a custom order as well.
Step 7 – Putting The Finishing Touches On The Project
The miscellaneous elements of the project all came together in the end. Some of these elements were unexpected expenses that, in hindsight, maybe should have been planned for as there are unexpected costs with any major project such as a kitchen reno.
We lucked out that we had just enough room on our electrical panel to accommodate all the upgrades without needing to rewire or upgrade our actual panel.
For our cabinet handles and drawer pulls we chose to order from Amazon because they were of nice quality that were cheaper than anything else we found. The light fixtures proved tough to find the right farmhouse look we were going for but over time we finally landed the right ones.
The shiplap we used was a discount score! We purchased a whole skid at Home Depot on clearance. Seeing as it’s usually expensive, we couldn’t pass it up. And finally, there was the repainting of all the ceilings, walls, and even that well-priced shiplap.
Kevin and Krista are now happily living in their beautiful home, knowing they did a great job with this big project!
All photos featured in this article were submitted by the couple.