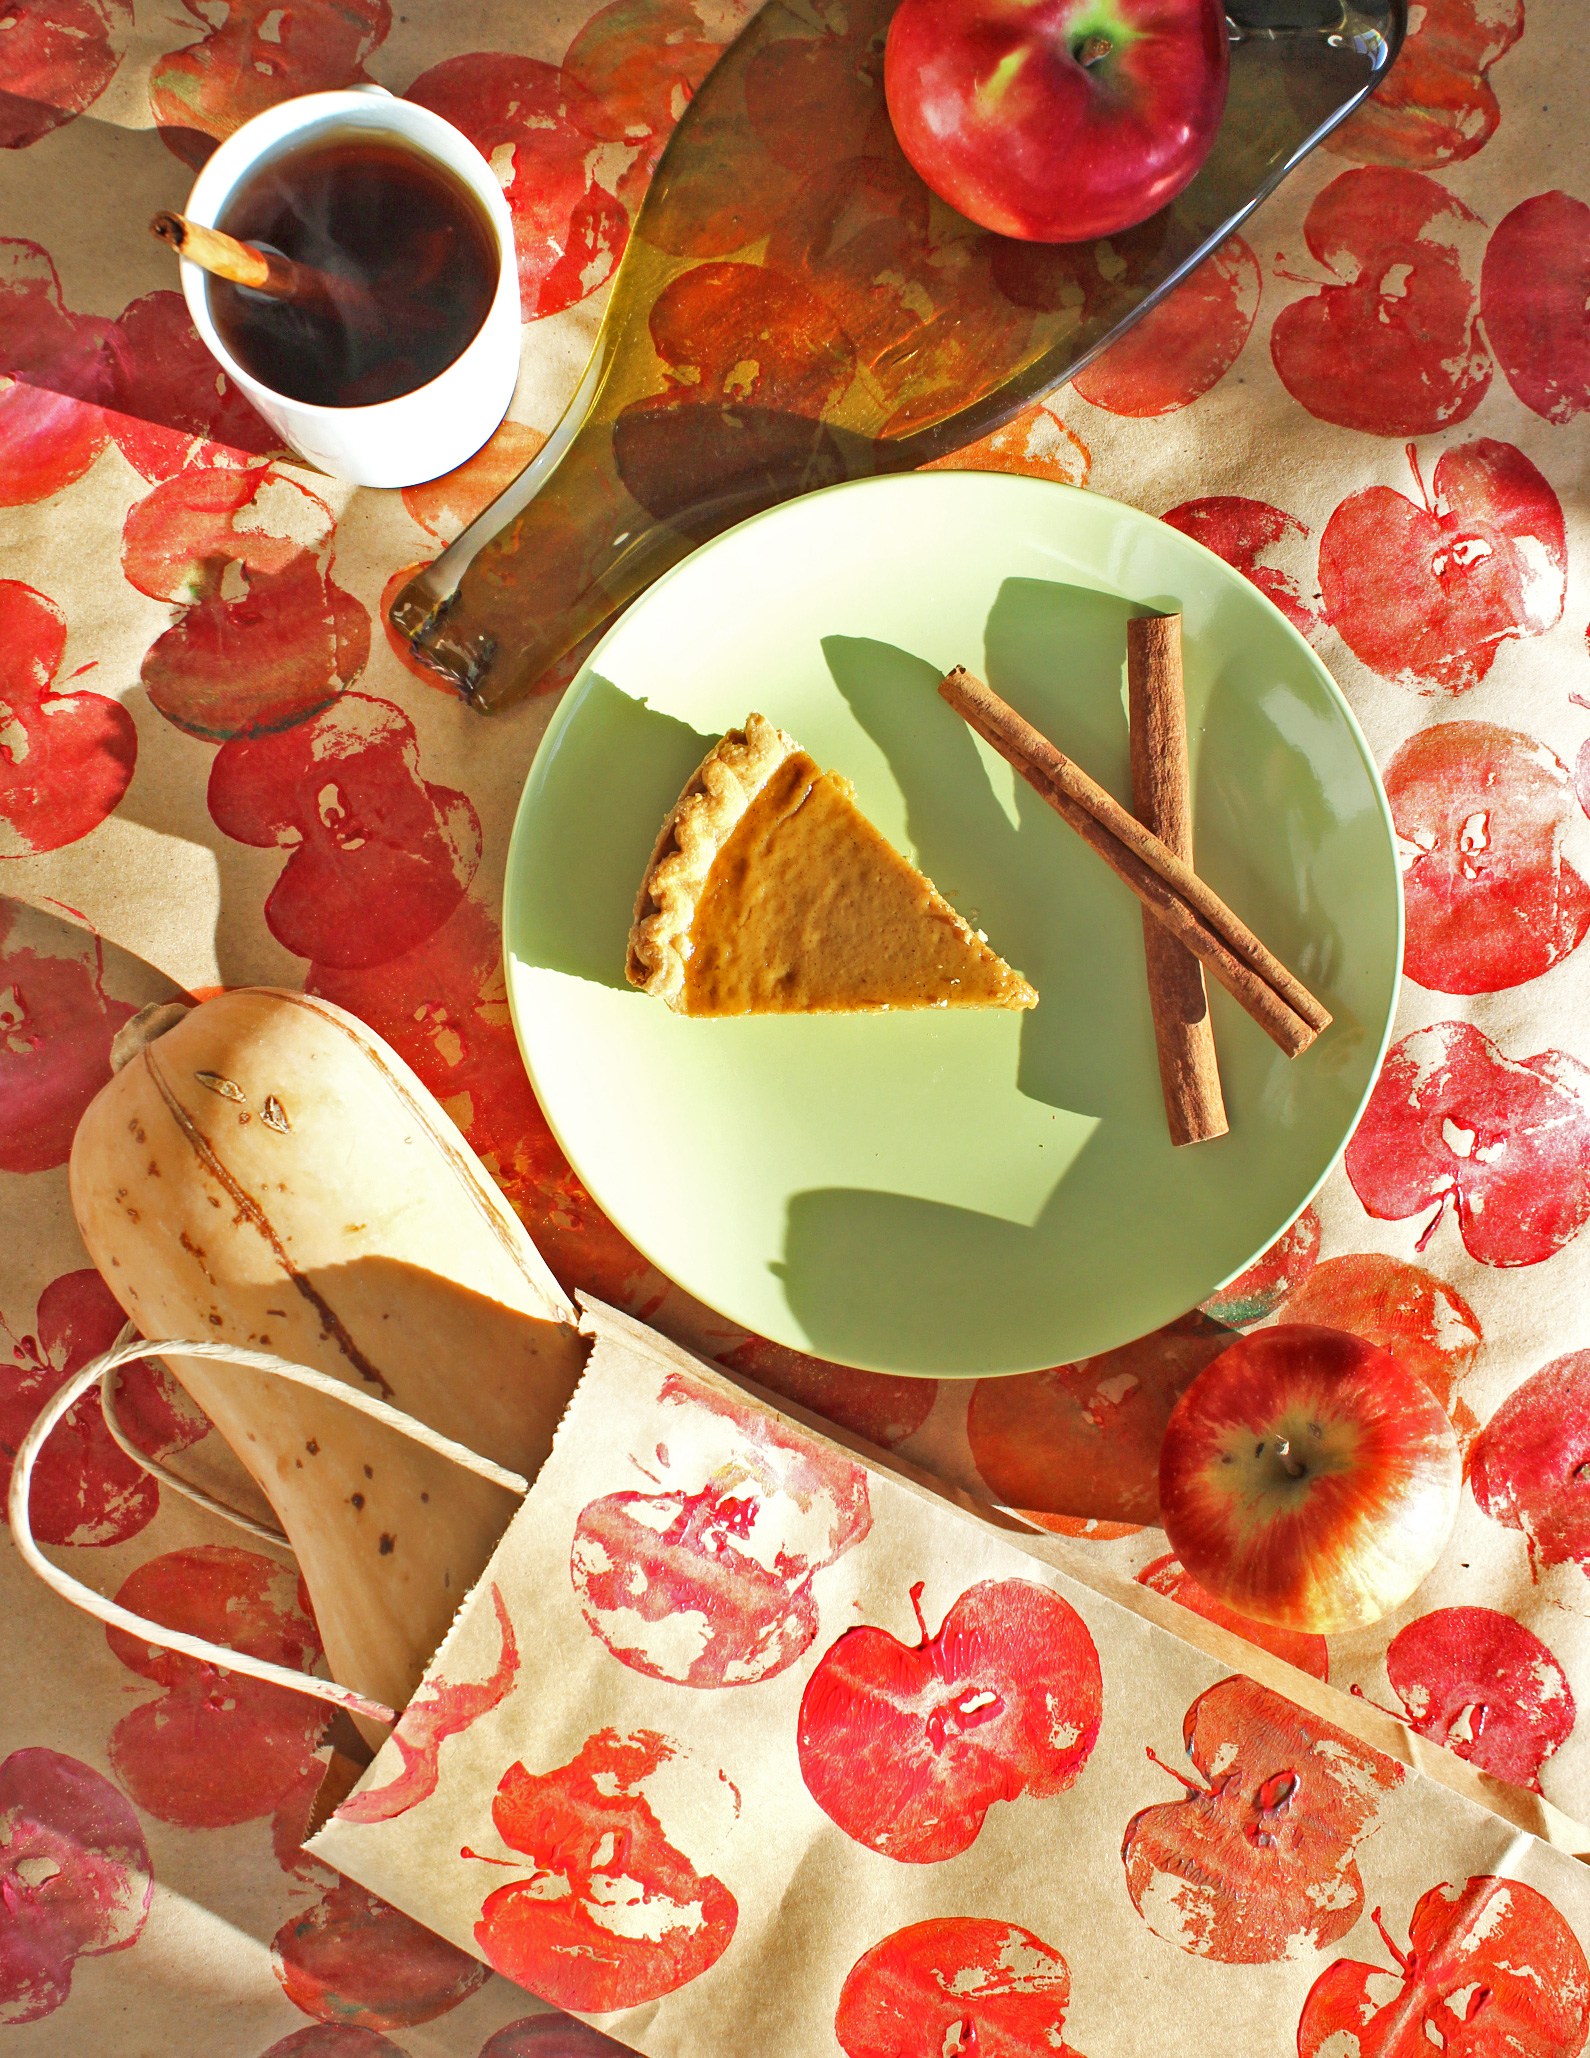
Apple-picking is one of my favorite fall activities, but sometimes you bring home a bushel of apples and simply can’t eat them fast enough. There are plenty of good tips for turning over-ripe apples into apple butter or apple sauce, but if you’ve got just one stray left over, here’s a fun way to repurpose half of it as a stamp (I recommend chopping up the other half and stirring it into your apple sauce with some cinnamon). These apple stamps can be used to create table runners, gift bags, wrapping paper…and the list goes on and on. Read on to see my DIY tutorial showing you this easy, inexpensive and versatile craft.
Apple-Stamped Decor
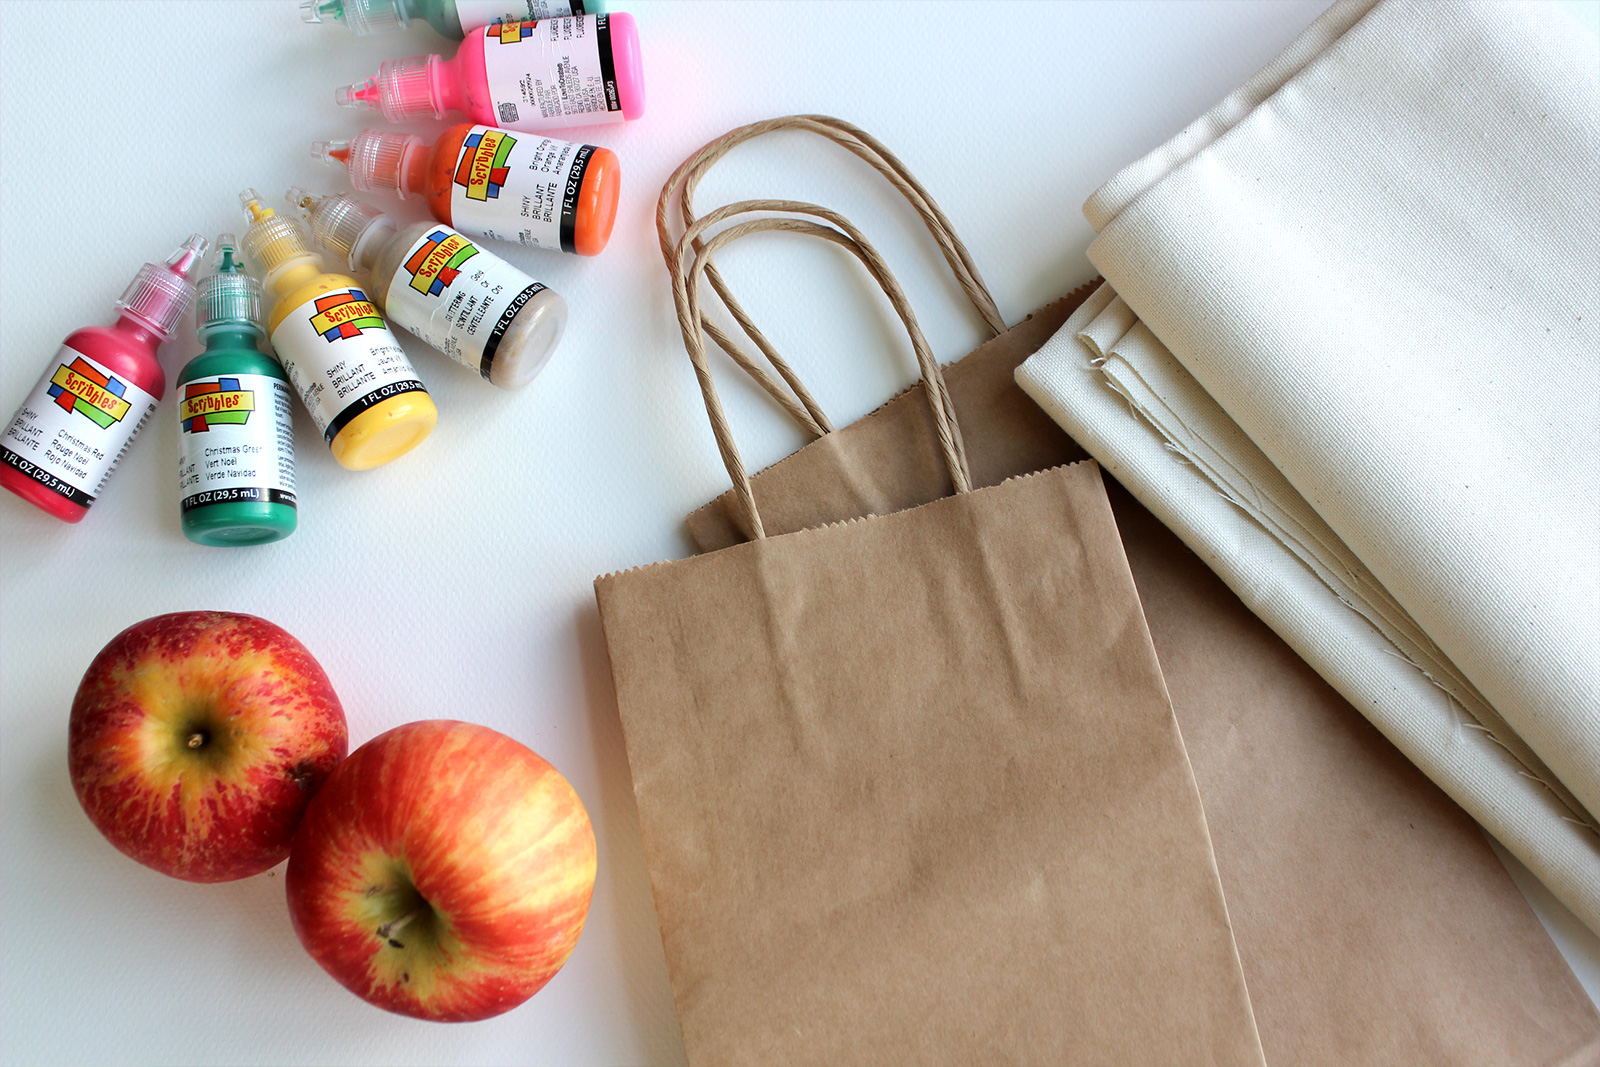
Here’s what you’ll need to get started:
– an older apple
– a knife
– fabric paint in a few autumnal colors
– a paintbrush
– a container for the paint (a plastic takeout container lid works well)
– kraft paper, canvas, cloth, bags or anything else you’d like to stamp on
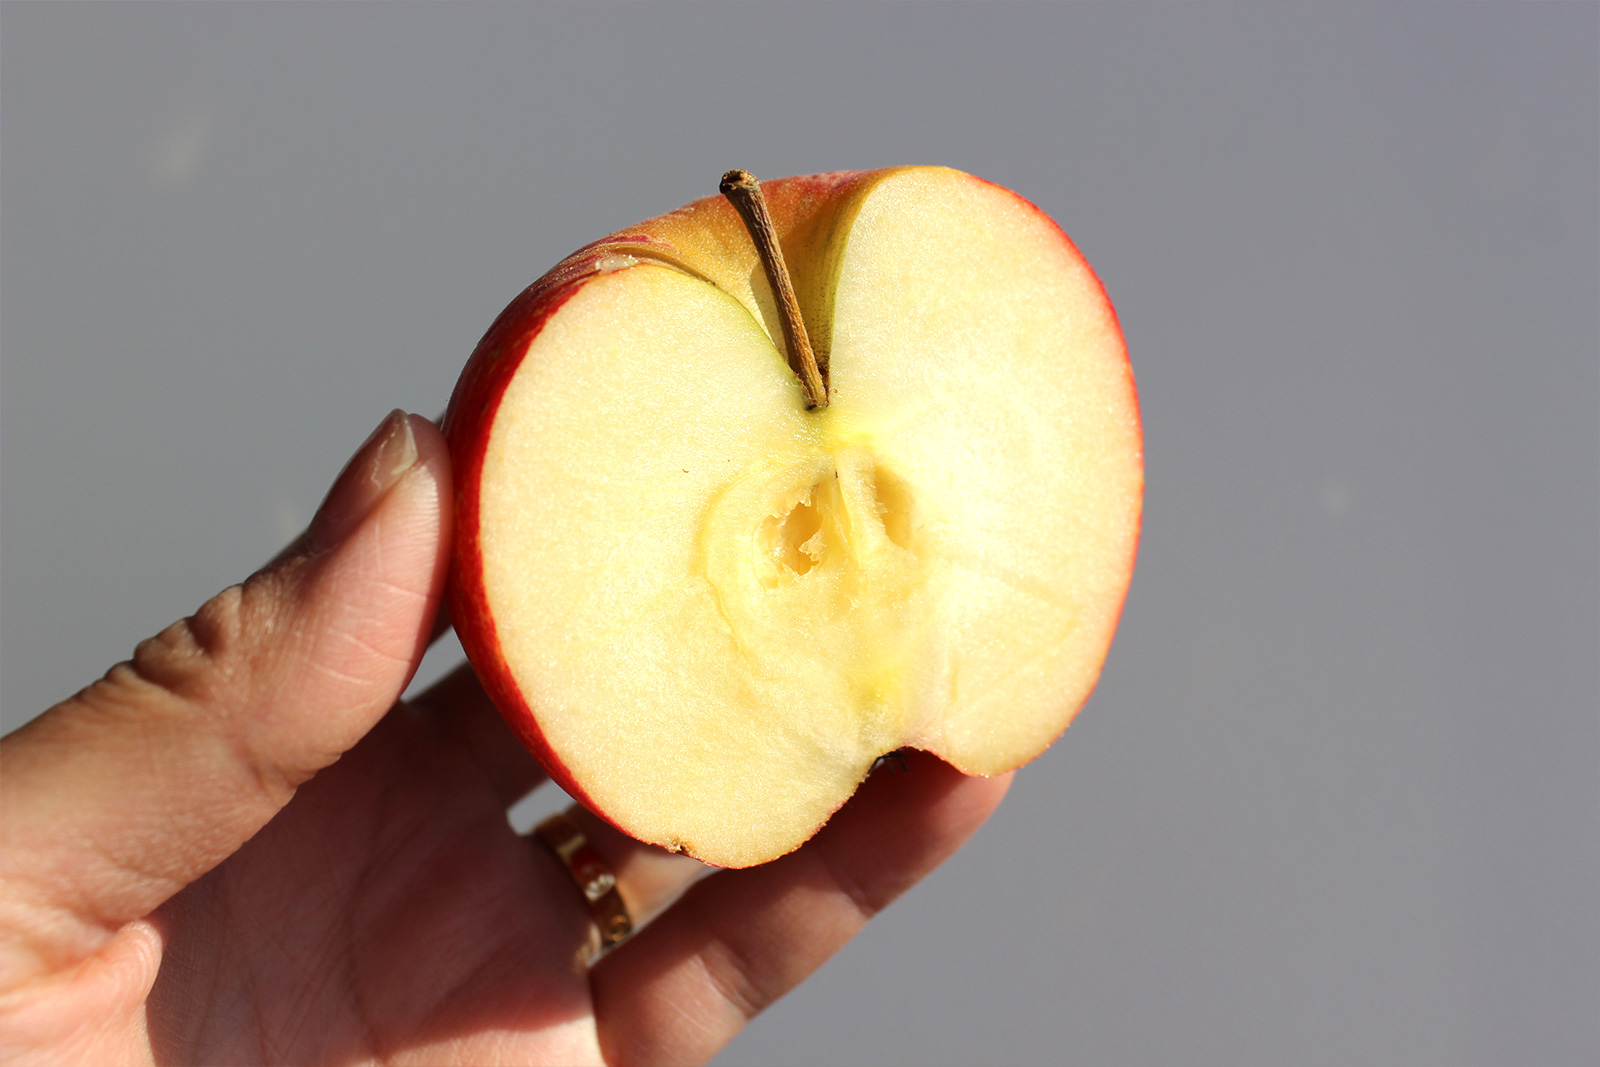
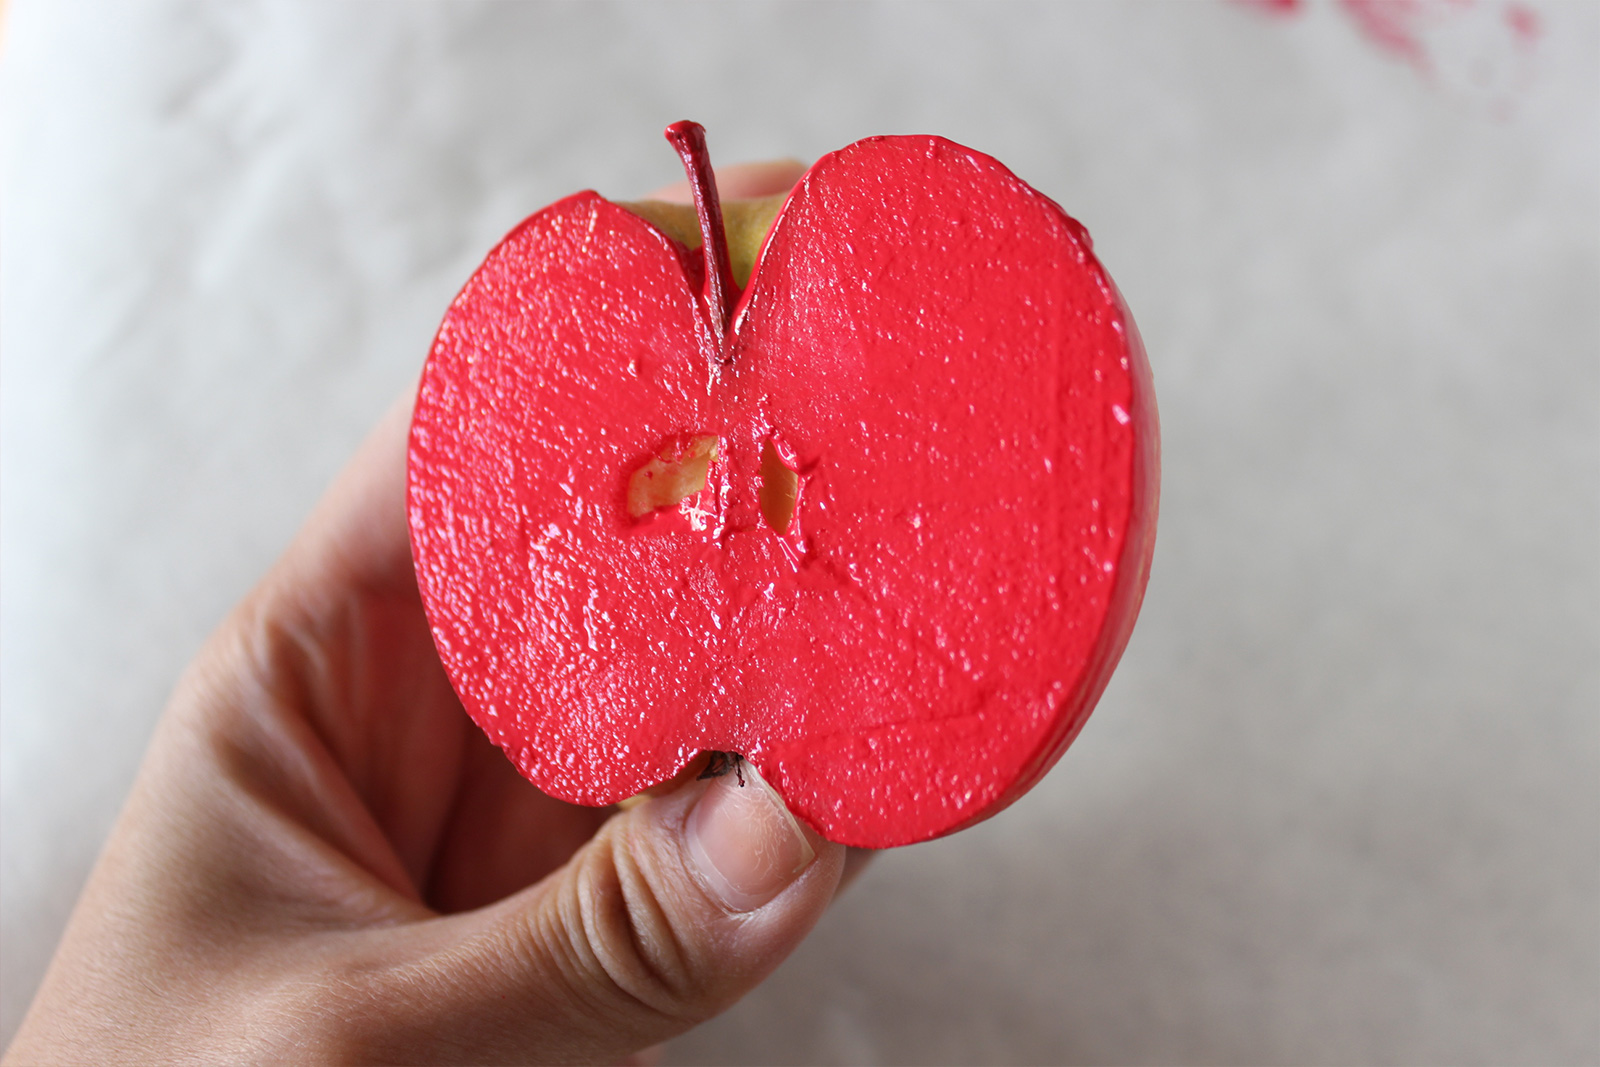
Step 1: Cut your apple in half. Try to get as close to the stem as you can so that it can also be a part of your stamp. Remove any seeds.
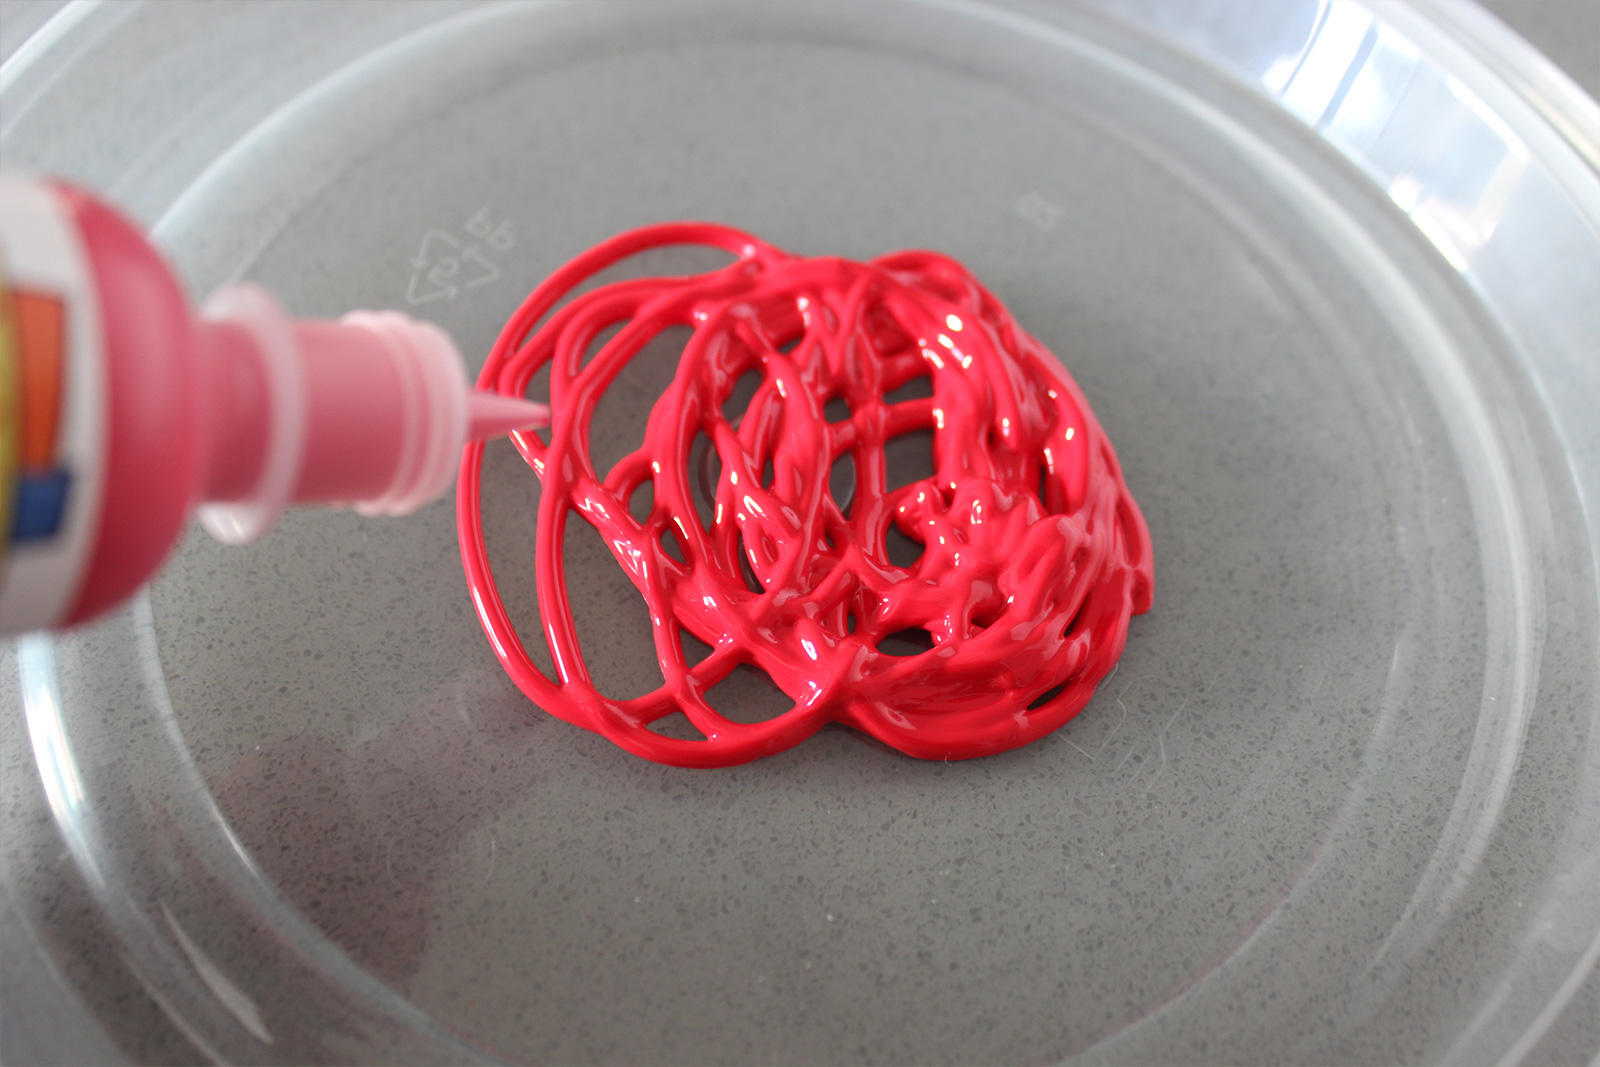
Step 2: Next, squeeze some of your paints out into your container. Think about the color combinations you’d like to use. I tried a bold red but then mixed in some yellows, golds and oranges. Later on, I also added some greens and even some pinks. Feel free to get as creative as you’d like, but don’t mix too many paint colors on your apple stamp at once or your colors will begin to look muddy.
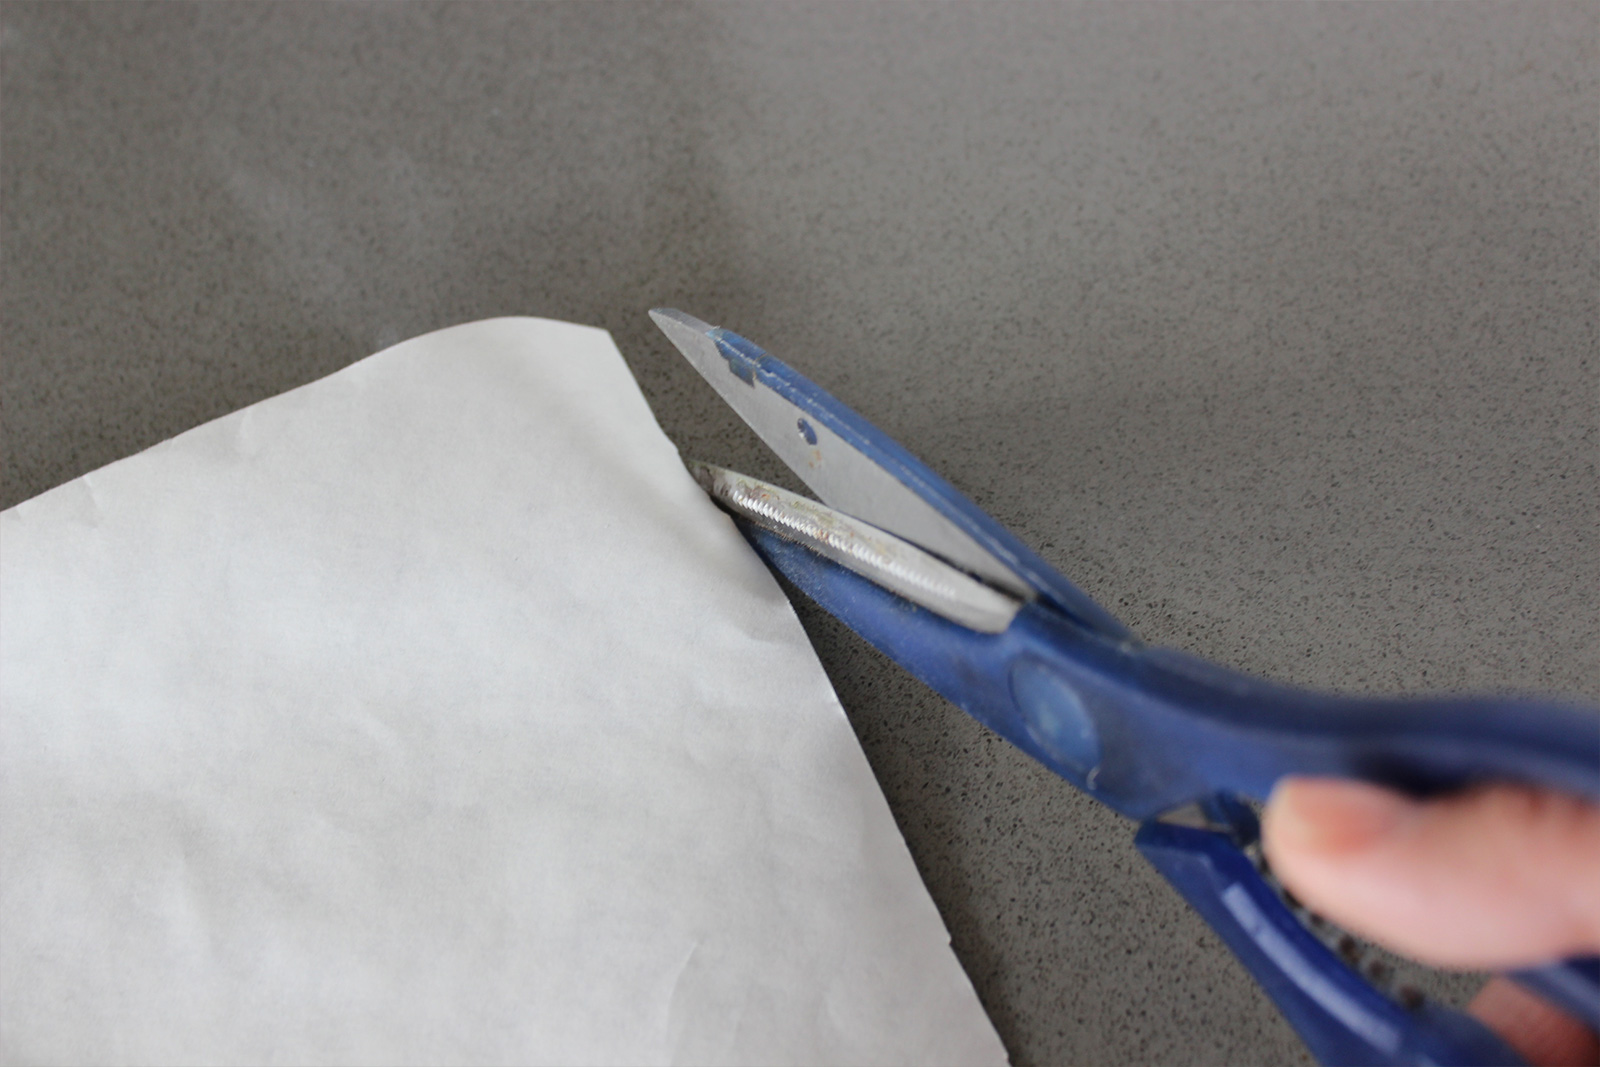
Step 3: Cut your kraft paper (or cloth) to size and lay it out flat on a covered worksurface.
Step 4: You can dip the cut side of your apple right into your paint, but I found it more effective and neat to use your brush to transfer your paint onto the apple. The thin, even layer of paint is ideal for creating a uniform look. And don’t forget to apply some paint on your stem too so that it creates an imprint as well.
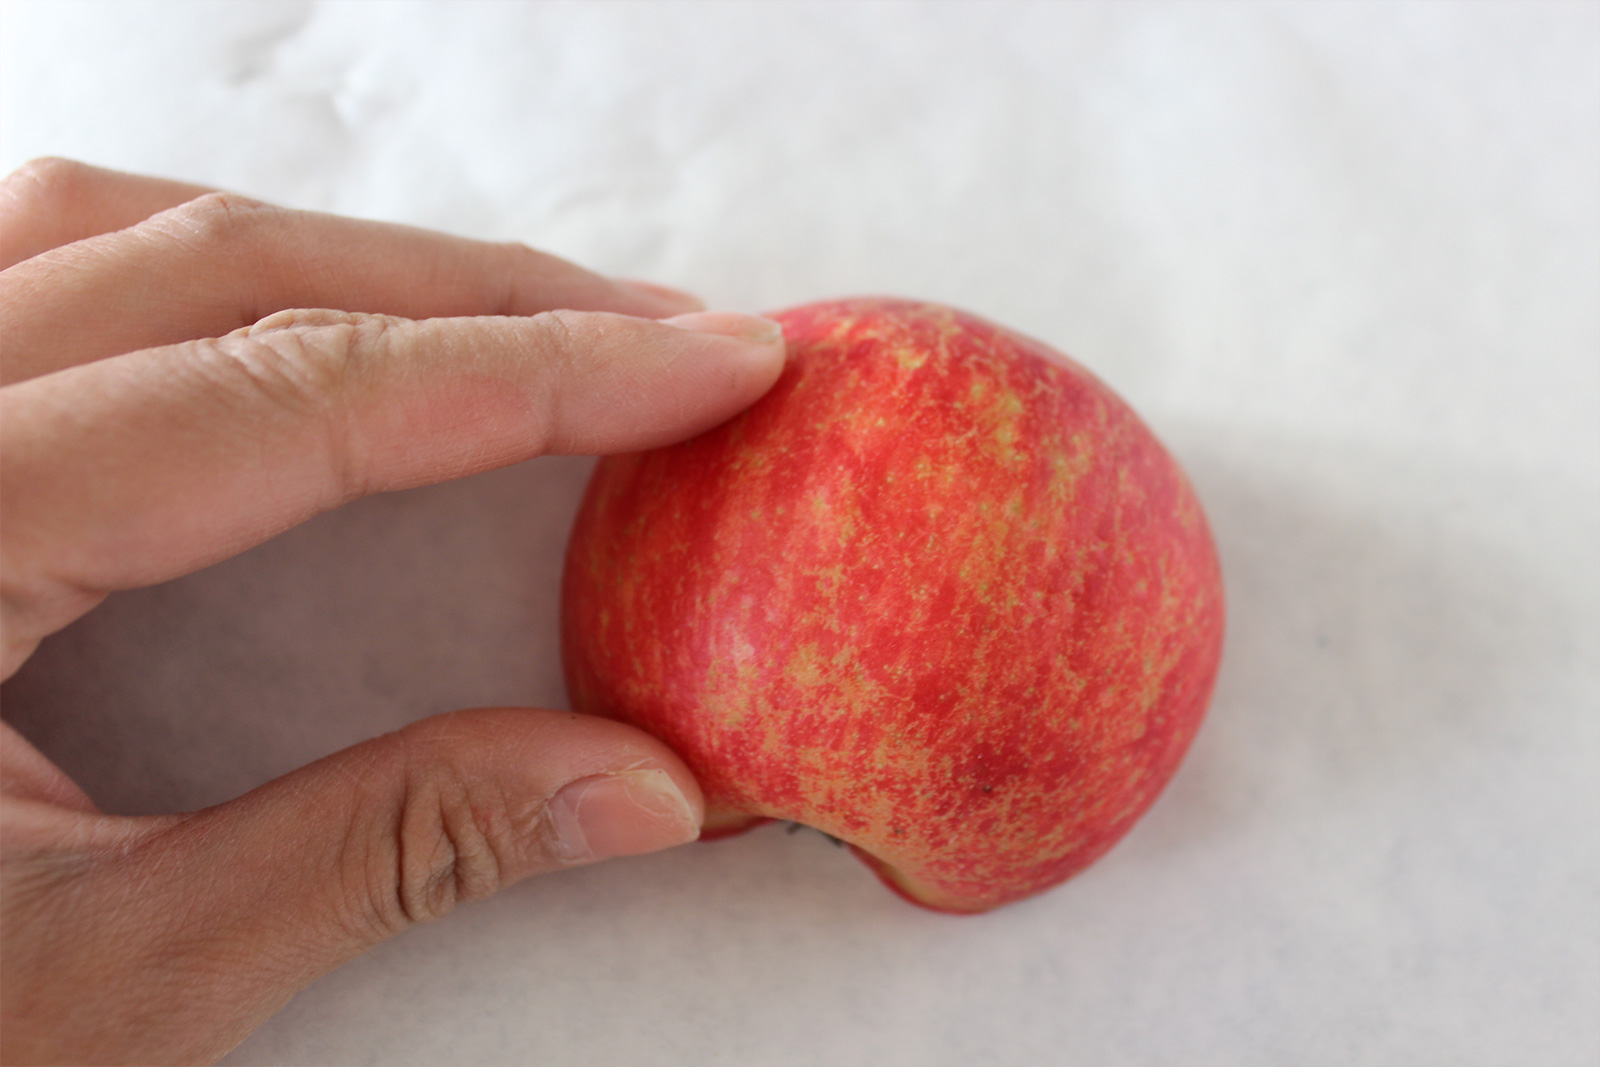
Step 5: Now for the fun part! Lay your apple paint-side down on your surface and stamp! Then repeat steps 4 and 5 until you’ve covered up your entire surface. Don’t forget to get creative with the hues you choose! Or you can create a bolder look by just using bright red. A grassy green would look great for spring as well.
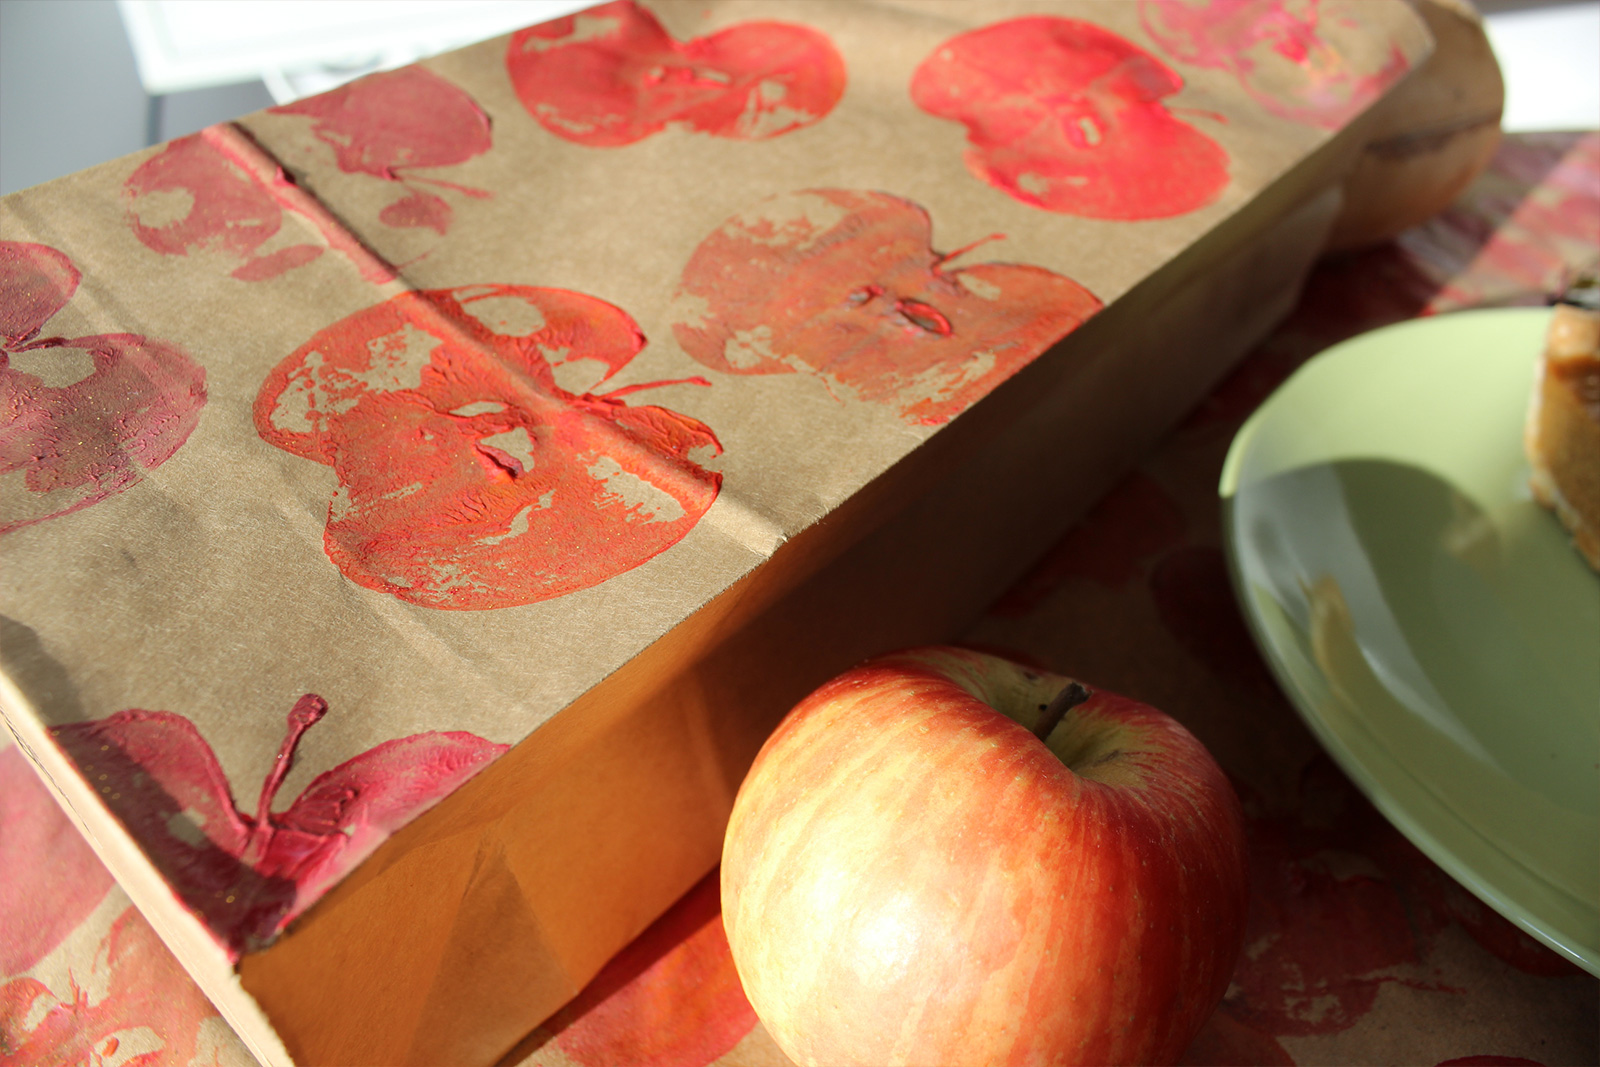
Step 6: Let your creation dry flat overnight before using it.
This DIY craft would work great with other fruits too. What fruit would get your stamp of approval?


