We know that photos can be an amazing source of design inspiration, so this article may contain affiliate links that will direct you to a particular decor item. Clicking on a link may result in a portion of proceeds being paid to www.decoist.com
Supply List:
- Canvases
- Acrylic paints
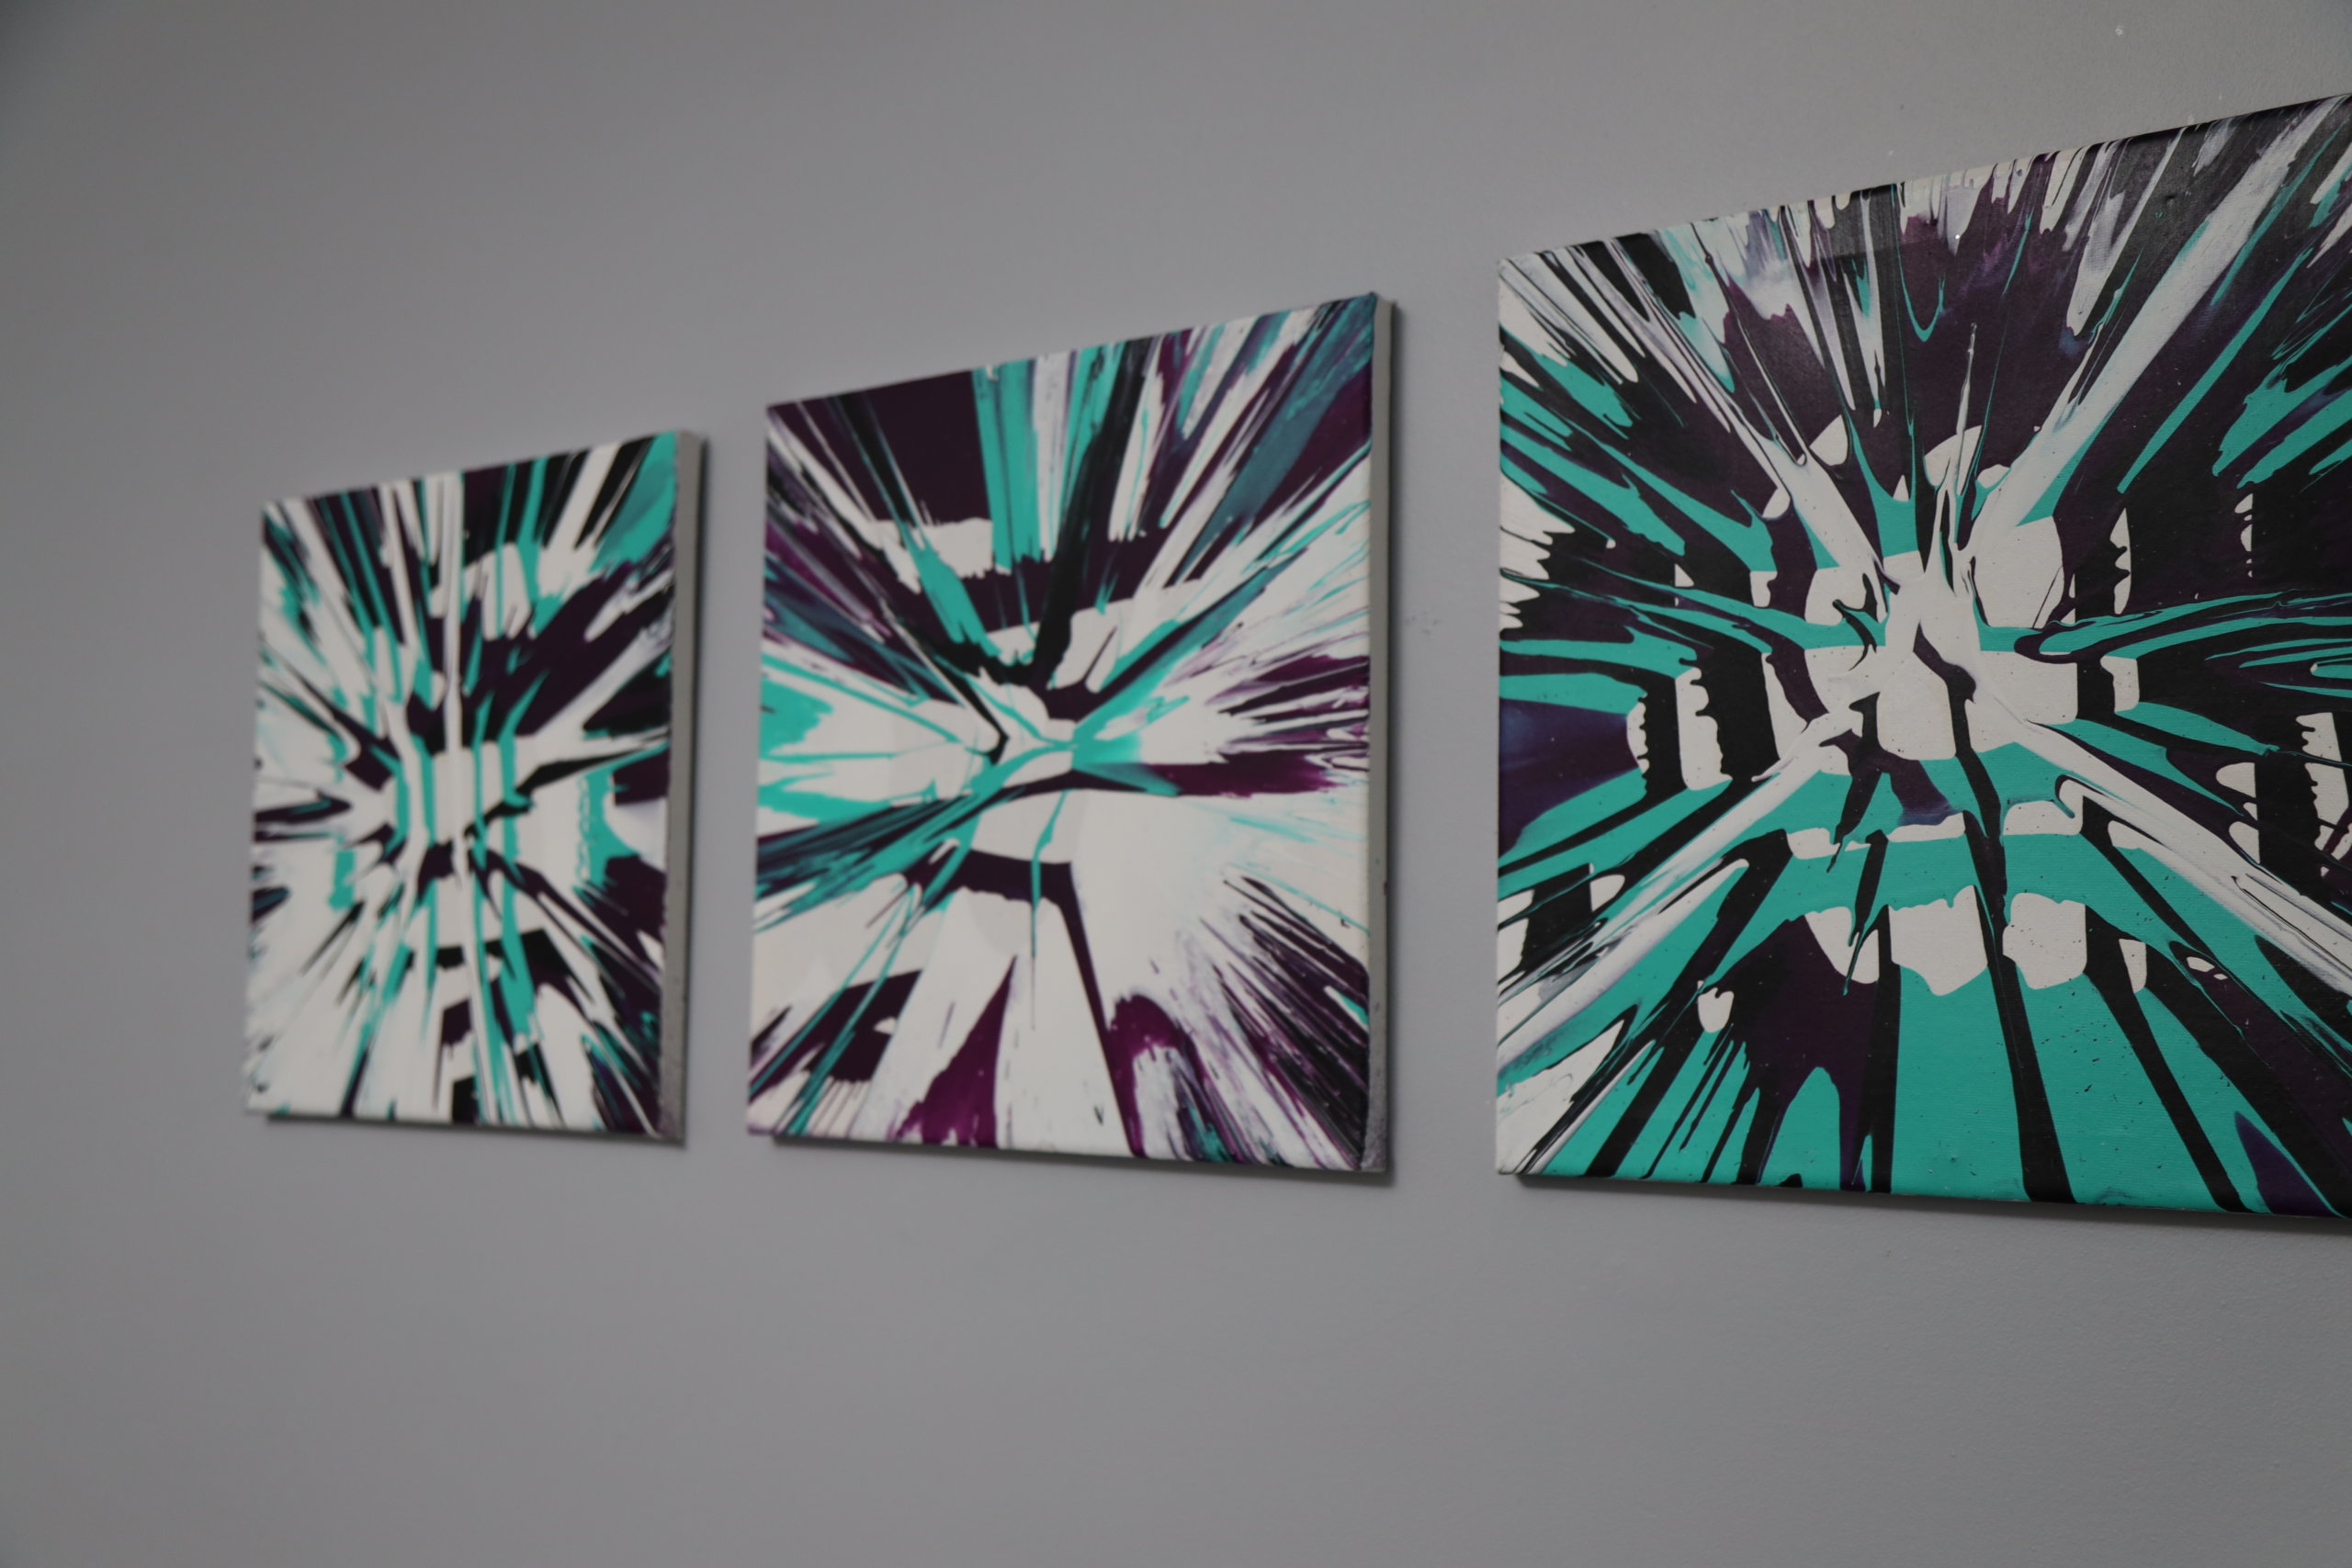
- We used purple, teal, black, and white paint for this craft.
- Scrap wood board
- The board we used is 2″ W x 12″ L to match our canvas size.
- Drill and drill bit
- Bolt and nut
- Two 1-1/4″
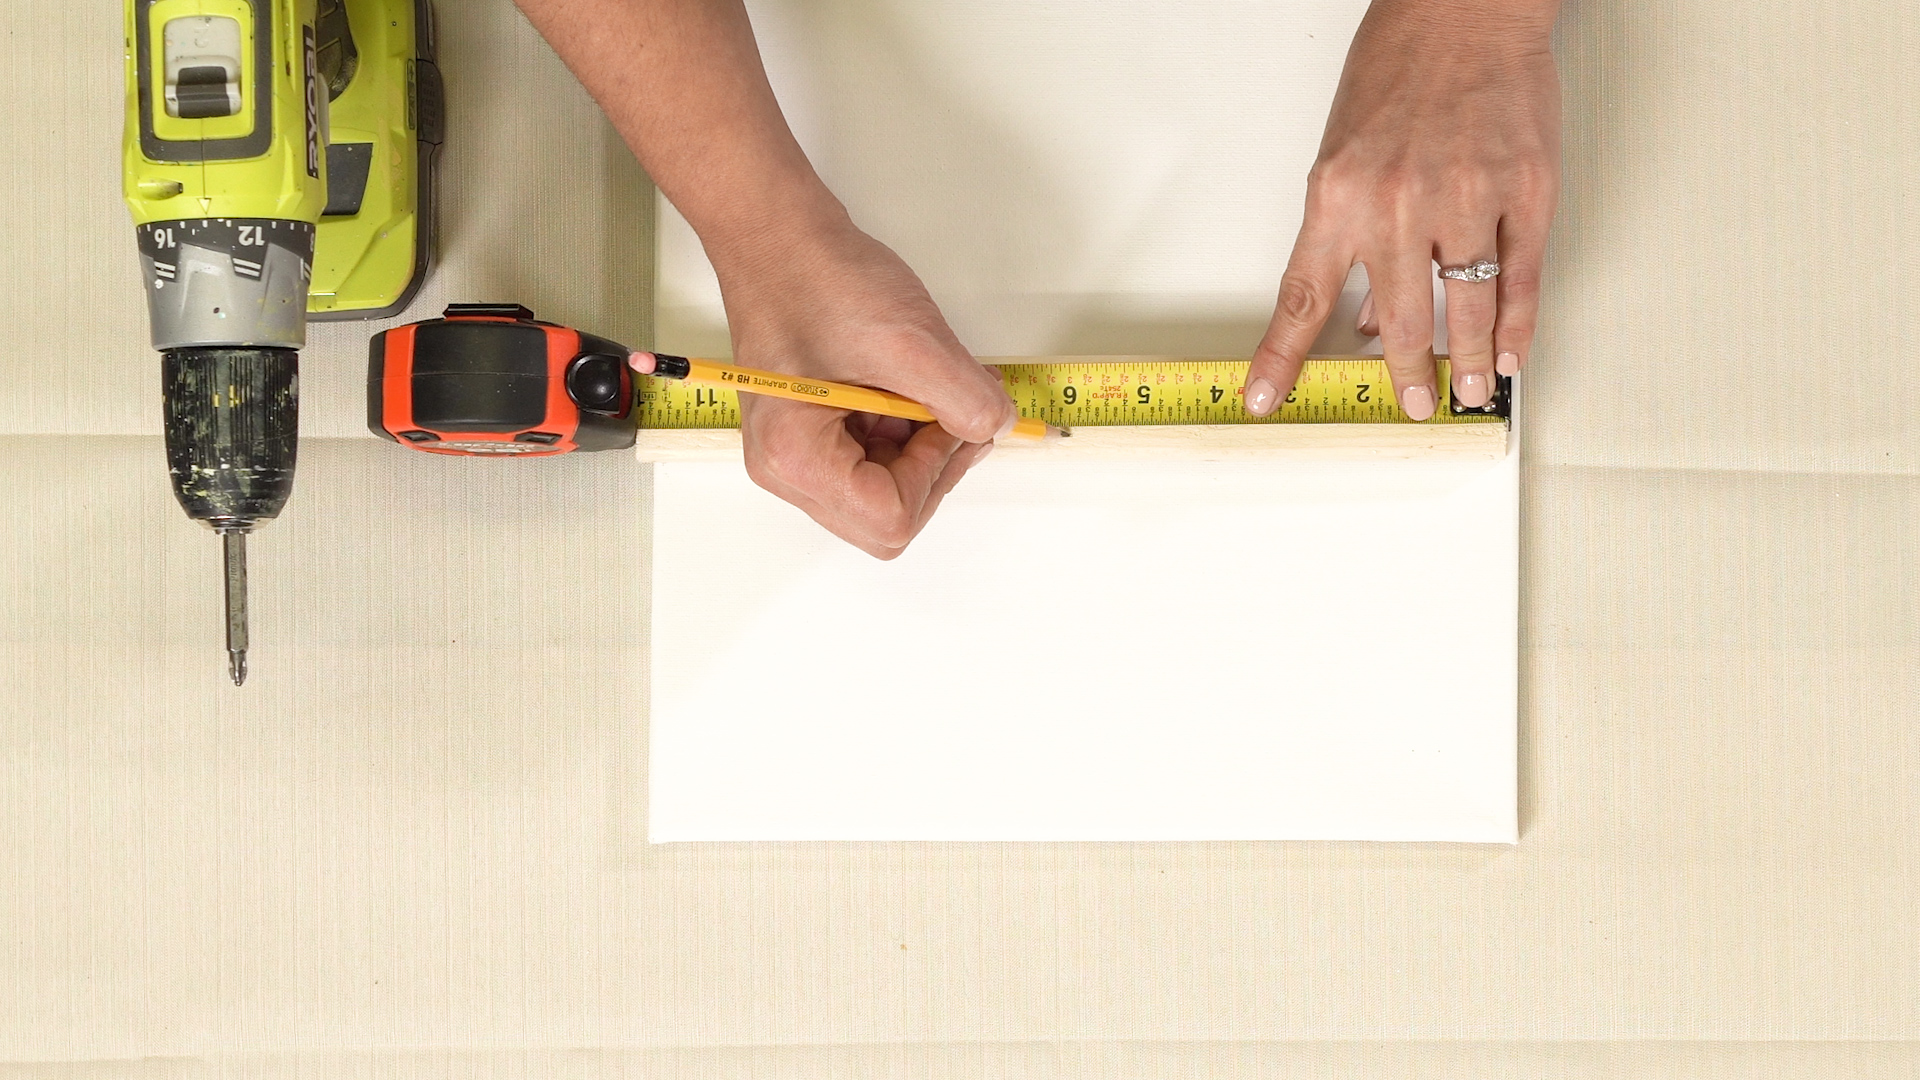
- Tape measure
Step 1:
Cut your scrap wood so that it is the same length as your canvas. This is what you’ll be using to attach the drill to your canvas so you can spin it later.
Step 2:
Use your measuring tape to mark a spot at the halfway point of the piece of wood.

Step 3:
With your 1/4″ drill bit, drill a hole through the piece of wood at the spot you’ve marked.

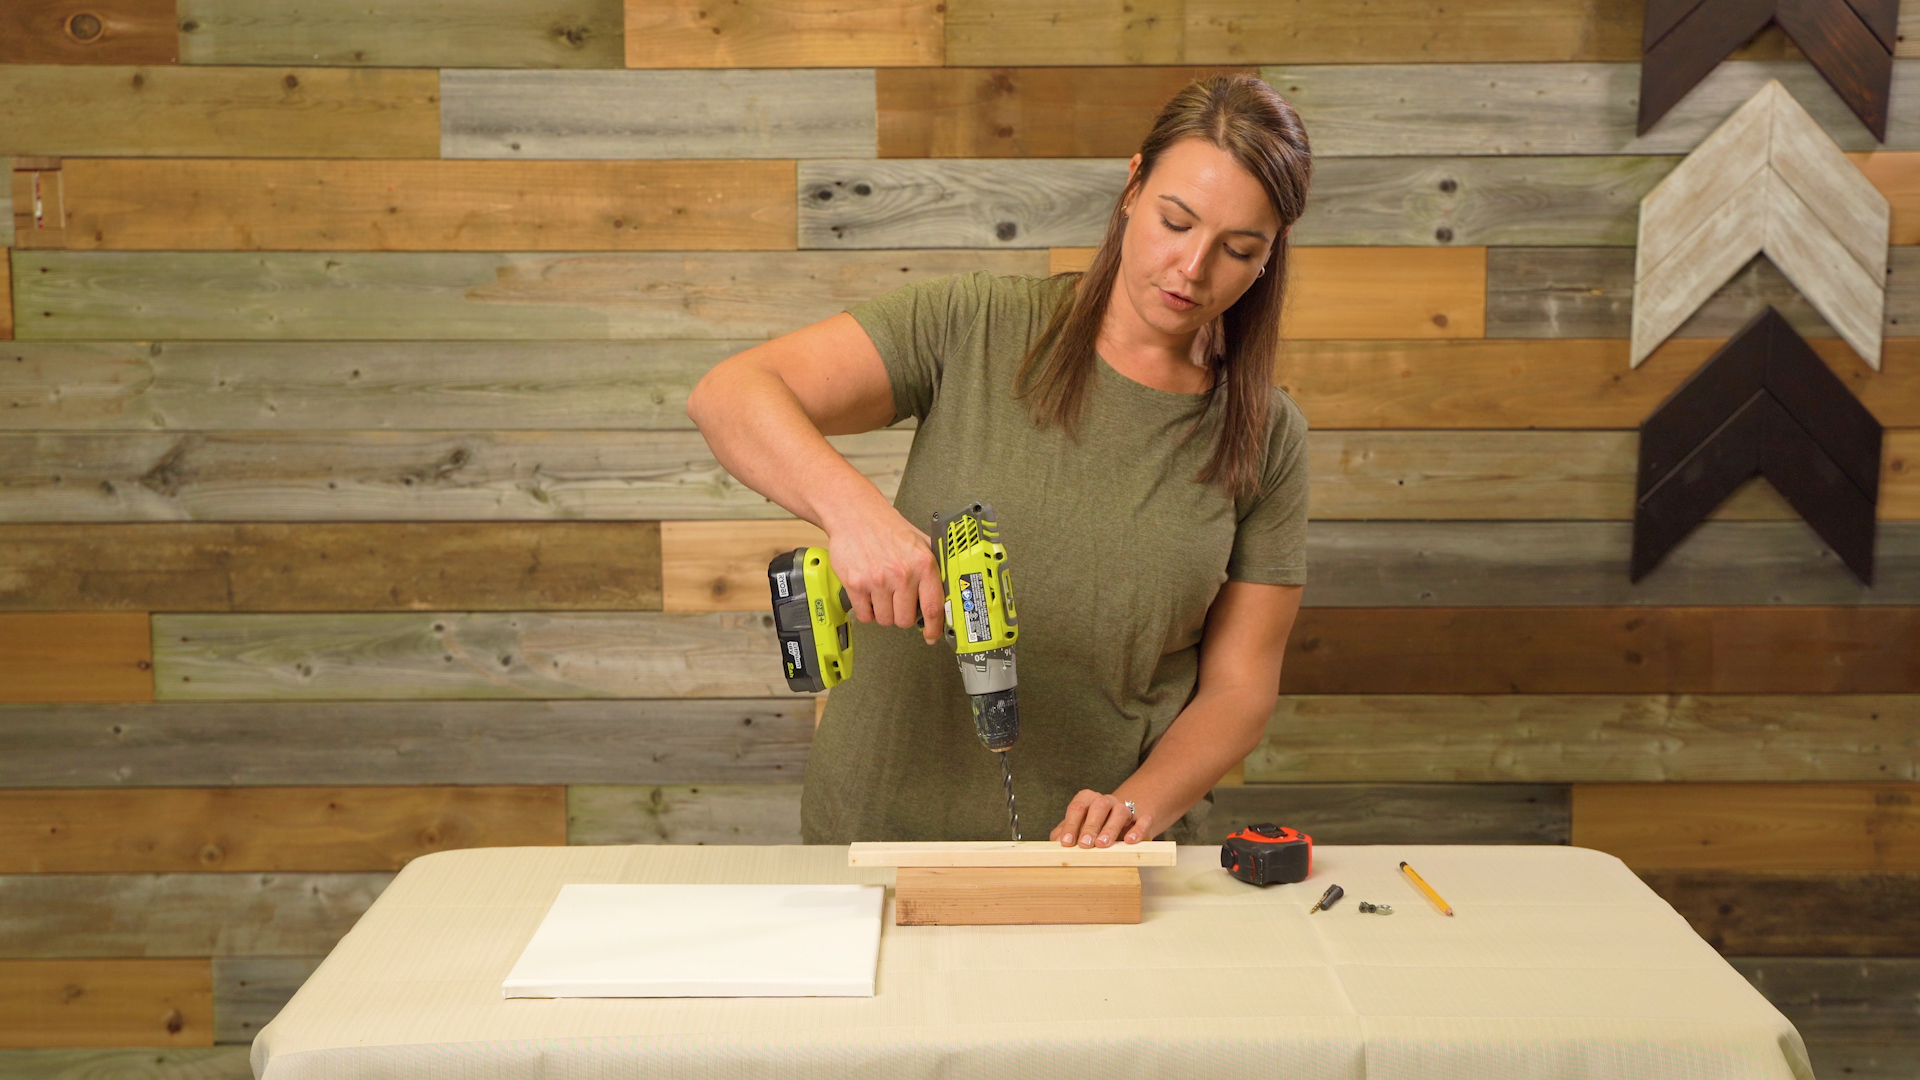
Step 4:
Take your bolt and drill it through the hole you just made, adding the nut to secure it on the other side. Make sure the nut is secured tightly.
Step 5:
Fasten your piece of wood to the back of the canvas using your 1-1/4″ screws. The bolt should be facing upwards as you secure the wooden piece.
PRO TIP: Since this is a messy project, you’ll want to head to a space like your backyard or lay down a tarp in the garage before you start spinning your painting.
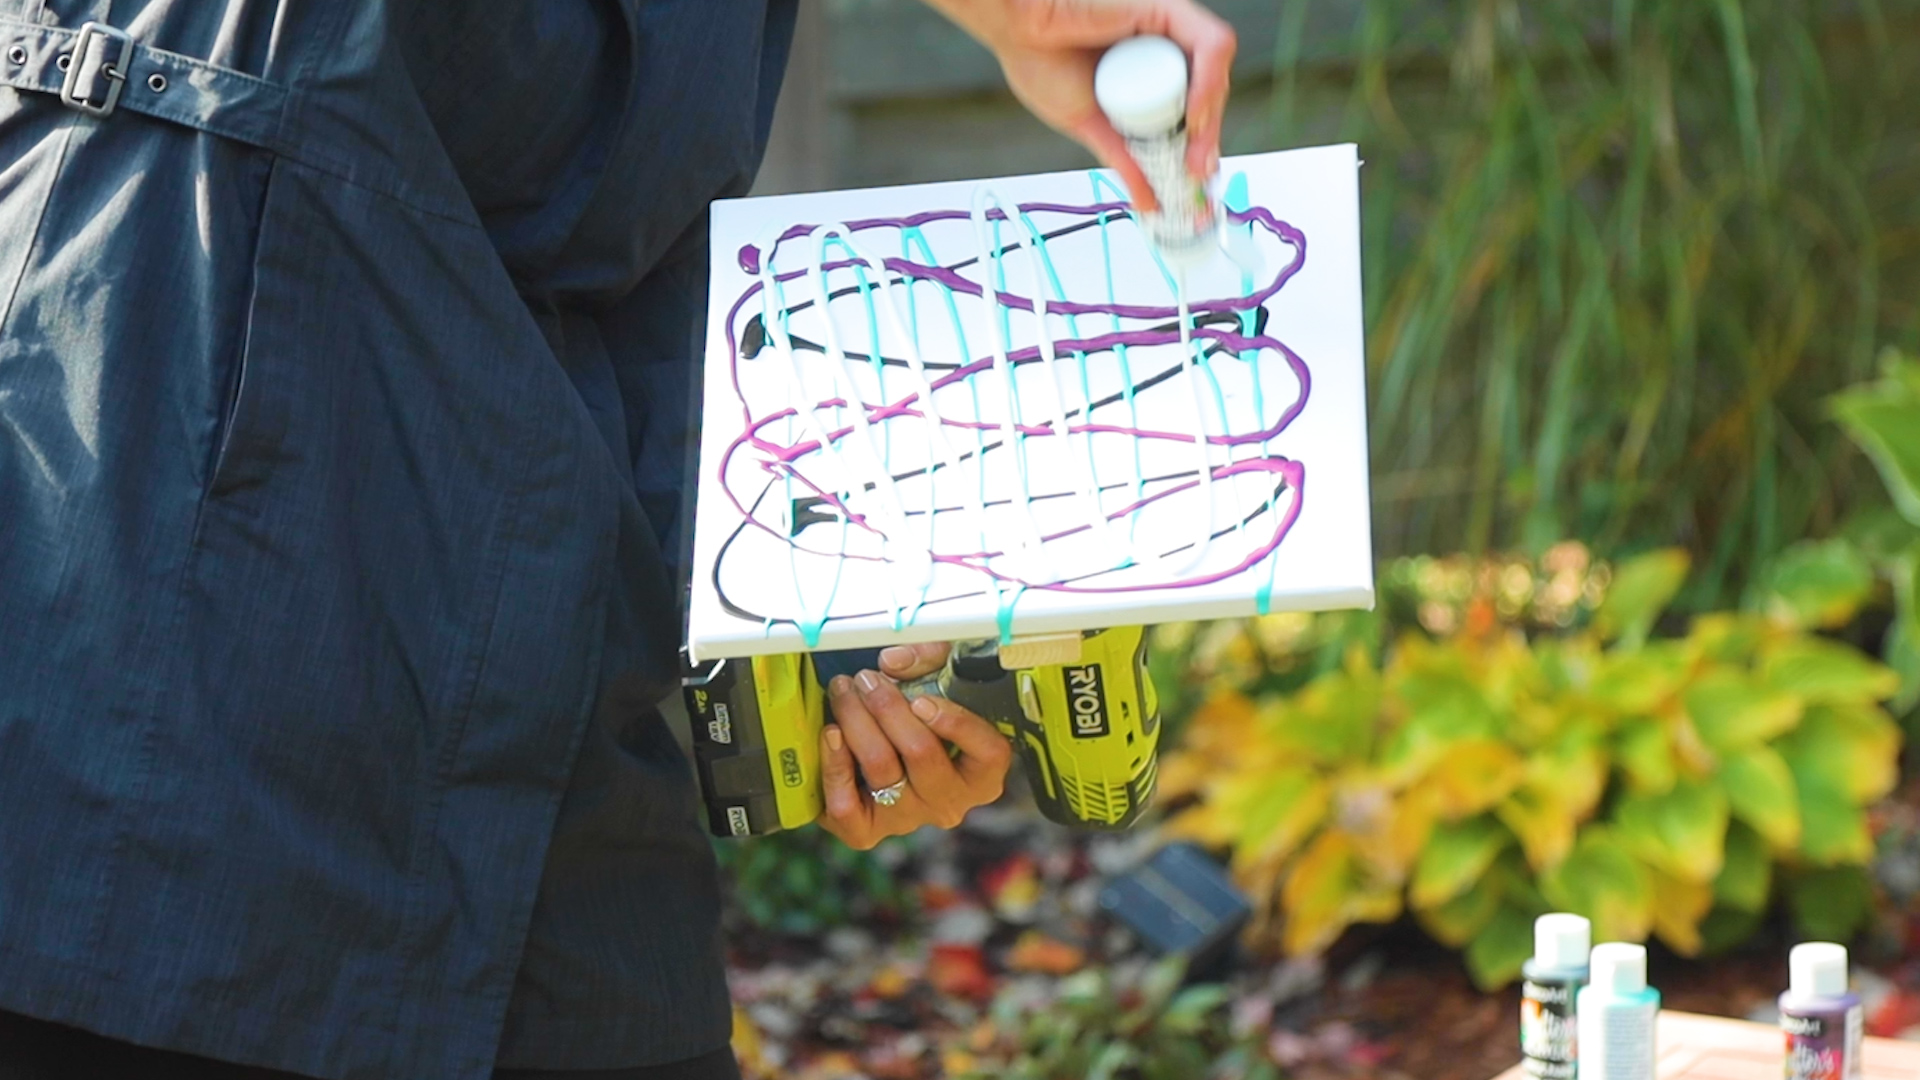
Step 6:
Attach the drill to the back of the canvas, then you can begin to add the acrylic paints to the canvas surface. Vary the directions you apply the paint in as well as the colors to create an abstract effect.

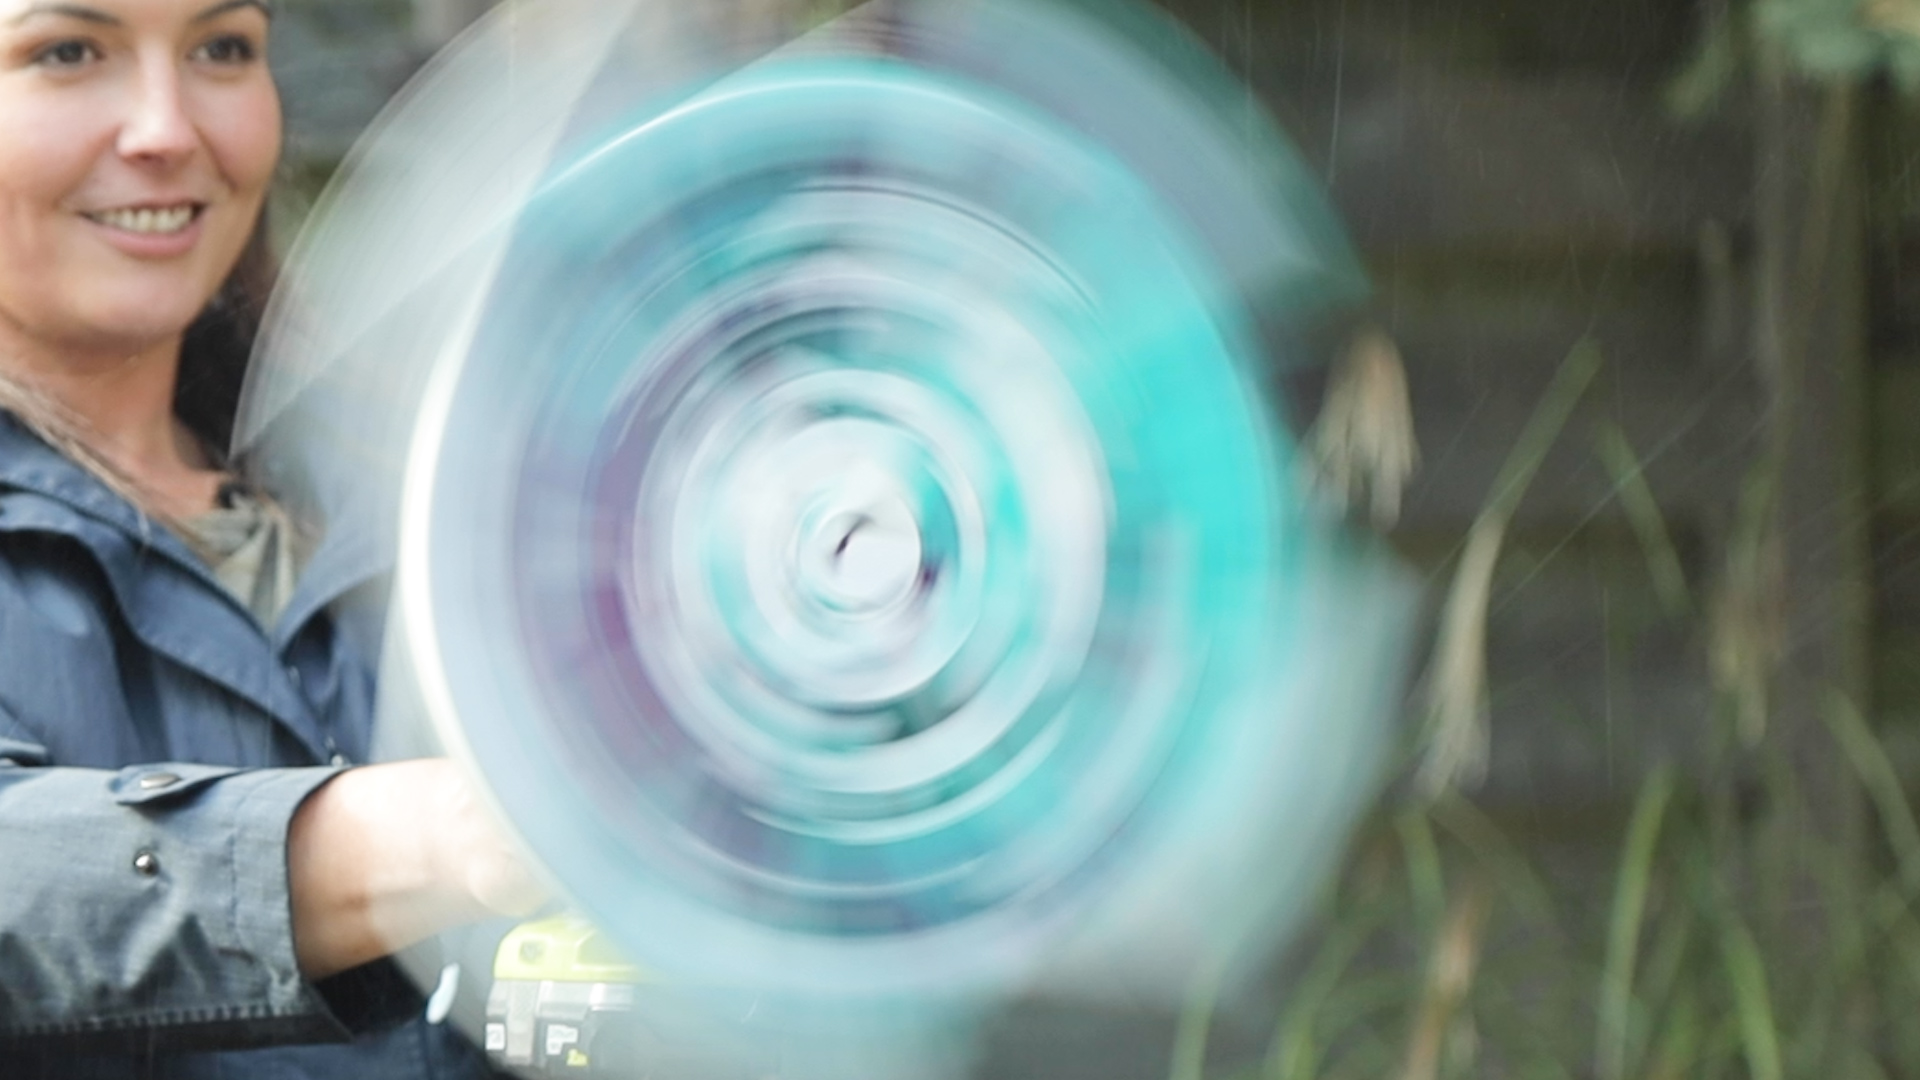
Step 7:
Once you’ve distributed all your paint colors on the canvas, start your rill and get to spinning! Allow the drill to spin for 15 to 30 seconds, then slowly reduce the speed of the drill until it comes to a stop.

Step 8:
Detach the drill from your canvas and leave your art to dry completely before you display it.

Bonus Step:
For an added layer, you can add a white circular photo mat over your spin art creation to create a really modern looking piece.


