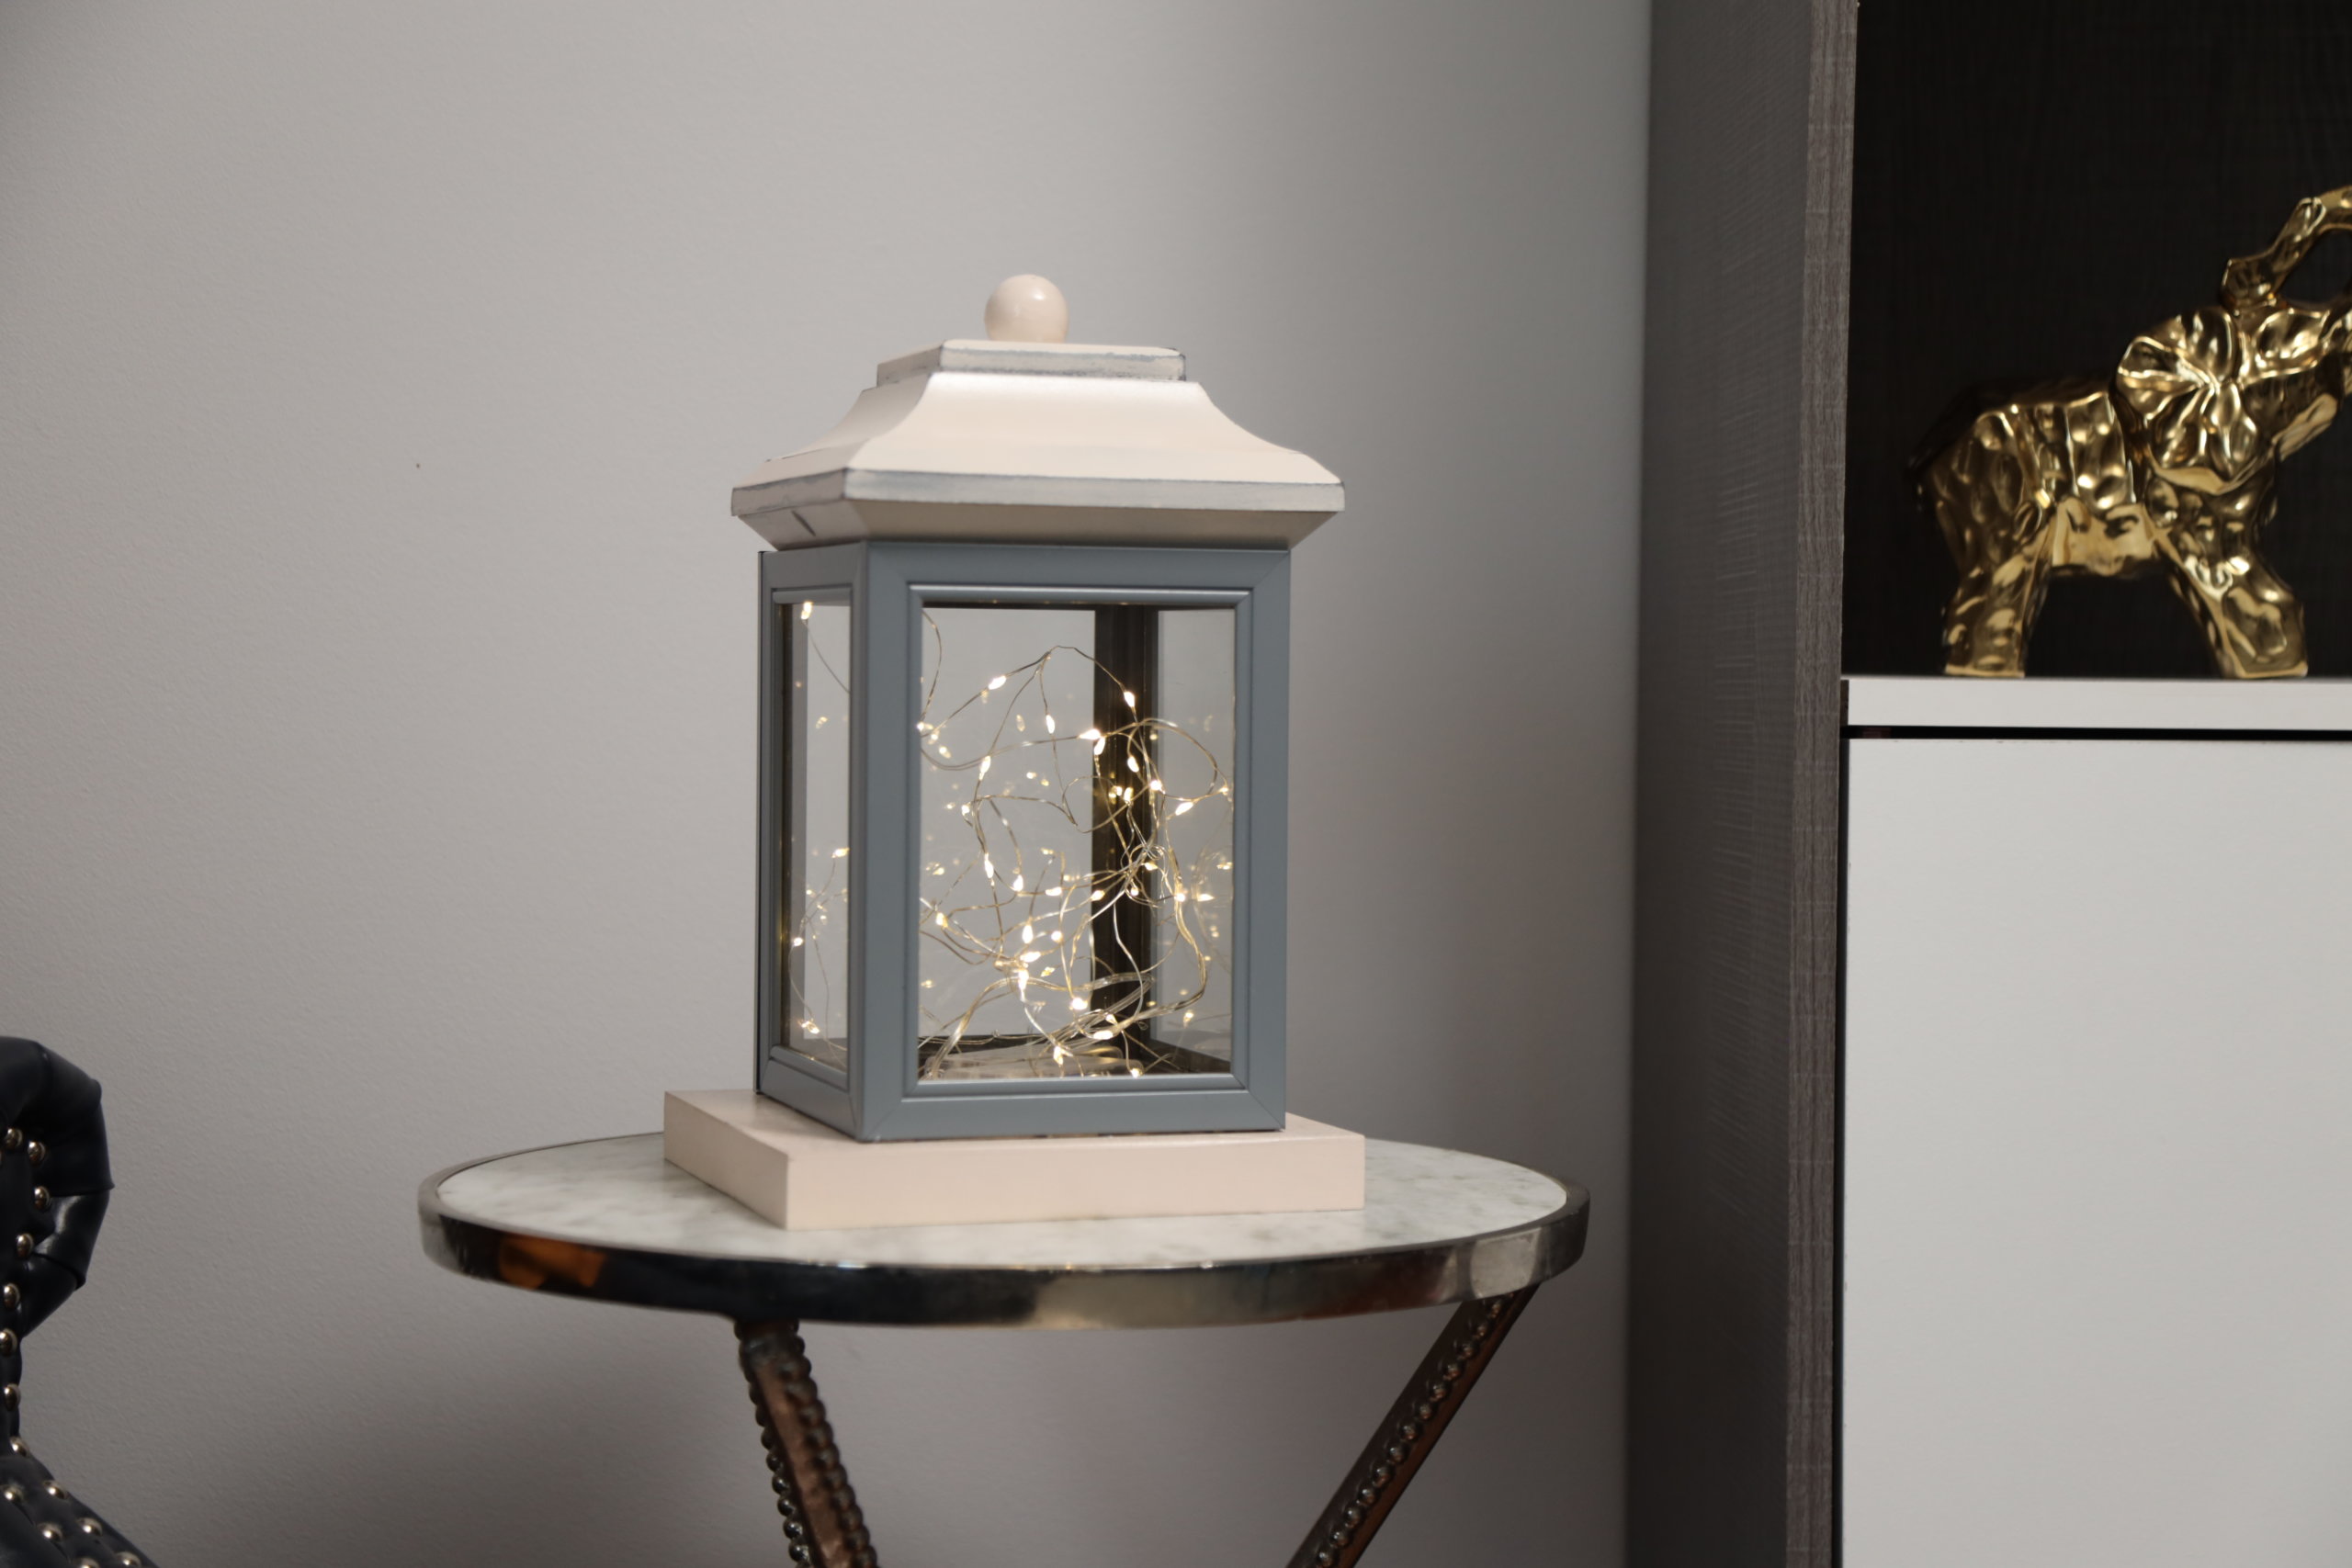
DIY Lantern

Supply List:
- Four picture frames (all the same size)
- Pliers
- Hot glue gun & glue sticks
- Plastic fence topper
- Fairy lights (battery operated)
- Rustoleum spray paint
- Sandpaper
- Wooden ball—1.5″
- Square frame or wooden plank
- We used a 5×5 wooden canvas from the dollar store.
Step 1:
Remove the glass from the picture frames and use the pliers to remove any metal attachments.
Step 2:
Using the hot glue gun, glue the glass back into the picture frames.
Step 3:
Glue the four frames together to create the lantern.
Step 4:
Take the wooden plank or base and paint it a color of your choosing. Glue the lantern to the wooden base once the paint has dried.
Step 5:
Glue the 1.5″ wooden ball to the plastic fence topper. Spray paint it to match the color of the base.
Step 6:
Once the paint has dried, use sandpaper to gently sand the surface of the topper to obtain a rustic effect.
Step 7:
Place the fairy lights inside of your lantern and put the lid on.
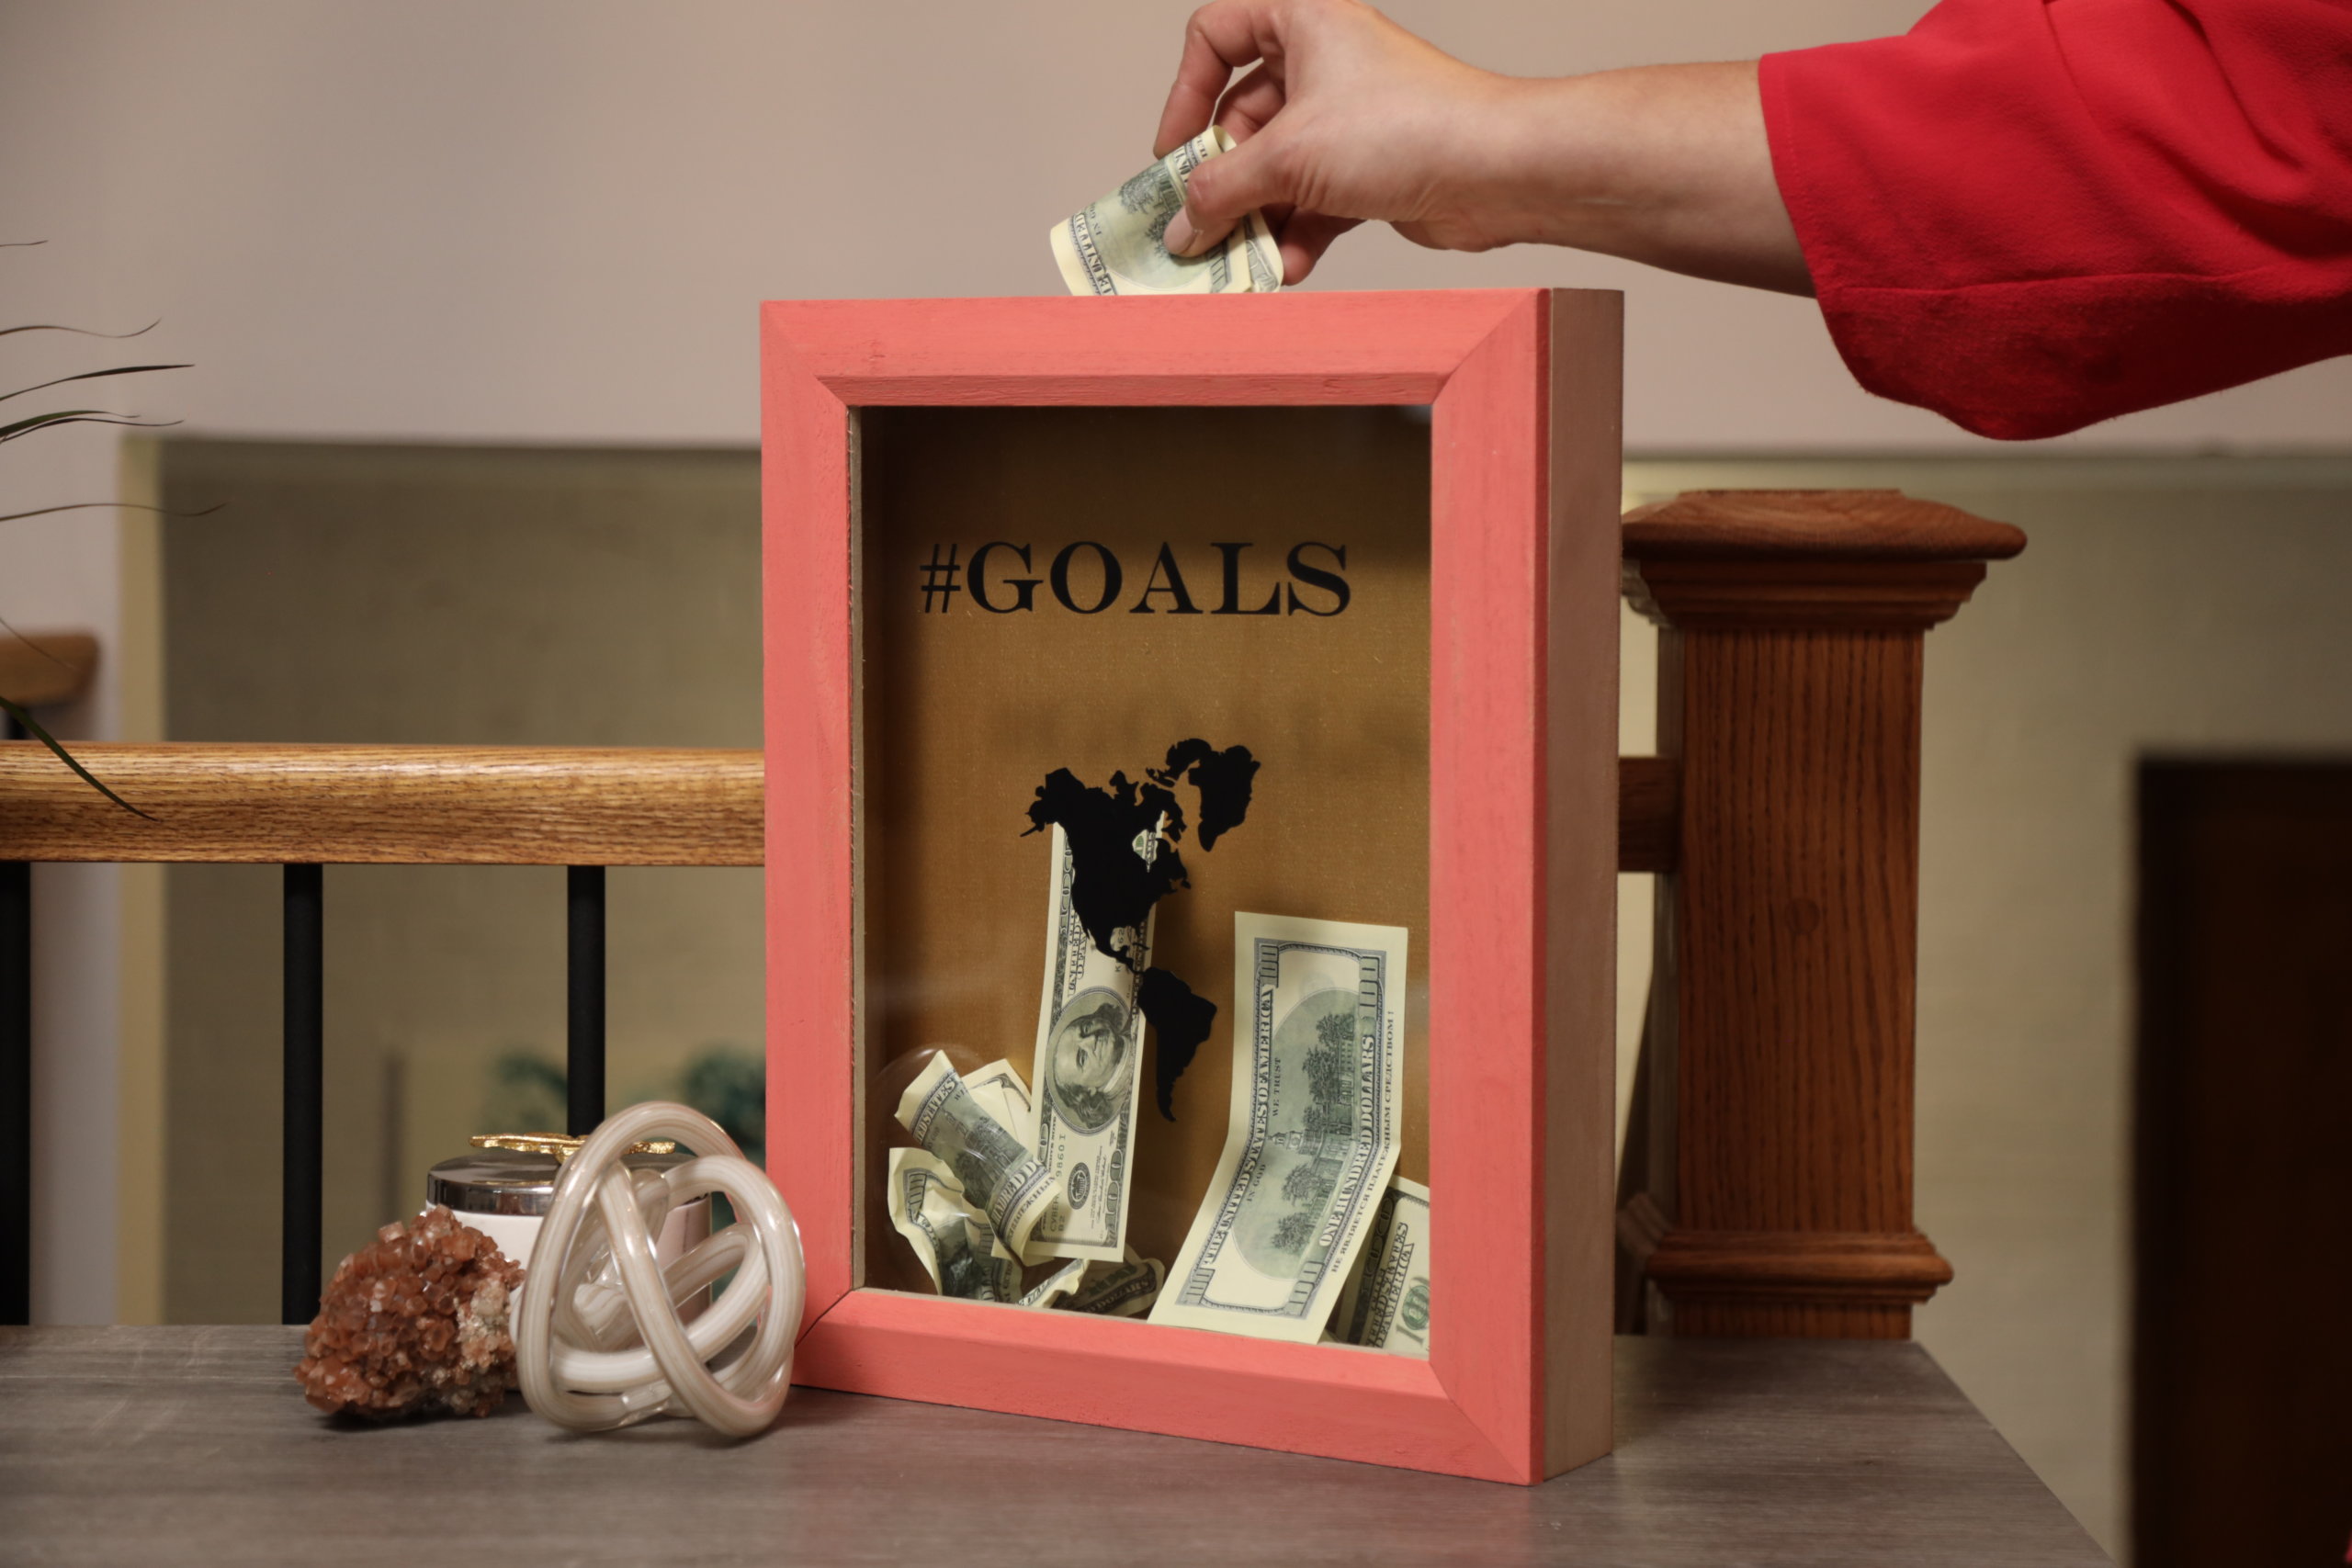
Shadow Box Piggy Bank

Supply List:
- Shadow box
- Vinyl decals
- Acrylic paint
- Choose a color for the interior of the shadow box, as well as one for the exterior of the lid.
- Paintbrush
- Painters tape
- Jig saw
- Drill
- Sandpaper
Step 1:
Open the lid of the shadow box to paint the interior of the box using acrylic paint.
Step 2:
Use painters tape to tape off the inner edges of the lid before closing it. The tape will prevent the paint from dripping into the base of the shadow box.
Step 3:
Paint the exterior frame of the shadow box lid using the paintbrush and acrylic paint in whatever shade you’ve chosen.
Step 4:
Draw an oval shape at the top of the shadow box. Make sure it does not overlap with the lid of the box.
Step 5:
Use a drill to make two holes in the wood at each end of the oval.
Step 6:
Now use your jig saw to cut the wood between the holes.
Step 7:
Take your sandpaper and smooth out the edges of the oval hole.
Step 8:
Add the vinyl decals to the front glass of the frame, then you’ll be ready to start saving your spare change!
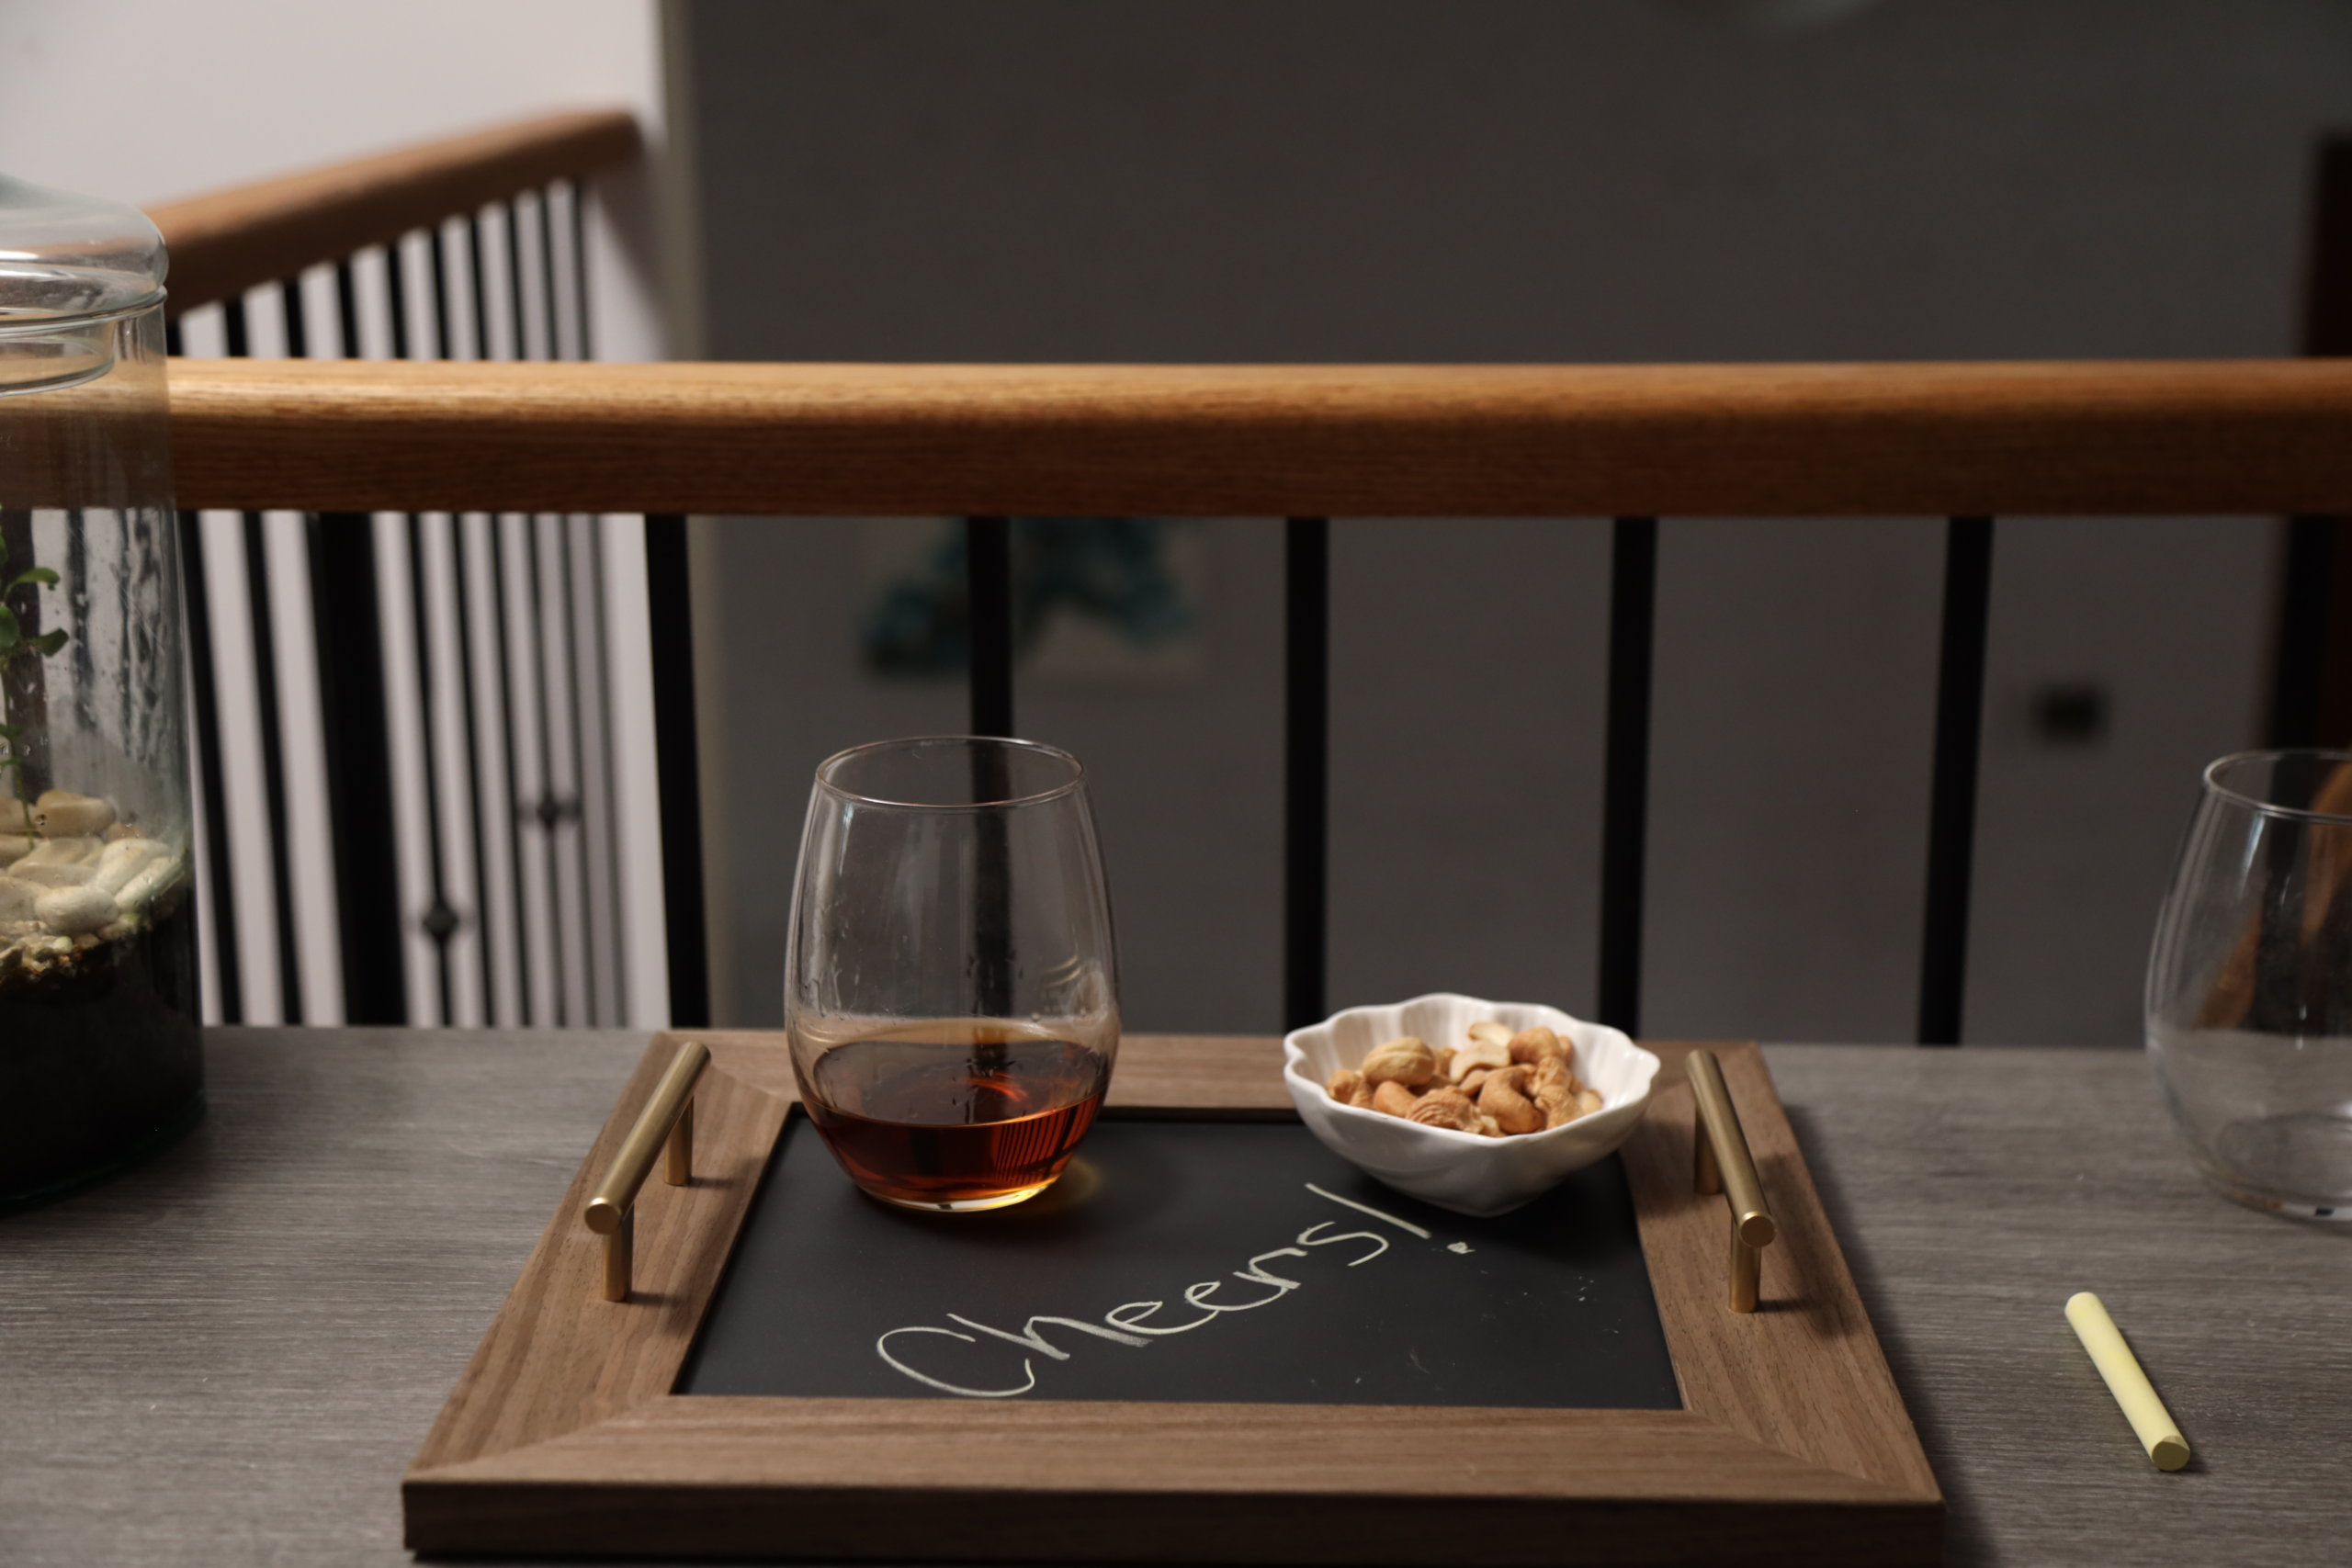
Chalkboard Serving Tray

Supply List:
- Wooden picture frame
- Chalkboard paint
- Gold drawer pulls or modern handles with hardware
- Foam brush
- Drill
- Pencil
- Plastic cups
Step 1:
Remove the glass and backing from the wooden picture frame.
Step 2:
Set up four plastic cups upside down, resting the glass from the frame on top of them.
Step 3:
Apply a coat of chalkboard paint to the glass using the foam brush. Allow it to dry completely, then add a second coat of the chalkboard paint.
Step 4:
Map out where you want to install your handles on the wooden frame, using a pencil to mark the spots where you want to drill holes.
Step 5:
Use the drill to make the holes for the hardware and handles.
Step 6:
Install the hardware through the bottom of the frame and secure the handles in place.
Step 7:
Carefully insert the painted glass back into the frame as well as the backing of the frame. The backing will give you extra support for when you’re carrying heavier items on the tray.
Now that you’ve upcycled all the picture frames you had lying around the house, snap a few photos to share with us on Instagram, Pinterest, or Facebook!


