You know you’ve reached a certain age when your weekend plans start to include more bridal and baby showers than nights out at the bar. Thankfully, I relish any excuse to craft, so you won’t hear any complaints from me! If you’re part of a shower planning committee and are looking for the perfect congratulatory banner, follow my DIY tutorial below to make one that looks so intricate everyone will think you purchased it at a store. Only you will know how simple it is to create!
DIY Baby or Bridal Shower Banner
Here’s what you’ll need to get started…
– adhesive letters (I used these for the tutorial but you can also print your own letters and cut them out)
– thick paper with a fun pattern
– construction paper in a solid coordinating color
– thick vellum paper
– string or thin ribbon
– a small bowl
– a pencil
– scissors
– a stapler
– a hot glue gun and glue
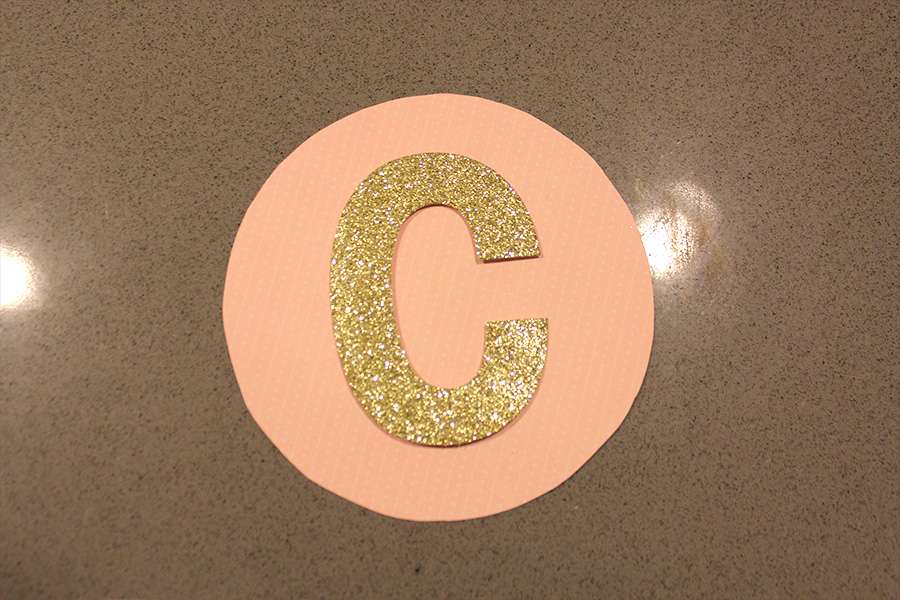
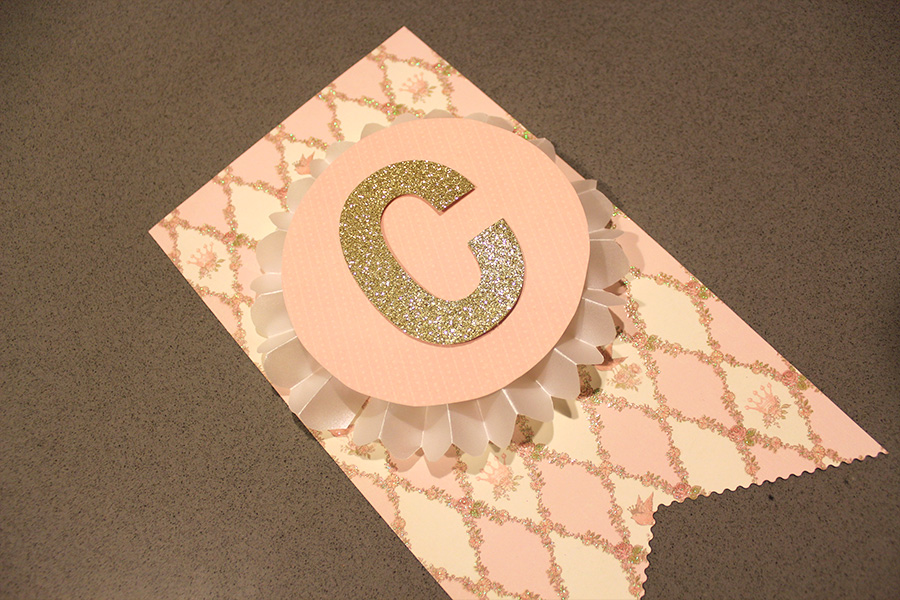
Step 1: Place your small bowl upside-down on top of a piece of solid colored construction paper and trace around it. Then cut out the resulting circle. Repeat for every letter in your guest of honor’s name.
Step 2: Next spell out your guest’s name by sticking an adhesive letter in the center of each colored circle.
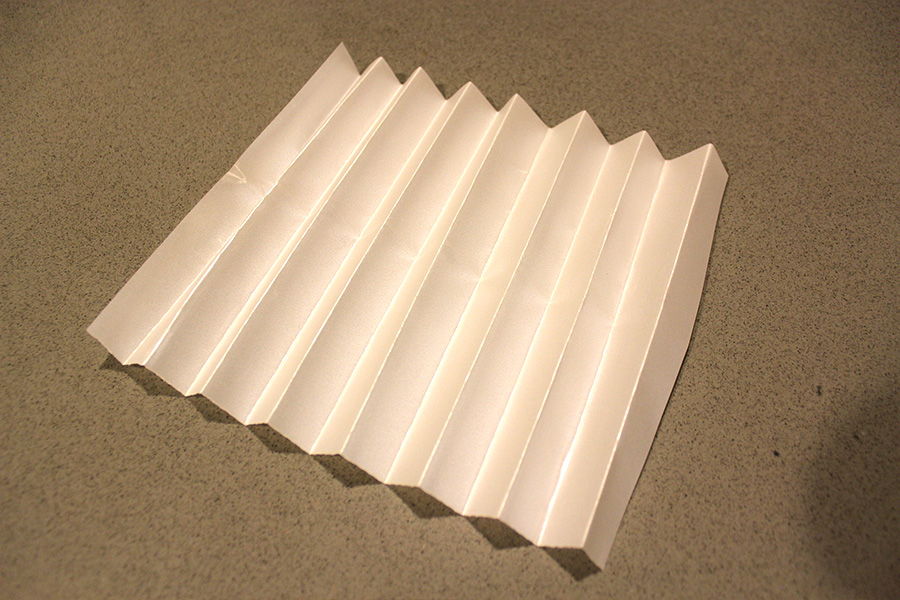
Step 3: For the frilly part that goes behind the circle, fold a piece of thick vellum paper widthwise starting with a 3/4″ fold and repeat until you have a fan. Cut the ends with a scissor to form rounded edges. Then fold the whole thing in half lengthwise.
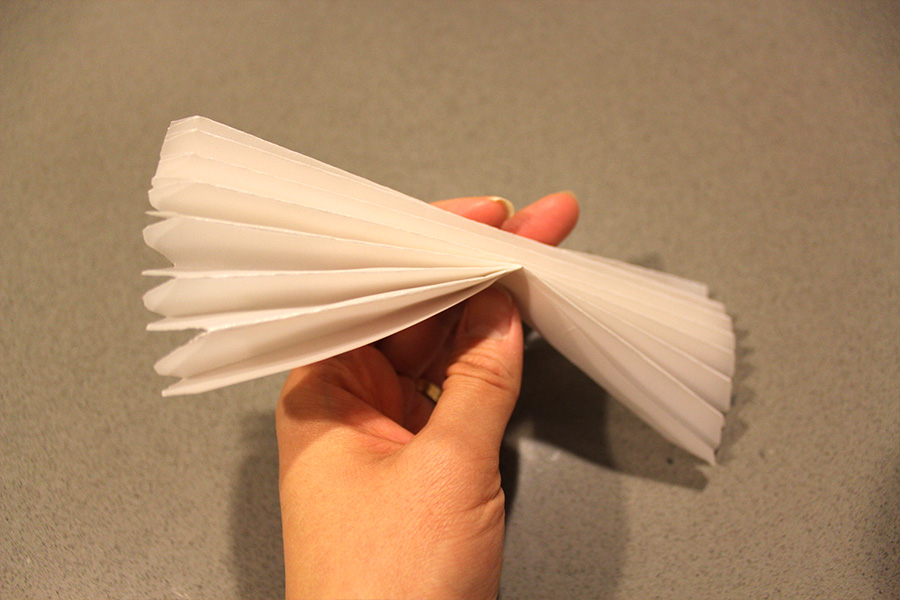
Step 4: Then spread apart your paper to create something that looks like Shakespeare’s collar. Staple the two ends together to secure the circular shape.

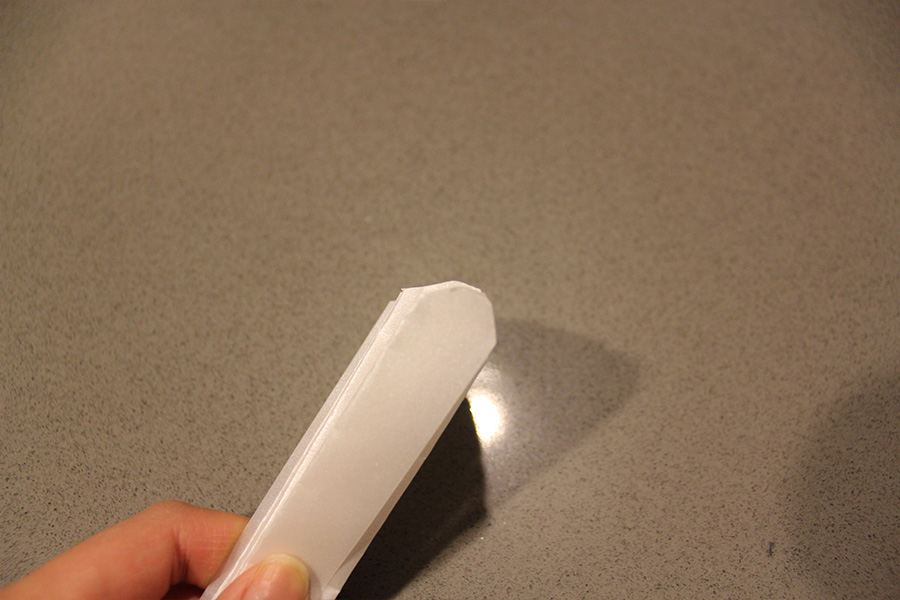
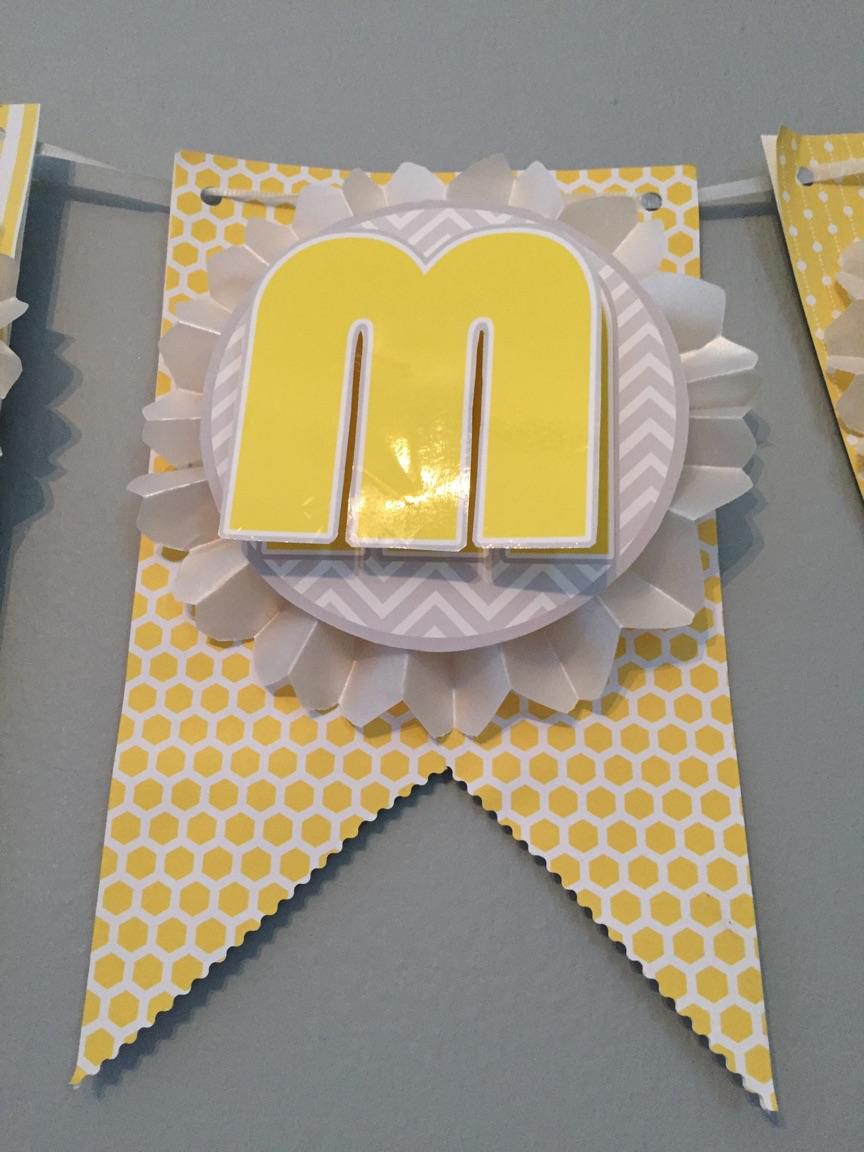
Step 5: Next, cut a rectangle of patterned paper to size so that it is slightly thinner and about double the length of your fanned circle. Use scissors to cut a V-shaped slice out of the bottom of the rectangle. You can also use pinking shears if you want a scalloped edge.
Step 6: Then use your glue gun to glue all of the parts together.
Step 7: The final step is to punch holes at the corners of each flag and string a piece of pretty string or ribbon though the holes.
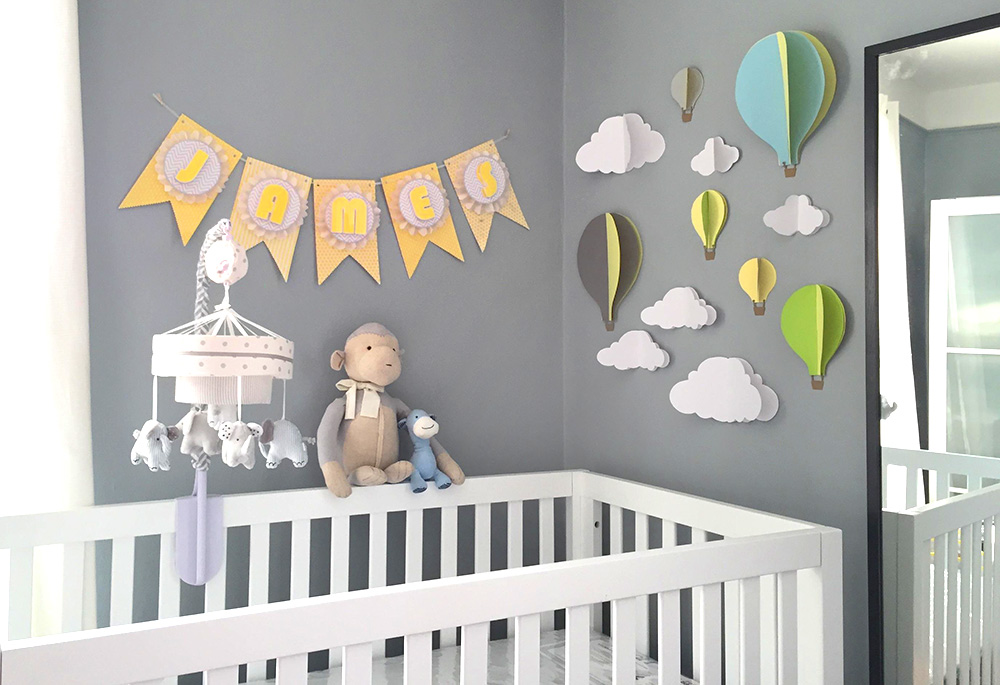
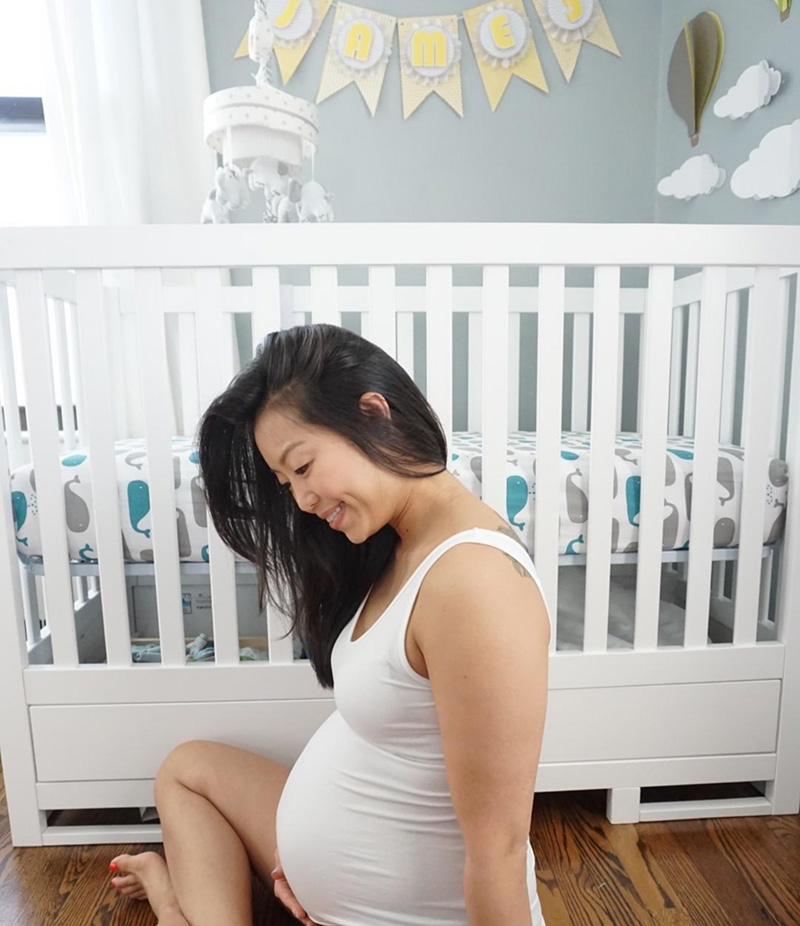
And here’s the finished product…

I love the reactions I get to these banners so much that now I make them for every baby shower I help to plan. But one piece of advice I will mention is to use nicknames for extra long baby names if you can because each letter does take a while to make!