Do you remember when Decoist featured the tiny house of Andy Pluta? Built as a guest house/artist’s studio and completed in 2014, this modern dwelling rests on Pluta’s lot, to the right of his one-story home. After some time passed and he finished his first project of 2015, a retaining wall built from cinder blocks, I knew I had to snap some photos and share the process. Plus, he’s always willing to answer my questions since I’m his sister! Since Pluta did all of the labor himself, he was able to keep the overall cost of the wall at around $250 (plus an additional $200 for the plants and gravel). Keep reading for details and photos…

About the beginning of the project, Pluta shares, “When I got started, I knew it was going to be a big project, and at certain points, I thought about enlisting professional help, but I got my buddy (a professional landscaper who has his own business)…he came over, and I told him what I was thinking of doing. He gave me a pointer or two because I’d never really done a masonry project like this. At that point I felt like I could move forward with the project and do it in little pieces at a time.”

Pluta brings up a good point: If this is your first masonry project, consult an expert. This doesn’t mean you can’t do it yourself. But at least talk to someone about the specifics of your project. Every outdoor space is different, so there’s no one uniform set of instructions for building a retaining wall. Here’s what Pluta did to create a wall that would contain the sloping earth in front of his home:

Step 1: Excavate
There was earth all the way up to the curb that needed to be excavated in order to make room for the concrete blocks. This included tree stumps, which aren’t always the easiest to remove. Pluta used a hatchet to get the job done and also mentions that a chainsaw would have been helpful. In addition, since certain portions of the wall are a whole cinder block below ground (the wall is on a slope), he had to dig there as well. The excavation step is a very substantial part of the project!

Step 2: Lay the Foundation
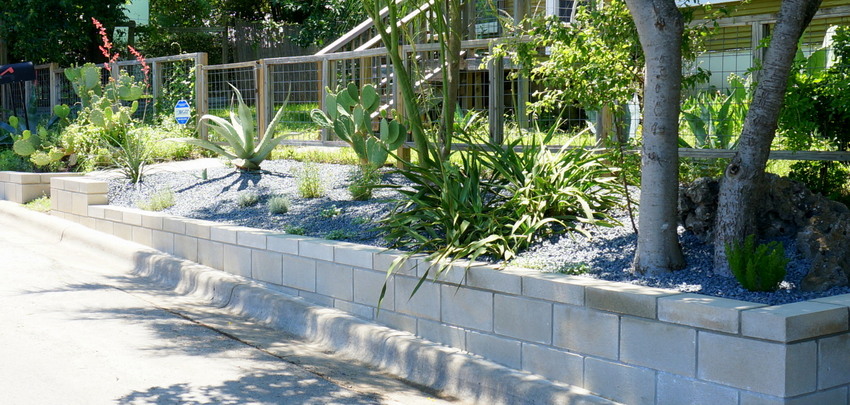
Once the excavation was complete, Pluta began laying a cement slab foundation. The wall is on a slope, but it is indeed level (the first layer of cinder blocks stairsteps up). Step 2 also involved putting the first course of cinder blocks in place, along with some rebar and cement. Just how much cement? More than thirty 60-lb bags! Pluta admits that this step involved a LOT of work and heavy lifting.

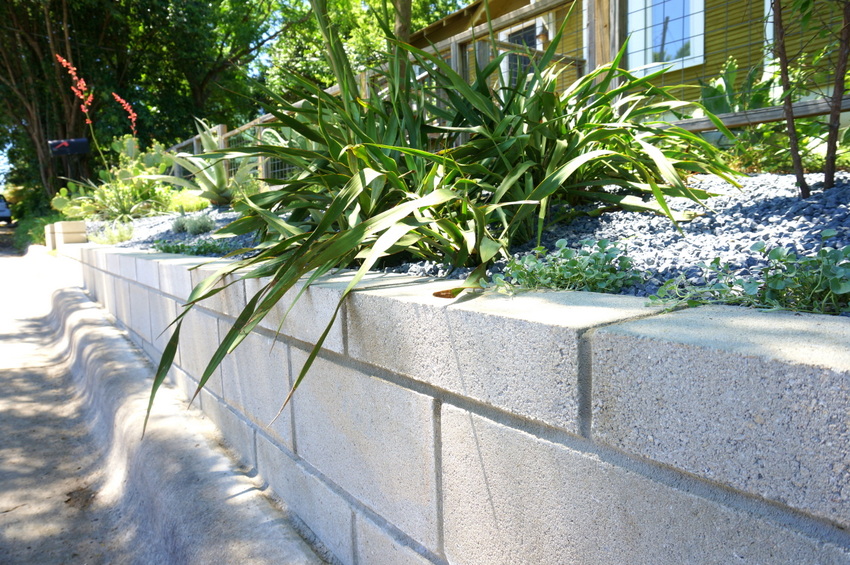
Step 3: Add Cinder Blocks
From there on out, Pluta added cinder blocks until the wall was the desired height. This portion of the project was done in steps, as he works full time and had to make progress little by little on evenings and days off.

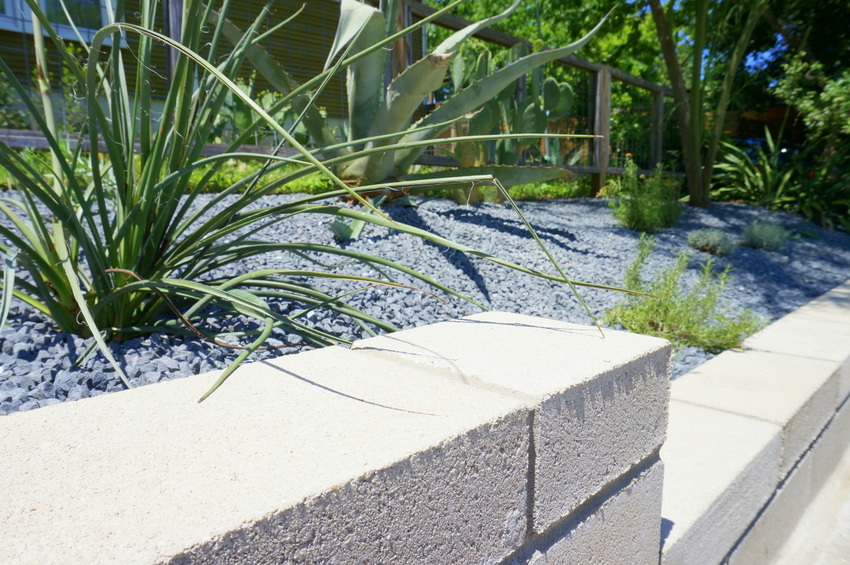
He adds, “It was slow-going in the beginning because I’d never done this. I was very cautious to get things level and make sure things looked right, because this is going to be in front of my house.” Part of being cautious involved ensuring that he had the proper tools, such as a masonry brush.

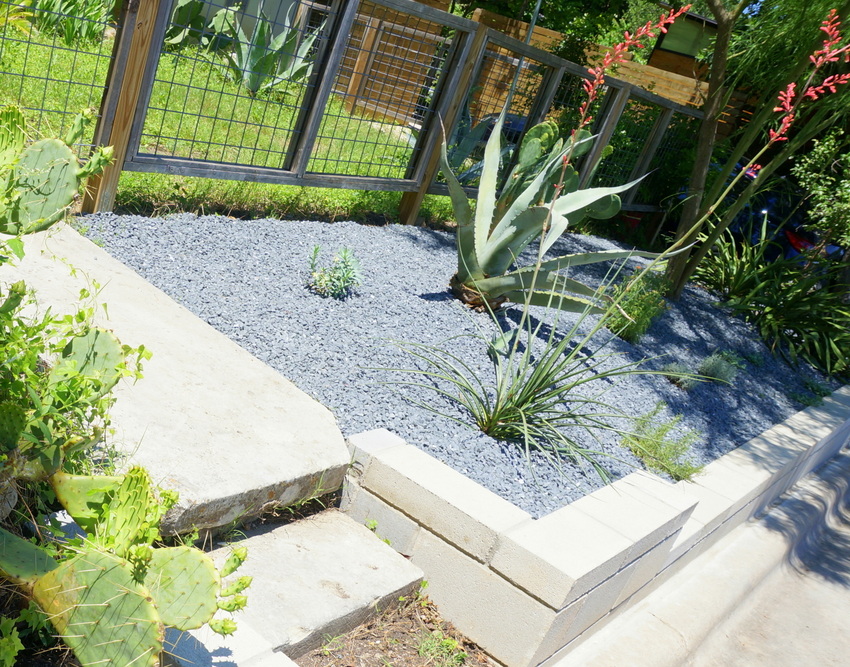
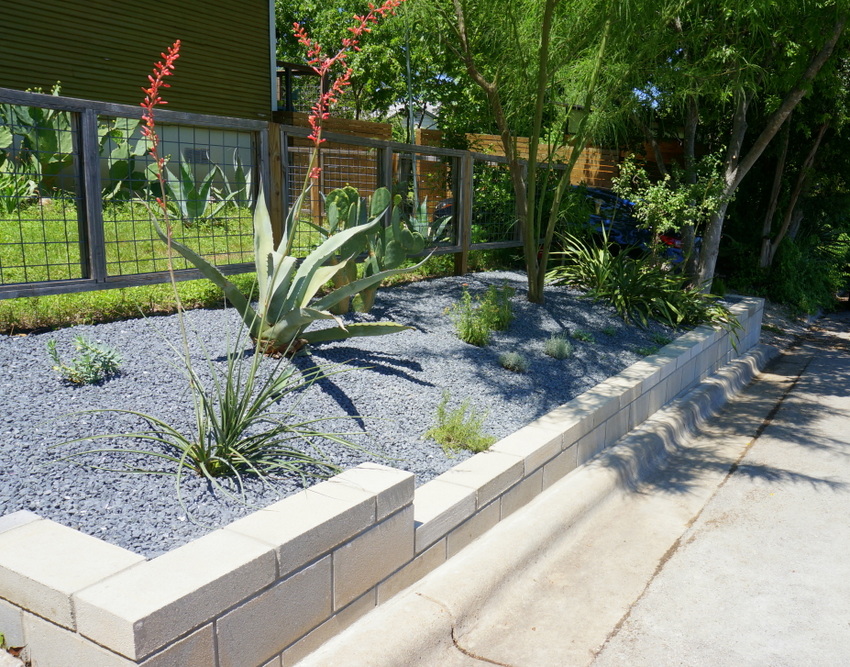
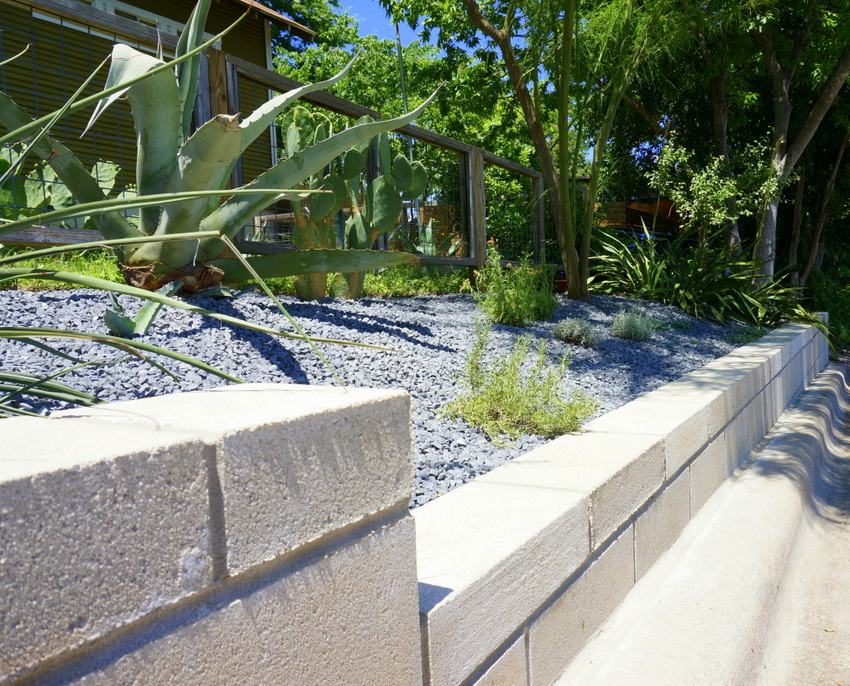
Step 4: Landscape
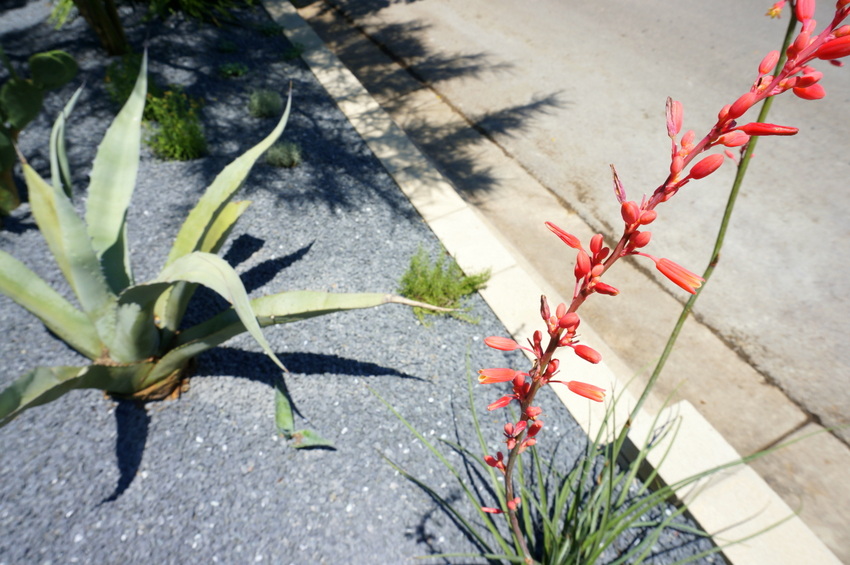
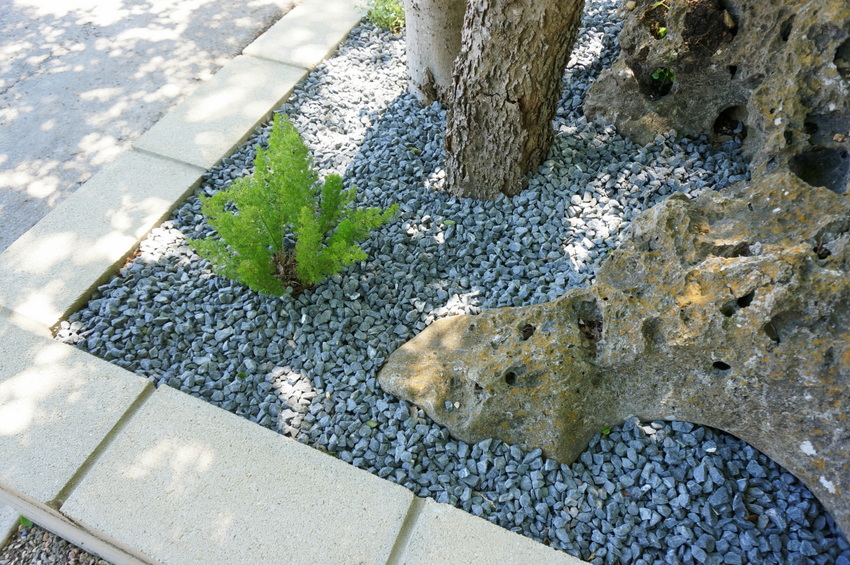
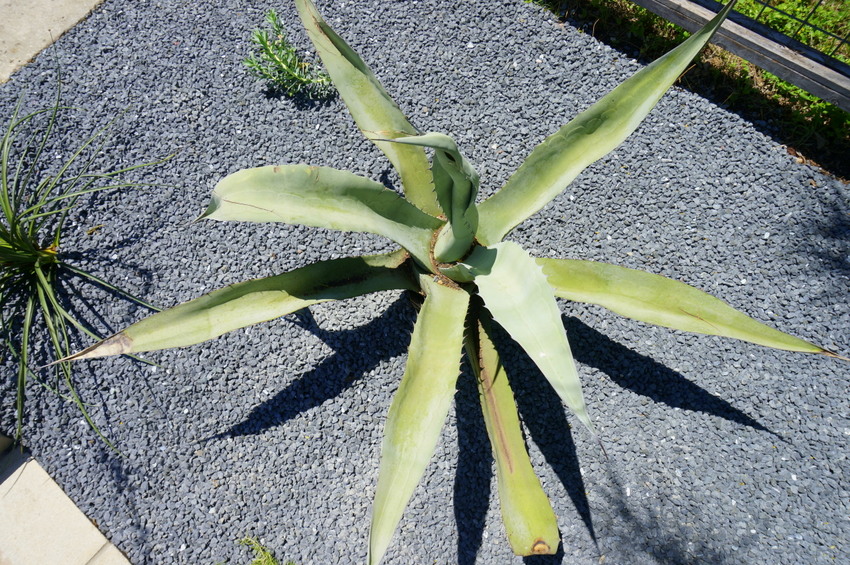
To achieve a modern landscape consisting of native plants, Pluta bought 1 ton of black star gravel. A dark grey color, the gravel becomes even darker when wet. What about the plants?! Some were bought, some were already in place, and some (like the blue agave above and the cactus below) were transplanted from other parts of the yard.


Before any gardening took place, certain plants were carefully removed. In fact, Pluta enlisted a friend to help dig up a series of lilies, which were gifted to other friends and family members. The ground then needed to be filled in with dirt. After that, a landscaping cloth was put down, and holes were cut for the plants. Speaking of plants, below you will find shots of the vegetation, which includes selections such as foxtail fern and red yucca. Note the variety of colors, forms and heights represented, which creates visual interest:

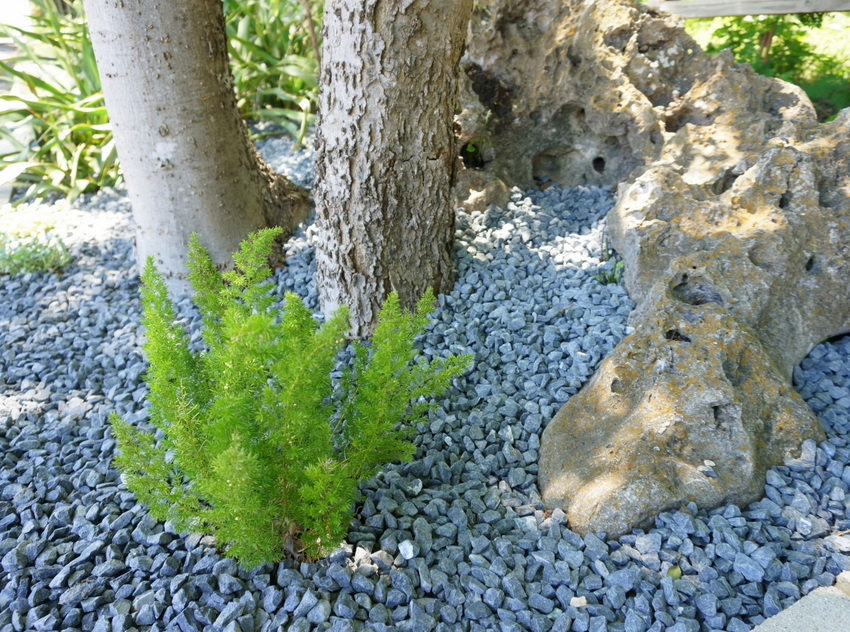


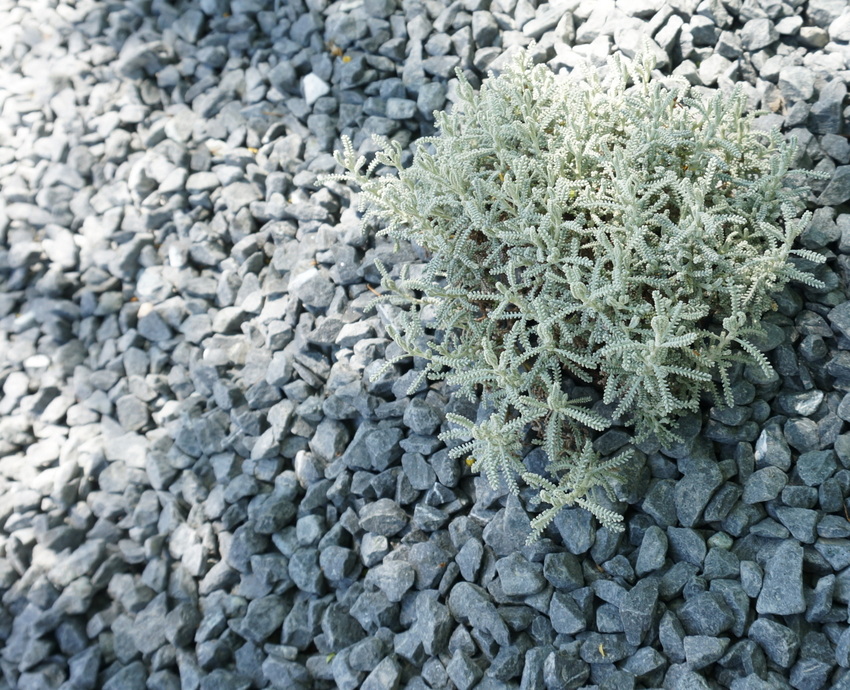

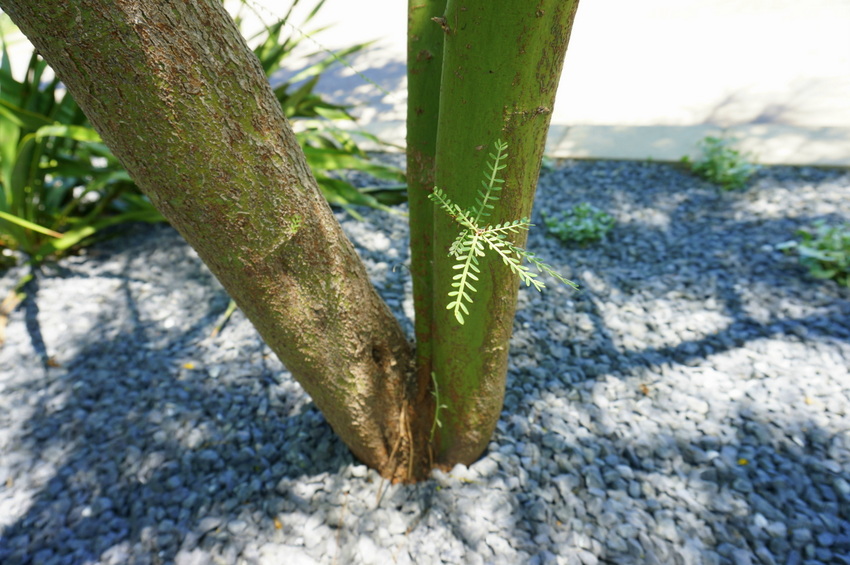

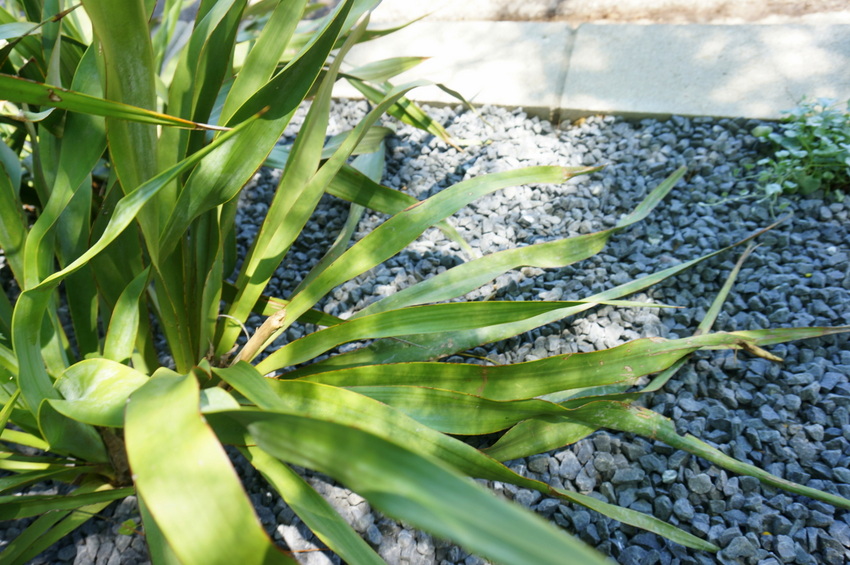

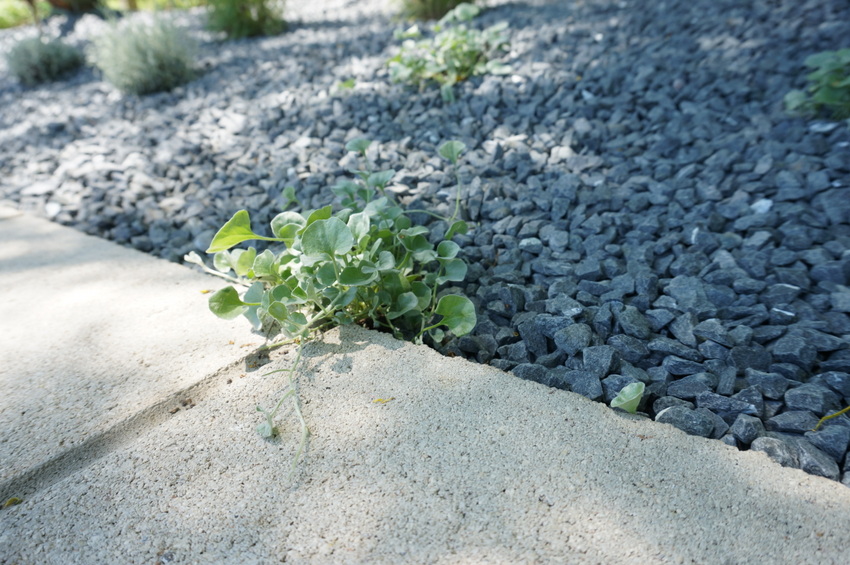
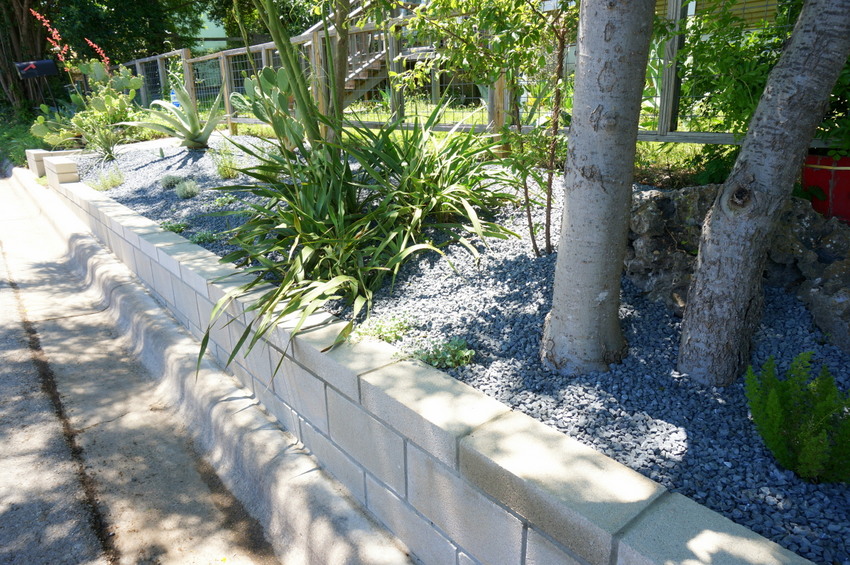
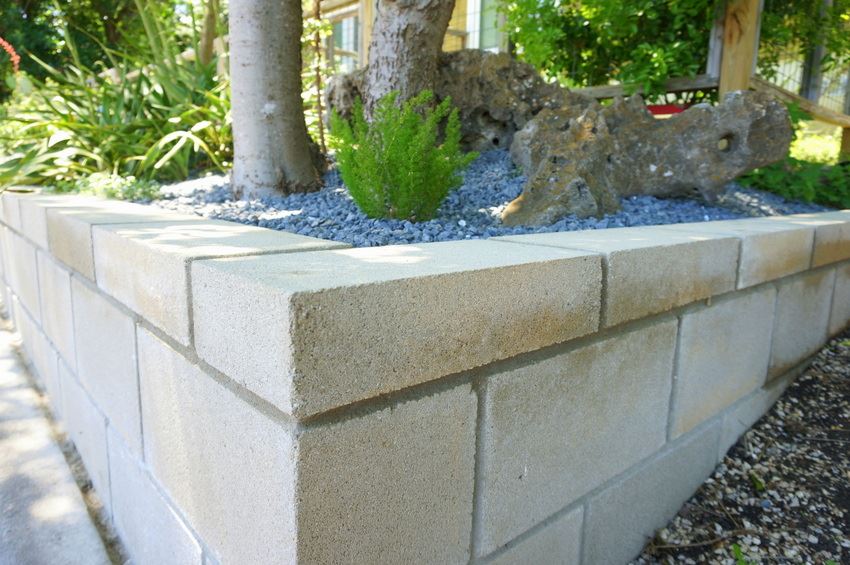
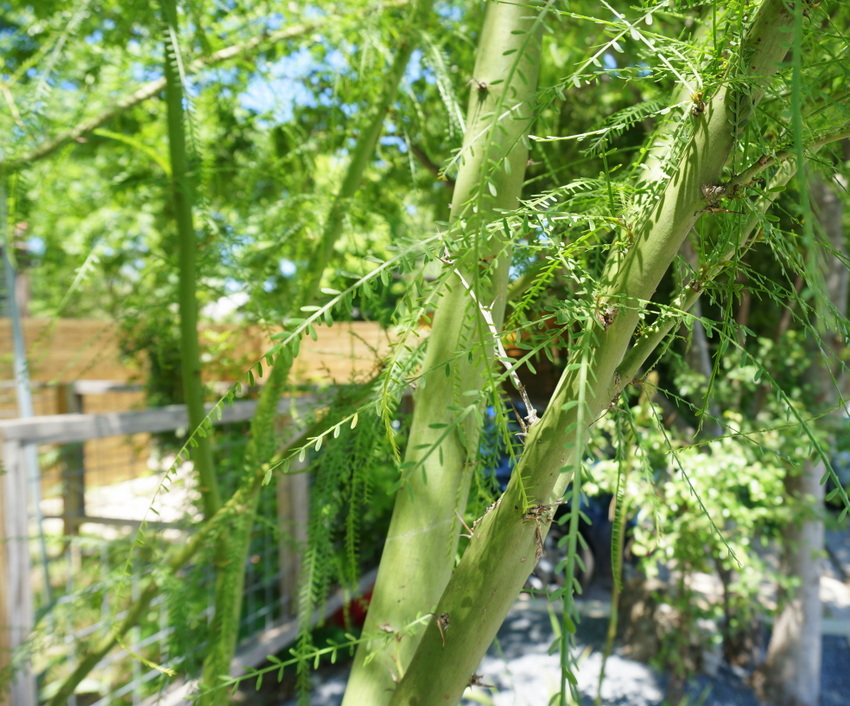
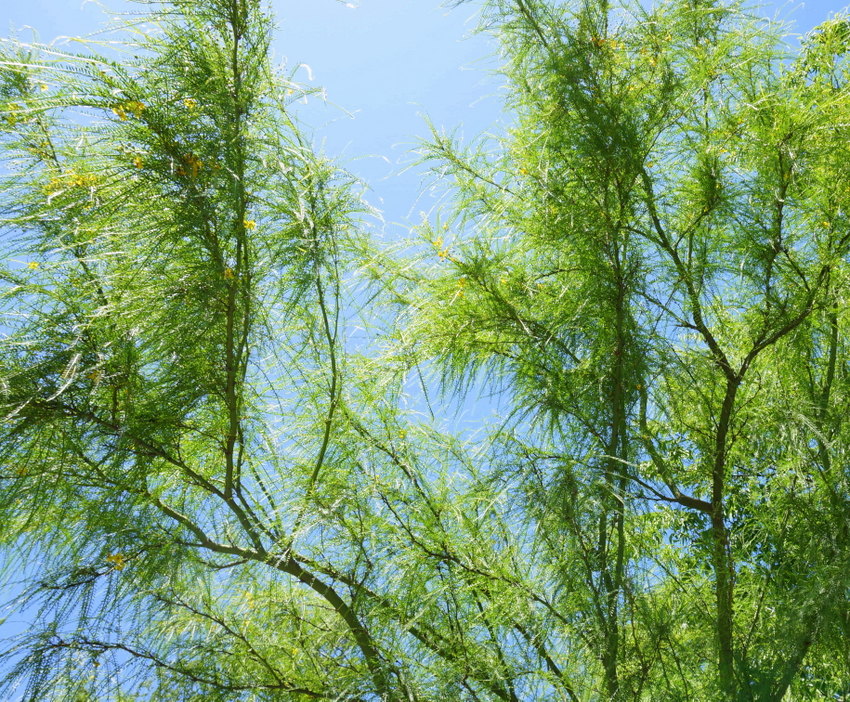
As you can tell from the photos, certain areas of the rock garden get a lot of full sun, while others are very shaded. Pluta notes that it’s essential to choose plants that are appropriate for the setting, and you should never hesitate to use native plants for low-maintenance landscaping. One such plant: the silver ponyfoot above, which will cascade over the edge of the wall before too long. And there’s nothing like that green mesquite tree (we’re thinking it’s a green mesquite–it was already in place) and the way it adds shade, color and height to the landscape:

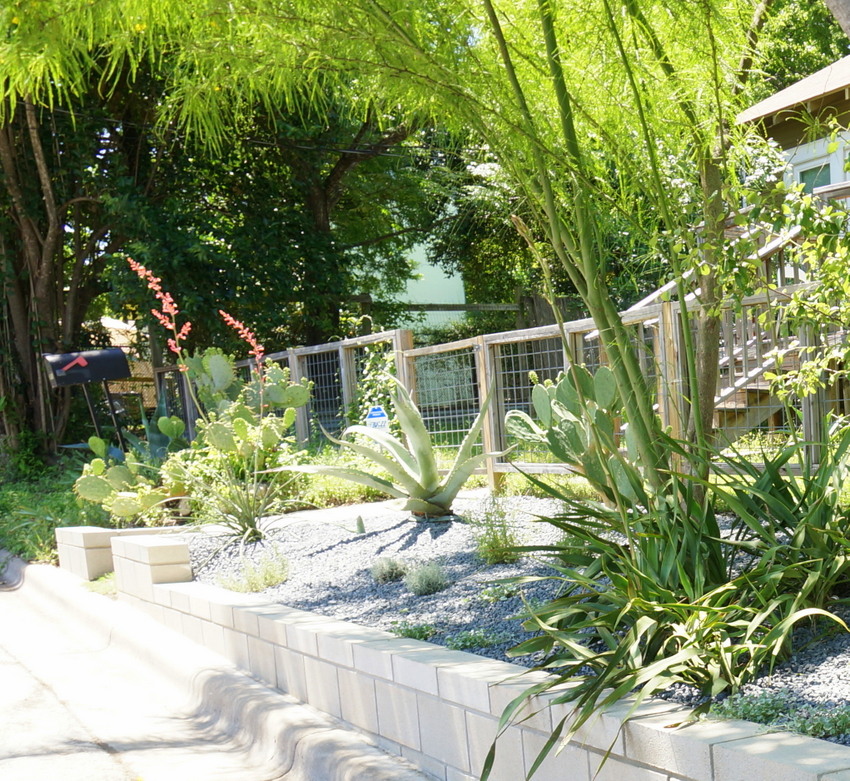


Adding the gravel was the final task, and a rewarding one at that. Isn’t it wonderful when everything comes together?! Here are a few more shots of the completed retaining wall. A job well done, Andy…