If you caught my recent post on modern DIY table runner ideas, you know I’ve been looking for ways to spruce up my dining room table. Kate here, and today I’m sharing my latest DIY project: an easy macrame creation with Boho chic style!

With a few simple supplies and an hour of your time, you can create a table runner that makes a retro-modern statement. Keep reading for all the details…

Macrame Table Runner Supplies

To create this easy macrame table runner, you’ll need just a few items:
- thick yarn in the color of your choice
- scissors
- wooden beads
- thin tape (to help thread the yarn through the beads–I used washi tape)

DIY Table Runner Project Steps
Step 1: Measure the length of your table and cut 12 strips of yarn a couple of feet longer than the desired length of your runner.
You will also need to decide if you want the runner to hang down on each side of the table, or if you’d like for it to completely rest on the surface of the table. Since I have a cat who loves to play with hanging string, I was more than happy to make my runner on the short side!

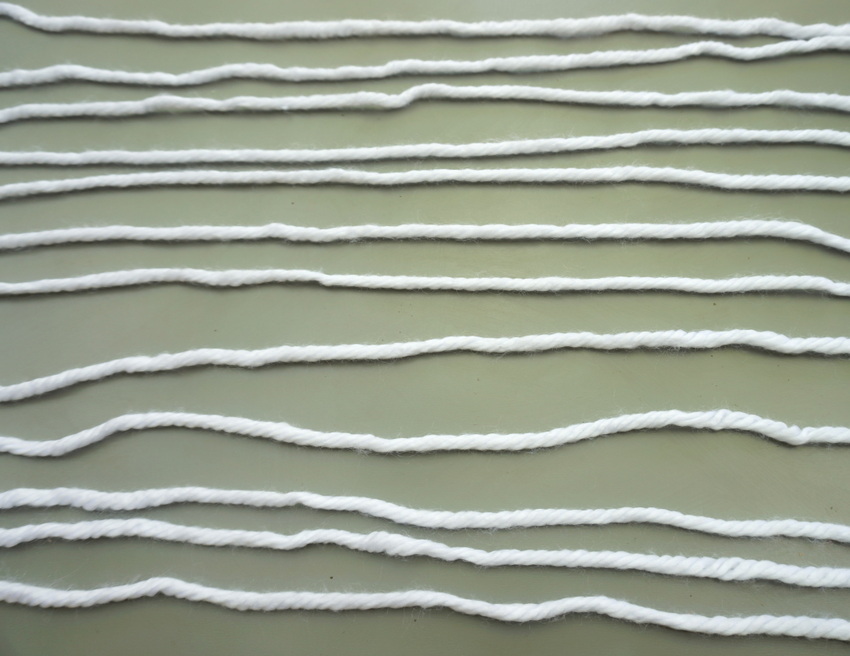
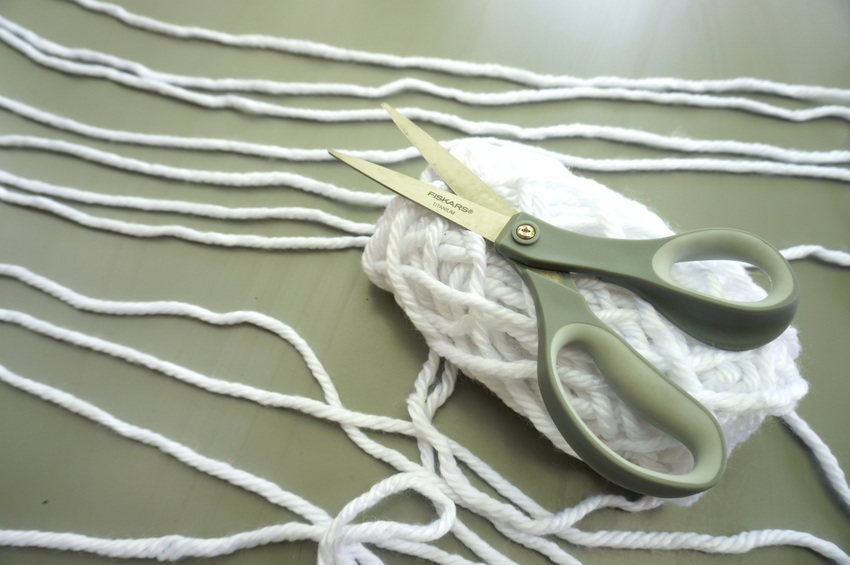
Step 2: Gather your string into a bundle and tie a knot at one end.
This easy step helps you wrangle all of those stray strands and gives you a great place to start!


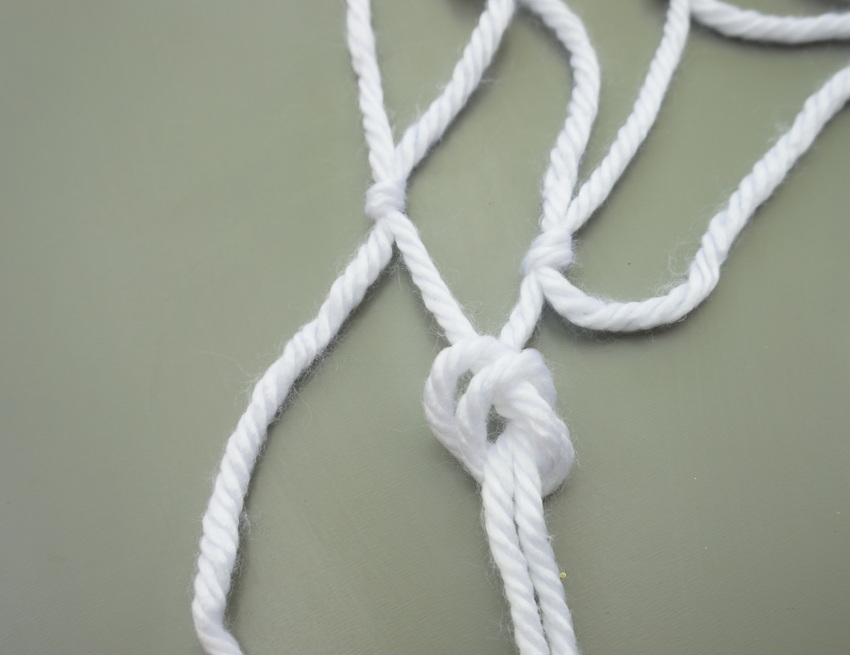
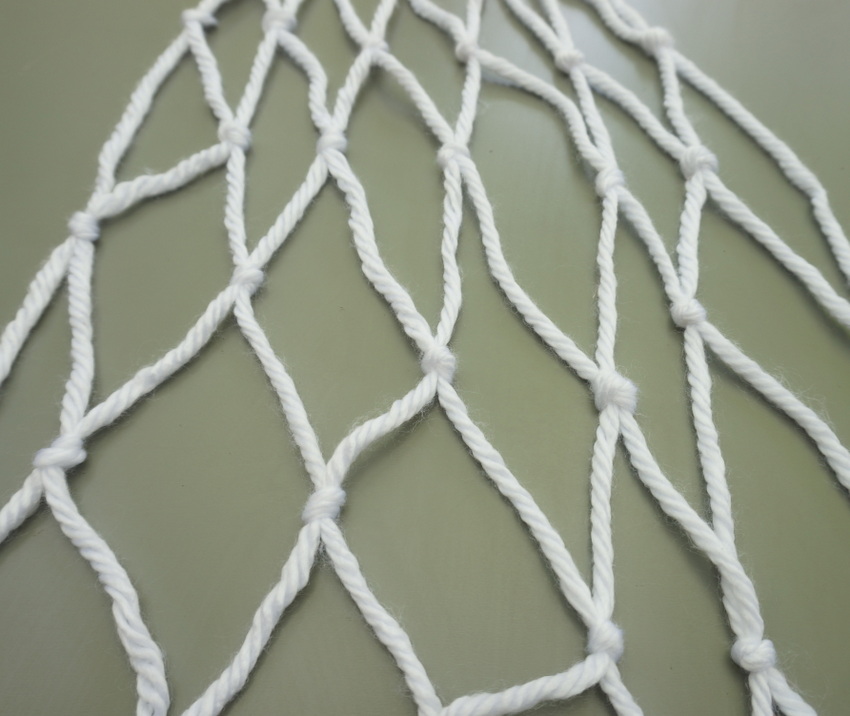
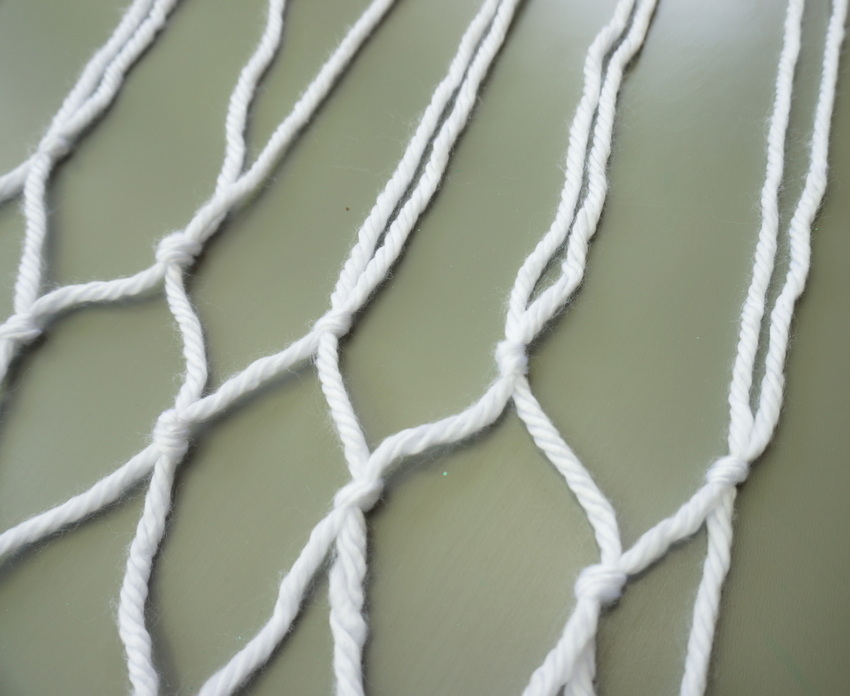
Step 3: Pair off the strands into twos and tie a row of knots an inch or two down from the first knot. Then take two strands from adjacent pairs and tie a new row of knots, as shown below.
Basically, you’re trying to create the look of a net or a hammock. If you make a mistake and tie two strands that don’t go together, simply untie them and begin again!

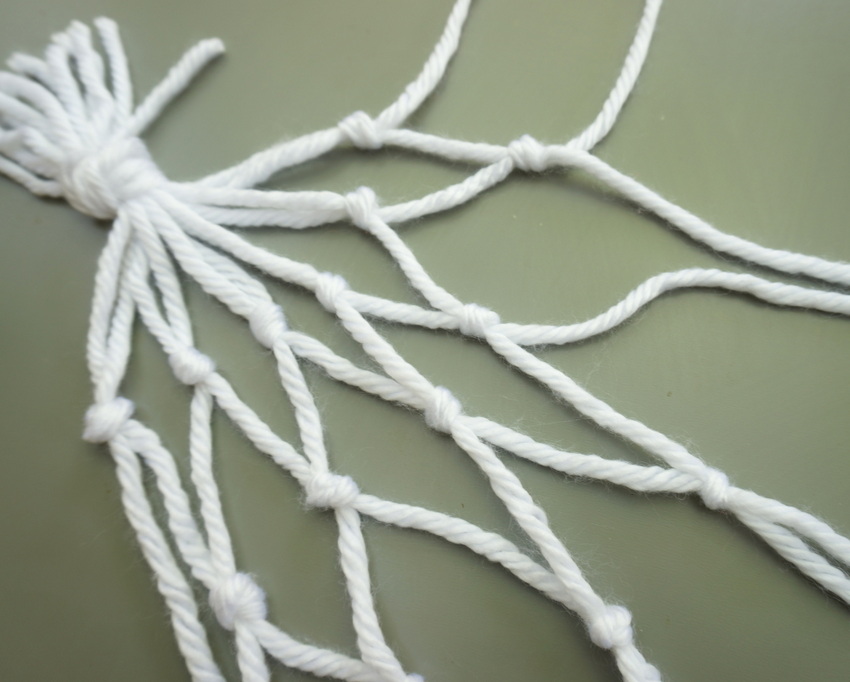
Use any type of knot that you like. I found it easy to create a loop with both strands and pull the ends through, as shown below. You can also see how there will be times during this process when the strands at each edge of the runner are not involved in a knot. But don’t fret. For the next row down, they will be!

Step 4: Continue the process until you’ve created a system of knots the desired length of your table runner.
In other words, tie until you run out of string to tie with, leaving a few inches at each end! Then it will be time to finish off the ends. About those finishing touches…

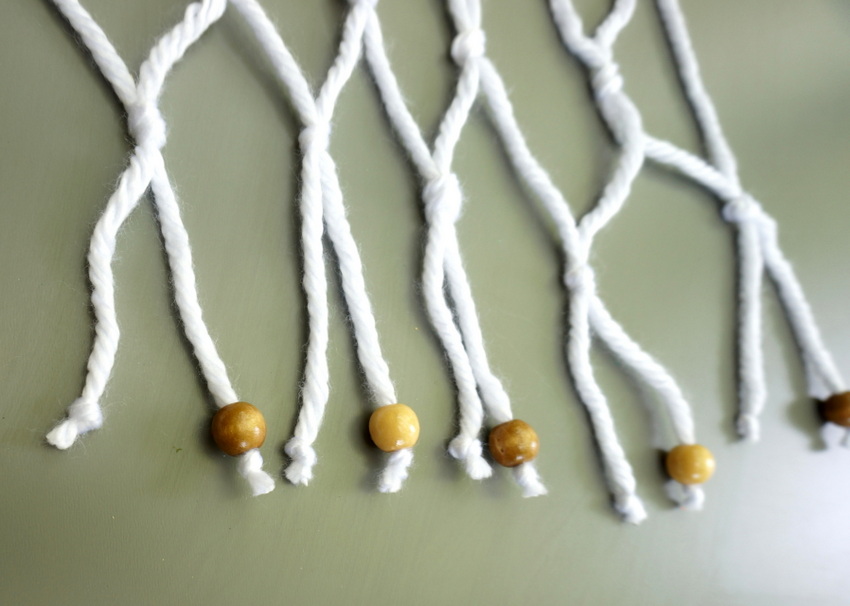
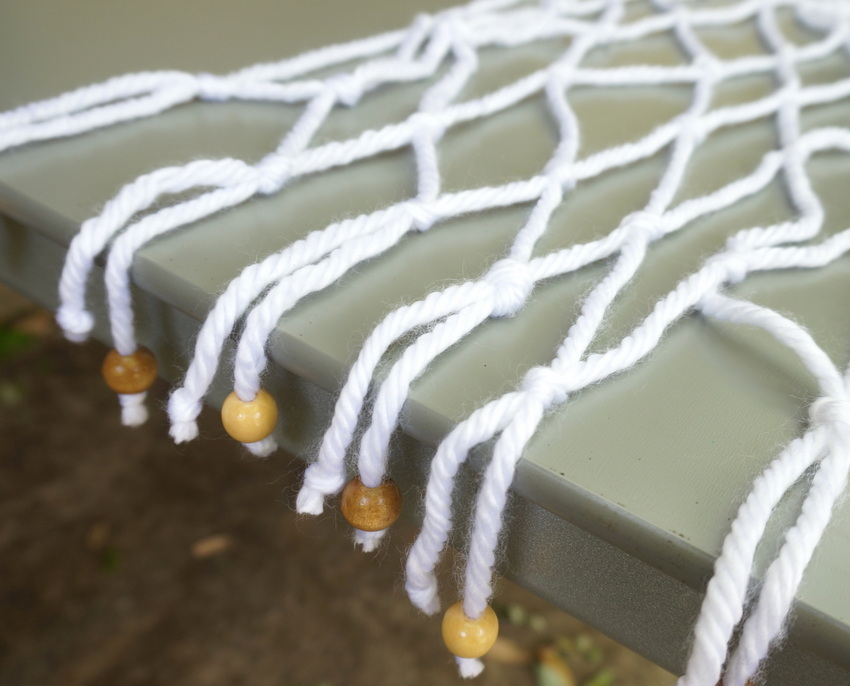
Step 5: Make sure the ends of the runner are extended freely. Therefore, you’ll need to untie the large knot you created in step 2.
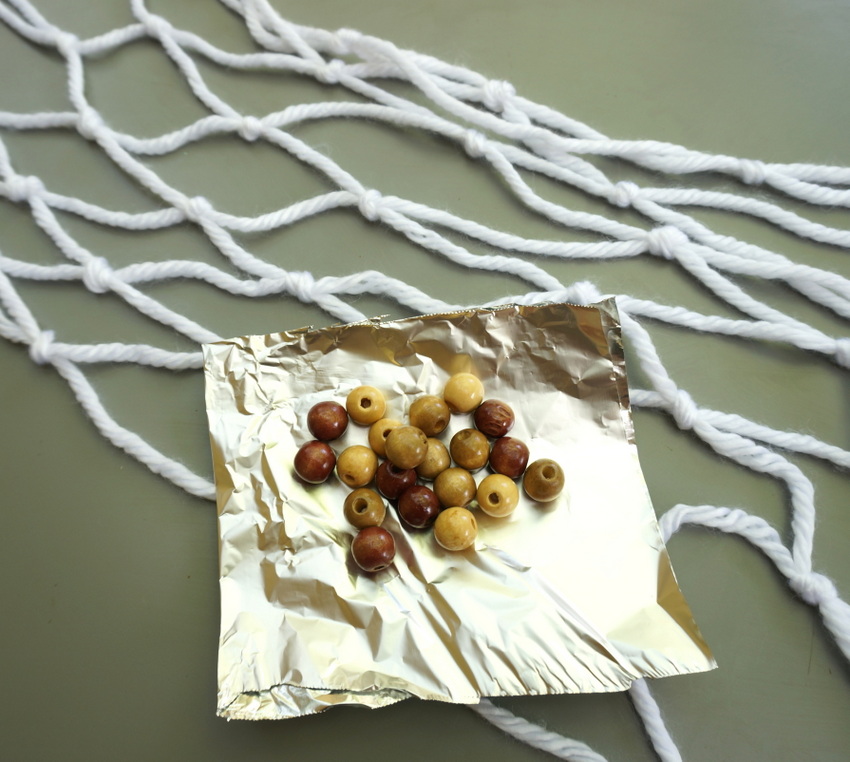
With the ends free, you’ll now be able to add beads, which will be the final step of the process!

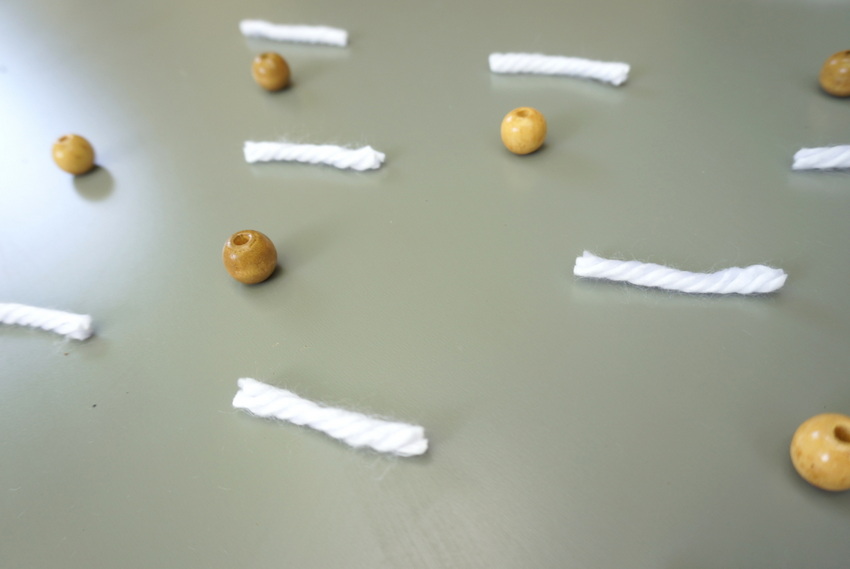
And now for a couple of bead and yarn pattern shots. You know, just for fun!


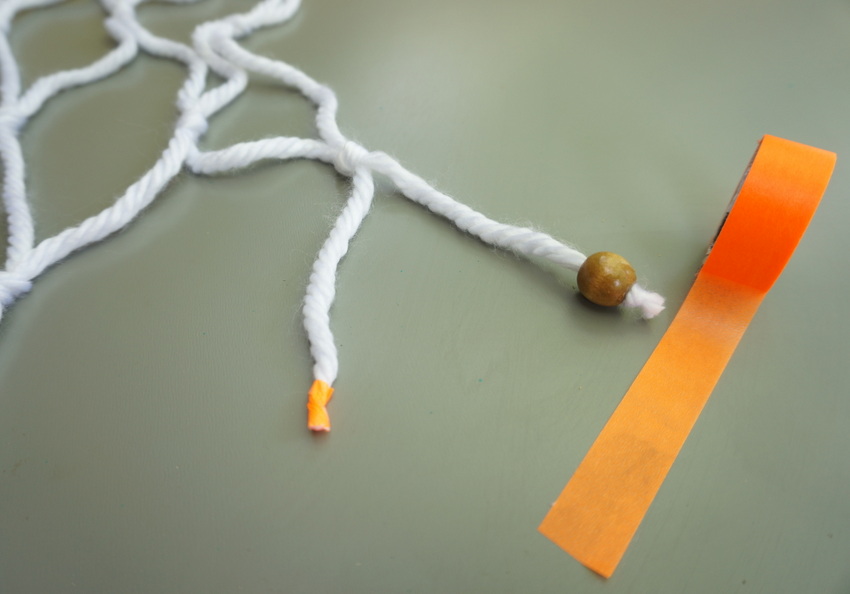
Step 6: If your yarn is a bit thick, use some tape on the ends to help string the yarn through the beads. Finish your table runner with a series of knots and beads at the edges.
I used washi tape to create little cylinders at the ends of the yarn, twisting each end once the tape was in place.

As you can see below, I alternated between beads and knots to finish each end of the runner. If you want beads on every piece of yarn, more power to you!

Displaying Your Table Runner

Now comes the fun part: displaying your runner! Is your runner long enough to dangle off the ends of the table, or will it lay flat on the surface?

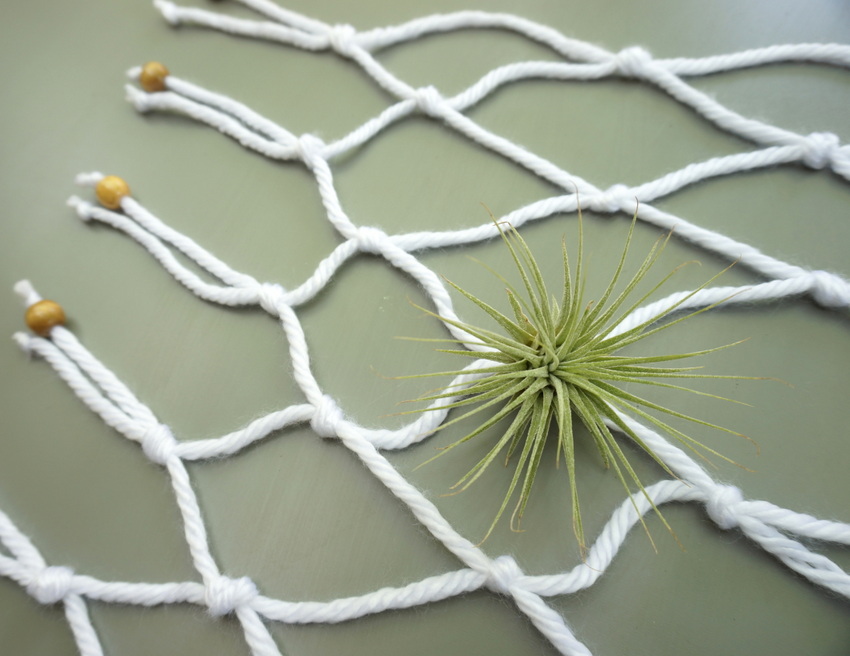
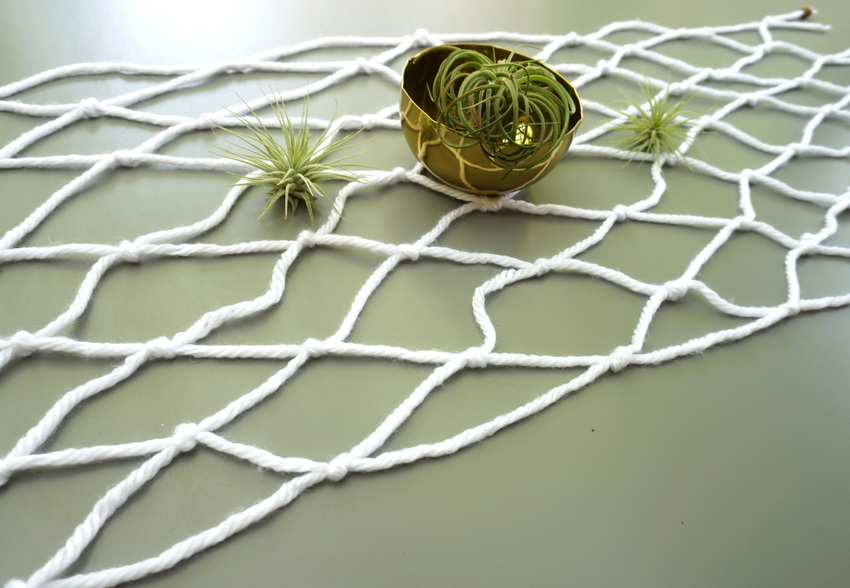
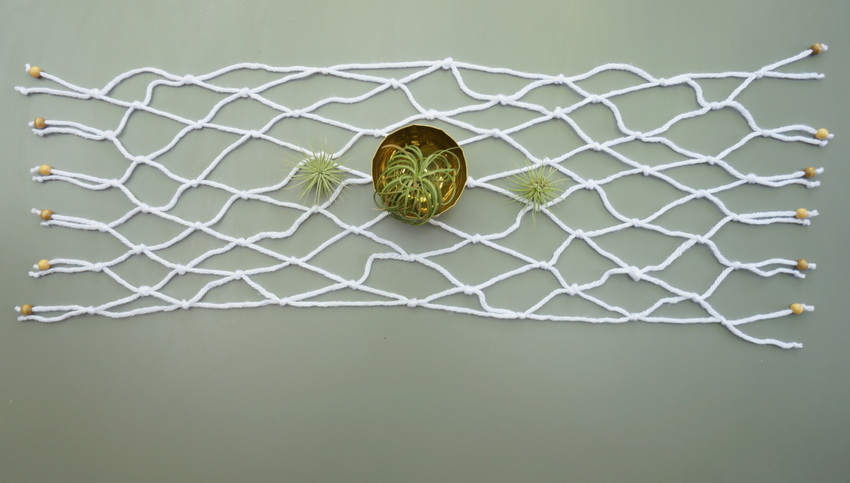
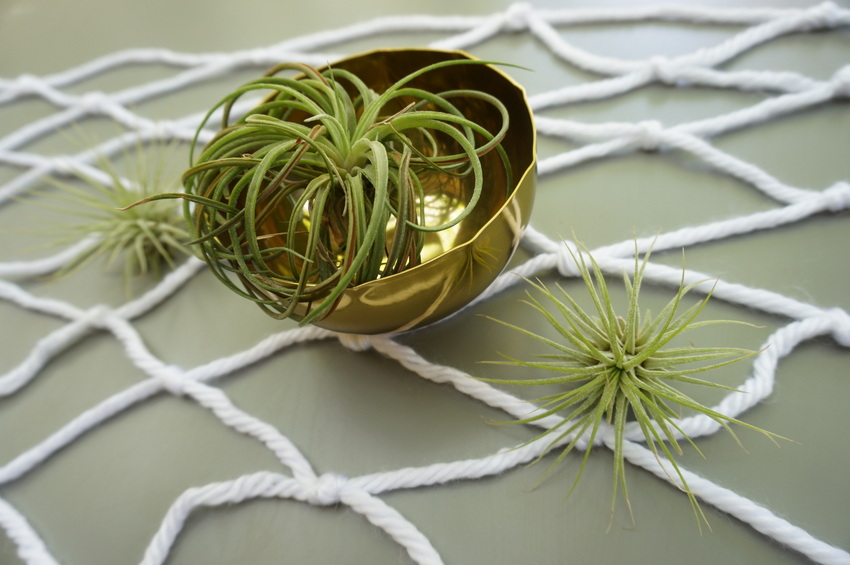
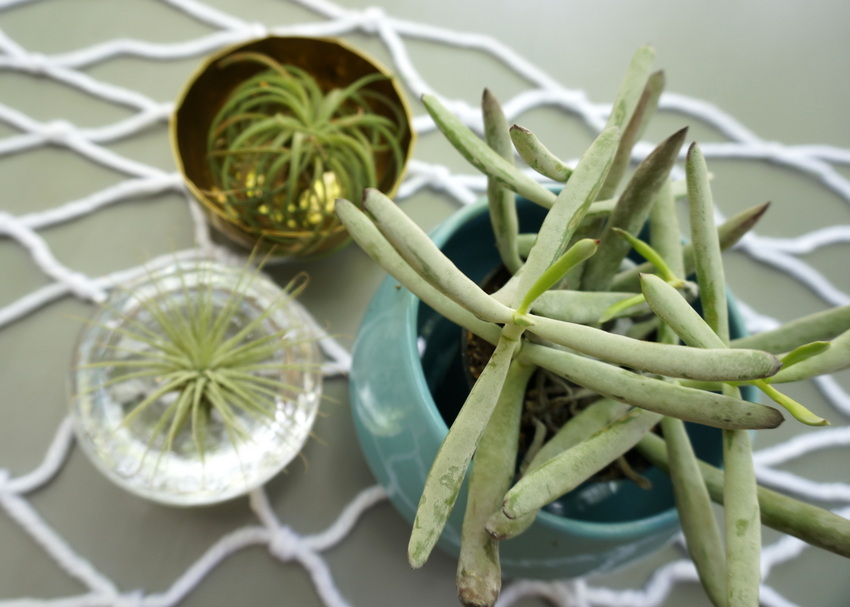
I love styling my table runners with air plants as a centerpiece. Below we see a trio of air plants in the center of the macrame runner, with the largest plant in a brass bowl. Plants and metallic bowls help create a modern Boho look!

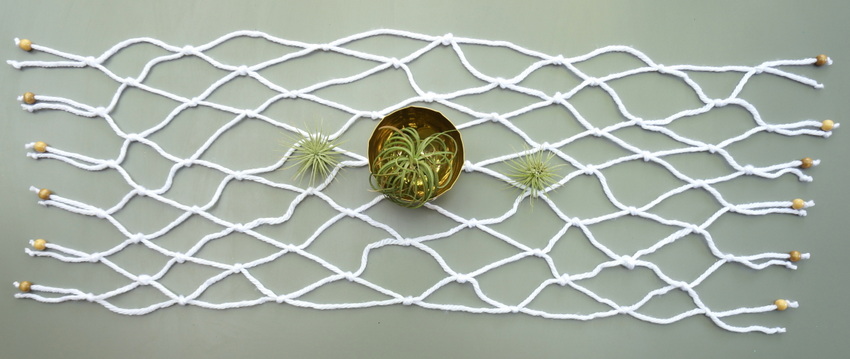
As you can see, the runner has a very open weave, which allows the color of the table to show through. If you’re looking for more color, try layering your DIY runner over a fabric runner in a solid hue! A long piece of felt would also work well as a foundation for your macrame creation.

Enjoy trying different arrangements of plants, including succulents. Most importantly, pat yourself on the back for a job well done!

Happy crafting! Will you be trying this DIY macrame table runner project at home? If you give it a try and have additional tips and hints, leave a comment below…


