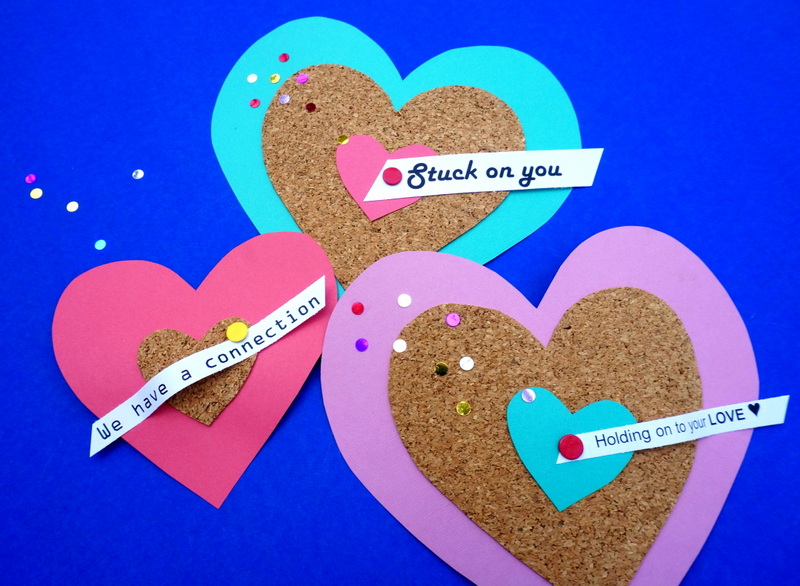
Happy (almost) Valentine’s Day, Decoist Readers! If you’re looking for a last-minute valentine idea, today’s post is for you. Not only are these cork heart valentines easy to create, they pack a powerful punch. In fact, all you have to do is use a thumbtack to punch a hole through a stack of cork and paper hearts. Sound easy? These bulletin board-style valentines are also pretty cute! Read on for all the details…

Cork Valentine Supplies
Aside from some cork adhesive shelf liner (which can be purchased for around $10 through retailers such as Target and Home Depot), there’s not much you need to get started, aside from confetti, card stock, and a few basic items. Here’s the supply list:
- adhesive cork shelf liner
- colorful card stock in various shades
- a computer
- white printer paper
- confetti
- thumbtacks in the colors of your choice
- scissors
- a pen
- a glue gun and a glue stick

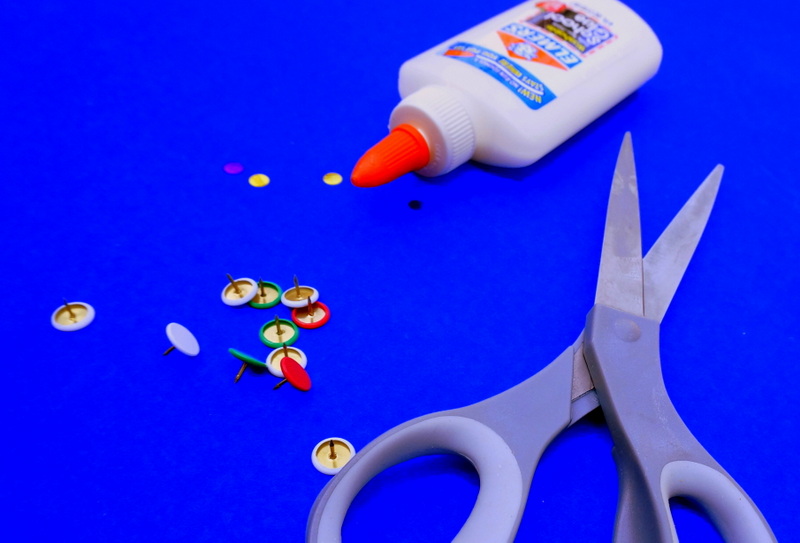
When it comes to choosing thumbtacks or pushpins, you’ll definitely want your selections not to have really long pins. That’s because the valentines aren’t super thick, so you don’t want a long, sharp extension protruding from the back of the heart. More on that later…

Are you ready to get started?!
DIY Valentine Project Steps
In a few easy steps, you can create your own bulletin board-style valentines. Read on for all the details…
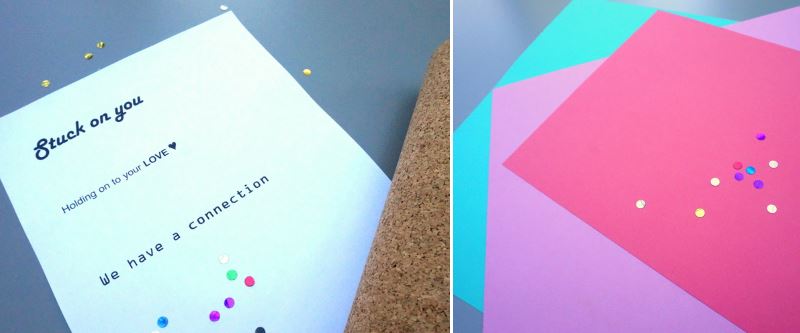
Step 1: Print out a collection of special Valentine’s Day messages.
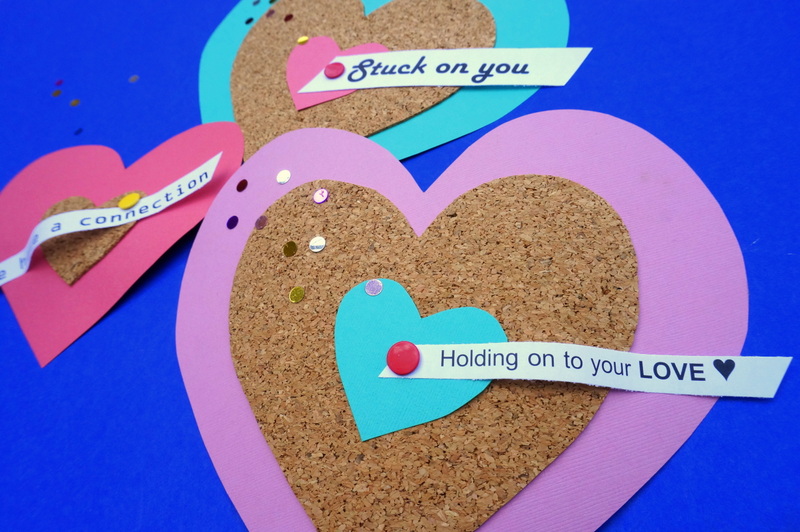
I went with “Stuck on you,” “Holding on to your LOVE” and “We have a connection,” because they were all cheeky references to the way messages stick to/hold on to/connect with a bulletin board with the help of a thumbtack. Get it?!

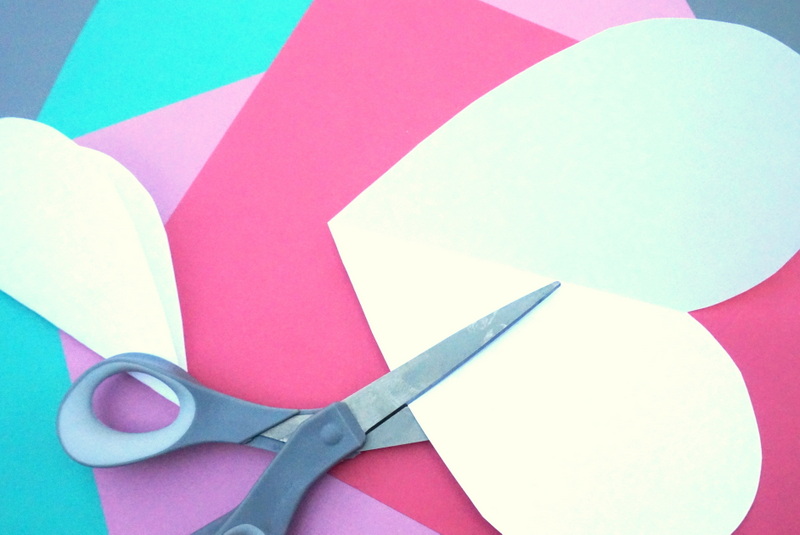
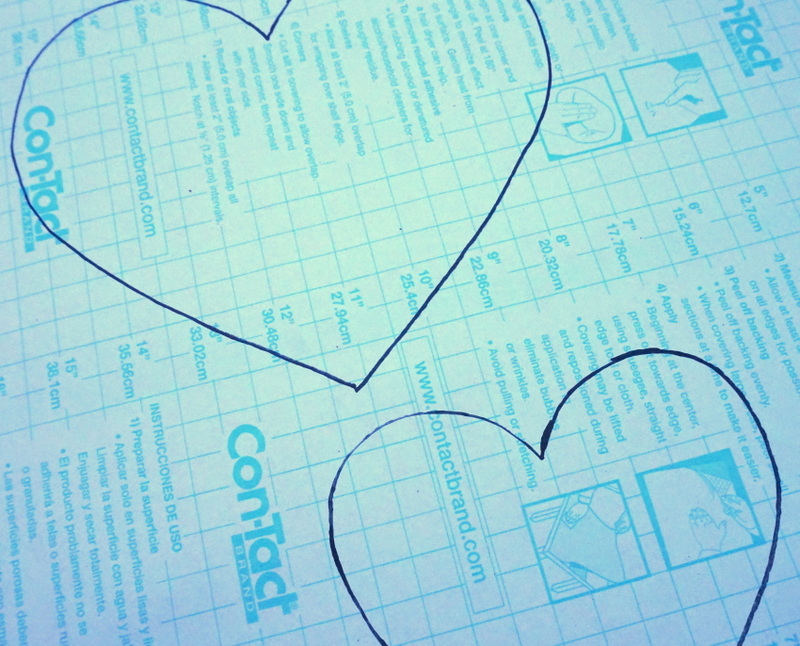
Step 2: Create a few heart stencils by folding pieces of paper in half, drawing/cutting half a heart, and unfolding the paper (just like you did when you were a kid)!
I ended up creating three templates, trying to make all three sizes of hearts roughly the same shape. In other words, since I knew I’d be layering the hearts, I didn’t want one to be a lot skinnier and angular than the others. However, this is a stylistic choice, so it’s totally your call!

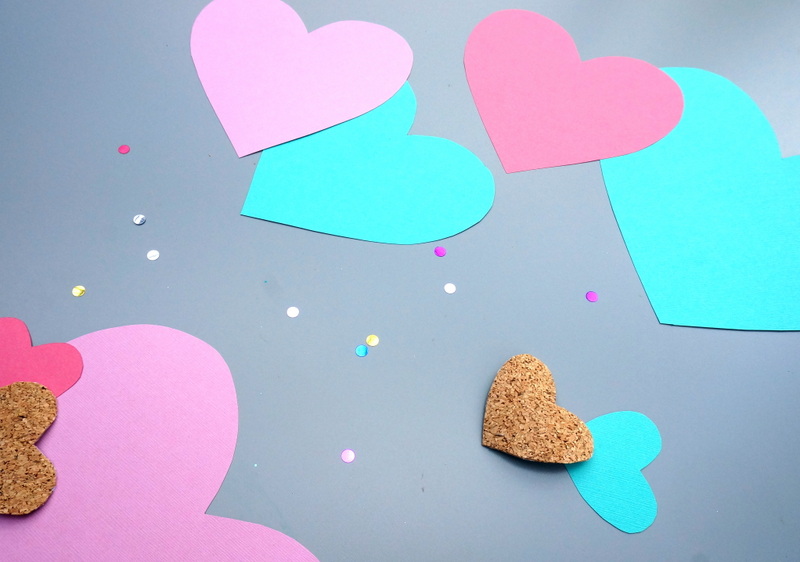
Step 3: With the help of your stencil, trace and cut out hearts from both the cork shelf liner and the card stock.
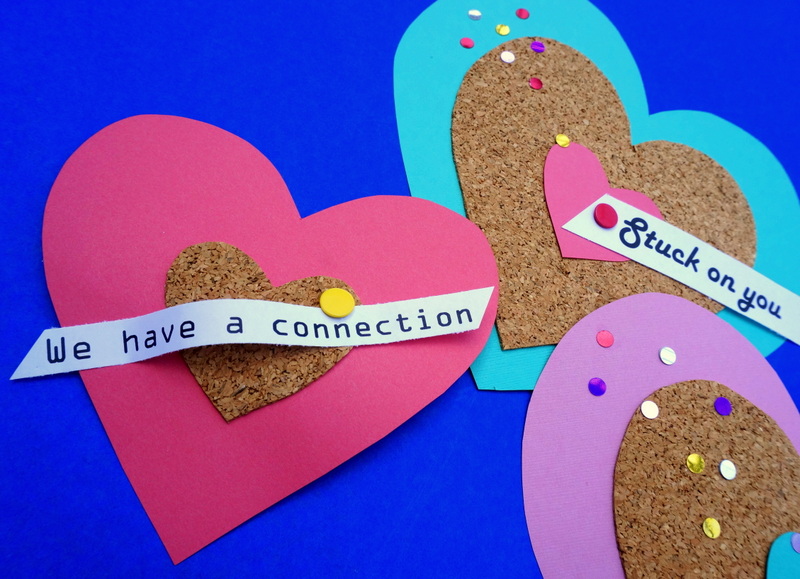
I used a permanent marker to trace hearts on the back of the contact paper, and I used a regular pen to trace hearts onto the card stock. When I finished cutting them out, I had a lovely collection of earthy and colorful hearts, as shown below:

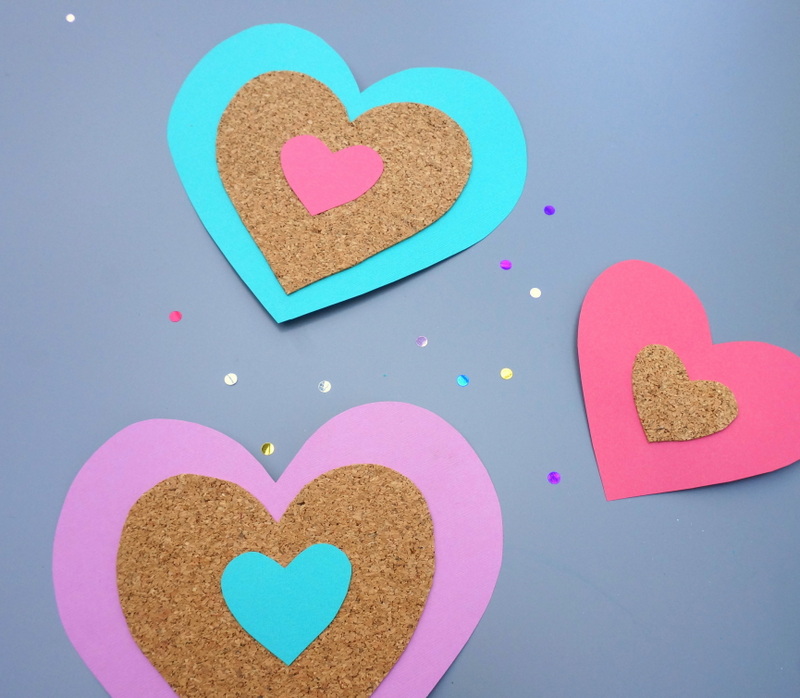
Step 4: Layer the hearts by stacking one on top of the other.
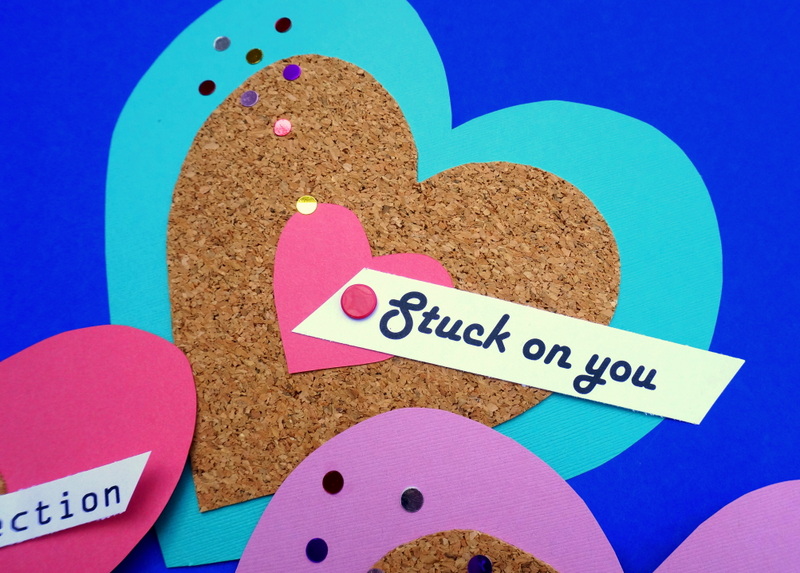
Start with a piece of card stock for the bottom, then peel the adhesive backing off the cork and stick it to the card stock. Next, add another paper heart to the top. You can do variations of this arrangement as well, as shown by the smaller red heart with a cork heart in the center below.

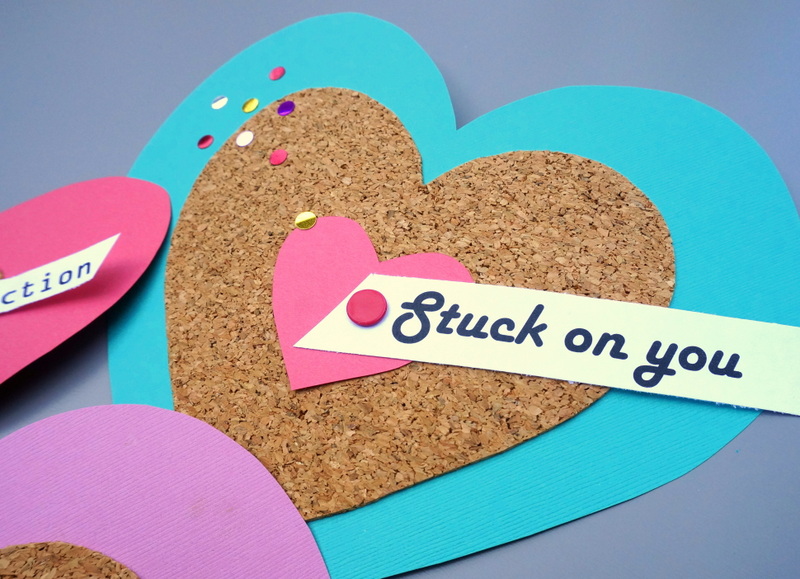
Step 5: Cut our your valentine messages from the white printer paper, and use a thumbtack to stick each message to the paper and cork hearts below it.
For the valentine below, I didn’t need to use glue to adhere the red heart to the cork heart. The thumbtack did the job! In other words, each tack can hold several pieces of paper together.

Step 6: Cover the end of the tack with a dab of hot glue to prevent sharpness.
Nobody likes a valentine that leaves a mark! The hot glue will surround the edge of the tack in softness when it dries. Since this is the back of the valentine, no worries about the hot glue showing. With that said, because of the thumbtacks involved, this valentine idea is best for adults rather than kids.

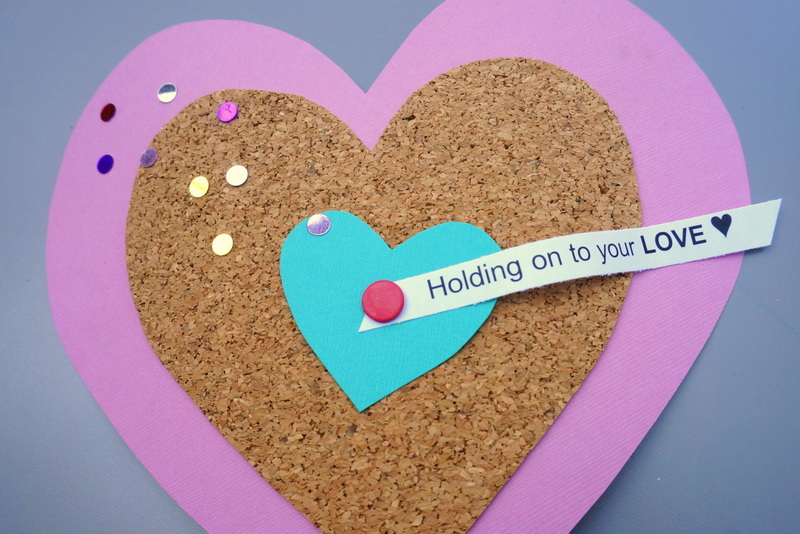
Step 7: Put the finishing touches on your valentines.
What you add is up to you! I added some confetti to the larger valentines. In addition, I used my finger to curl some of the white paper messages for a 3-D look. I even glued down the “We have a connection” message in a couple of places so the white paper would hold its curved shape.

Will You Be My Valentine?!
Half the fun of this project is making the valentines. The other half of the fun comes from giving the valentines!

Do you give valentines to your special someone? To your friends? To your family? Consider your audience before creating your messages (shown on the white paper below). As mentioned, I took a humorous approach with messages such as “Stuck on you” and “Holding on to your love”. Probably the kind of messages you want to share with someone you know well, rather than someone you’re admiring from afar, don’t you think?!

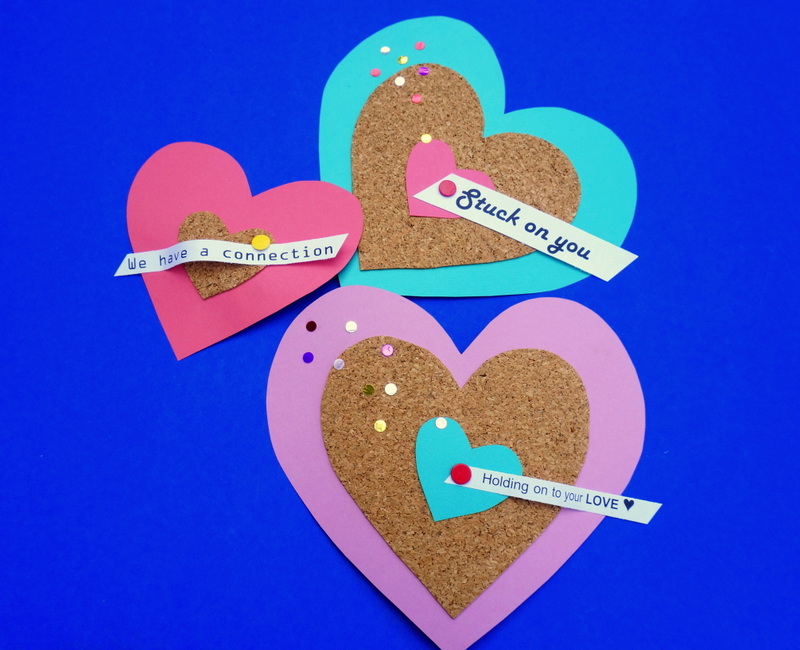
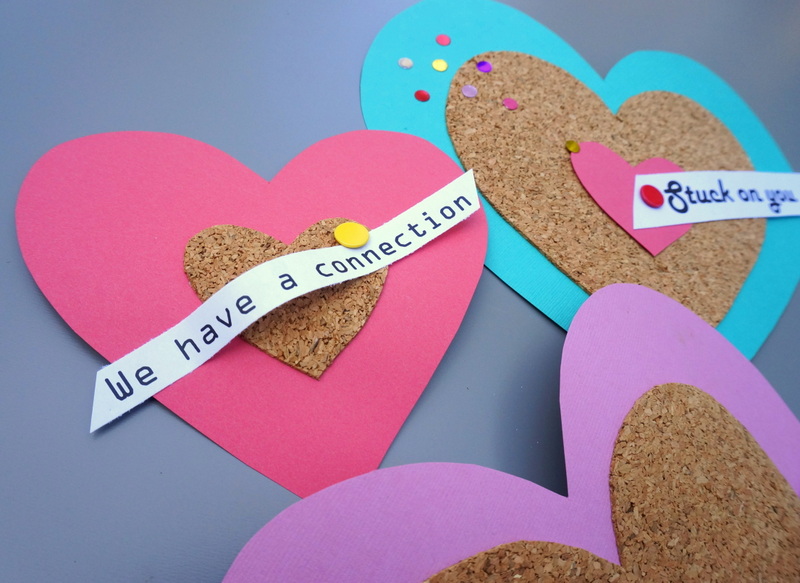
Here are a few more shots of the valentines in all of their confetti-filled glory:


I wish you and yours the happiest of Valentine’s Days! Whether you spend the day with friends or with your true love, be sure to do something nice for yourself. You can’t go wrong with chocolate! Enjoy!


