If you’re thinking, “It’s not spring yet,” you’re right! You’ve got me! But I’m cheating a little bit because all of the dead greenery in my yard is starting to get the best of me, and I just had to top my outdoor table with something colorful. If we get another bout of freezing weather, this planter is small enough to bring indoors for the night. Or the week! For me, the key to getting through the winter is looking ahead to spring when a warm day happens to hit, much like it did this weekend. Today I’m sharing the photos from my latest DIY modern planter project. Ready to take a closer look?…

DIY Planter Supplies

While this DIY project is open-ended, here are a few of the supplies I used to create my planter arrangement:
- a painted pot/planter
- potting soil
- assorted succulents
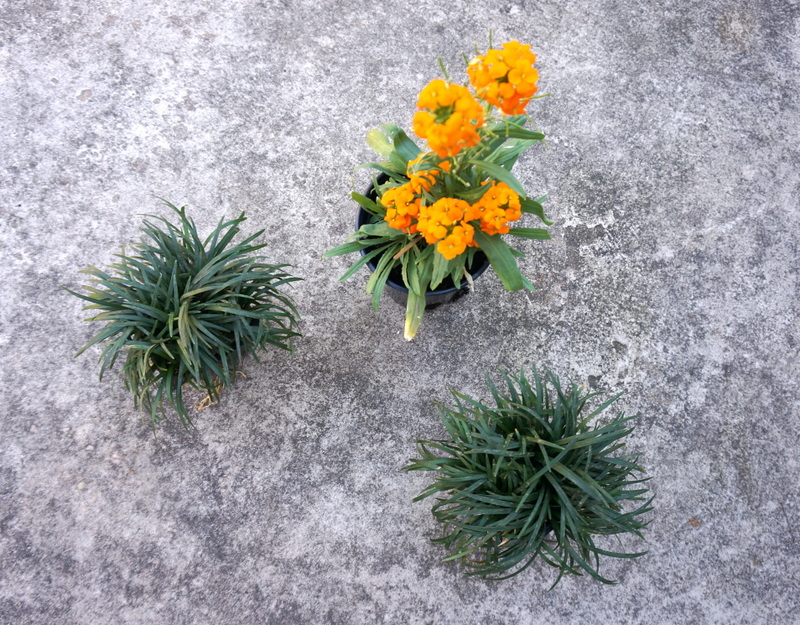
- dwarf mondo grass
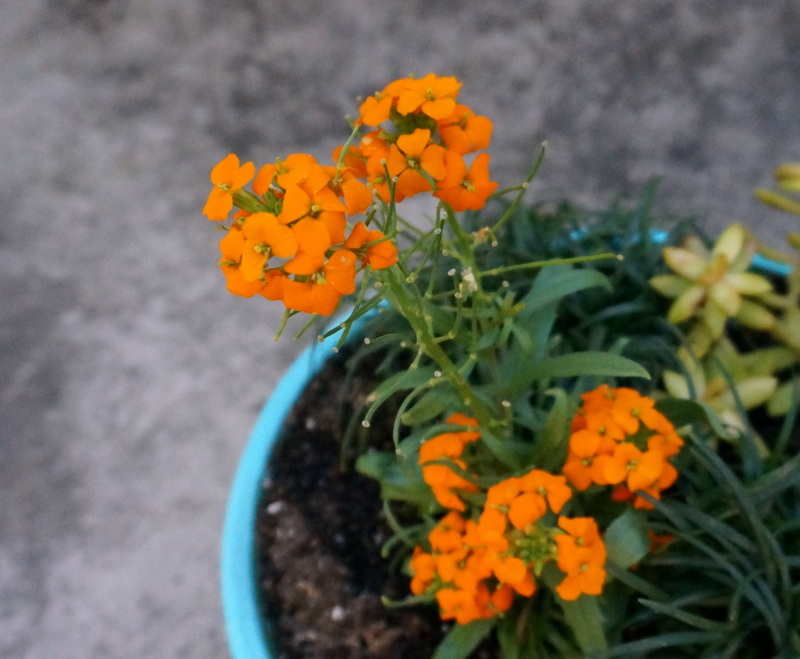
- erysimum (any brightly colored blooming plant will do)

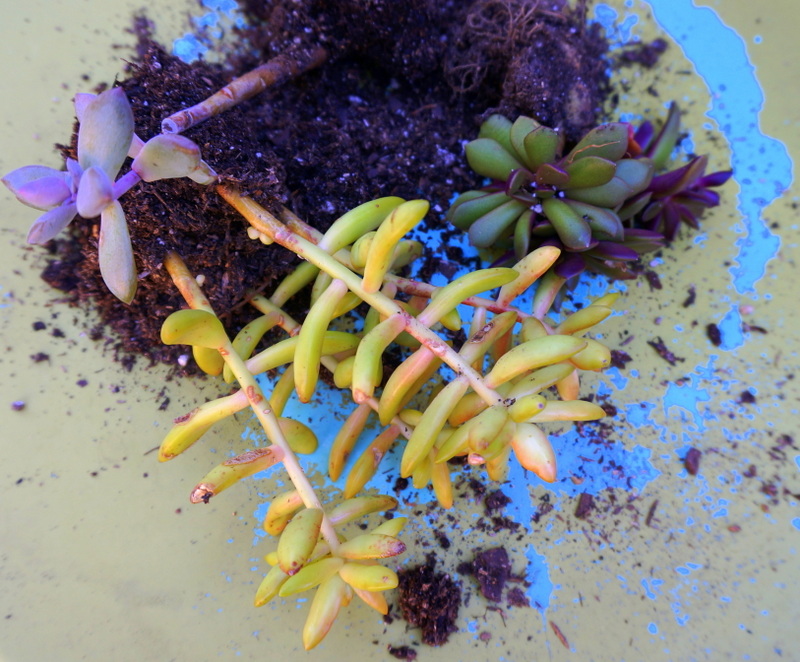
The succulents were from other planters in my yard. They were in need of repotting, or they were part of arrangements in which the other blooms were deteriorating, so I thought I’d group them in a new pot for today’s project. The mondo grass and erysimum (shown below) were chosen for their ability to handle the cooler temps that will be sticking around until spring. However, if the nighttime temps dip near or below freezing, I’ll be bringing this planter indoors until warmer temperatures return.

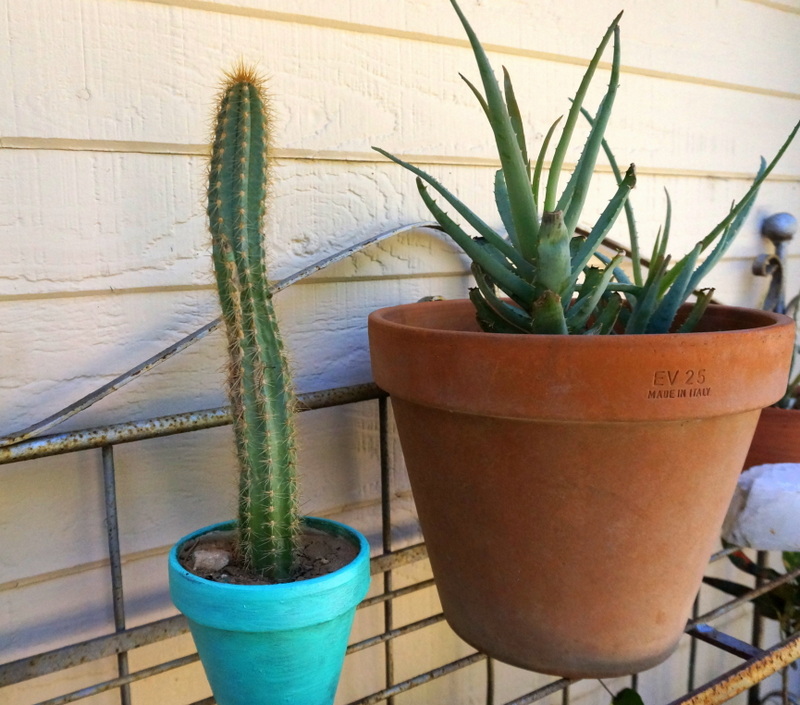
If you’re a regular Decoist reader, you know that I’ve been taking baby steps this winter to begin preparing my yard for spring. In other words, if it happens to be a warm weekend day, you can find me outside doing one project at a time. Last weekend, I painted a few of my pots a bright shade of aqua. You can see the smallest painted pot below:

Now let’s take a closer look at today’s featured project…
Putting It All Together
This planter arrangement is easy and fun, but know that it might take some trial and error. Choose inexpensive plants, because some will take root, while others may not mesh well in the grouping. Expect the best and give each plant space to grow, but don’t worry if you need to try another plant or two as time passes.

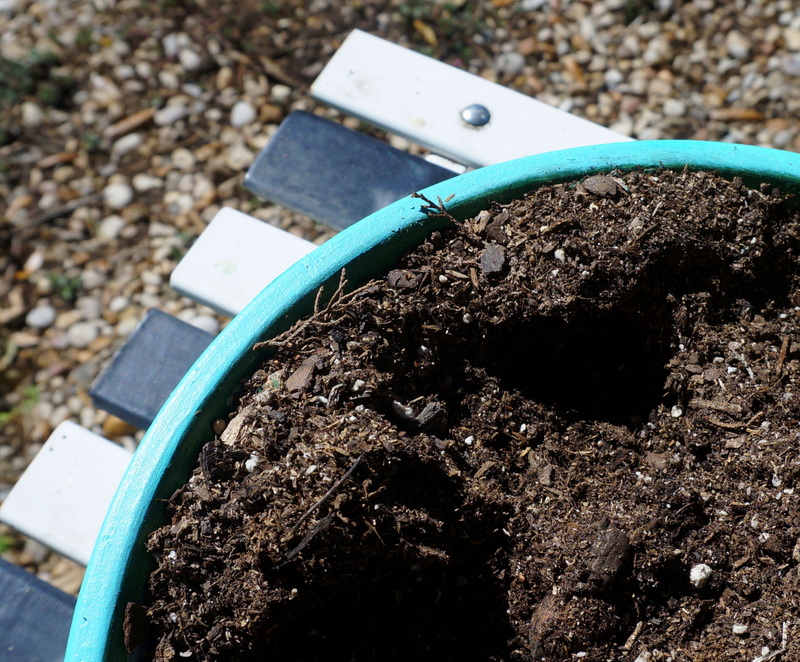
I love painting and repainting my pots. It’s funny, I know, but to me it’s a super easy way to give your yard a new look. It’s also clear that my yard needs a big dose of color, so vivid hues are important to me going forward. As mentioned, I painted a few planters last weekend, including the one you see above and below. Aside from the painting, the planter was in serious need of a makeover. The squirrels had dug up most of the succulents that once filled it. In other words, it also needed a new critter-proof location!

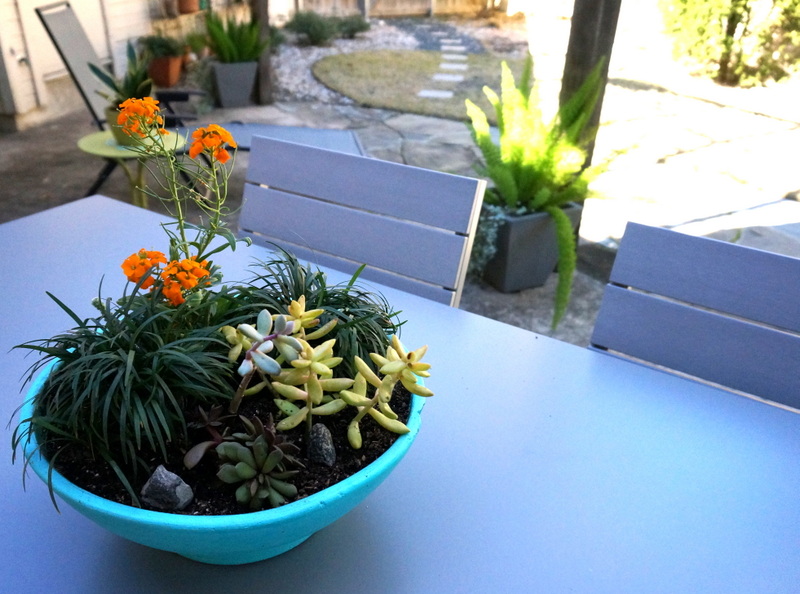
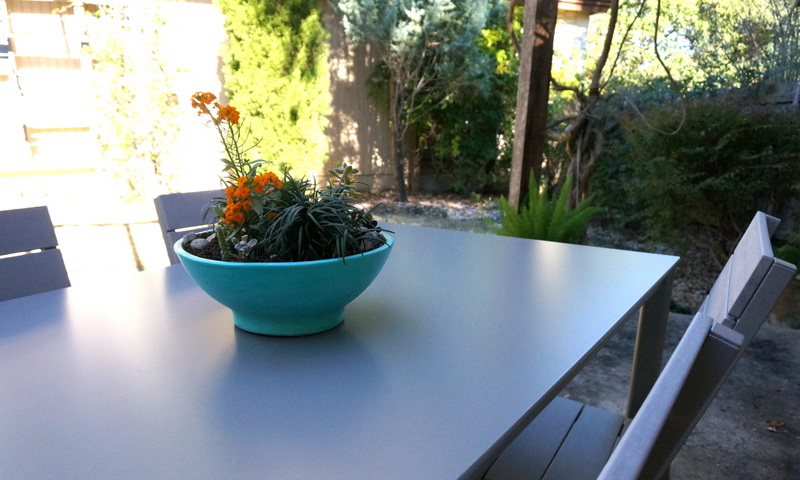
My outdoor dining table is not accessible to the squirrels, as I keep the chairs pushed in, so they can’t climb or hop onto the surface. I knew this would be the perfect new spot for the completed project! To create my planter arrangement, I tried different groupings of the succulents, dwarf mondo grass and erysimum until I came up with an end product that made me happy. Below we see the planter (newly filled) in its old location.

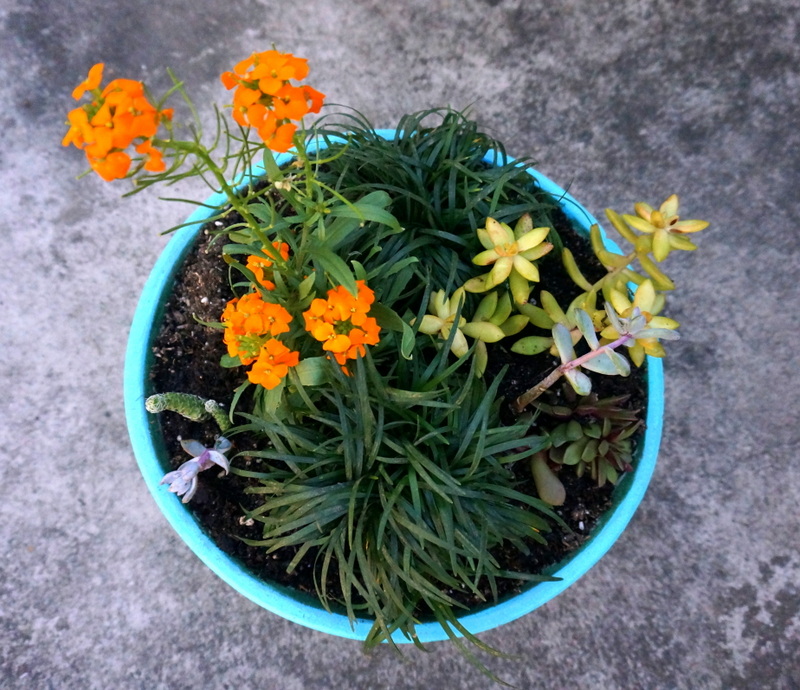
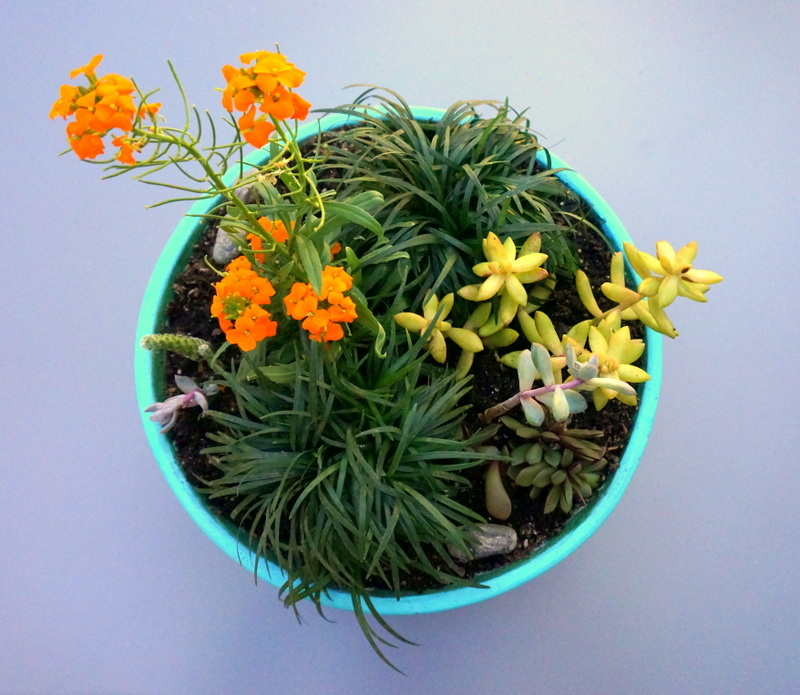
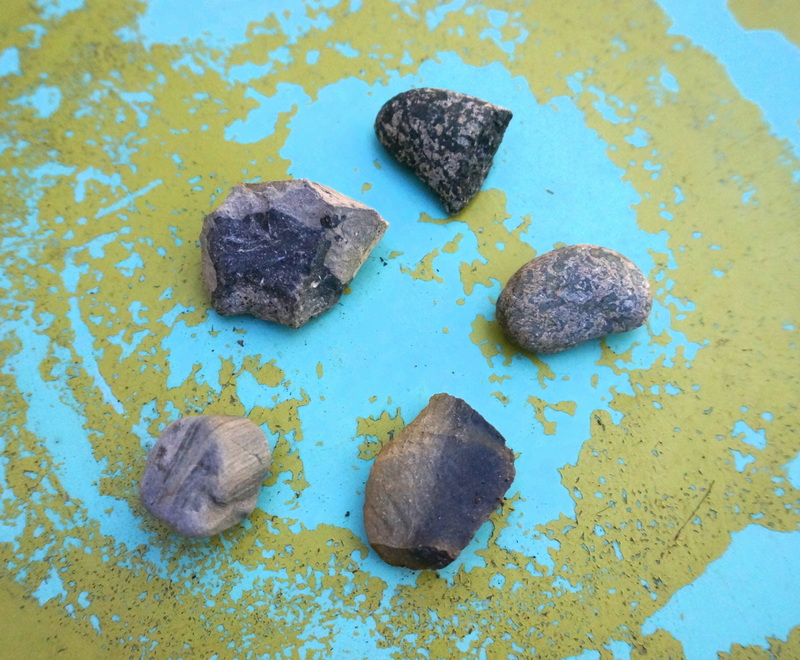
I “shopped my yard” for some unusual rocks and pebbles to add to the planter. I decided to go with a black and grey motif. Here’s what I came up with:

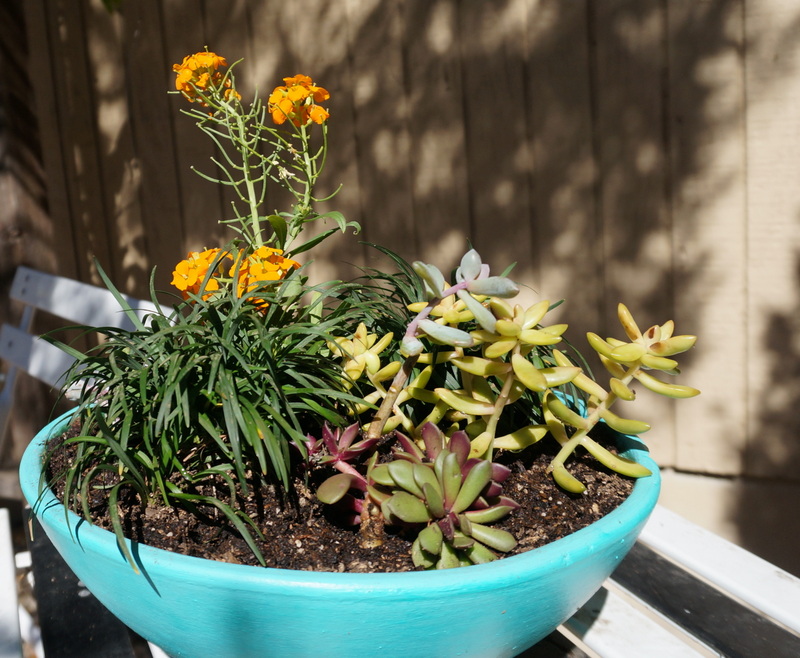
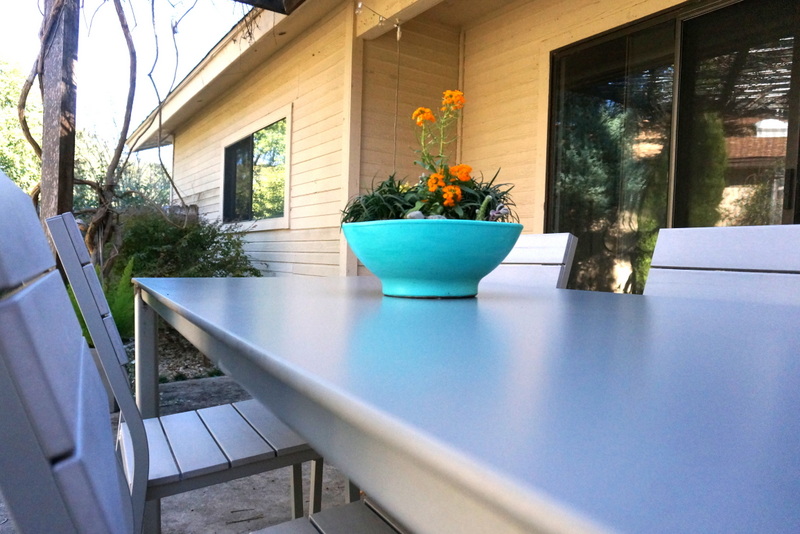
Next we see the planter in its new location. Can you spot a couple of the pebbles?…

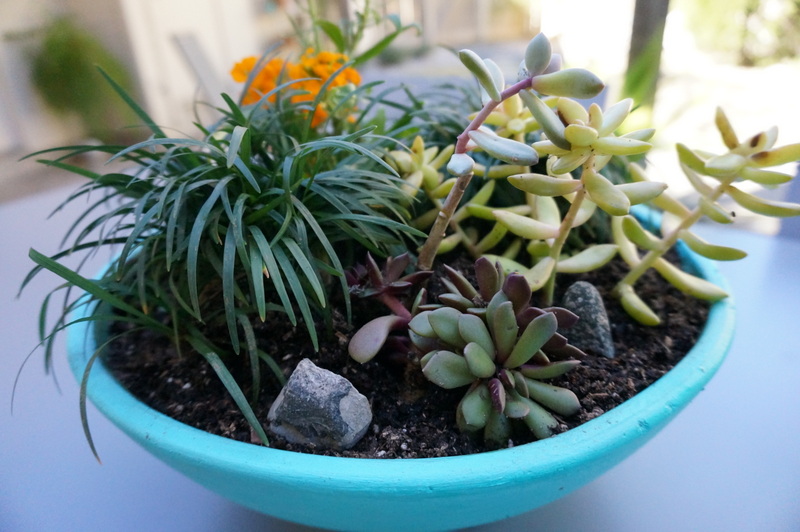
Instead of alternating succulents with mondo grass, I decided to group “like” plants together in this arrangement. I like the asymmetrical look that results. It’s anything but perfect, and that’s what gives it personality!

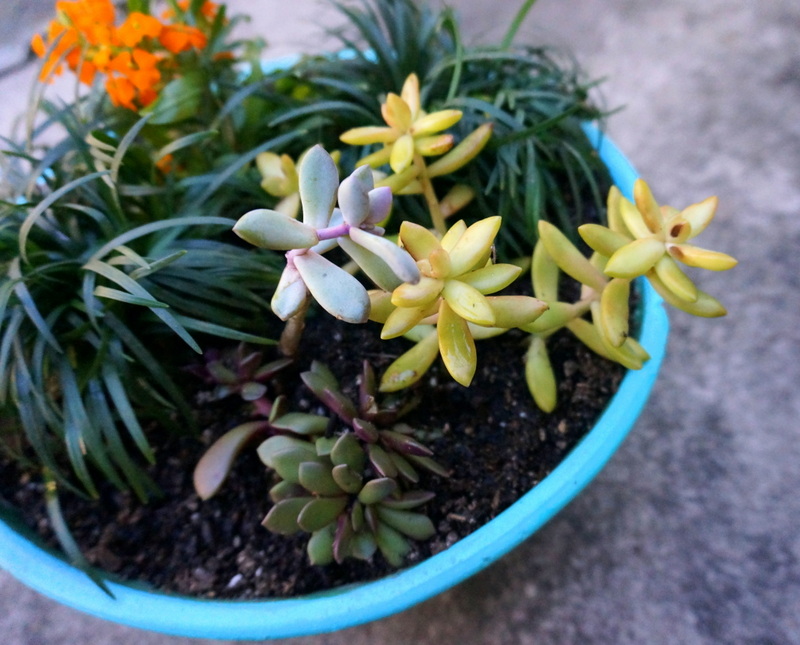
Plus, the erysimum is so eye-catching and fragrant. The bees love it, and it adds much-needed height to this vignette. Also, I happen to be crazy about the combination of the bright orange blooms with the aqua planter!

Did I mention that this planter is my way of celebrating my new outdoor seating? I was all set to recover my old outdoor dining chairs, which would have involved cutting new wooden seats, topping them with foam and batting and covering them in vinyl. When it then became clear that I’d also need to sand the peeling spray paint from the chairs, I started to add up the cost of this seating makeover, and I soon realized that purchasing new chairs from IKEA wouldn’t be that much more expensive. And it would be less of a hassle than re-sanding/re-painting and re-covering the old chairs every few years!

I LOVE a good DIY project, but sometimes it makes more sense to purchase a sturdier version of the “project” and free up your time for other endeavors. This is a hard thing for a DIY enthusiast to realize, but in some sense, it was a relief when it became clear that there was an easy solution that was also more practical.

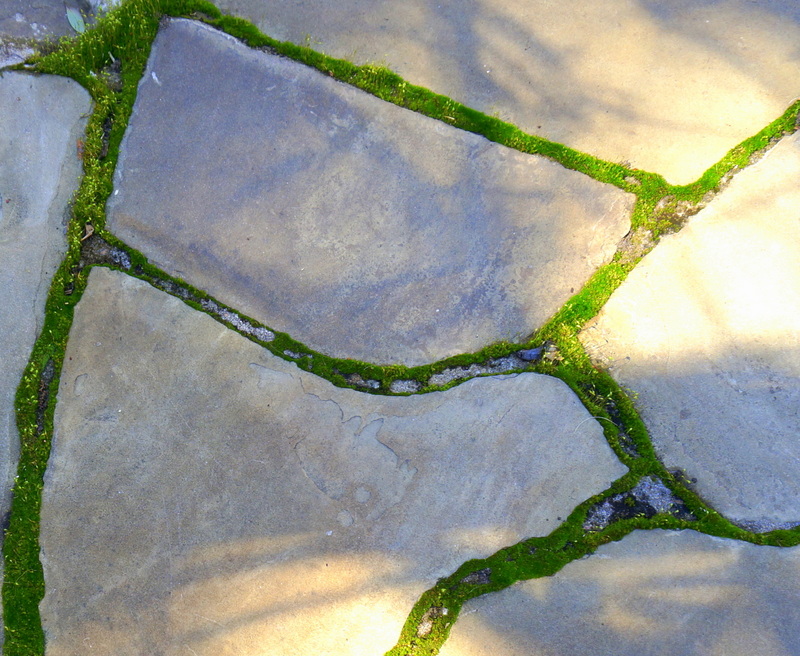
Above we see signs of spring on my patio. The grass is still dead, but now that I can see the colorful planter below from my living room, things don’t seem quite so bleak!

I’ll continue to share bits of my backyard makeover as the weeks pass. Wishing you a pleasant end to the winter. Can’t wait to celebrate spring’s arrival!


