Happy Friday, Decoist readers! Did you catch my geo outdoor wall art post earlier this week? If you’re looking for another DIY wall art project to enjoy over the weekend, today’s quick and easy endeavor just might be for you. Get ready to create some marble art of your own! With a container of water, a dash of nail polish and the canvas of your choice, you can craft a lovely work of art that celebrates the current marble revival. Read on for all the details…

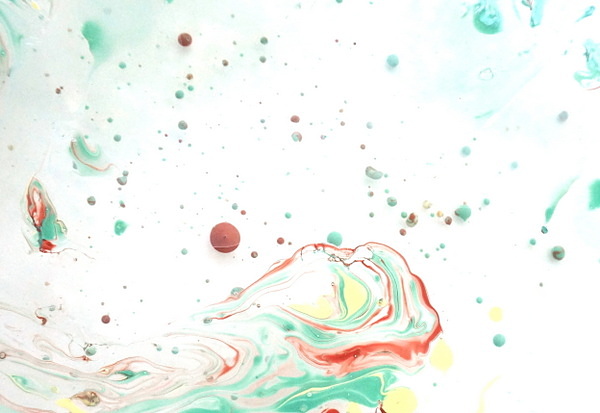
Do you love marble as much as I do? I collect marble tiles and arrange them in vignettes around my house. Below we see a close-up of one of my favorite pieces–a green tile with interesting color variation and veining.

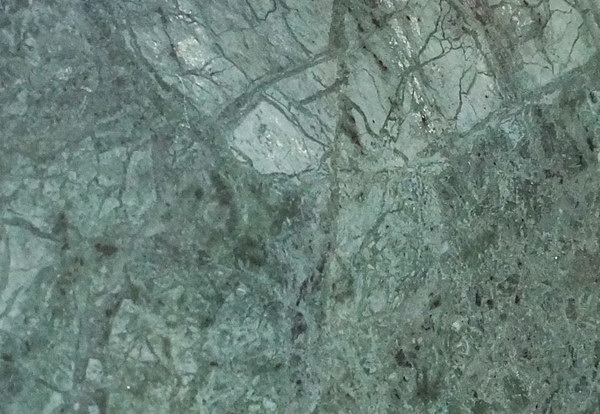
It’s precisely this type of intricacy and visual texture that inspired today’s project!
Getting Started
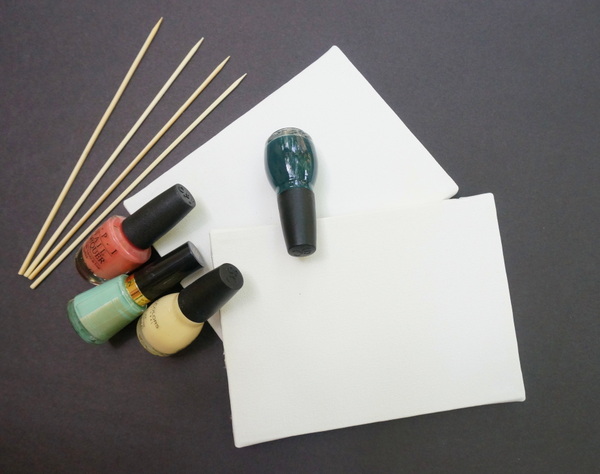
Wondering what you’ll need to kick things off? Here’s a list of supplies:
- nail polish in the colors of your choice
- skewers or other sticks for swirling the polish
- a display surface, such as paper or a canvas
- a disposable container
- water

Rather than buying new expensive polish for this project, don’t hesitate to use colors you already own. If you like them enough to wear them on your feet, chances are you’ll be up for displaying them on your wall. Hoping to track down a specific color? You’d be surprised by the eye-catching polish you can find in the discount bin.

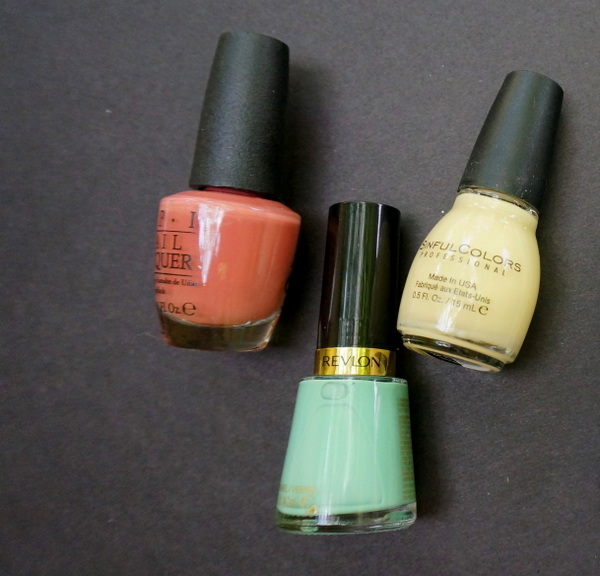
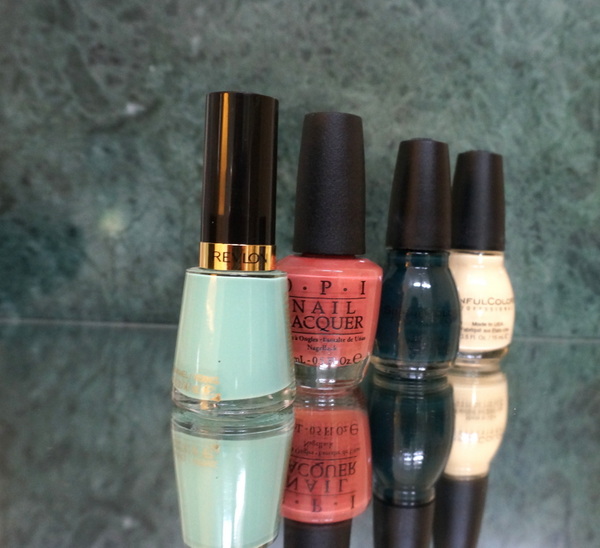
I chose a color scheme of green, cream and peachy mauve:

Marble Art Project Steps
A few words about this project: it goes very quickly. This is a fast and easy one, folks. One more thing–it’s very stinky. Definitely work in a well-ventilated area! You may also want to protect your hands with gloves.


Step 1: Fill a disposable container with water. I didn’t have a disposable container on hand, so I picked up a plastic bin for a couple of dollars. A paint tray liner will also work well here. Please note that you don’t need to fill the entire container with water. I used a small amount, as I didn’t want a lot of stinky water to dispose of once I finished the project.

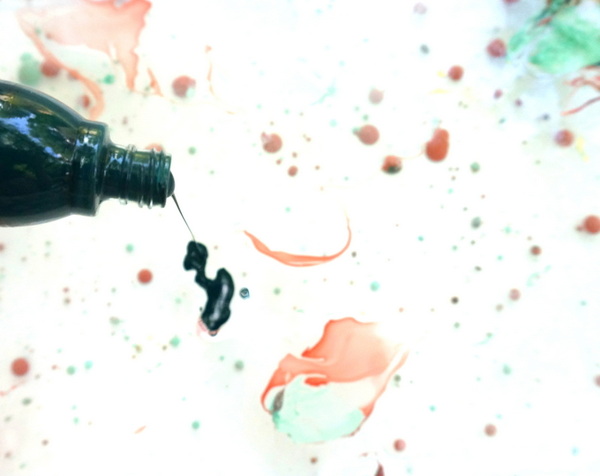
Step 2: Pour your polish into the container. Go for it! The polish will start to congeal quickly, so remove the tops from each bottle and pour with purpose, one after the other.


Step 3: Use a stick to swirl the polish. This is what creates the marbled effect!

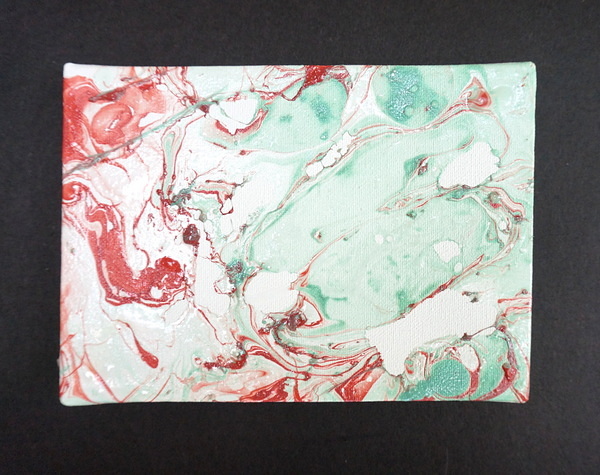
Step 4: Place your canvas or paper face down in the container, then lift and lay flat to dry. I used small canvases for this project, but a variety of surfaces will work. I considered purchasing the tops of small storage boxes to use as my canvases, but I ended up going with my stash of mini canvases instead. Small surfaces work well for this project. Again, speed is of the essence in this step, as the polish will dry quickly.

Helpful Hints and Display Tips
If you create more than one piece of art, make sure the water is clear between canvas dips. I simply used the skewer to lift out the congealed sheets of polish and then poured new colors. Again, my goal was to have a small amount of dirty water to dispose of.

While I created a color scheme that would work well in my ’80s-style master bath (I love cheeky ’80s design), marble art is truly stunning when ultra-bright colors are involved. Don’t be afraid to go bold!

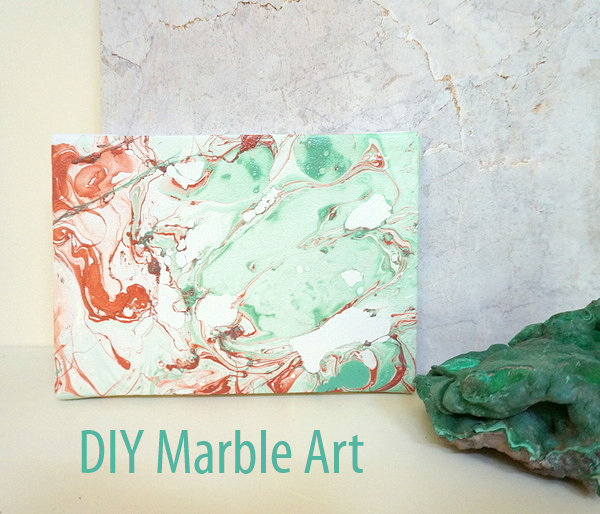
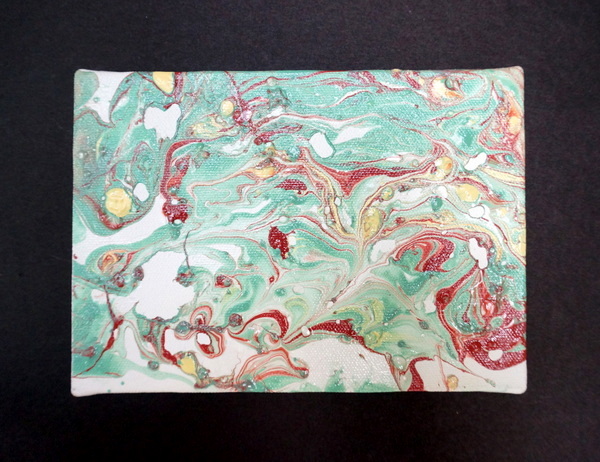
It also helps to have more canvases on hand than you plan on displaying. In my experience, when it comes to marble art, at least one selection will be a little less than what you’d hoped for. Such is the nature of quick-drying DIY projects. Yes, I tossed one of my completed canvases! But having an extra canvas allowed me to choose my favorite works of art for the final display. Below we see my very top choice:

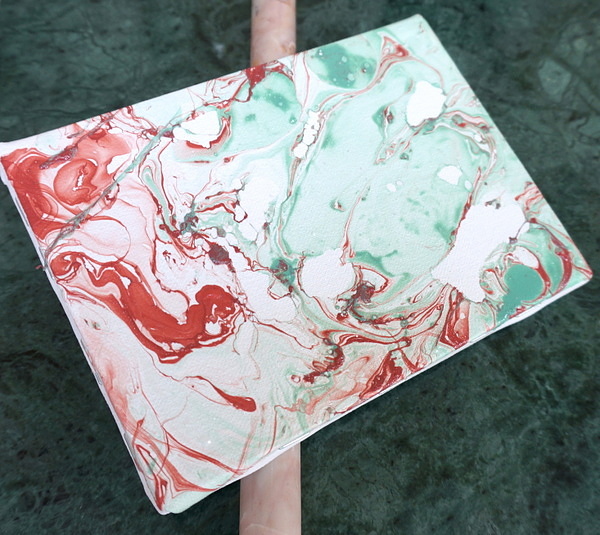
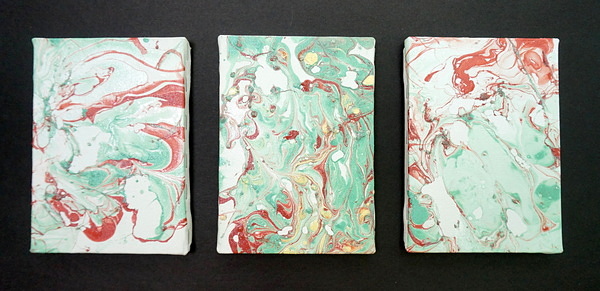
As far as displaying this art, the sky is the limit! Hang it on the wall, rest it on a bookshelf, or lean it against a large marble tile, as shown below.


Thanks for joining me on my latest DIY adventure. Happy crafting!…