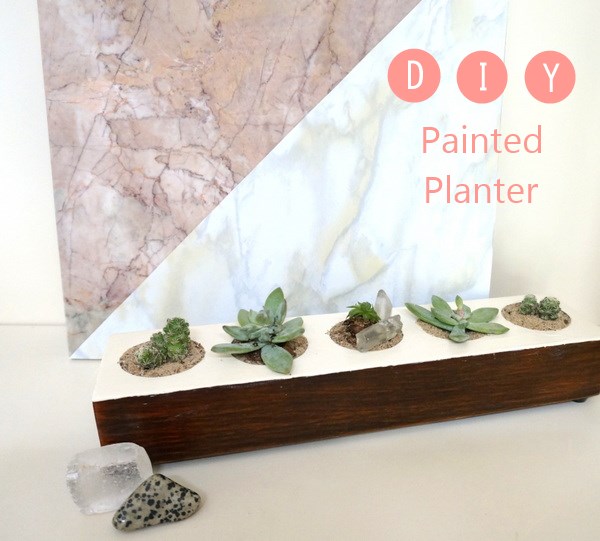
Spring is on the way, and I’ve been preparing for the new season by filling my interior with plants! Kate here, and the last time I shared a DIY project with Decoist readers, the focus was geometric painted pots, which were the icing on the cake for my laundry room makeover. This time, I was inspired to repurpose an old votive candle holder into a DIY planter! Read on for all the crafty details…

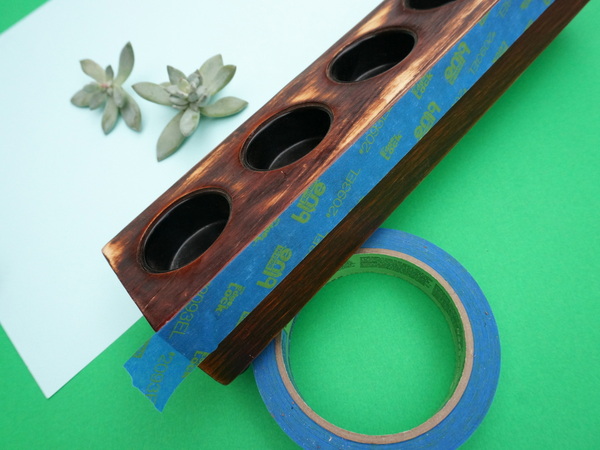
I began the project with a long votive candle holder that I picked up at my local Goodwill. Do you ever visit thrift stores in search of affordable items for your interior? This wooden item was $2.99. I knew I wanted to paint it and fill it will succulents, and I hoped the project would go according to plan. I’ve documented the entire process in today’s post, breaking it down into easy, manageable steps. You can create a similar look with the candle holder of your choice. Just make sure that the openings have plastic linings, or that they contain removable glass containers. That way, you don’t have to worry about water damaging the wood over time!


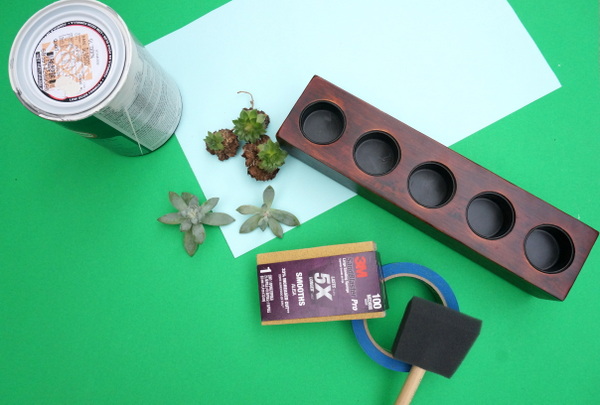
DIY Painted Planter Supplies
This project is an affordable one, especially if you use leftover wall paint like I did. Here’s what you’ll need:
- A wooden votive candle holder
- Paint
- Sandpaper or a sanding sponge
- Painter’s tape
- A foam paintbrush
- Small plants, such as succulents
- Potting soil
- Gravel
- Sand
- Crystals or other decorative accents
- Gloves for planting
- Spare paper to protect your work surface

Preparing your work surface with paper is key for this project. Not only will you be painting, but you’ll eventually be planting, which can get a bit messy!

DIY Planter Project Steps
In a few easy steps, you can transform a thrift store find into a stylish container for your favorite small plants!
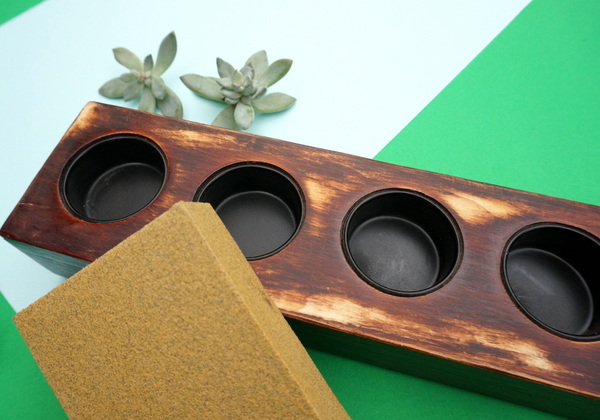
Step 1: Sand the top of the votive candle holder. This will prepare the surface for the paint and remove any excess gloss.

Step 2: Use painter’s tape to line the sides of the candle holder. I chose to paint only the top of the candle holder, as I loved the contrast provided by the dark wood and the white paint. By placing painter’s tape at the top of each side, I allowed myself some wiggle room in the painting process. Even if my brush strokes weren’t perfect, a straight edge was possible. You may also choose to line or cover the circular openings. Wiping away stray paint after the fact can work as well.

Step 3: Paint the top of the candle holder. Any paint color will do! I chose off-white, as mentioned above. I used three coats of paint to create a smooth, glossy look.

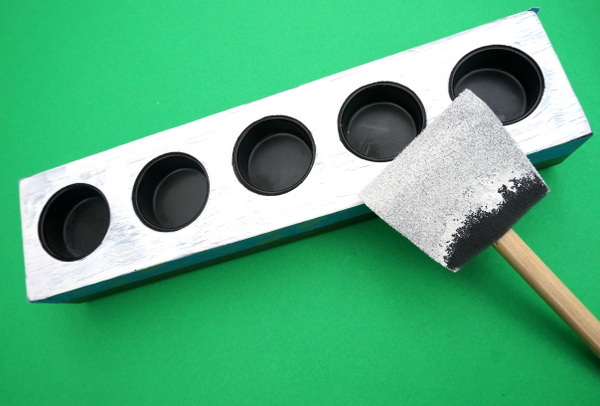
I removed the painter’s tape while the paint was still wet, and I was happy with the result. I was able to get rid of stray or uneven paint marks with my fingernail, and in some cases, a damp cloth. Wait until the paint is completely dry before moving on to the next step.

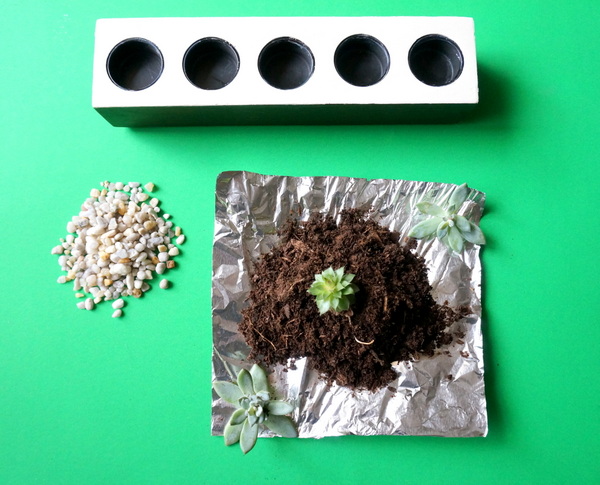
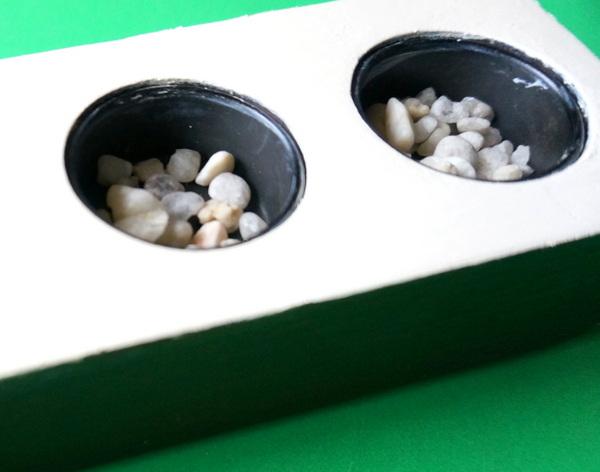
Step 4: Begin the planting process by lining the bottom of each opening with gravel. If your candle holder has multiple openings, put a thin layer of gravel in each one. Be sure to have your plants and soil at the ready for the next step in the process.

Since this project involved handling smaller plants, I used thin vinyl gloves to protect my hands when I worked (as opposed to thick gardening gloves). This strategy helped me to arrange the plants with precision and care.

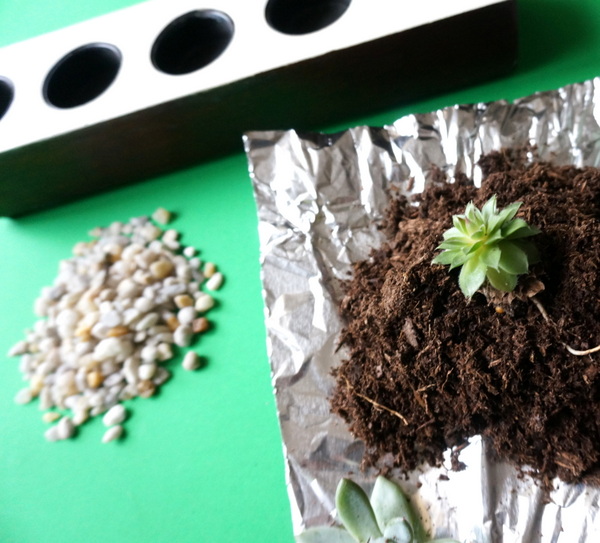
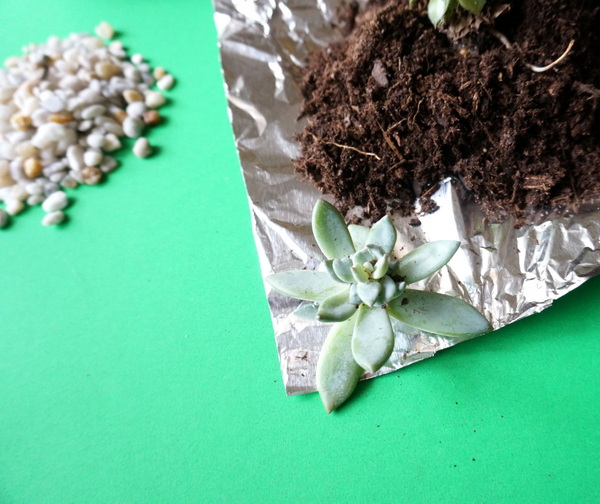
The size of the gravel you use will depend on the size of the container openings. As you can see below, my gravel of choice might have even been a bit large for this project.

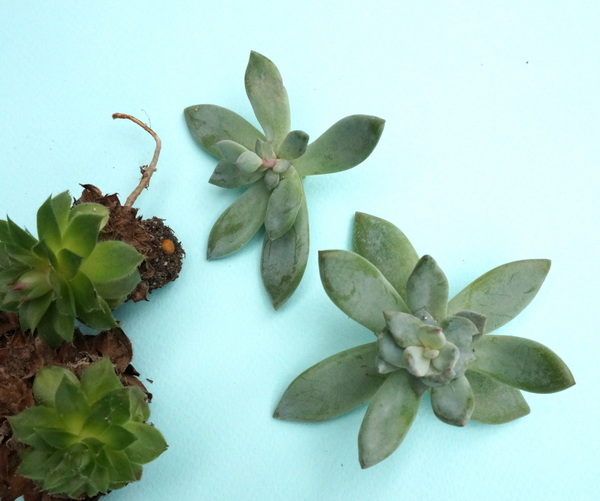
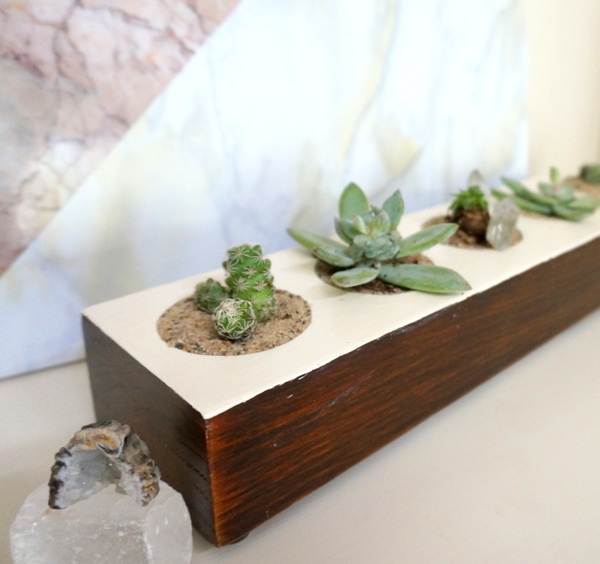
Step 5: Fill your container with the plants of your choice. My selection: succulents!

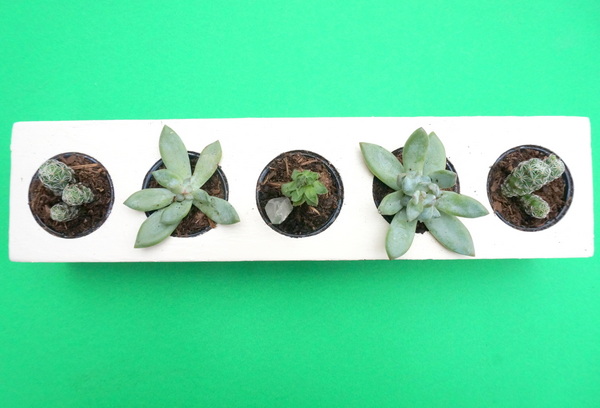
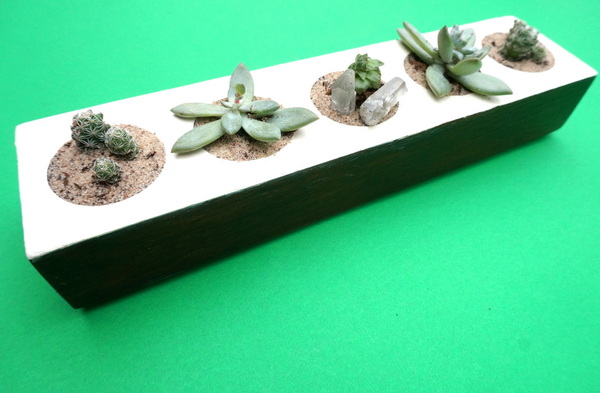
Step 6: Embellish your planter with crystals, sand and other decorative accents. Think of each opening as an opportunity for miniature landscaping! I used quartz crystals to enhance this project.

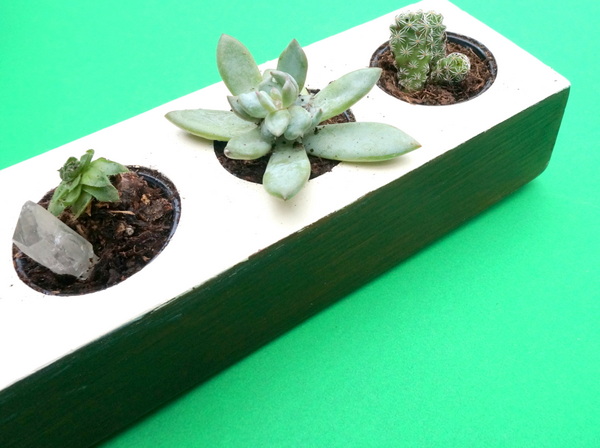
And as you can see, I added sand to the top of the soil as well. I love the Southwestern-meets-modern vibe that resulted. Plus, the sand covered the grooved plastic that lined each hole, creating a clean-lined look.

Display Your Planter With Pride
Now that the work is done, it’s time to enjoy the fruits of your labor. Find a spot in your home that gets plenty of light if you filled your planter with succulents. Then display your creation with pride.

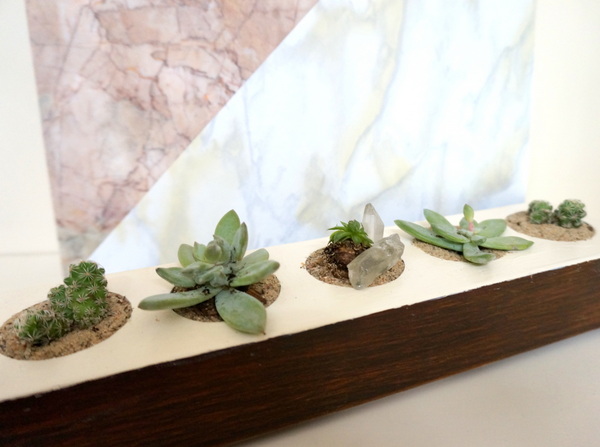
Your guests might ask where you got your planter. And they’ll smile when you tell them you repurposed a candle holder to create this modern decorative accent!

Thanks for joining me today on another DIY journey. Now I want to hear from you–have you ever repurposed an item into a new creation? Share your DIY project concept by leaving a comment below.


