We see, hear and feel Christmas approaching with every tune, flickering light and breath of cold air. It’s time to start thinking about Christmas decorations, and we have an idea for you today that can also be showcased any time of the year, because it magically illuminates the surrounding atmosphere.
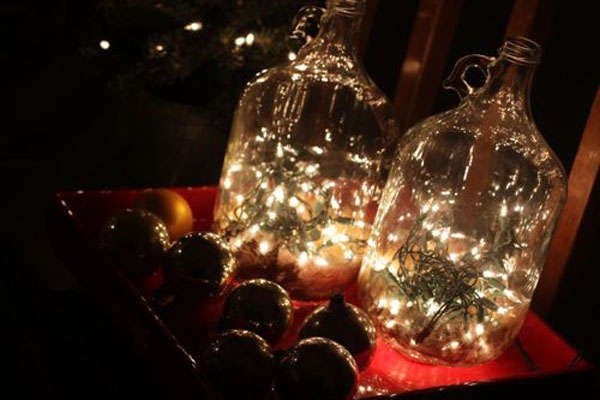
I could see these DIY bottle lights by the window in wintertime, as well as in the garden on warm summer nights. Design Mom guides us through the steps of creating our own magic this Christmas. We’re already seeing cities prepare for the holidays, and the fun part is that we can contribute our own projects to this celebration without spending a fortune. In fact, DIY projects have been linked with a lower risk of heart attack, so gathering up kids and grandparents for a fun do-it-yourself night sounds like a good idea.


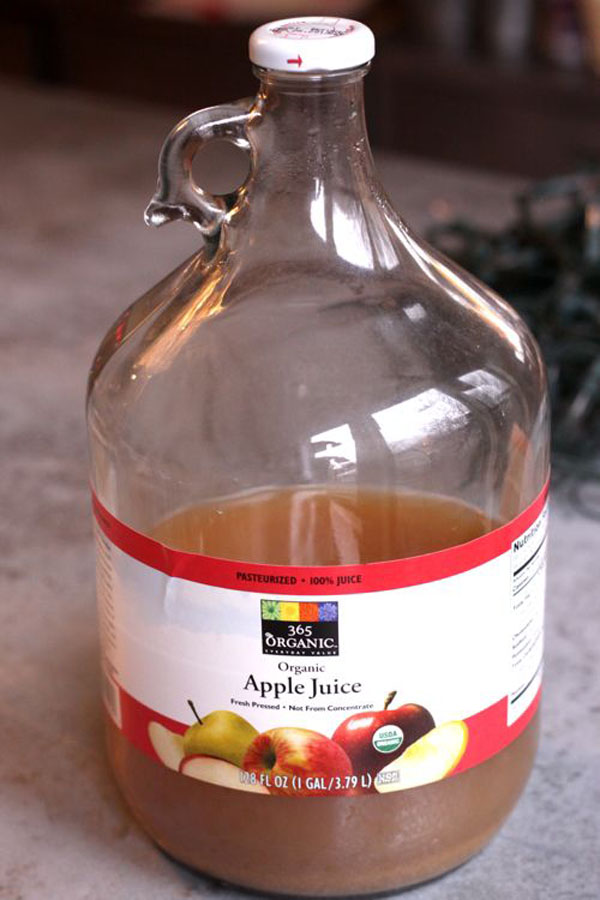
Everything Starts With the Perfect Glass Bottle
A large empty apple juice bottle is what you need to get started. These particular bottles have a large container and a small handle, and the contrast is a nice detail. Choose the shape and size that fit your home decor, and in no time your lights will be shining brightly alongside the rest of your cherished Christmas decor. There are several ways to remove the sticker, including using a blow dryer, soaking the bottle in water until the sticker peels easily, or using different tools.

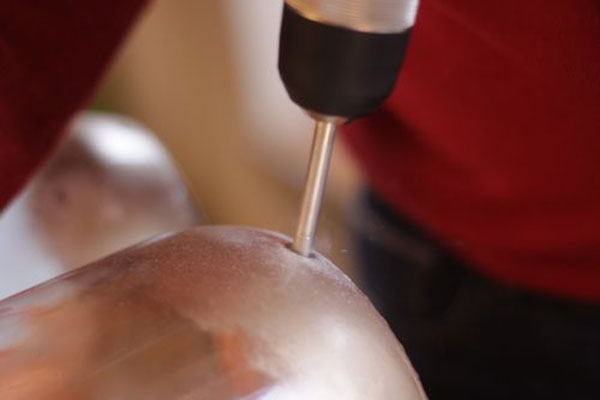
Safety first!
Some projects should be left to responsible adults who know that “safety first” is not just something you say, but also something you prepare for. The thirst for knowledge leads to learning new things you didn’t see coming, such as what this project taught its creator.
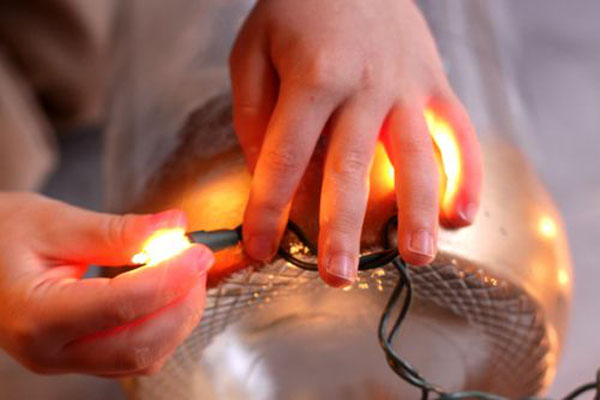
Protective goggles, gloves and a dust mask are necessary for the project. However you choose to put a hole in the glass jar, the next step involves painting the bottom of the large glass container.

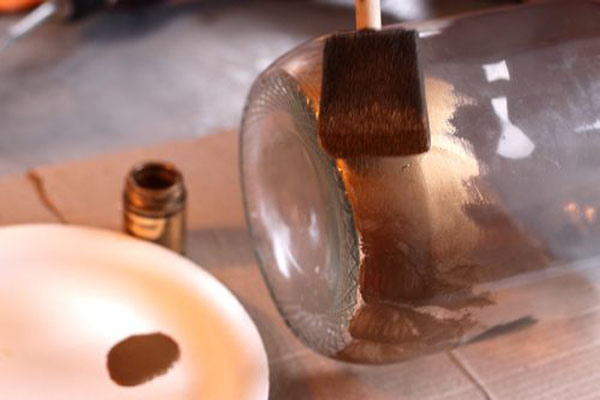
Choose Your Paint
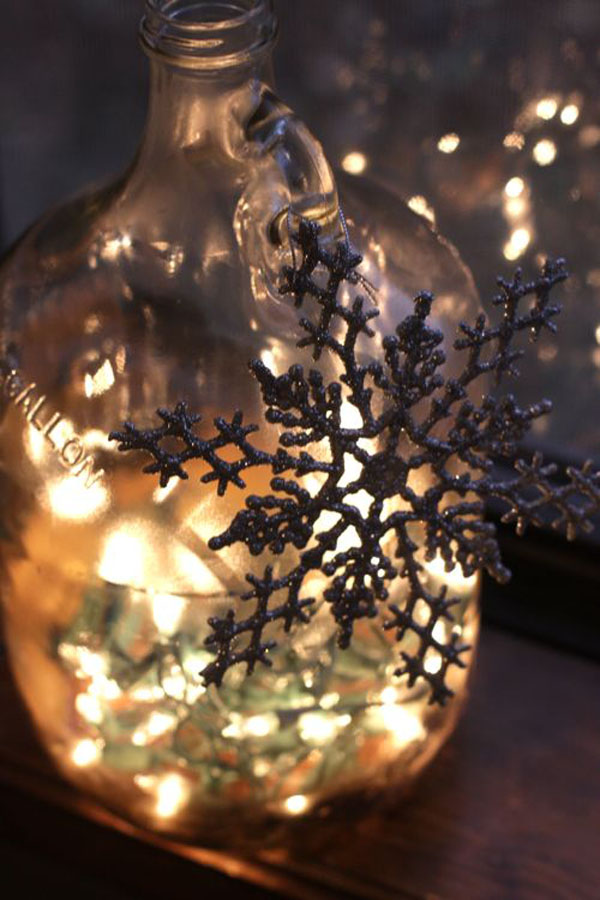
Painting a small portion of the bottle’s lower section gives the project a whimsical twist, especially if you use gold or silver paint. Chosen for this project was the sponged look, after experimenting with different styles on other jars. Any brand of metallic enamel paint can help you out here, and you’re on to the next step, right after the paint has dried.

Almost Done!
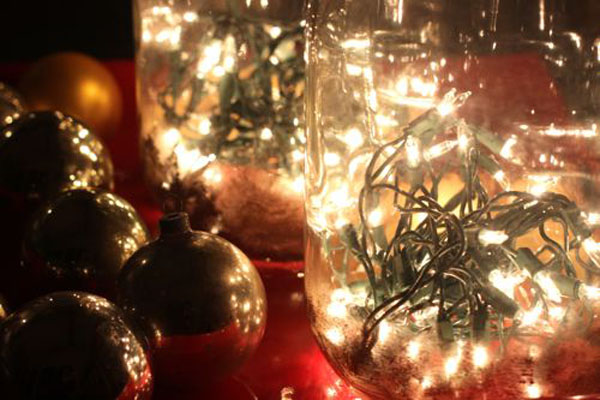
The final step is placing the lights inside the glass bottle. It’s important that your lights are made not to connect end-to-end. After fitting each light through the hole, just look for an outlet and let your evenings be warmly illuminated!