With Halloween right around the corner, DIYers everywhere are turning their creative efforts to a new task- pumpkin carving. If you’re not a fan of the mess and difficulty that comes with the traditional decorating method, skip it entirely. No-carve pumpkins are paving the way for a new Halloween design trend. So whether you’re looking for an easier craft or trying to involve your children while keeping safety a top-priority, these no-carve DIYs are perfect for you.
Child-Friendly Designs
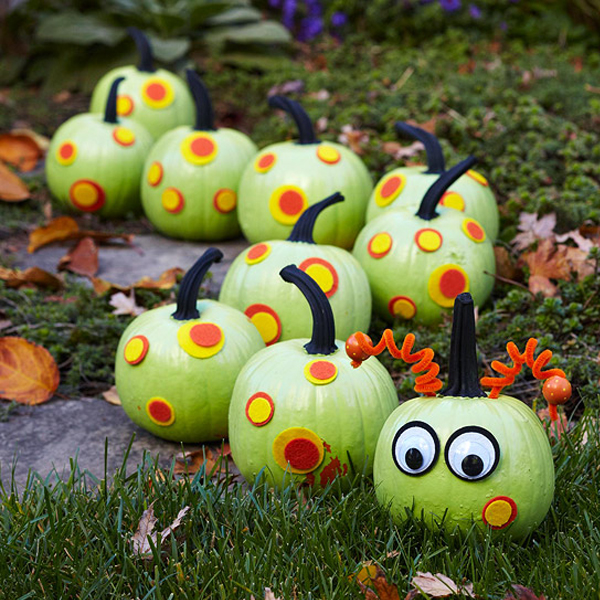
Pumpkin designs don’t have to be spooky! Display this adorable centipede DIY from Better Homes and Gardens in your front yard. Spray paint each “body segment” with lime green paint, and finish off with felt spots and two giant googly eyes. For an extra creepy (cute!) touch, have your centipede poke out from a section of tall grass.

Chloe of Celebrate and Decorate avoided real pumpkins all together and opted for an artificial one instead. An artificial version gets an eerie makeover with white paint and Sharpie web. Glue on a rubber spider, and you’ll have hearts jumping in no time.


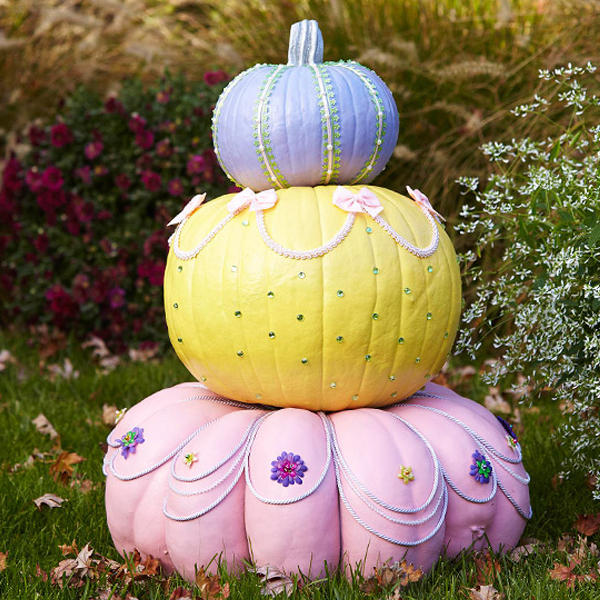
The fairytale lovers in your life will be especially fond of this pumpkin design from Better Homes and Gardens. The tiered pastel beauty is painted in soft colors, then encrusted with sequins, jewels and ribbons. Secure with skewers and you’ll have a project fit for a kingdom.

Innovative DIYs
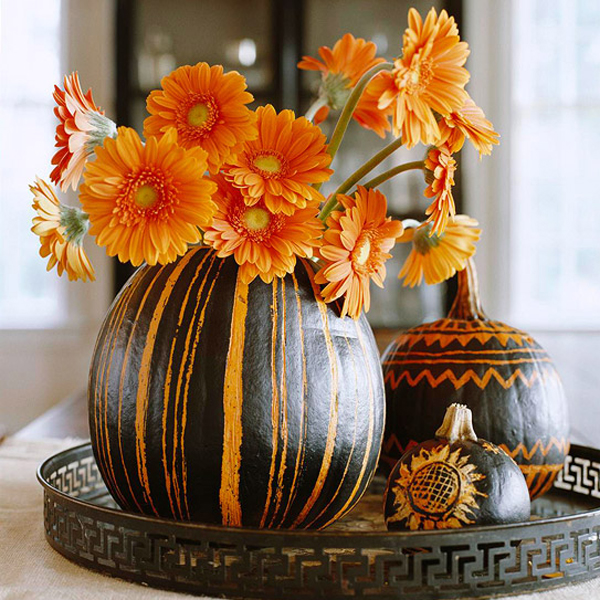
This artsy pumpkin design from Better Homes and Gardens is simple to recreate. Cover a pumpkin with a few coats of black paint and let dry. Then use a metal tool, like a spoon, to scrape away a design by revealing some of the pumpkin underneath. If you’re willing to involve some basic carving, cut away the top and scoop out the insides to create an autumn vase.

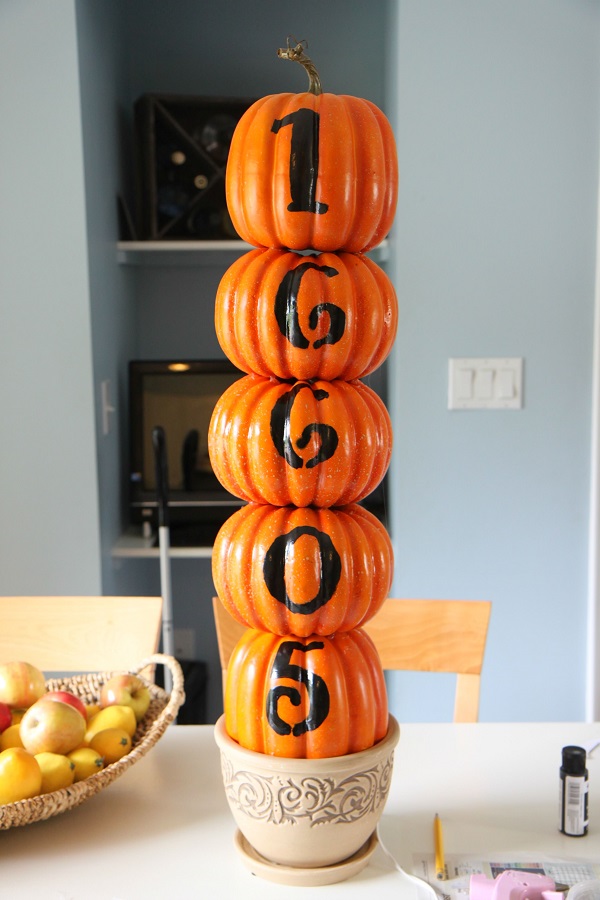
Amy, the extraordinaire behind Mom Advice, found a clever way to use mini pumpkins. If you want to include the iconic fall staple in your porch decorations, this stacked house number display will keep your front door in style well beyond Halloween. For an extra dose of shine, spray each pumpkin with a glossy coat of paint before stenciling your numbers.

Creativity Meets Chic
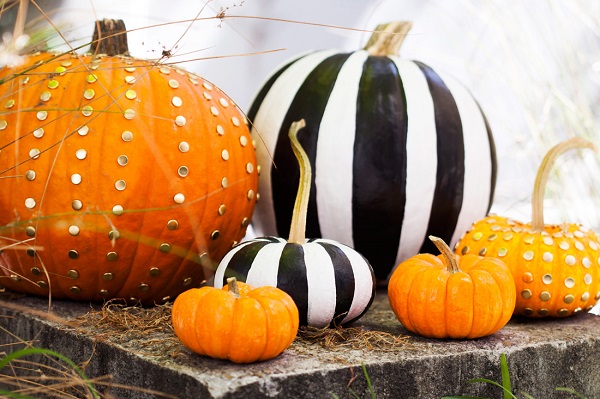
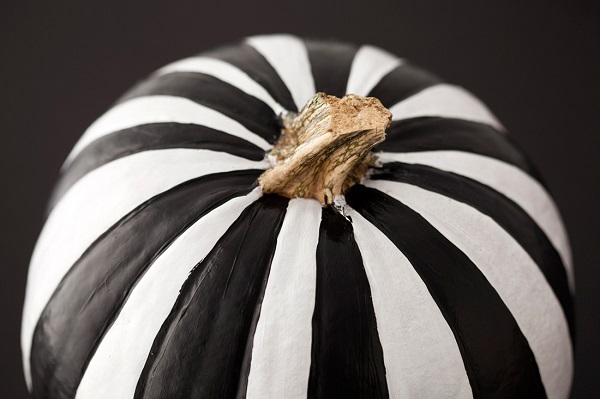
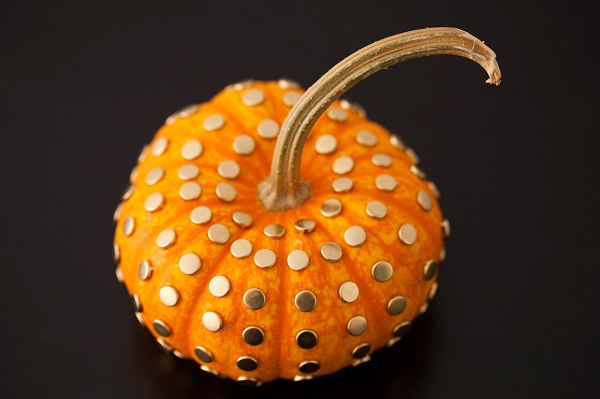
Love fashion? Pull trends straight from the runway and use them as inspiration for your pumpkin DIYs- Anjelika of Brit + Co. certainly did! Classic black and white stripes jazz up an otherwise plain surface, while metallic thumbtacks create a studded and stylish appearance. Mix and match pumpkin sizes for even more visual interest.


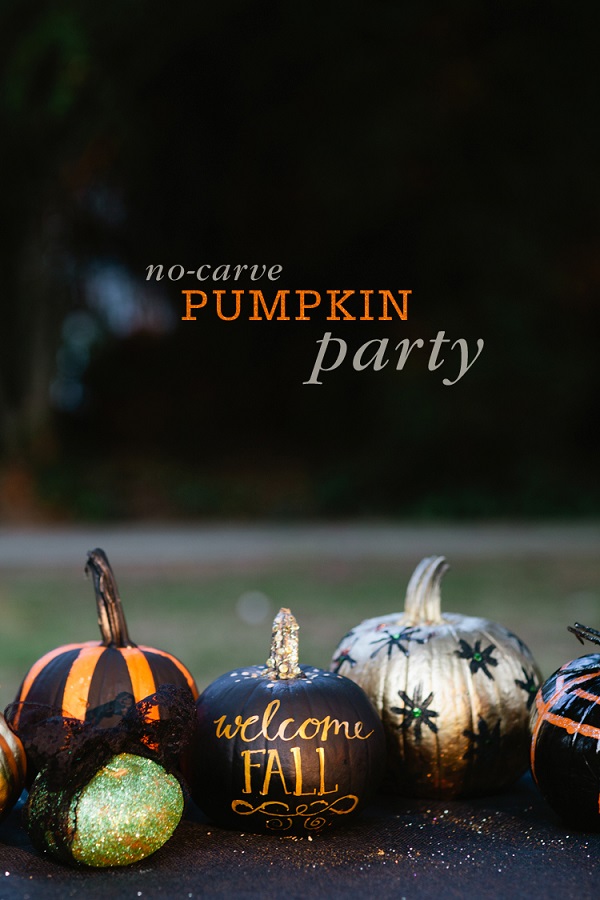
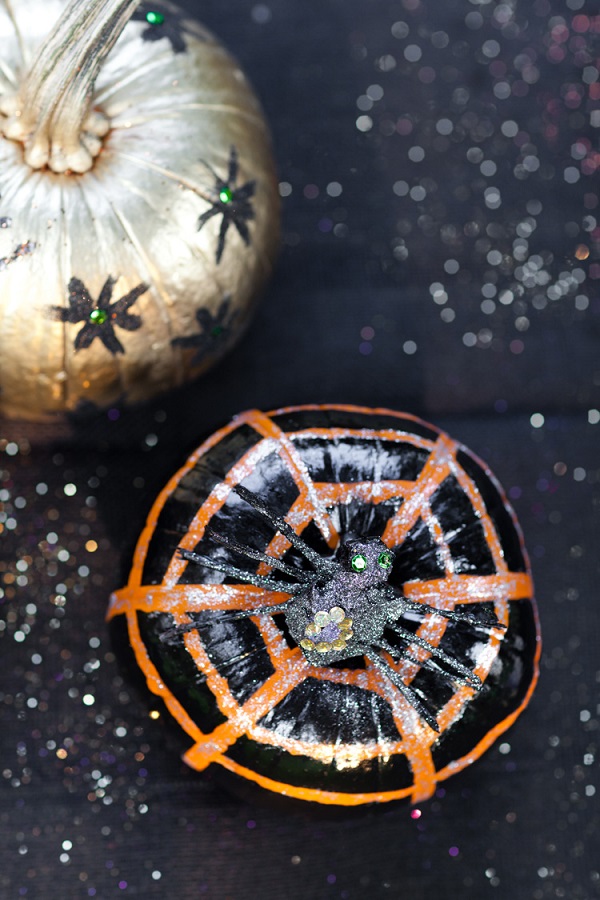
Leah, the creative mind behind Freutcake, took a unique approach to the ever-popular pumpkin carving party. Knives were cast aside in favor of paint brushes, Sharpies and glitter- with marvelous results. Encourage your family’s or friends’ inventiveness by hosting your own no-carve party and see what unique designs result.


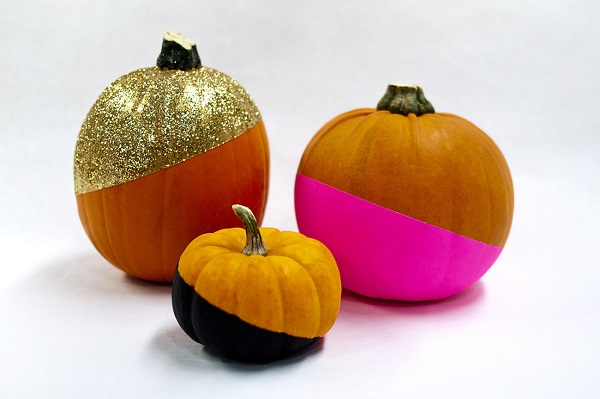
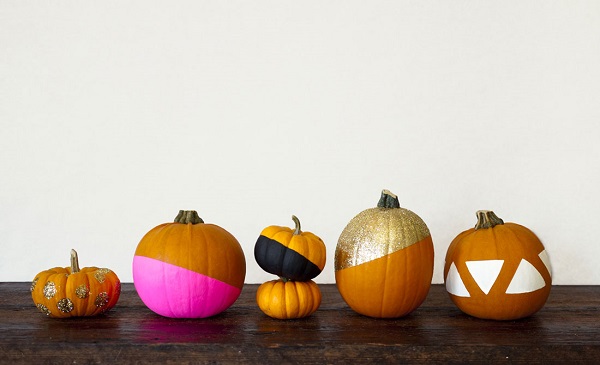
Ciera from Brit + Co. brought the glamour back to pumpkin design with this glitzy DIY. A single strip of painter’s tape and a brush are all you need to dazzle with your DIY skills. If you use glitter, seal with a clear coat to keep your sparkles in place.


You don’t have to stick with traditional carving to create stunning pumpkin designs! There are plenty of no-carve options for DIYers of every skill level. Have you ever made a no-carve pumpkin? Tell us about your project in a comment below.