Are you preparing to paint your front door? There are many things consider with a project like this, such as selecting the right paint and ensuring that it goes on smoothly. I painted my front door this past weekend, and I learned a lot along the way. In fact, I nearly avoided a door disaster (or a door-saster)! On that note, today I’m sharing a few tips in the form of mistakes to avoid. After all, when it comes to door painting, being thorough is key, yet there may be room for shortcuts. Read on for all the details…
Not Starting with a Smooth Surface
If you paint a bumpy door, you’ll end up with a freshly painted bumpy door. Yes, if paint is chipping off, it’s best to use sandpaper, a heat gun or a paint stripper to remove the old paint before adding the new. Talk to an expert at your local home improvement store for guidance on your specific project. In addition, I found this article to be helpful. Keep in mind that you will likely be choosing a semi-gloss paint that will add a nice sheen to your door. This sheen also emphasizes bumpy paint. Hence the need for a smooth surface before you start! [photo from A Beautiful Mess]

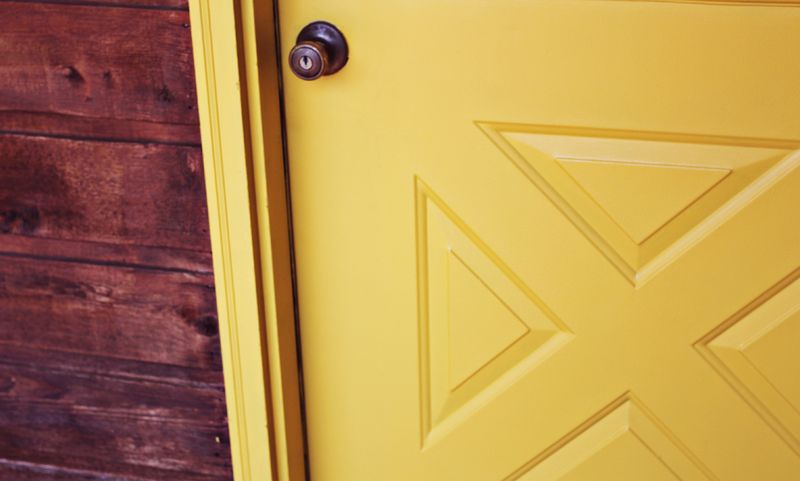
Not Taking Shortcuts
Yes, it’s OK to take shortcuts sometimes – withing reason! In fact, for your project, certain steps may not be necessary. For example, it is usually recommended that you remove the hardware from your front door before painting it. But in my case, I knew I would be replacing this door with a brand new one within a few years. So there would never be a time when I would replace the hardware on the door without replacing the door itself. It therefore wasn’t necessary for me to remove the hardware before painting. In fact, the hardware is old, and I was concerned that it would be difficult for me to put it back in place without complications. Covering the hardware with painter’s tape before painting the door was all it took! [photo by Colin Cadle Photography]

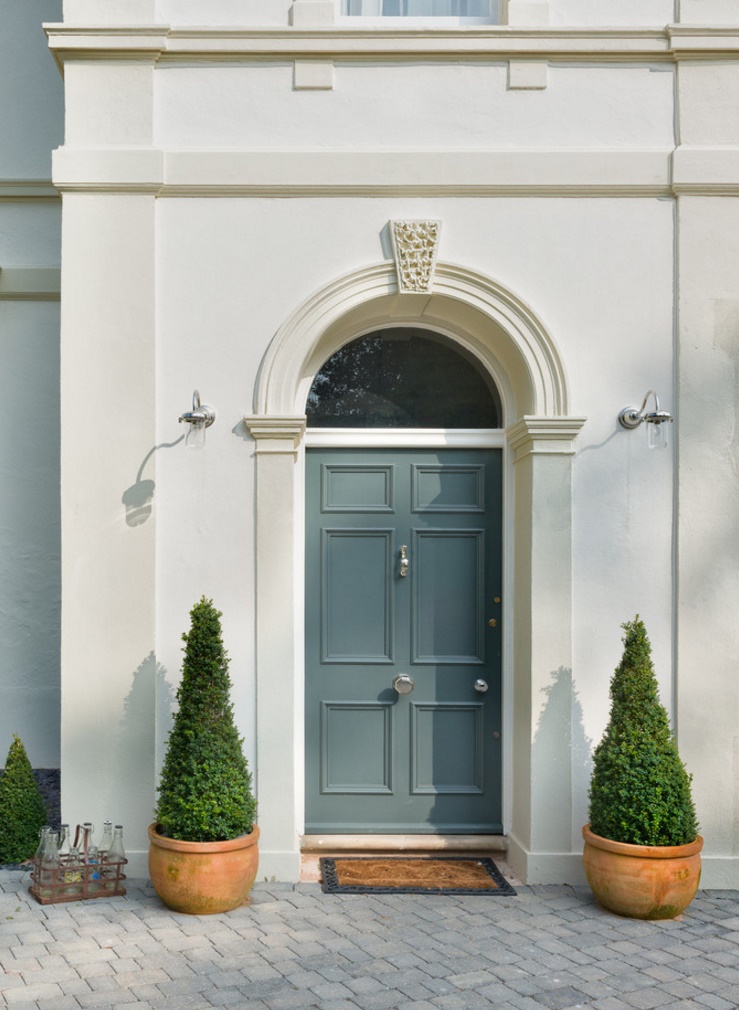
But keep in mind that when you take shortcuts, you may have to make up for it in other areas. A case in point: by not removing the hardware from the door, I had to spend more time painting around it and making the paint job look smooth. [photo from Front Doors Creative Ideas]


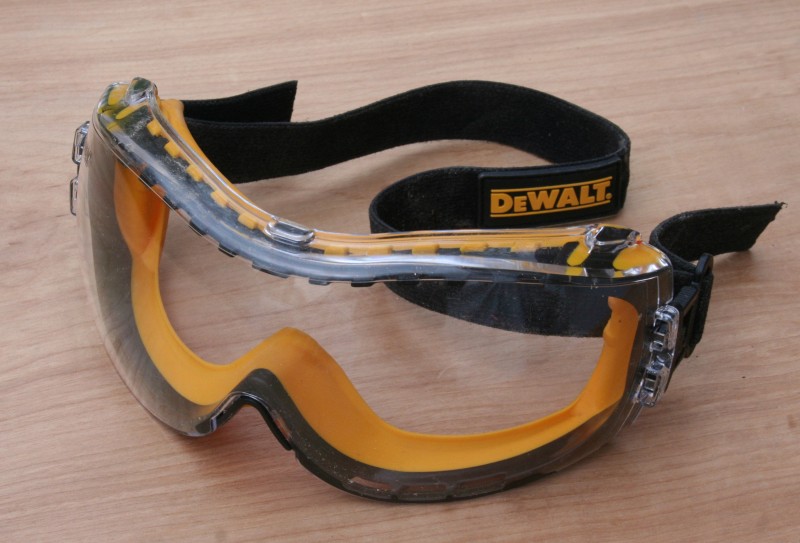
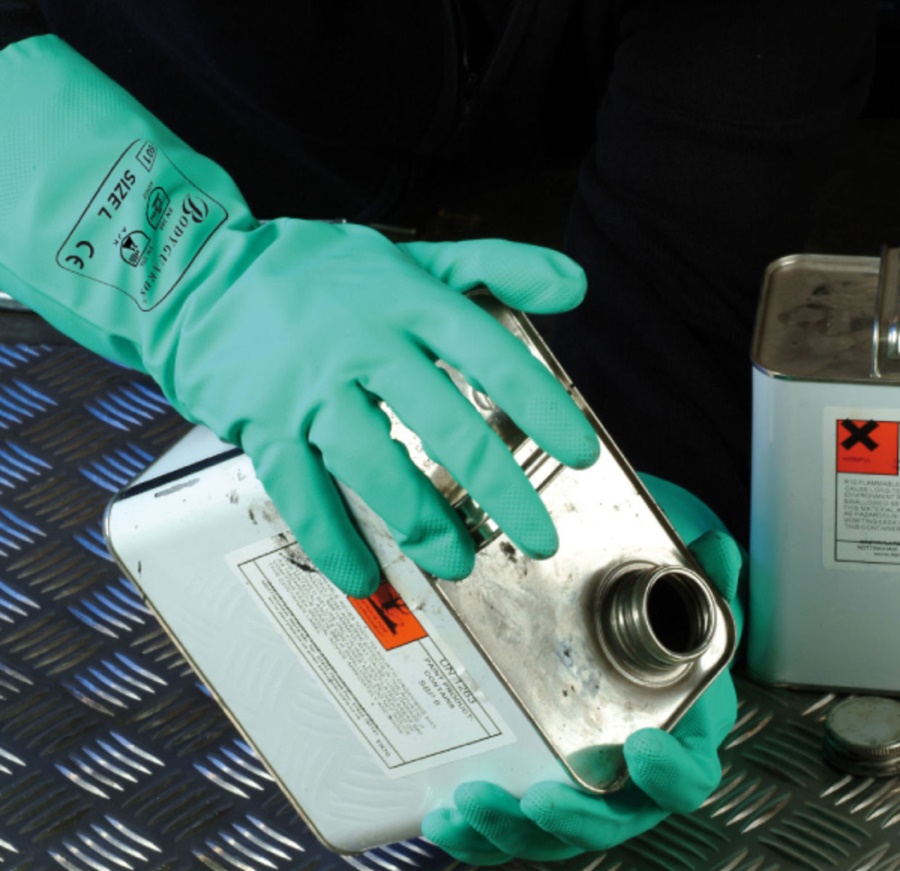
Not Wearing Goggles and a Mask
Whether you’re stripping the paint off your front door or sanding the door for smoothness, the last thing you want to worry about is chemicals and sawdust flying in your face. Even less toxic paint strippers can cause damage if they make contact with your skin. Not to mention, who wants to inhale small flecks of paint and dust?! Check with your local home improvement store on the best dust mask and safety goggles to purchase for your specific project. Not to mention, you’ll want to pick up a pair of earplugs if you plan on using an electric sander! [image from Small Boats Monthly]

Not Wearing Gloves
Again, whether you’re sanding the door, removing the paint with a chemical stripper, or simply cleaning your painting supplies after the job is done, wearing gloves is a must. But not just any gloves! For the paint stripping, make sure your gloves are chemical resistant. I tried to do this job while wearing only regular vinyl gloves, and it wasn’t fun when the chemicals ate through them. Ouch! Even if your door painting endeavor doesn’t involve stripping the paint, covering your hands while you sand isn’t a bad idea. [photo from Cleancare Powerful Cleaning Solutions]

Not Adding More Than One Coat of Paint
If you’re like me, you’re often in a hurry when it comes to home improvement projects. But don’t skimp on coating your door with paint. You will likely need at least two coats of paint to get the job done. I went with three! [photo from A Beautiful Mess]

Don’t forget to prime the door before you apply the new paint! Or if you’re like me, you will purchase a paint with a built-in primer to eliminate the priming step. See, shortcuts are possible! [photo from Moderna Homes]

Not Trusting Your Instincts
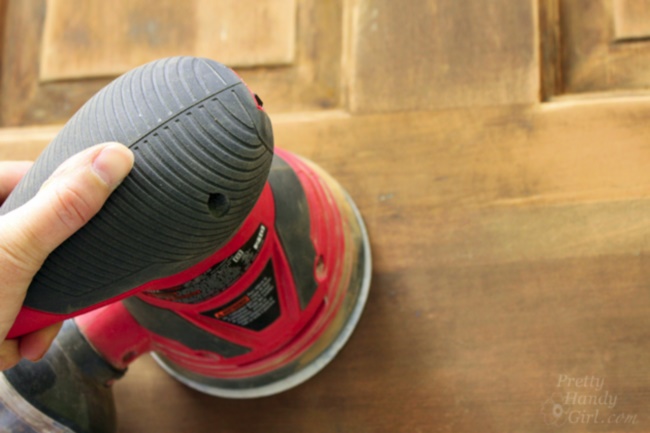
Each door is different. And so is each project. As my door painting endeavor unfolded and it became clear that the paint would not come off easily with a chemical stripper, I was advised to sand down the remaining paint to create a smooth surface. Yet even after using a power sander, the door was a bit bumpy. If we weren’t planning on replacing the door in a couple of years, I would have used a stronger chemical stripper or continued with the sander for a lot longer. But since I had limited time, I decided to go ahead and pull the plug on the sanding phase after a long afternoon of work. [photo from Pretty Handy Girl]

When it came to painting the door to make it look as good as possible, I sought advice from an expert and was told not to use a roller brush, even though I had a hunch it would help add texture to the door and de-emphasize the bumps. I listened to my instincts, and I was right. The roller was better than the brush in this case. Trust your instincts, folks. Only you know the specifics of your project. Sometimes you actually do know best, and if you’re wrong, chances are you can fix the problem. [photo from Rachel Bishop Designs]


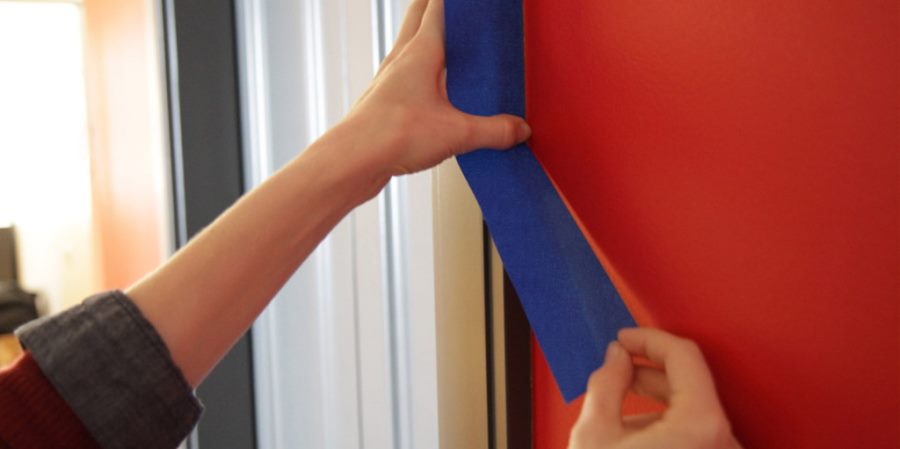
Not Putting Painter’s Tape Along the Weather Stripping
If you need to shut your door for the night after painting it, make sure you put painter’s tape along the weatherstripping to prevent the door from sticking. I learned this the hard way. Yes, some paint will peel off if you shut the door too soon. And apparently even after 4 hours of drying, it is too soon! If you must re-hang your door before bed (or if you never took it off the hinges in the first place), go with the painter’s tape. It’s better to be safe than sorry! [photo from The Paint Place]

Be sure to check out our post on front door painting tips for more DIY details…


![Backyard Landscaping Trends [10 Inspiring Ideas!]](https://cdn.decoist.com/wp-content/uploads/2021/04/Fire-Pit-in-Backyard-28968-270x180.jpg)