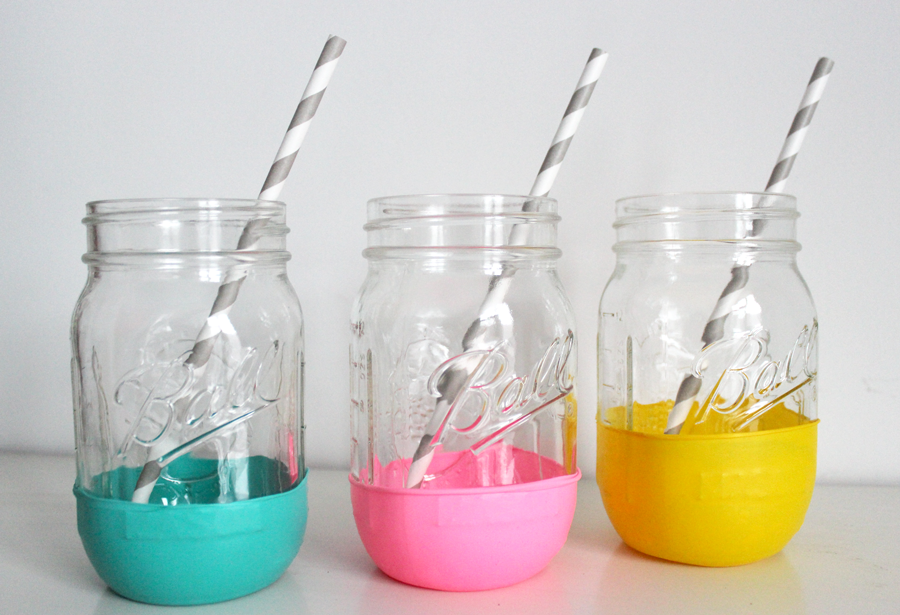
A simple Pinterest search will reveal thousands of ways to customize mason jars – from painting them to wrapping them them to pretty much everything in between. But we think we found one DIY that is hands-down the easiest out of all of them, even if you’re not crafty at all! All it takes to complete is a few balloons, some mason jars and scissors – that’s it! Read on to see the steps (there are only 3).
DIY Balloon-“Dipped” Mason Jars
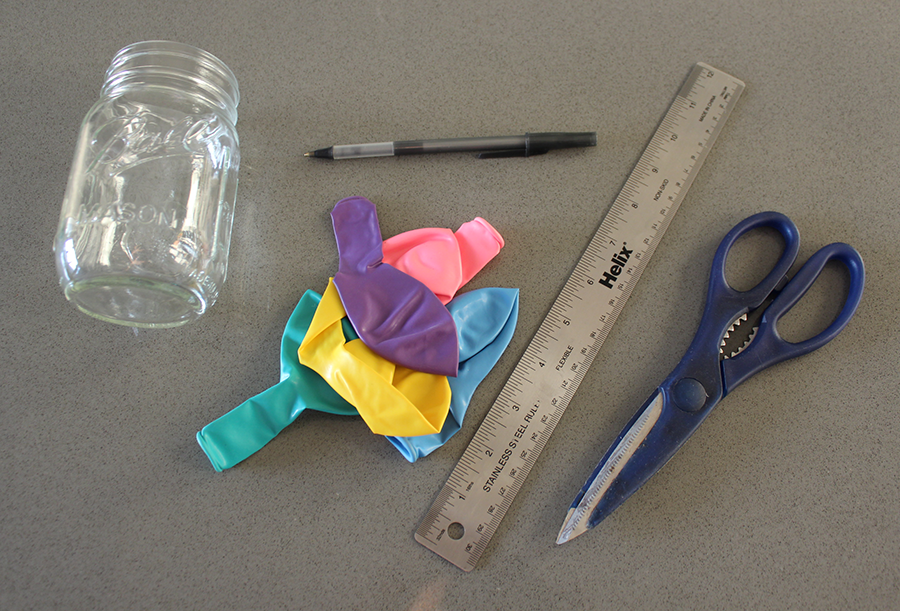
Here’s what you’ll need to get started…
– Balloons
– Mason Jars
– Scissors
– A ruler and pen (optional)
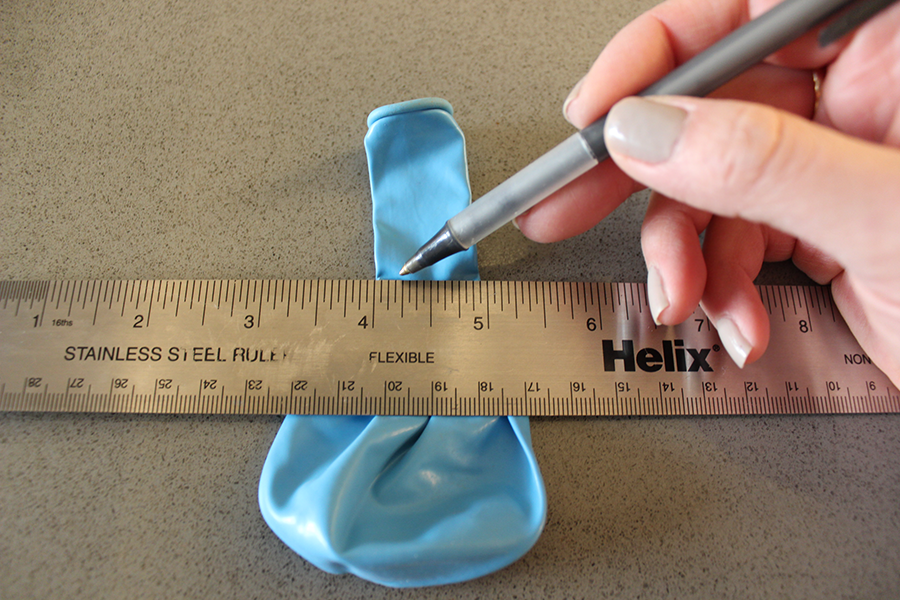
Step 1:
(This step is optional depending on how clean you’d like your cut to be. You can actually achieve a pretty straight line without drawing a guideline depending on how steady your hand is.) Using a ruler and a pen, draw a horizontal line across the mouth of the balloon when the tapered end begins to flare out and get wider. You may also want to cut lower depending on how much of your mason jar you’d like your color to cover.
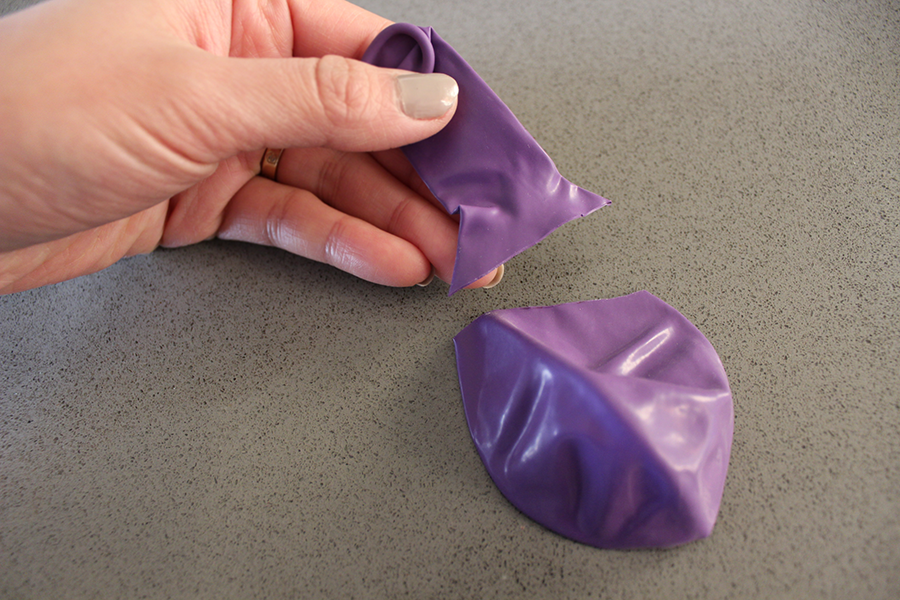
Step 2:
Cut across the line you drew using scissors.
Step 3:
Turn your mason jar upside down on top of a towel or other non-skid surface where it won’t go flying out of your hands and carefully stretch your balloon over the bottom of the jar. Smooth out any wrinkles.
And voila, you’re done!
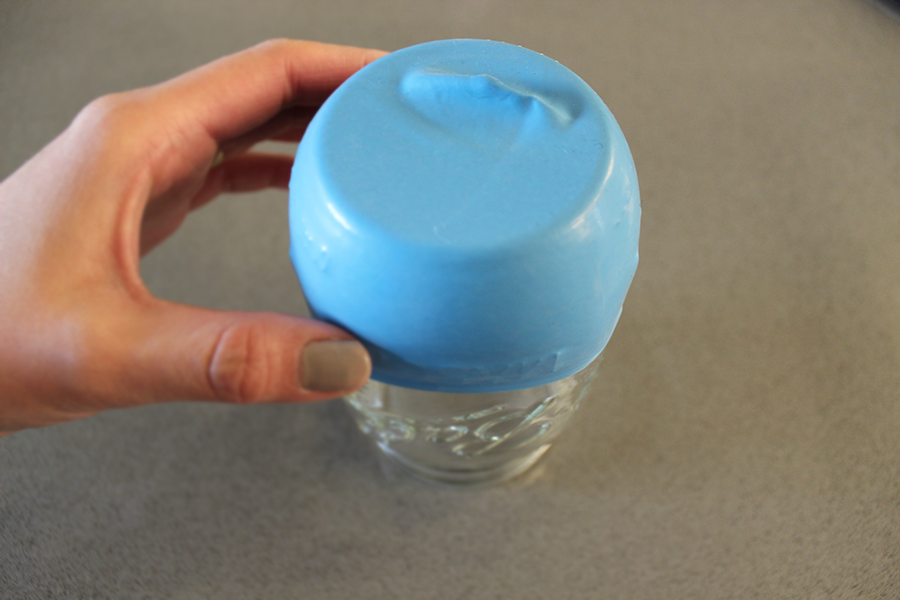
You may also want to roll down the edges of your balloon a bit for a cleaner look.
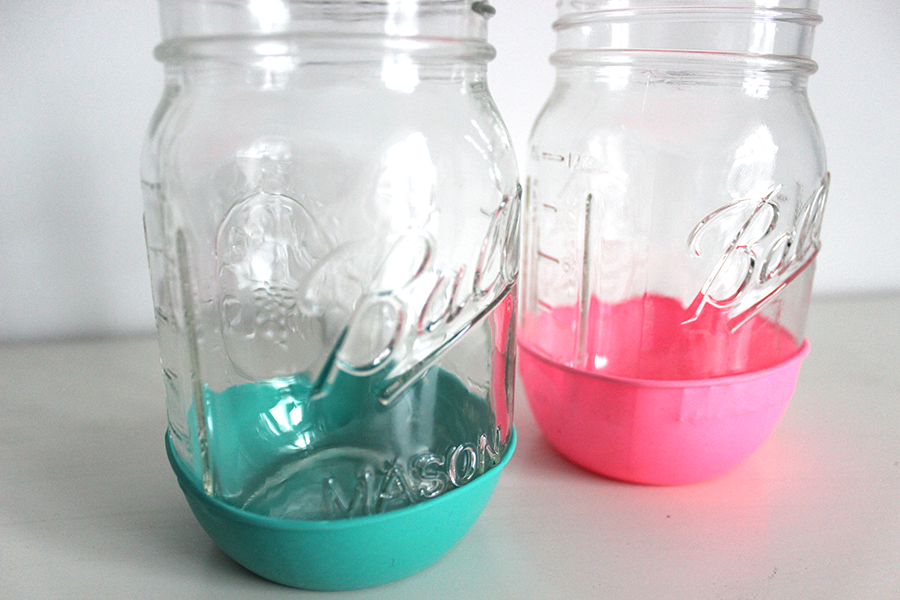
The best part of this DIY is that you can swap out the balloons any time you want to change the colors of your mason jars!