Today’s DIY project is so easy, it will only take you minutes to complete! Have you been shopping around for step stools? Maybe you have a kiddo at home who needs help reaching the sink, or maybe you’re like me, and you have a pet who could use a boost when jumping up to the couch (yes, I allow my kitty on the couch). Kate here, and after months of rejecting step stool after step stool because the selection at hand didn’t fit in with my decor, I decided to take charge with the help of some contact paper. Read on for a quick step-by-step to complete your own step stool makeover…
Project Planning
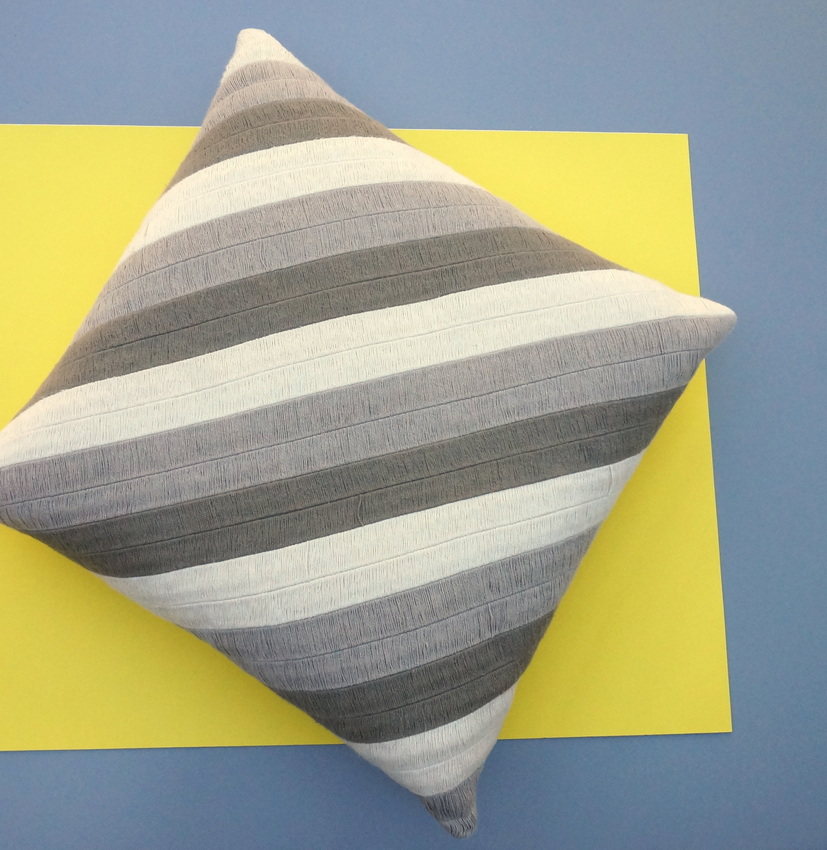
This DIY project doesn’t take much planning, other than figuring out what colors and/or patterns you want to work with. After all, you’ll be purchasing or gathering both a step stool and contact paper. Below we see a Crate & Barrel pillow from my living room. I have a lot of vivid colors in my home, and dashes of beige and cream help temper the brightness.

Contact paper is one of my all-time favorite DIY project supplies. I purchased contact paper in a faux granite pattern to embellish the modern blocks below, a previous project. I gifted my family with the blocks for Christmas, but I had a LOT of contact paper left. I knew the pattern’s white and beige tones would be perfect for my living room step stool.


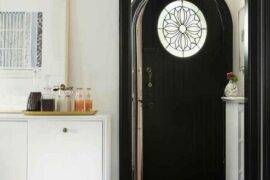
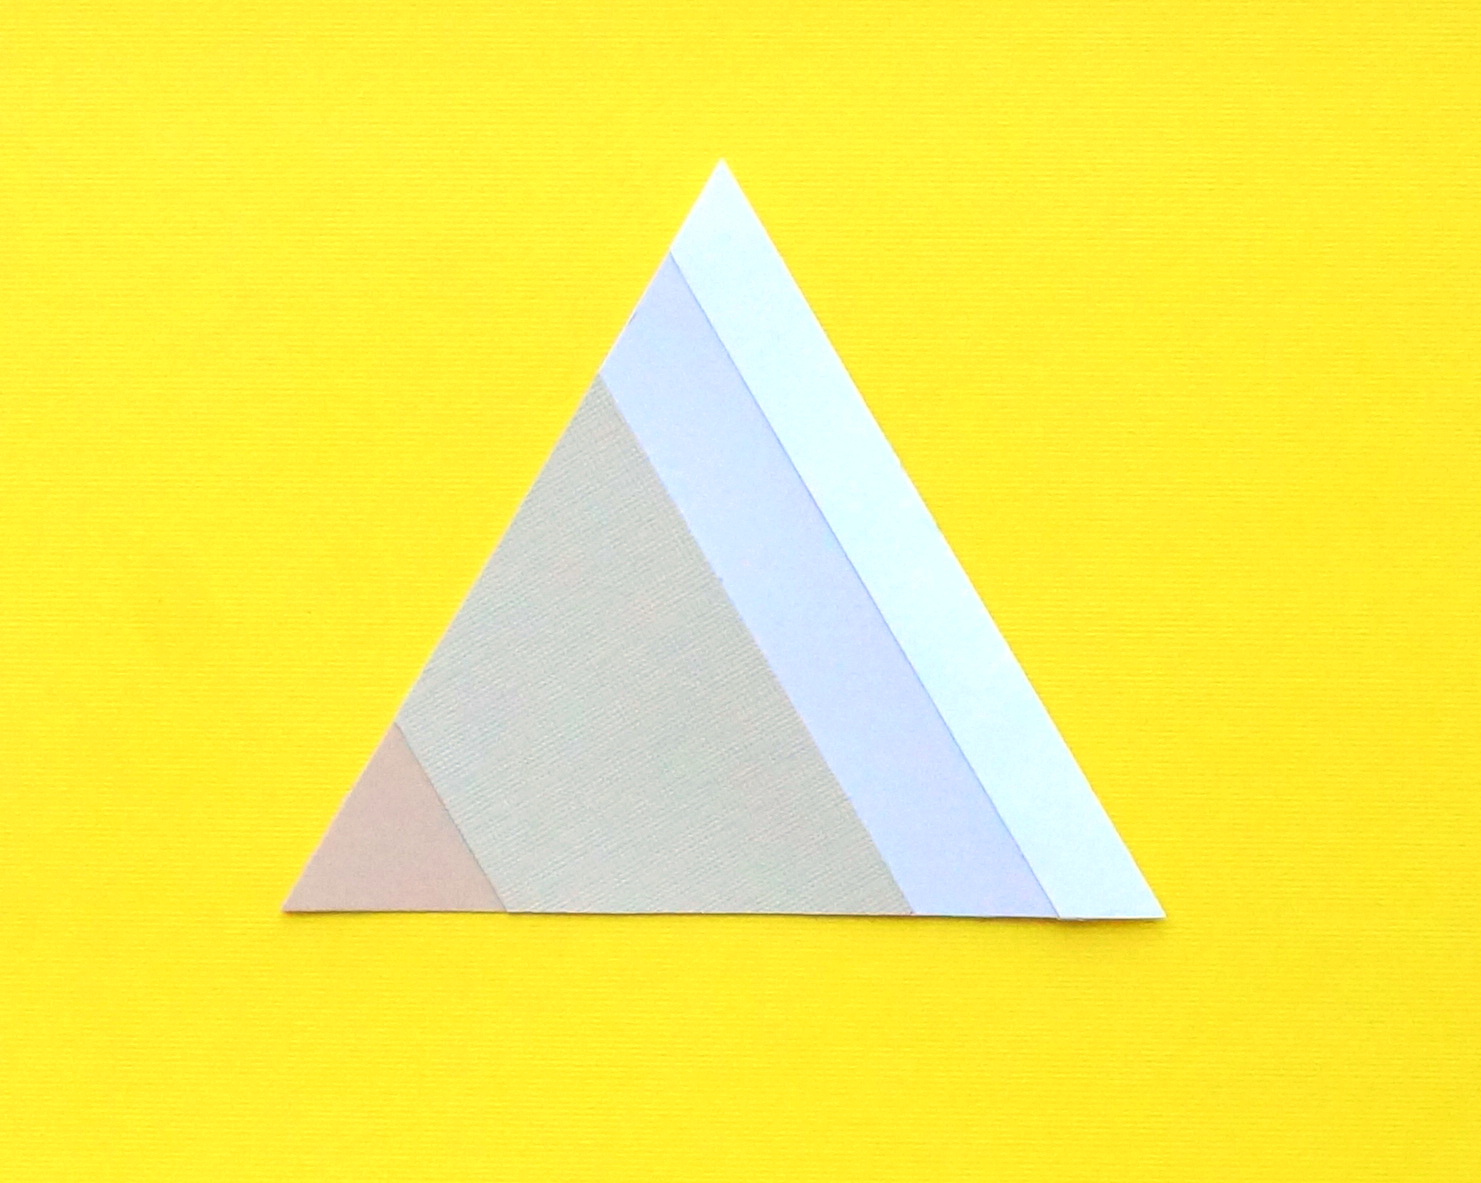
Remember the DIY paper art project featured in the next image? It hangs in my living room, and while planning my step stool project, it was another sign that contact paper in neutral tones would complement the bright tones in my space. As you plan your project, think about the colors and patterns that will enhance your interior. When you browse step stool and contact paper options, having a plan in mind will guide you as you gather supplies.

Simple Supplies and Steps
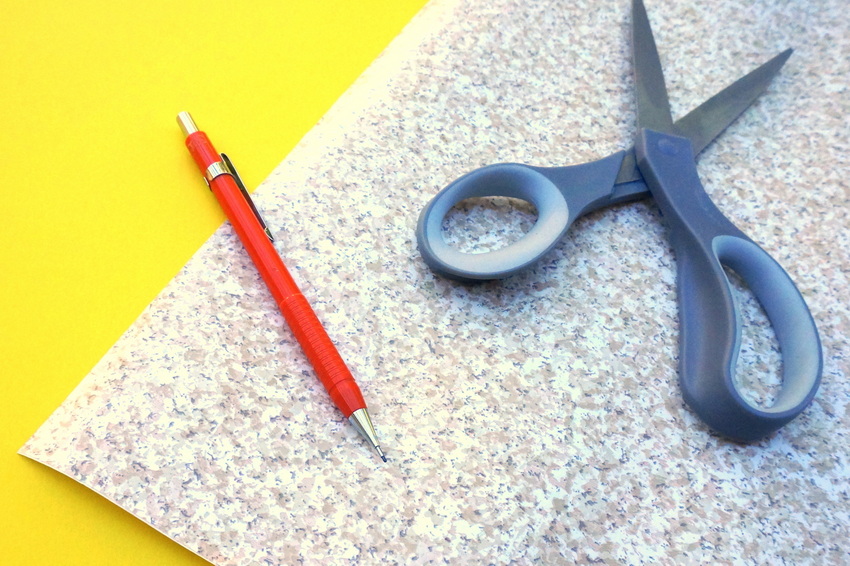
Once you have your supplies at the ready, the rest of this project is super easy to execute. Here’s what you’ll need to get started:
- a step stool with a smooth top
- contact paper/shelf liner in the pattern of your choice
- paper towels for cleaning
- scissors
- a pencil
- a credit card or gift card (I’ll explain below)

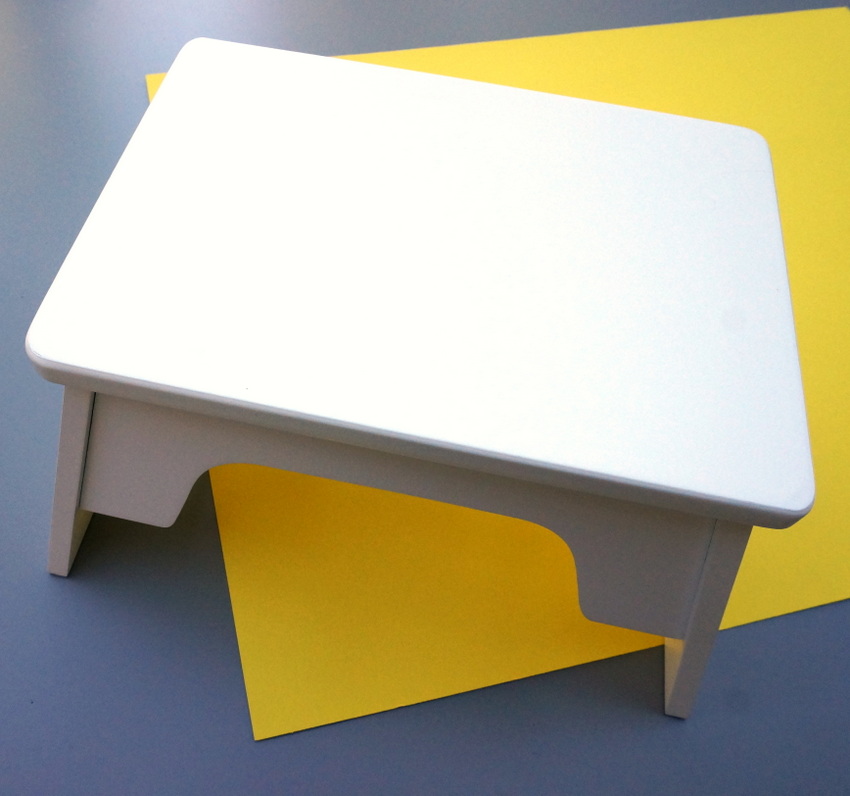
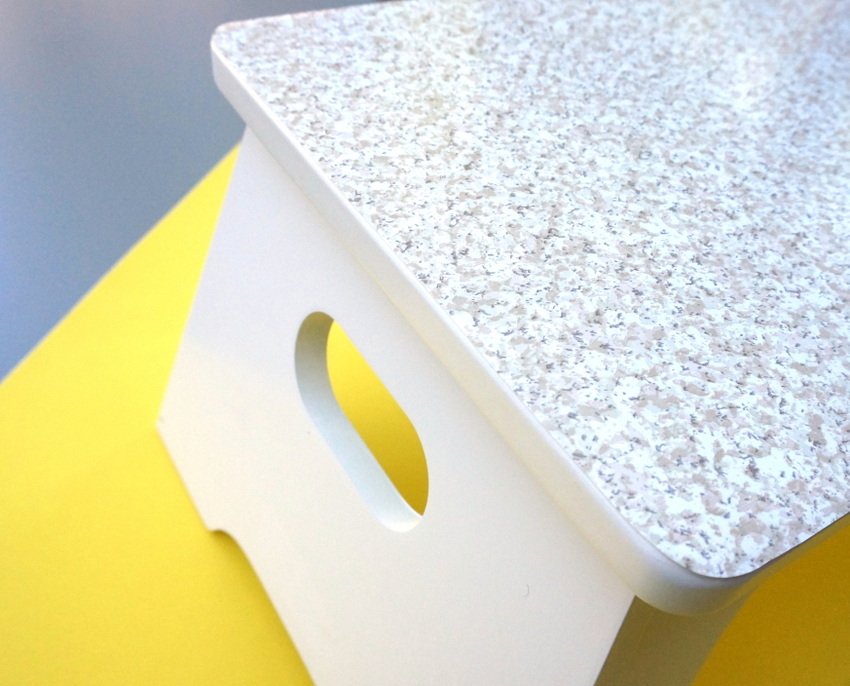
As mentioned, the contact paper/shelf liner is an item I already had on hand, previously purchased at Target. The white step stool is also from Target. You can find it in blue or pink as well, but for me, white was the ideal color. You may also prefer to purchase a step stool in raw wood and paint it the hue of your choice. Whatever works best for your space!

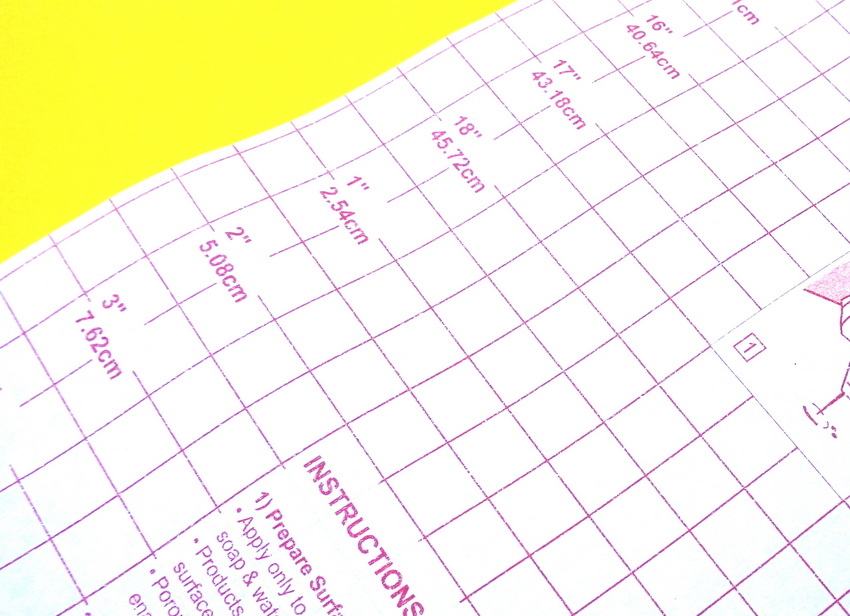
One thing I love about contact paper: the helpful grid on the back! It makes the project steps that much easier. Ready to get started?!

Step 1: Clean the top of the stool, wiping away stray dust and dirt.
Contact paper tends to show bumps rather easily. The smoother the step stool, the sleeker the finished product!

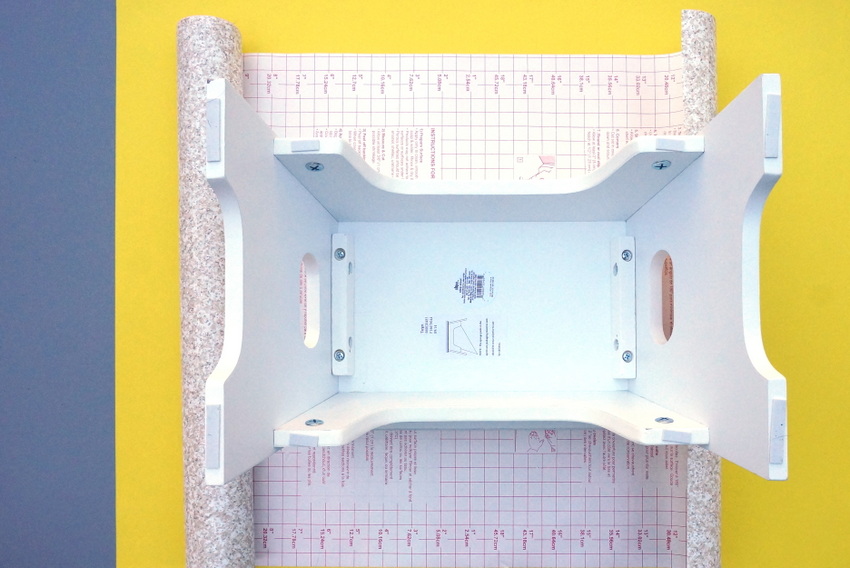
Step 2: Using a pencil, trace the stop of your step stool onto the back of the contact paper.
Try and be as accurate as possible while you complete this step, as it will prevent you from having to trim excess paper after the fact.

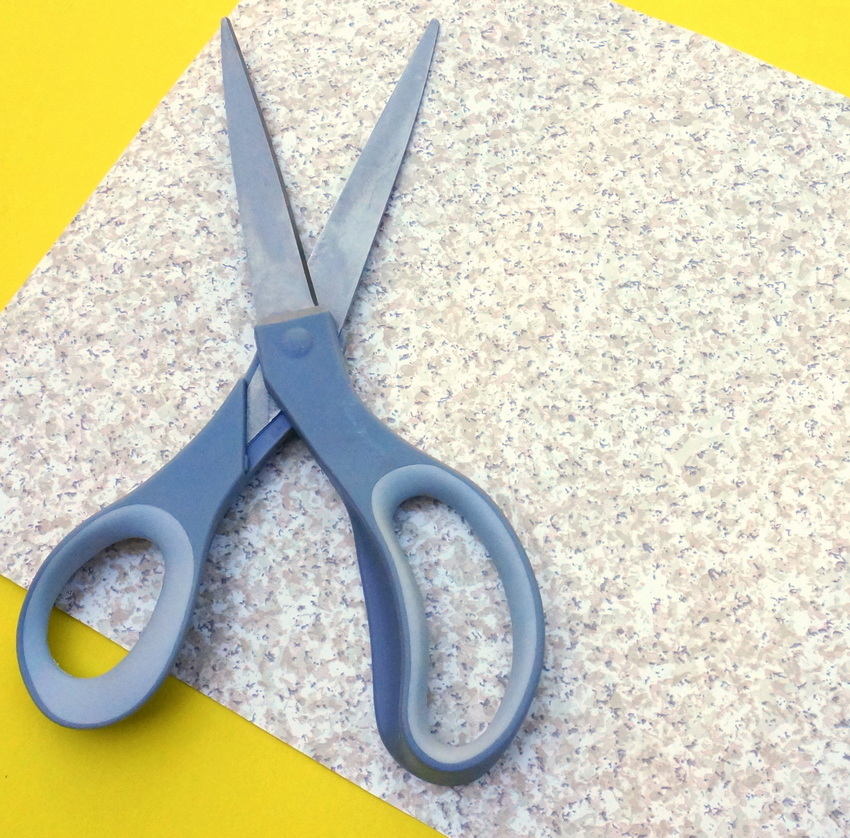
Step 3: Cut out the traced form so it’s ready to adhere to your step stool.
Again, accuracy is key here, but don’t stress about making everything perfect. I was careful during the cutting process, yet the fact that the contact paper wasn’t a 100% precise fit for the stool didn’t end up mattering in the long run. As long as it’s close enough, you should be set!

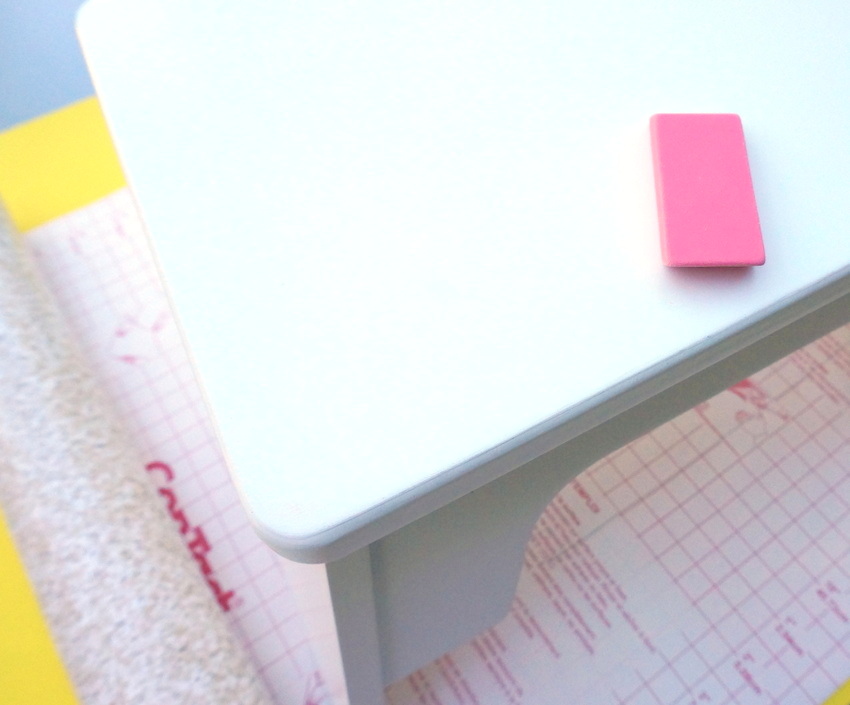
Step 4: Erase any stray pencil marks left on your stool.
While tracing the top of the step stool, some pencil marks inevitably made their way onto the stool itself. In the spirit of keeping the top free of stray particles, I erased the marks, wiping away the eraser bits before continuing with the project.

Step 5: Peel the protective backing from the contact paper, and stick the paper to the top of the stool.
I like to use the edge of a plastic card (such as a credit card or gift card) to smooth the top of the contact paper while I’m sticking it to a new surface! This simple strategy creates an extra smooth finish.
Step Stool Styling
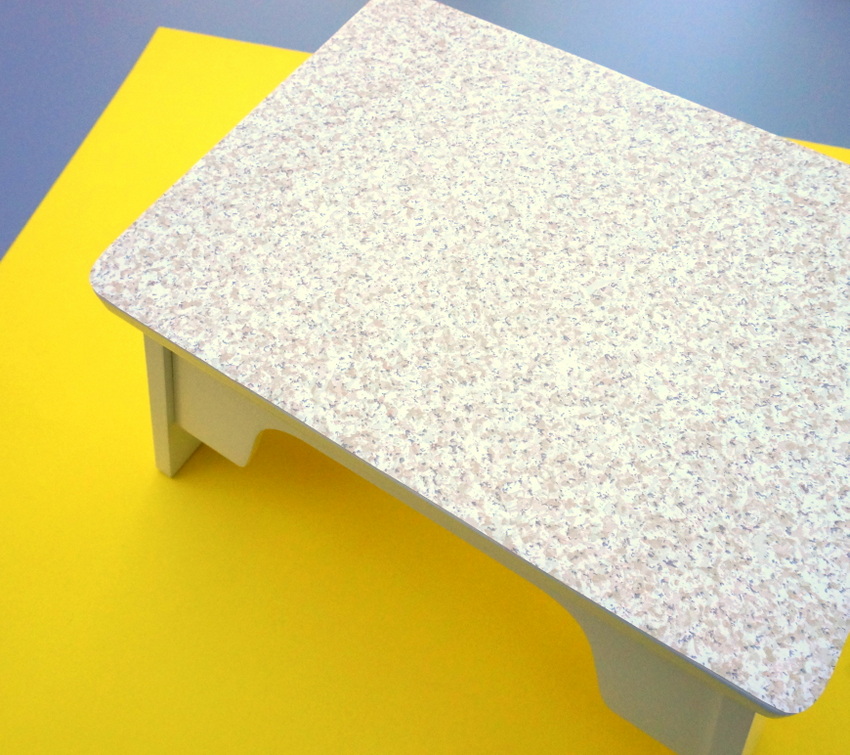
Want to see how the stool turned out?… Ta-da!
It’s simple, it’s puts a modern spin on a somewhat traditional stool design, and it looks great in my bright space. Kitty instantly used it as a launching pad for jumping onto the couch–mission accomplished! He has arthritis, so I have to help him out, you know?!

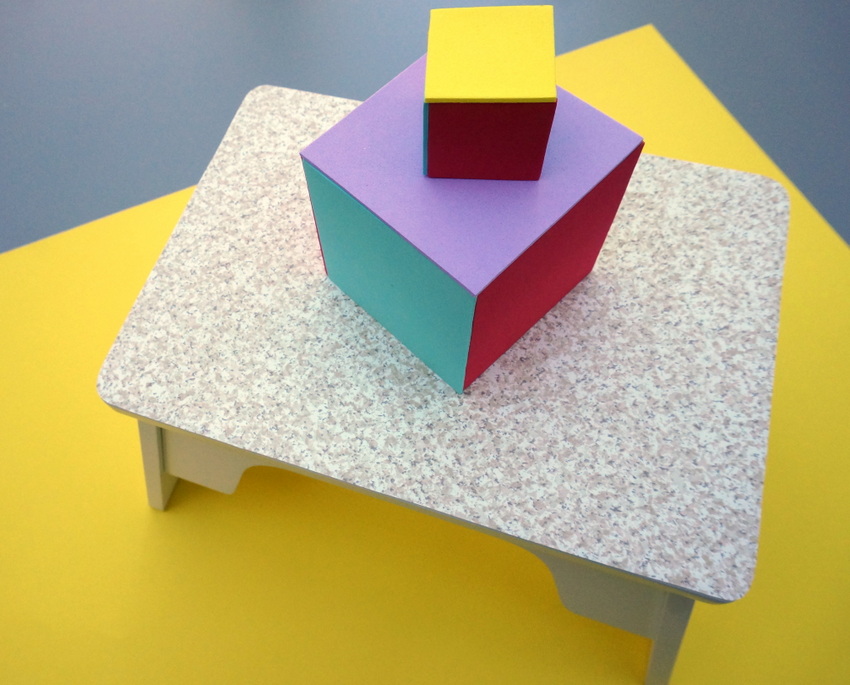
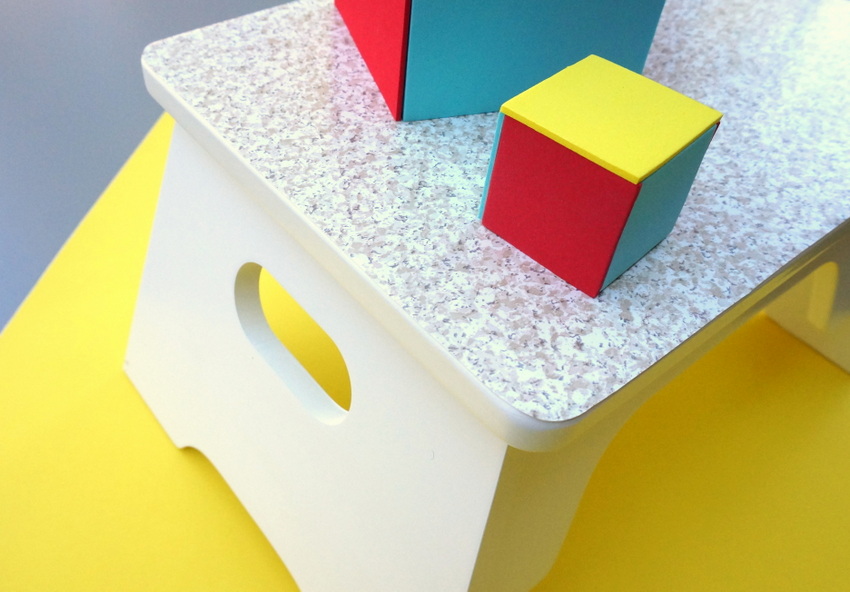
You may decide to use washi tape to further embellish the top of your stool, or you can create a geo design with contact paper in another color or pattern. I stacked a few colorful modern blocks on my stool, and this is a great way to style it when it’s not in active use.

If you give this project a try, let me know how it turns out by leaving a comment below! Thanks for letting me share my latest easy DIY project. Until next time…