We’re on a DIY art kick here at Decoist! Have you been enjoying all of the amazing DIY projects we’ve been sharing with you? Kate here, and I for one have been inspired by Thalita’s recent projects, including her Picasso-style portraits and her abstract painting with gold foil endeavor. In that spirit, today I thought I’d share a recent art project I created for my living room.

I love abstract modern art, especially when it showcases layers of color in a gradient-like display. This easy DIY cut paper art can be created in a couple of hours (or less)! Read on for all the details…
DIY Paper Art Supplies


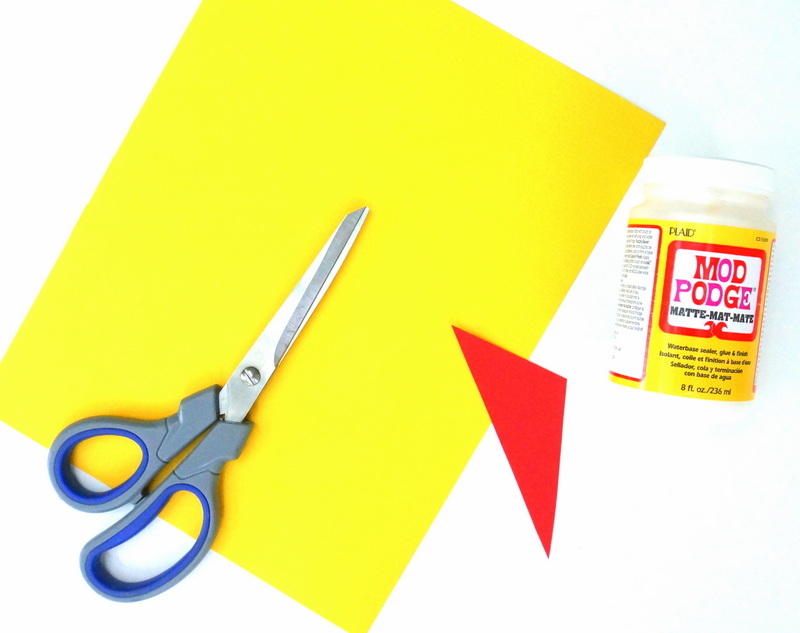
Obviously, paper is the supply of choice here. Head to your local craft store and pick out colorful paper in hues that grab your attention. I’ve been really taken with reds and yellows lately, especially when juxtaposed with shades of beige. The contrast between vibrant and subdued creates a retro look!

Here’s what you’ll need to get started:
- paper, including whole sheets and scraps
- scissors and/or a paper cutter
- an adhesive, such as Mod Podge or a glue stick
- a foam brush (optional)
- a ruler (optional)

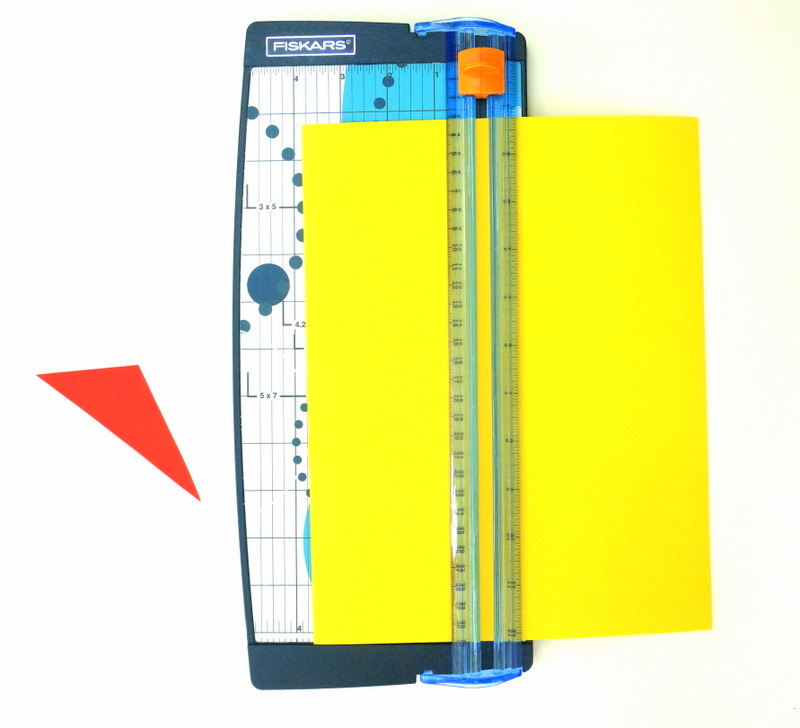
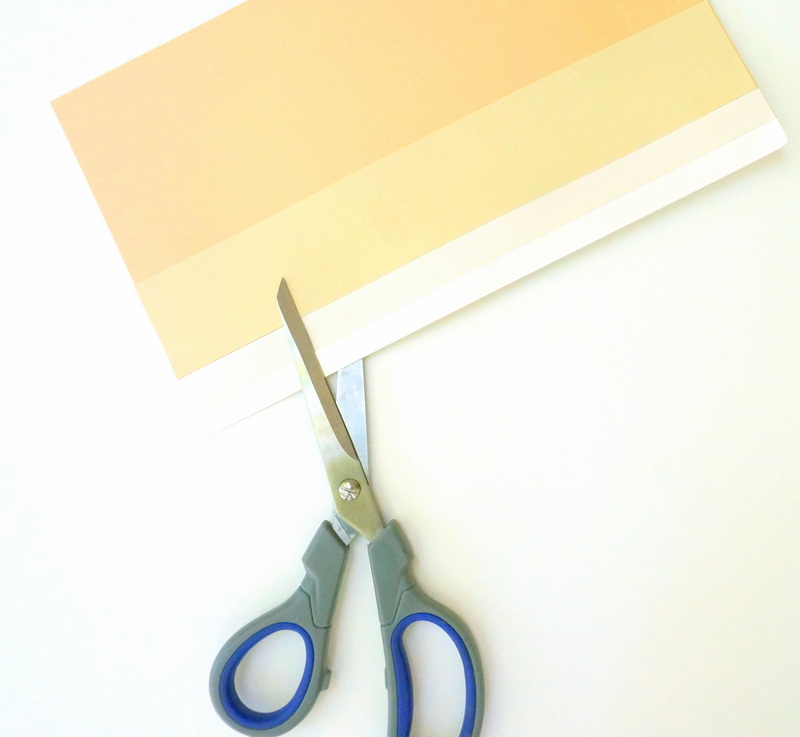
While a paper cutter certainly isn’t required, I found it to be extremely helpful for this project. Since the look is clean-lined and minimalist, it really helps if the lines are cut with ease. Yes, the paper cutter reduces frustration, as well as the amount of time required to complete the project!

Paper Art Project Steps
This project is super easy, folks! In a nutshell, here are the steps:
- Cut
- Arrange
- Adhere

If your artwork will be framed, start by cutting your background paper to fit your frame of choice. Now it’s time to create a design! Cut your paper into the desired shapes, forms and strips. Don’t be afraid to take some risks!

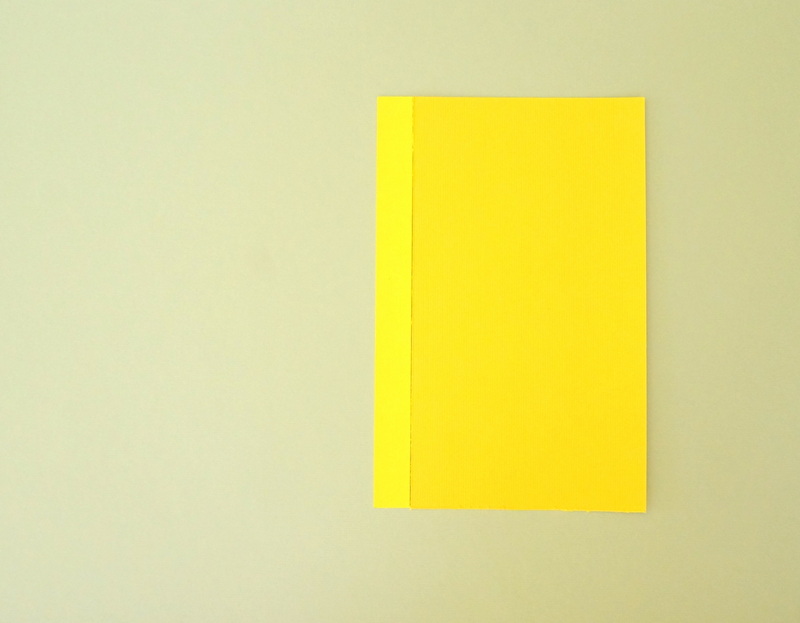
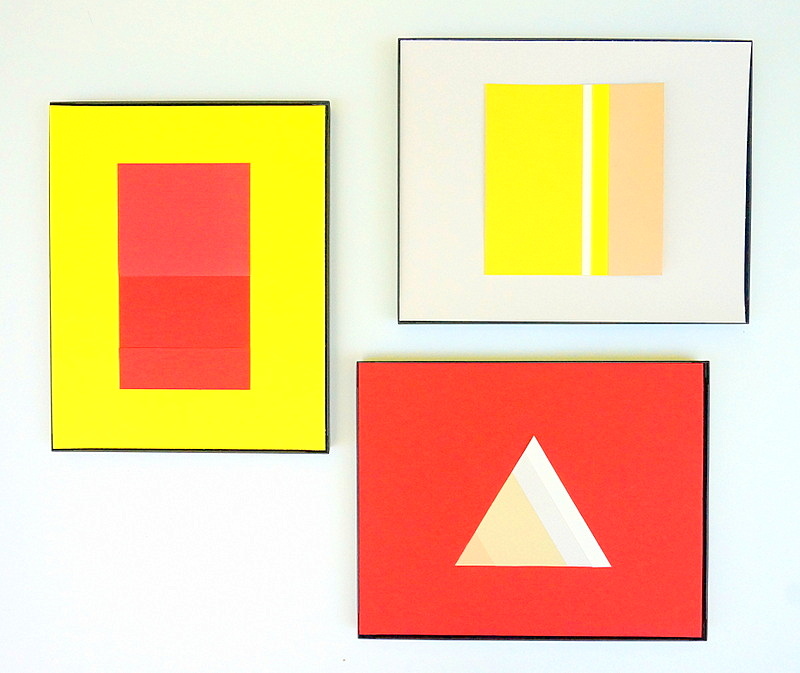
Now have fun arranging the paper on your background, trying out different formations and combinations until you have a design that you’re happy with. Make changes as needed! For example, in my first design, I loved the combination of yellow and tan. Yet the taupe background paper was so dark, the design didn’t really stand out.

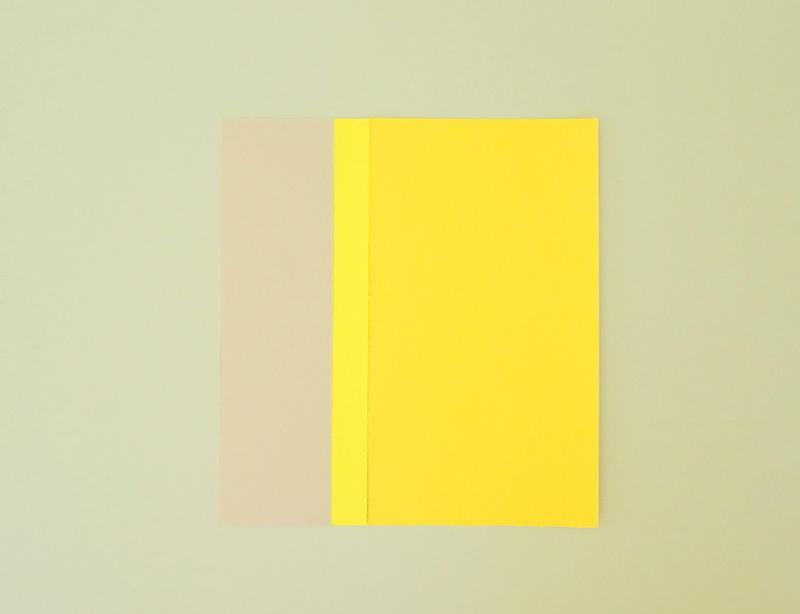
So I switched up the background to a lighter shade of beige (shown below). Next I added a white strip over the design as an embellishment. Then it was time to adhere the design to the background paper! Which brings me to the next step: When you’re satisfied with the design, glue it into place. Mod Podge can be applied with a foam brush, or use a glue stick (made for repositioning) for a no-fuss approach. A “repositionable”-variety glue stick (such as the option made by Elmer’s) allows you to change up the design as needed, which is perfect for someone like me, who wants to explore a variety of possibilities before anchoring the design to the page!

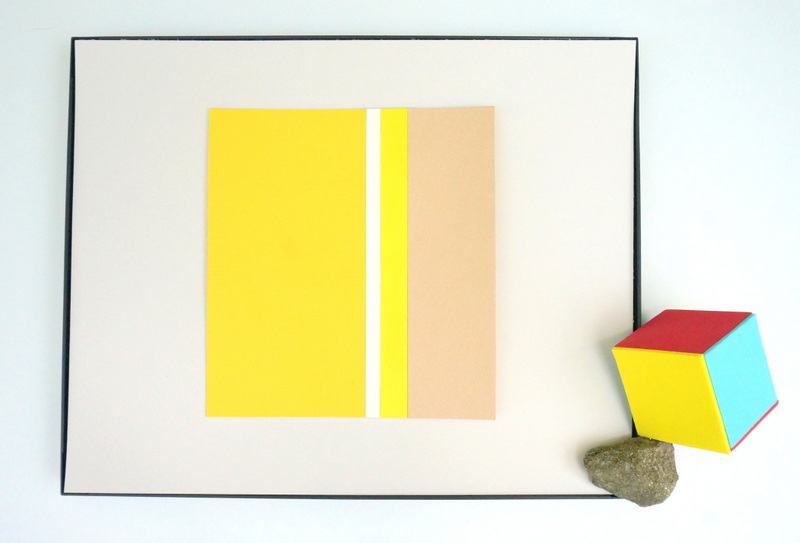
Frame your art and display it with your favorite accent pieces and accessories. Geometric objects, rocks and minerals are the perfect ingredients for an artistic vignette starring your DIY creation!
Creative Variations
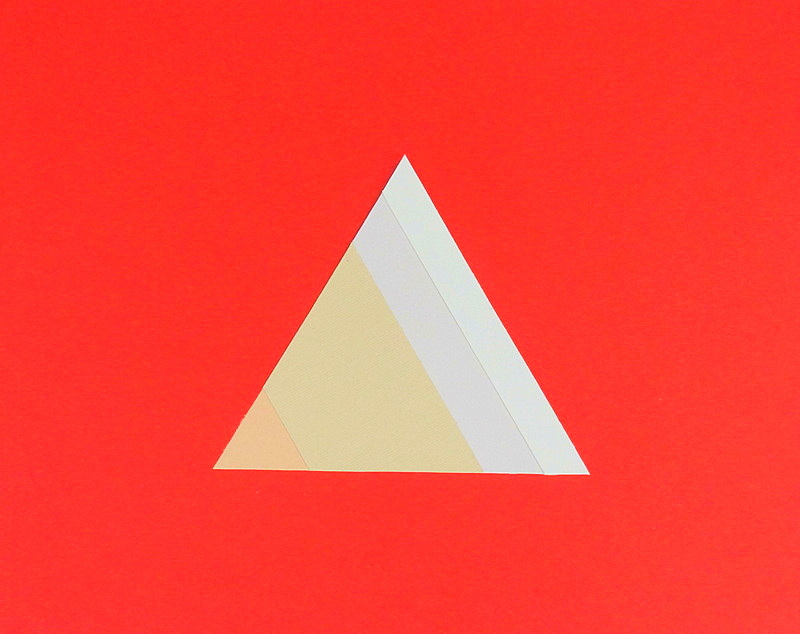
If you want to create a gradient effect, try gluing strips of paper to a background sheet. Once the adhesive is dry, you can cut out the shape of your choice, and you have an instant striped geo form!

I cut out a triangle, then attached it to a vibrant red piece of paper for a finished product that really stands out!
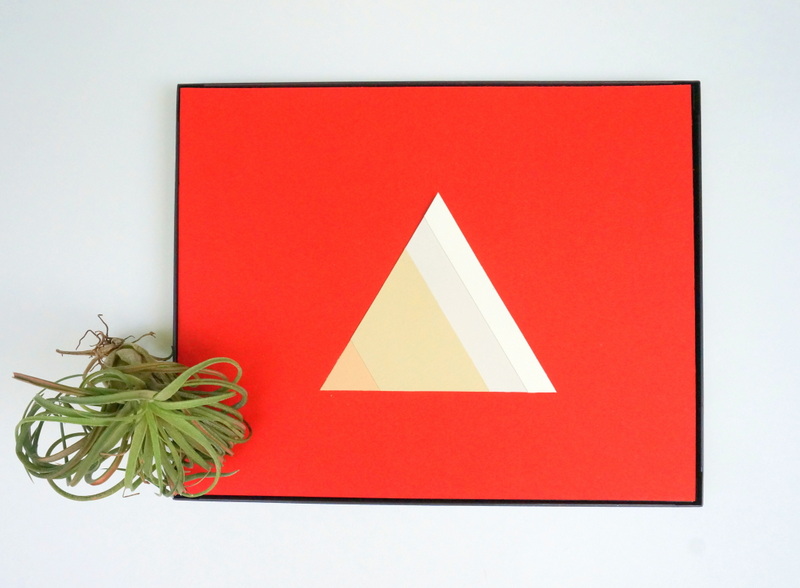
Below we see the framed artwork, along with an air plant. What do you like to display with your modern artwork? Especially if it rests on a shelf or a tabletop, there are ample opportunities for creative presentation!

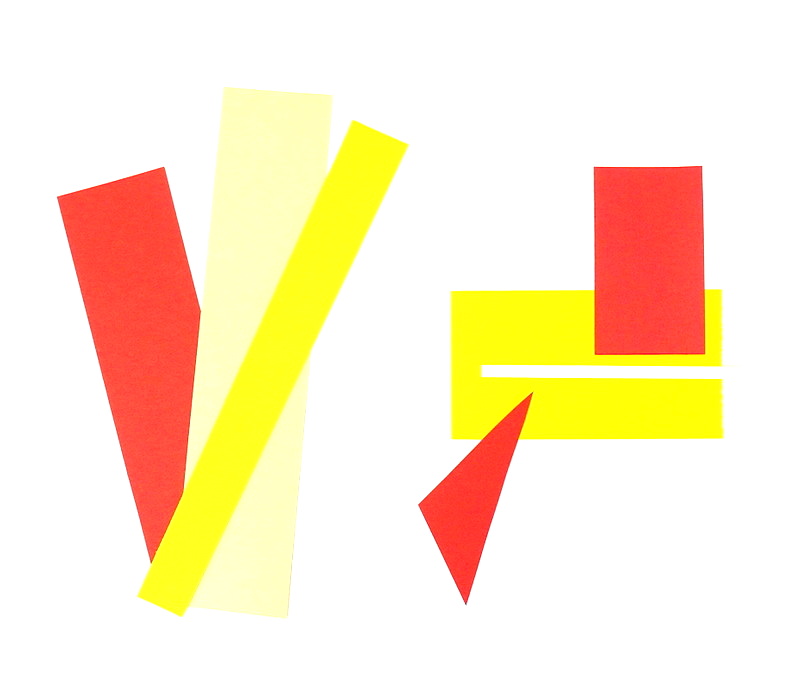
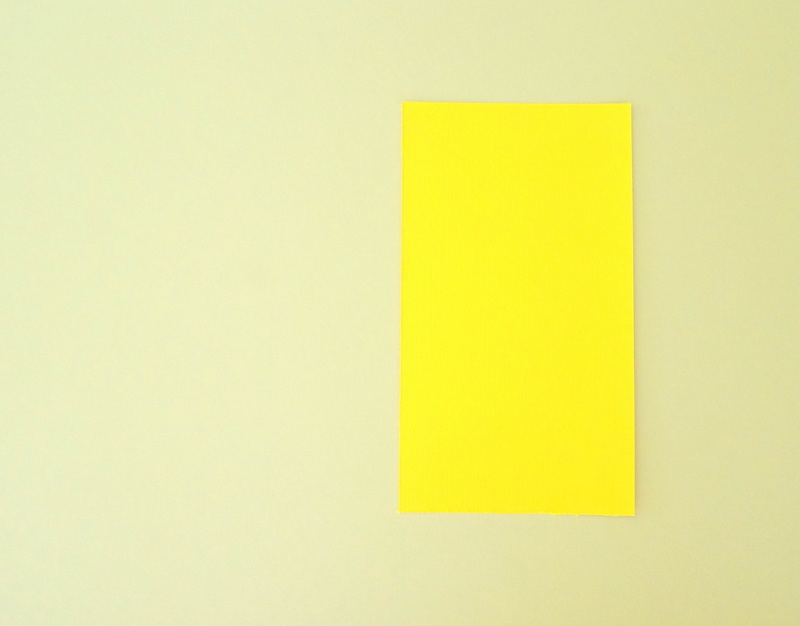
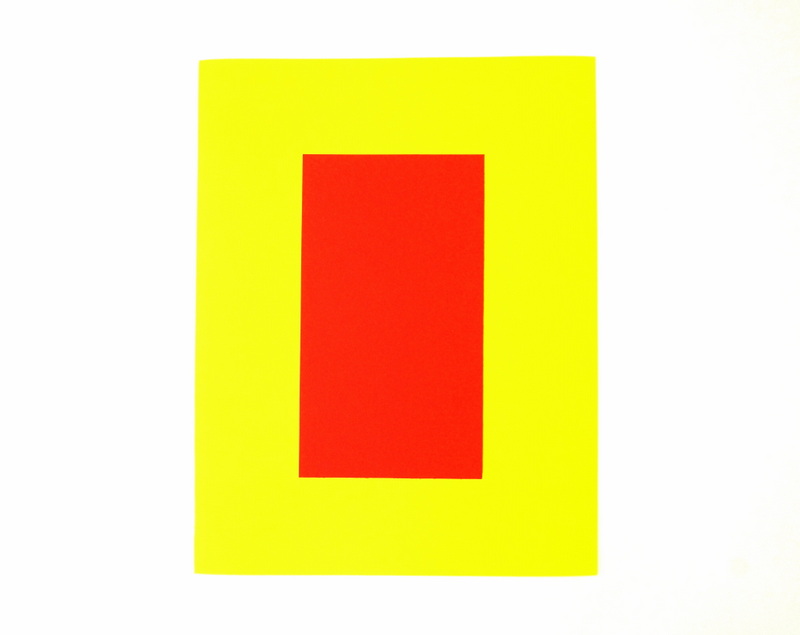
You don’t have to get fancy with a plethora of stripes and geo forms. Sometimes less is more. I began my third design by adding a red rectangle to a vivid yellow piece of paper:

Then I added red paper in a slightly lighter shade. Simple yet fun:

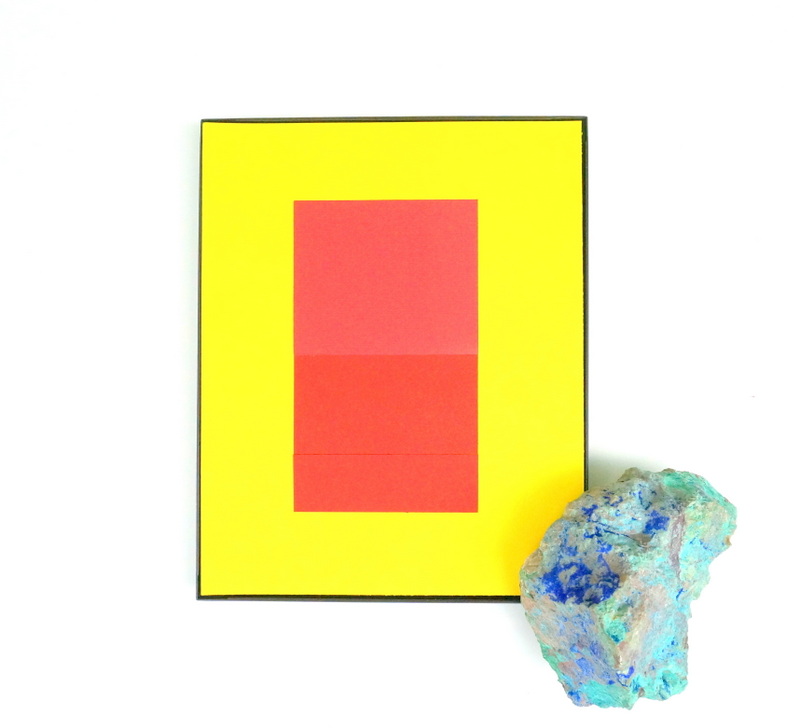
Here’s a glimpse at all three pieces. Although not pictured, I’ve already made some changes since finishing the project, including removing the extra paper strip from the red and yellow rectangular-themed art. That’s the beauty of a DIY project. It can continually evolve!

Thanks for joining me for my latest project! If you try crafting some paper art of your own, let us know how it turns out!


