Monograms have made a huge comeback in the last few years. They appear on everything from towels to bed sheets to walls, and I happen to be a huge fan of them myself.
This DIY project brings together two favorite things of mine: flowers and monograms. Not to mention, it’s a great excuse for having a little touch of summer and spring in the house all year long! So let’s get to it!

First things first: your materials. Thankfully, they are fairly minimal for this project!

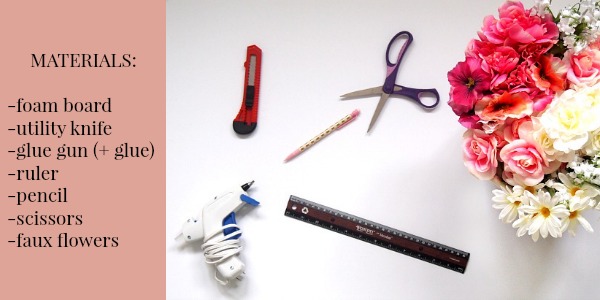
The foam board is the stuff you might remember using for school projects, and believe me, cardboard would have worked just as well – I just didn’t have any! The flowers are completely up to your taste. I chose an array of mixed pink and white flowers with a hint of yellow, because I made this for a friend, and I knew those colors would work in her space.
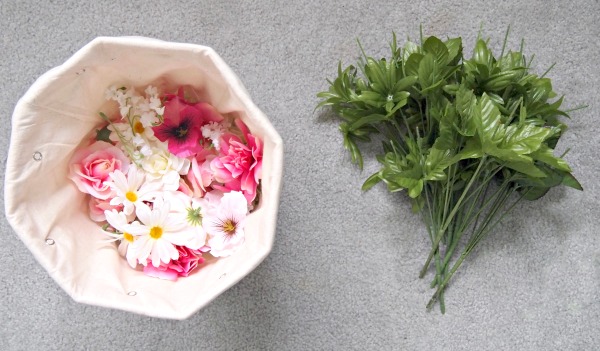
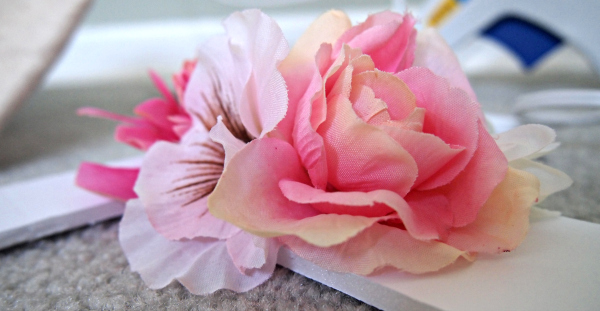
To begin, remove the flowers from their faux stems and put them all together, like so:

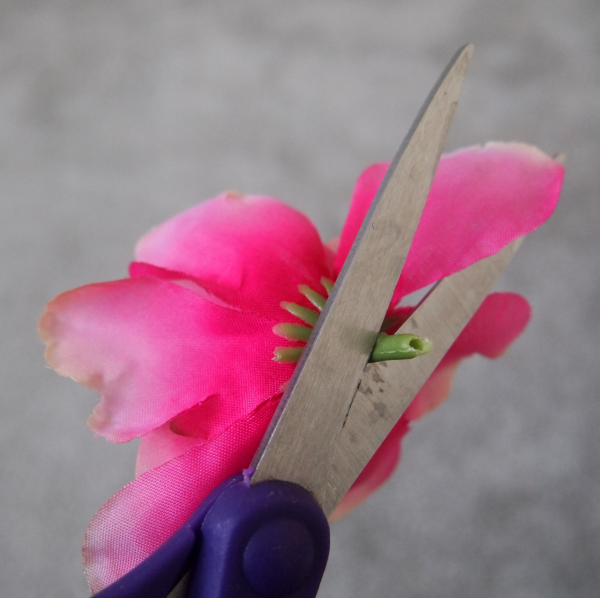
You will also want to cut the little plastic knobs off of the flowers, as close to the petals as possible for gluing. This is fairly easy because you’re just cutting through plastic, and there are no wires to get through like on the stems.

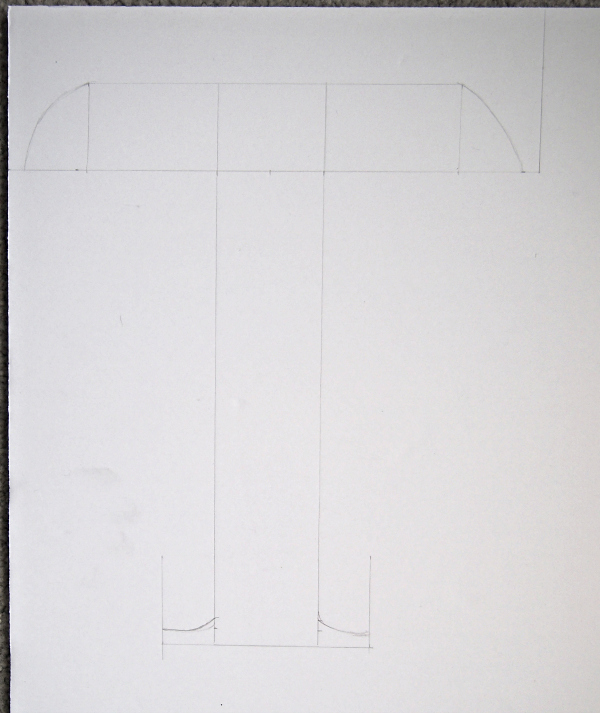
Now, pick a letter. Any letter! Ok, not any letter… one that means something to you, like the first letter of your last name, or first name. I chose a simple “T” after a quick Google search and started sketching on the foamboard. I did measure quite a bit, but you’re not going for perfection here, so don’t worry too much.


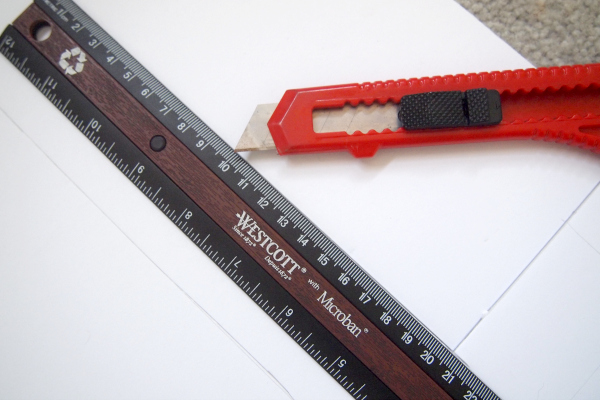
Cutting the letter is best done with a utility knife and a ruler so you get the straight edges as straight as possible. I did use scissors for the curved parts, though.

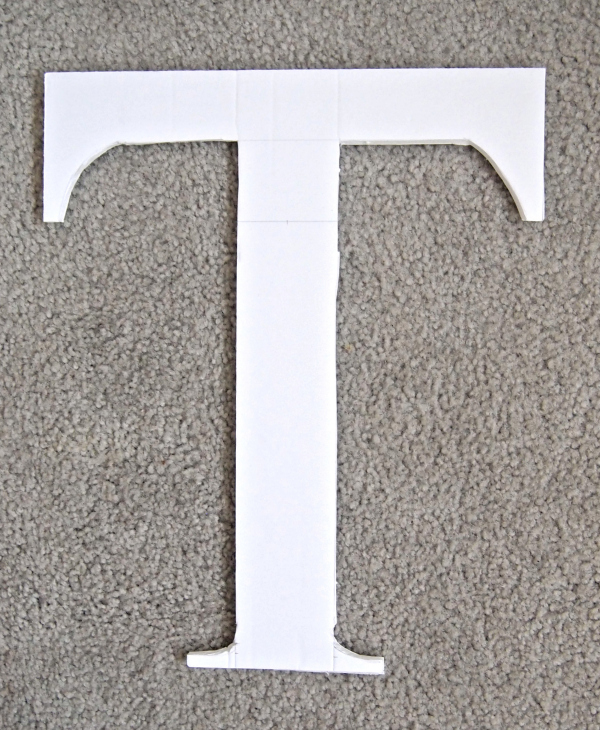
See? The edges aren’t perfect. No big deal, because they’re about to be covered up anyway!

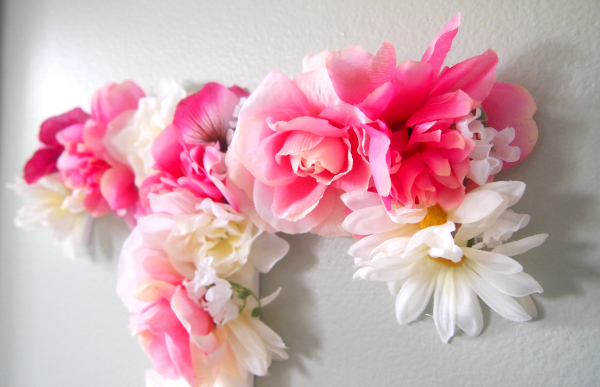
Plug in your glue gun and get ready for the fun part! Start placing the larger flowers on first–that way you can fill in the smaller gaps with smaller flowers.

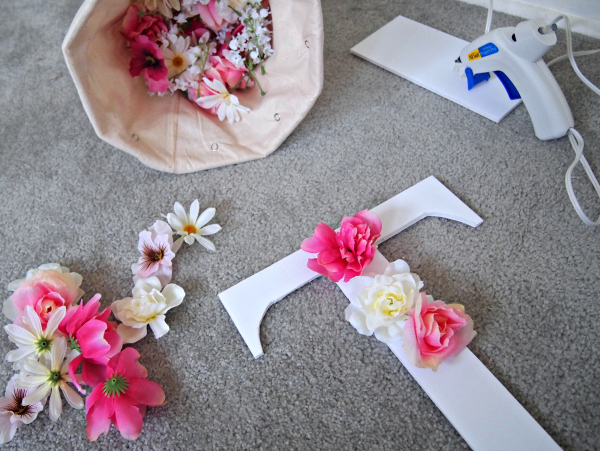
Here’s a close-up shot of the progress. You can see I didn’t plan this out too much. Just go with it and have fun! The edges will eventually be pretty well hidden. The nice thing about using foam board is that if they peek through, it’s not so bad, because they’re nice white edges.

Be careful with the glue gun! I totally burned myself during this project and I do not want you to do the same! Applying glue to the board is better than on the flower. Seriously!
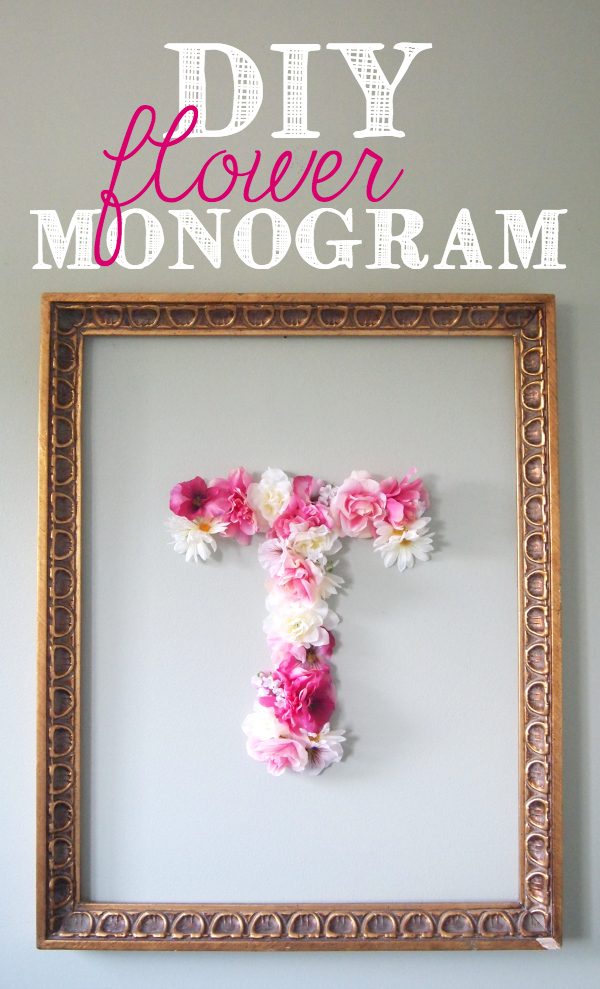
Here is the finished product:

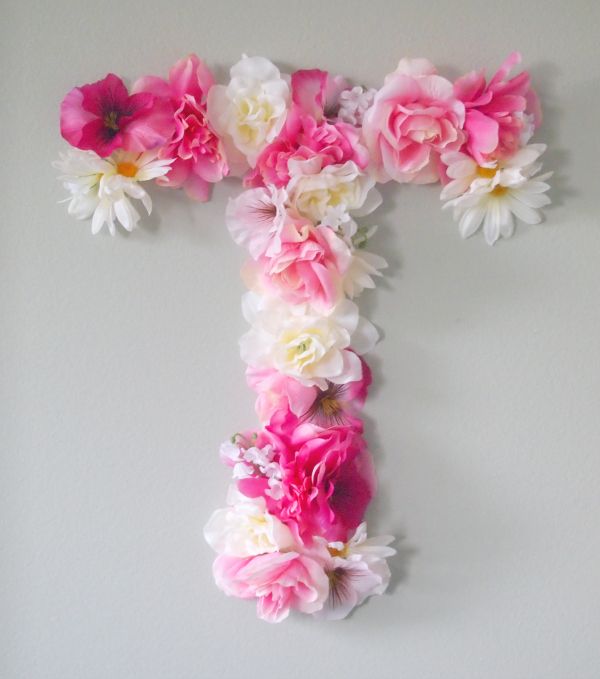
Here it is up on the wall, close up. Edges are barely visible, and this is probably the lightest thing you’ll ever hang on your wall. I used tape to put this up and it’s been three days – still going strong! This also means it’s easy to move around, and you can easily replace it with something else if you like seasonal artwork.

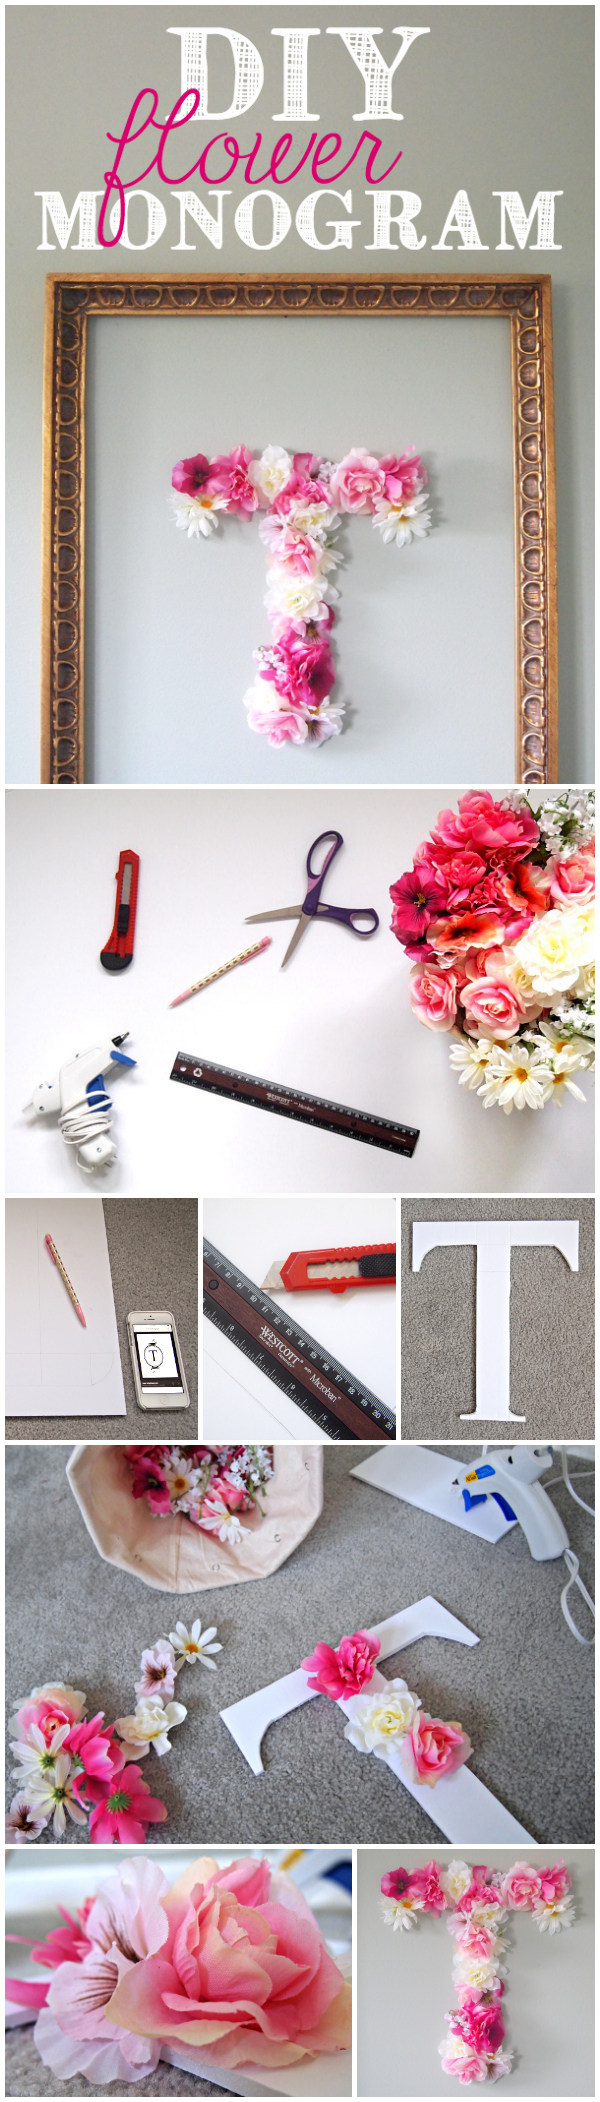
Here’s a full image tutorial for those of you keen on Pinning, or those who don’t like to read through all the words:

I put an empty frame around my monogram, just to make it stand out a little bit. As you can see, it can work with or without the frame.
So what did you think? Will you be trying out your very own flower monogram? Let me know if you do!


