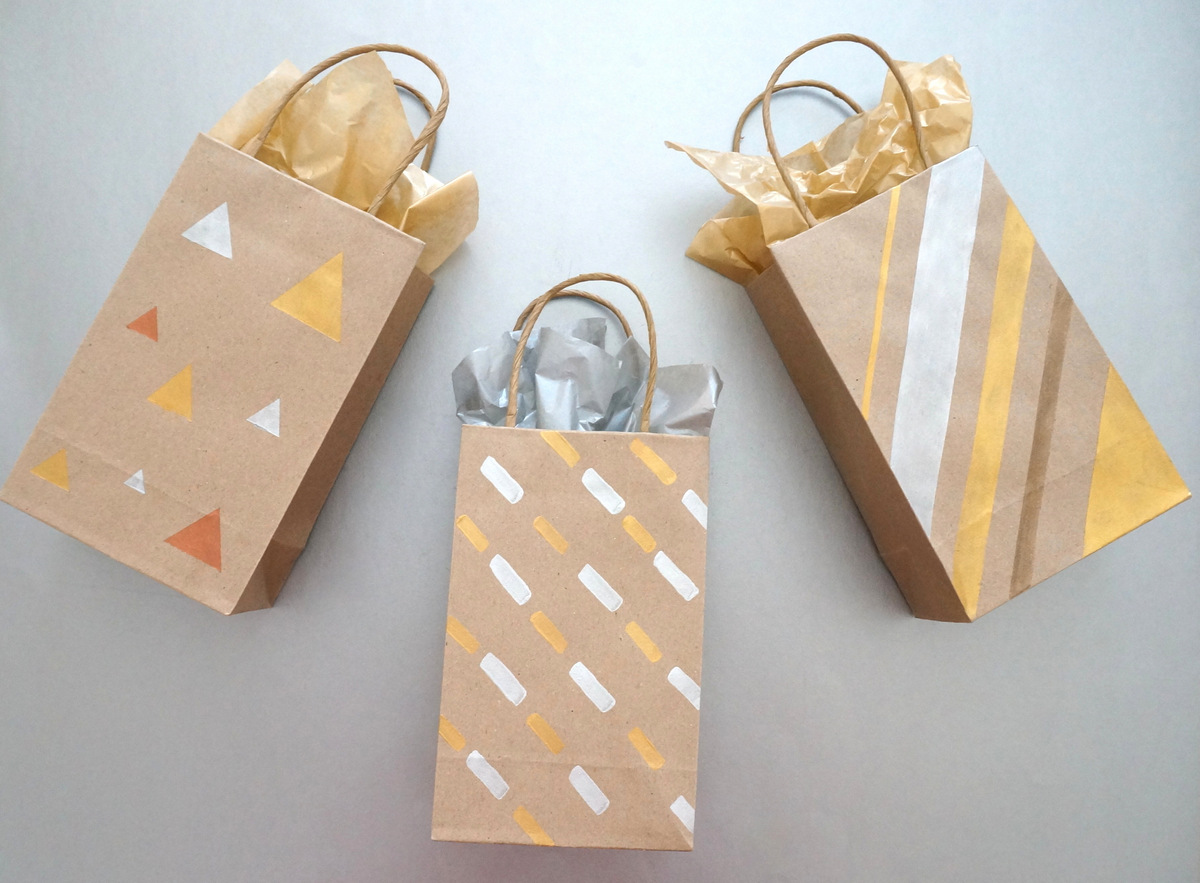
With Thanksgiving rapidly approaching, the winter holidays aren’t far behind. ‘Tis the season for gifting, whether the gift be a token of appreciation for a hostess or a treasure to be wrapped and placed under the tree. Take ordinary gift bags to the next level with the addition of metallic paint. Geo designs, brushstrokes and stripes create a modern look that is festive and chic. Continue reading and discover our easy-to-follow tutorial for these DIY gift bags…

*Styling and photos by Kate Simmons for Decoist
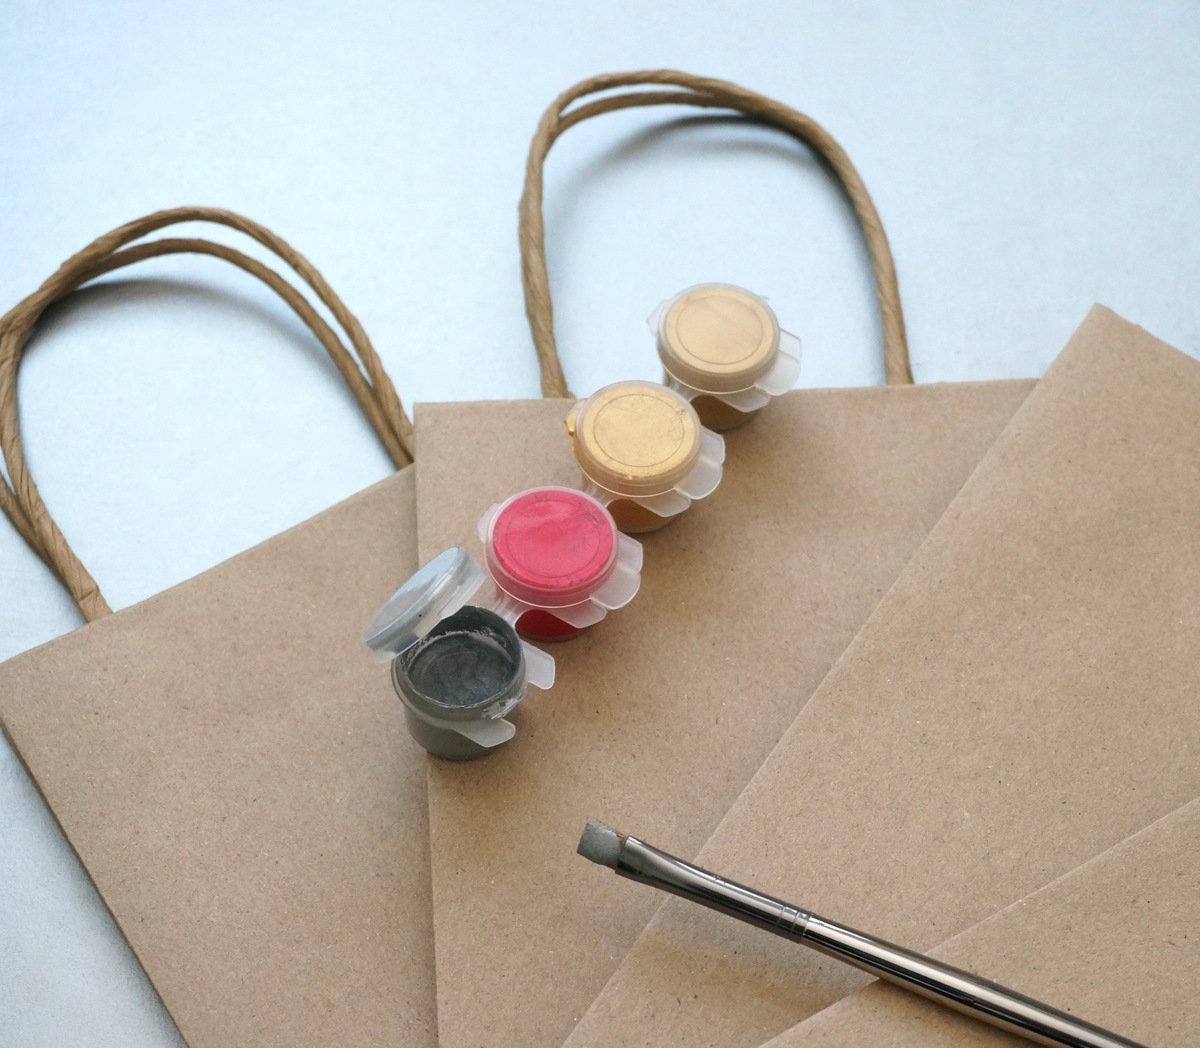
Project Supplies
It’s never been easier to create stylish gift bags, thanks to a few affordable supplies. Here’s what you’ll need to get started:
- kraft paper gift bags
- metallic craft paint
- paintbrushes
- painter’s tape or washi tape
- paper to protect your work surface

RELATED: DIY Metallic Tinsel Tassel Gift Wrap
Metallic craft paint can be purchased in bottles, but I found a handy set that included smaller amounts of paint (four are pictured, but there are eight total). When it comes to paintbrushes, choose a size that makes sense for your design. Foam brushes do a great job of distributing the paint, but you may also want to have smaller brushes on hand for more detailed embellishments.

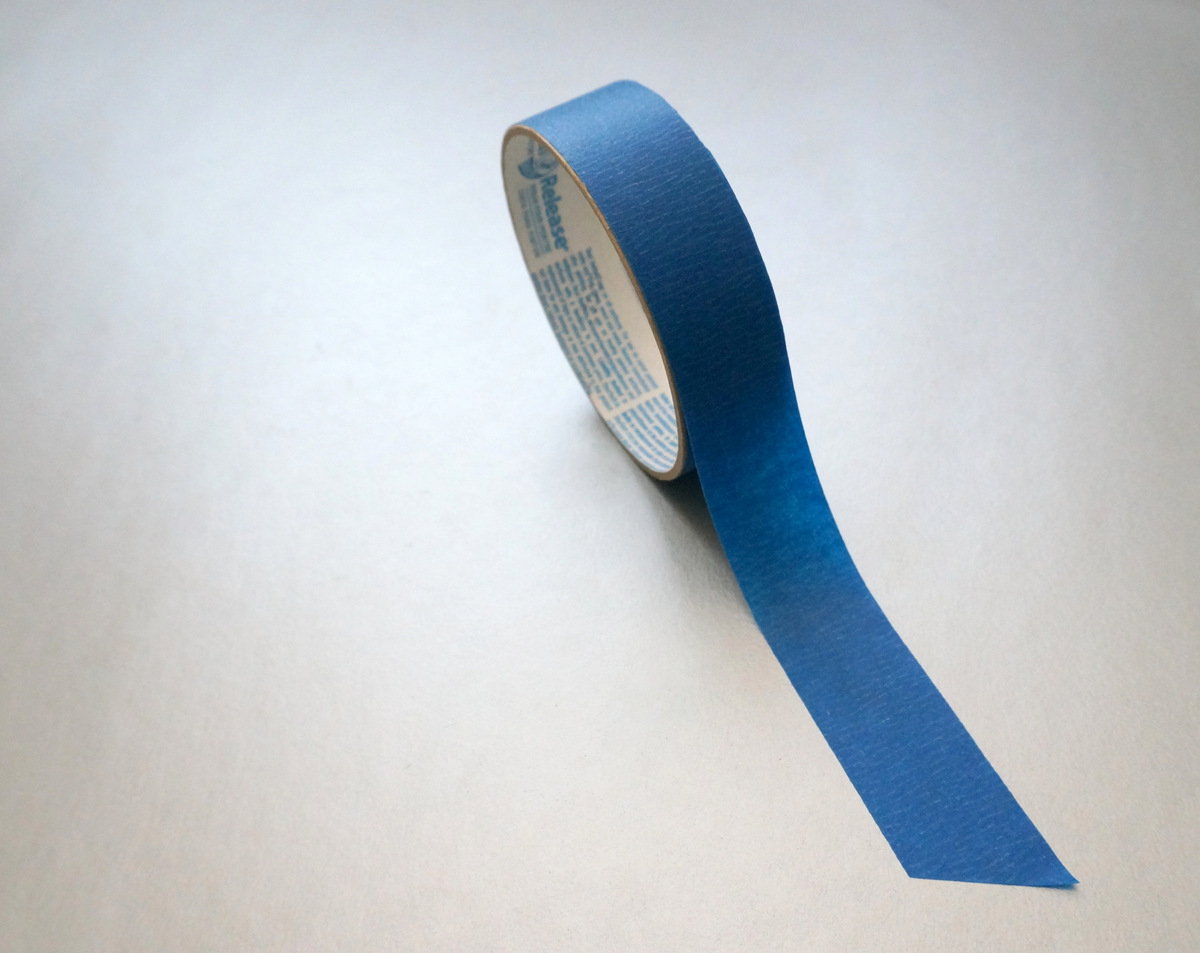
The tape will be used to create sharp edges in your designs. Painter’s tape works well, and it comes in a variety of thicknesses for your convenience. In many cases, you can also use washi tape to get the job done.
Project Details
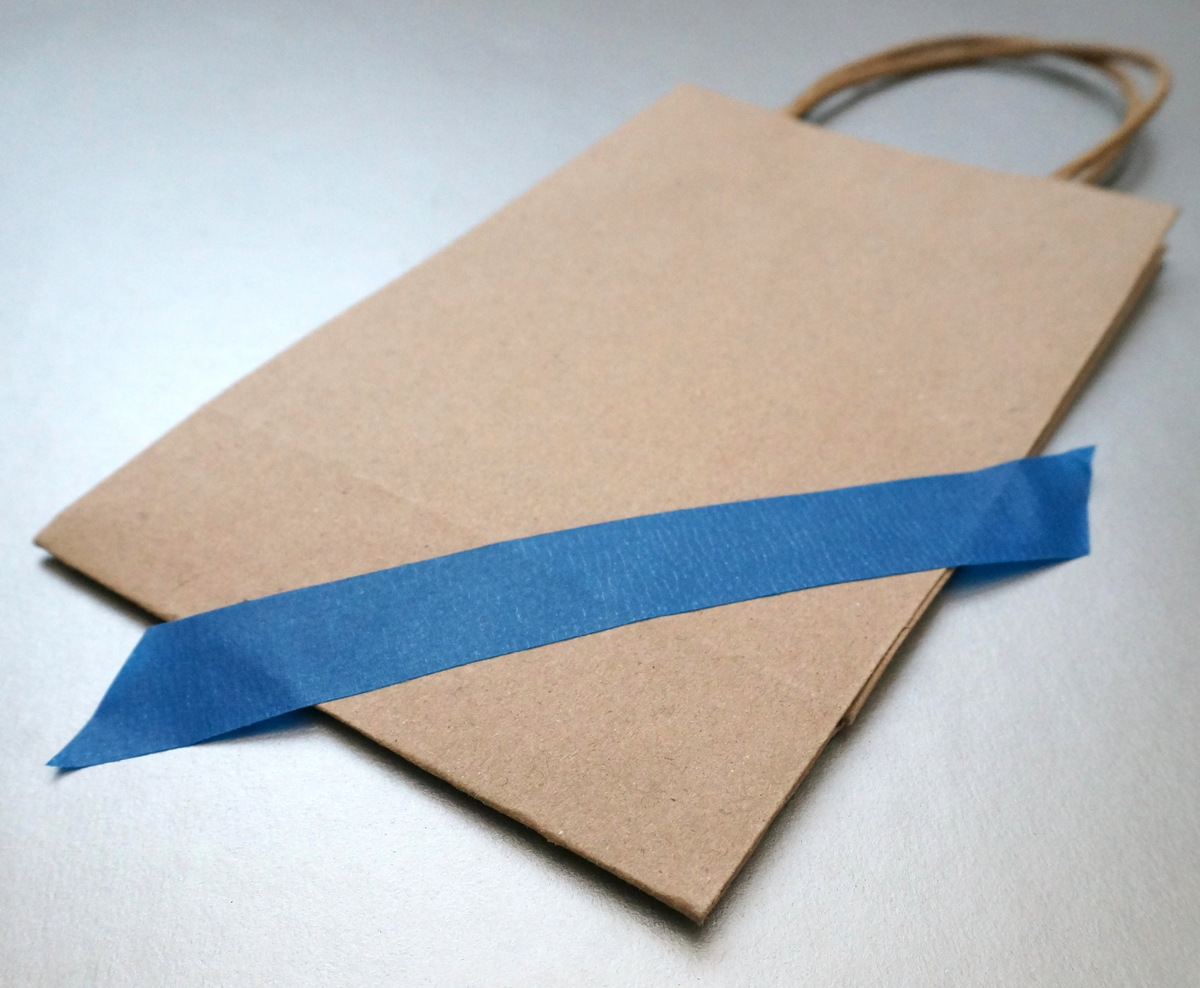
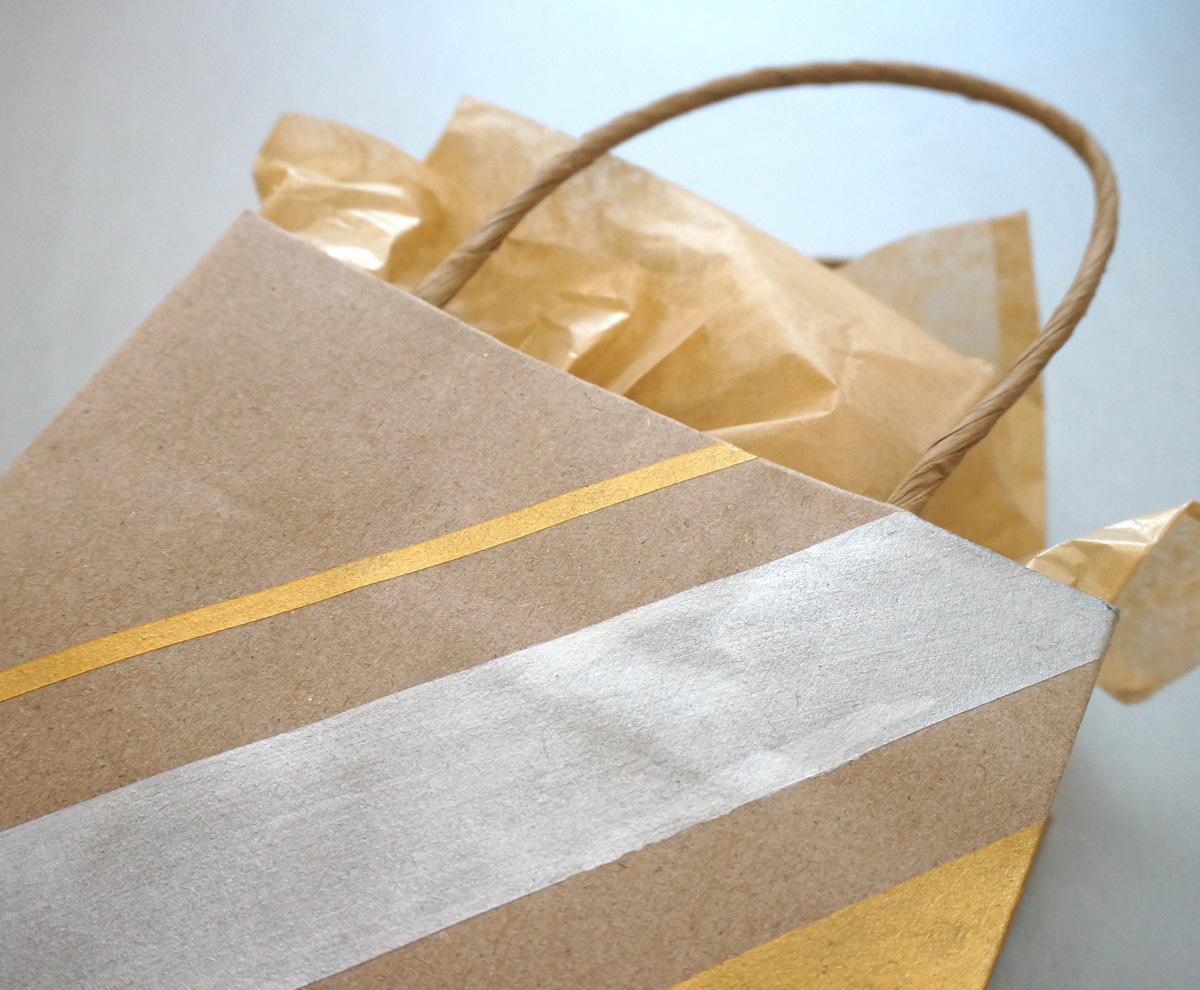
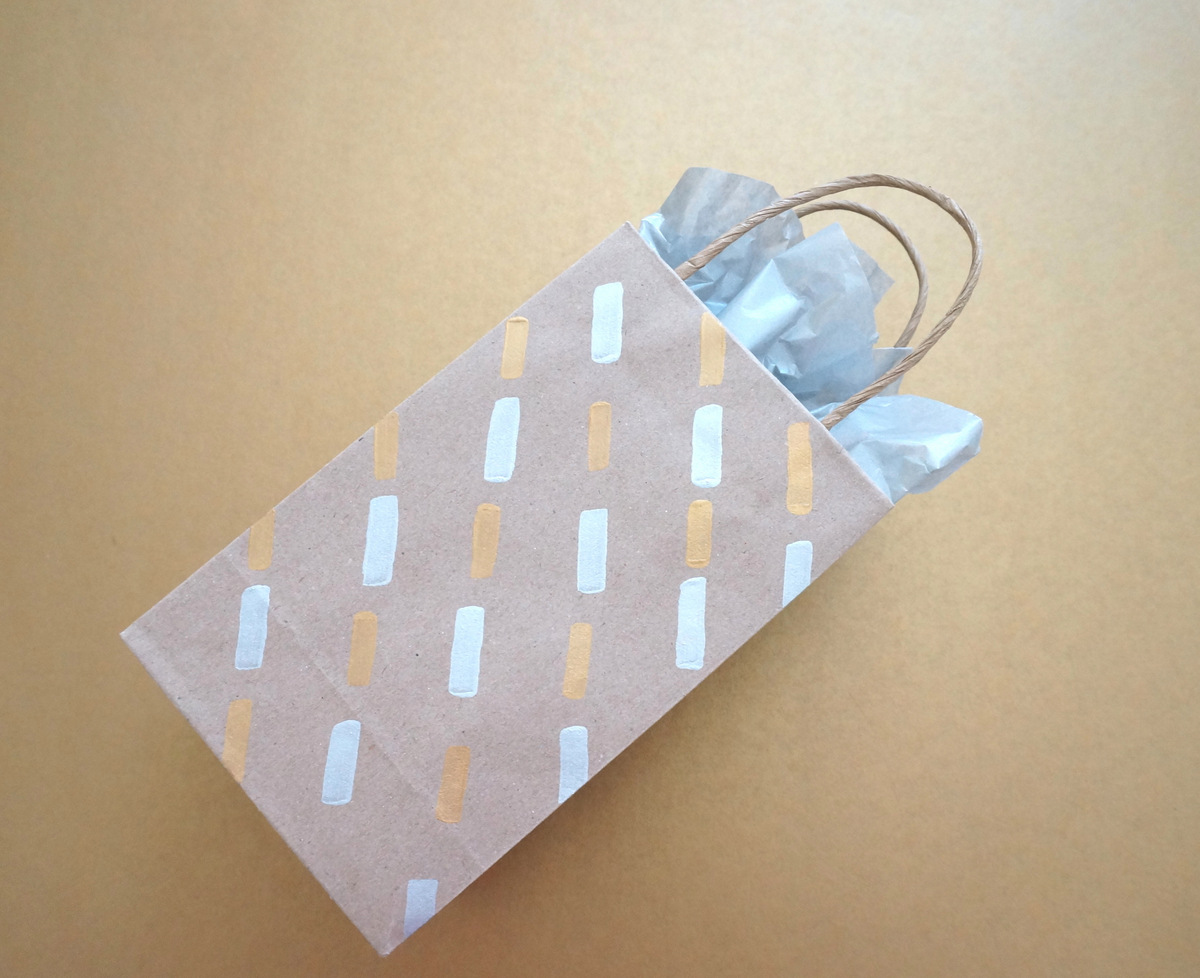
For the striped bag design, use painter’s tape to block off sections of the bag. I chose to orient my stripes at a diagonal:

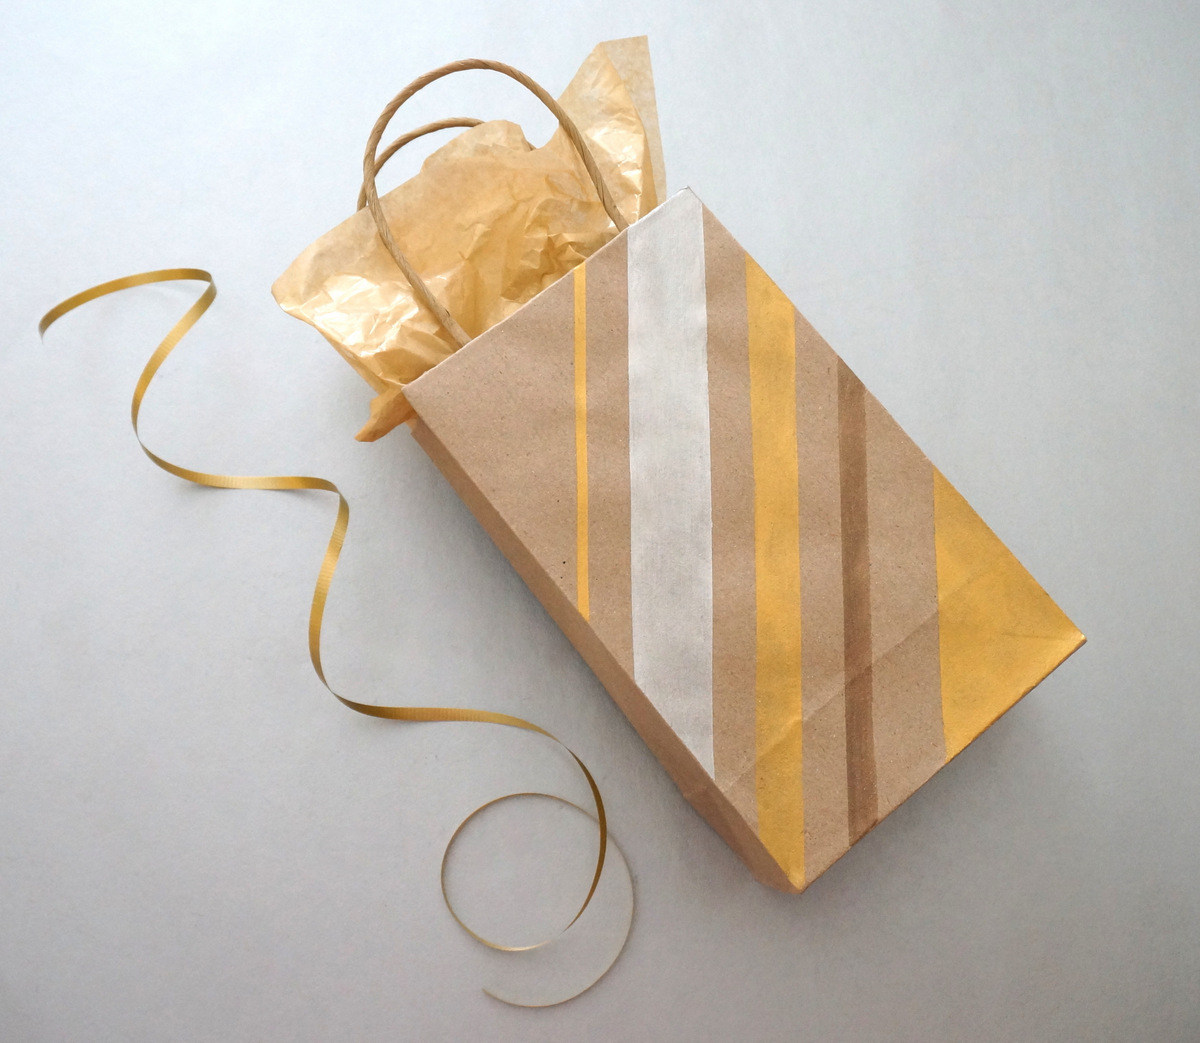
Fill in the blank spaces between the tape with paint, using a variety of metallic hues. Gently remove the tape when you are done with the painting process. Crisp stripes will await you!

The look of the finished bag is clean-lined and shimmering, yet subtle at the same time, thanks to the natural tone of the bag. Gold tissue paper makes a great addition, as does curly ribbon:

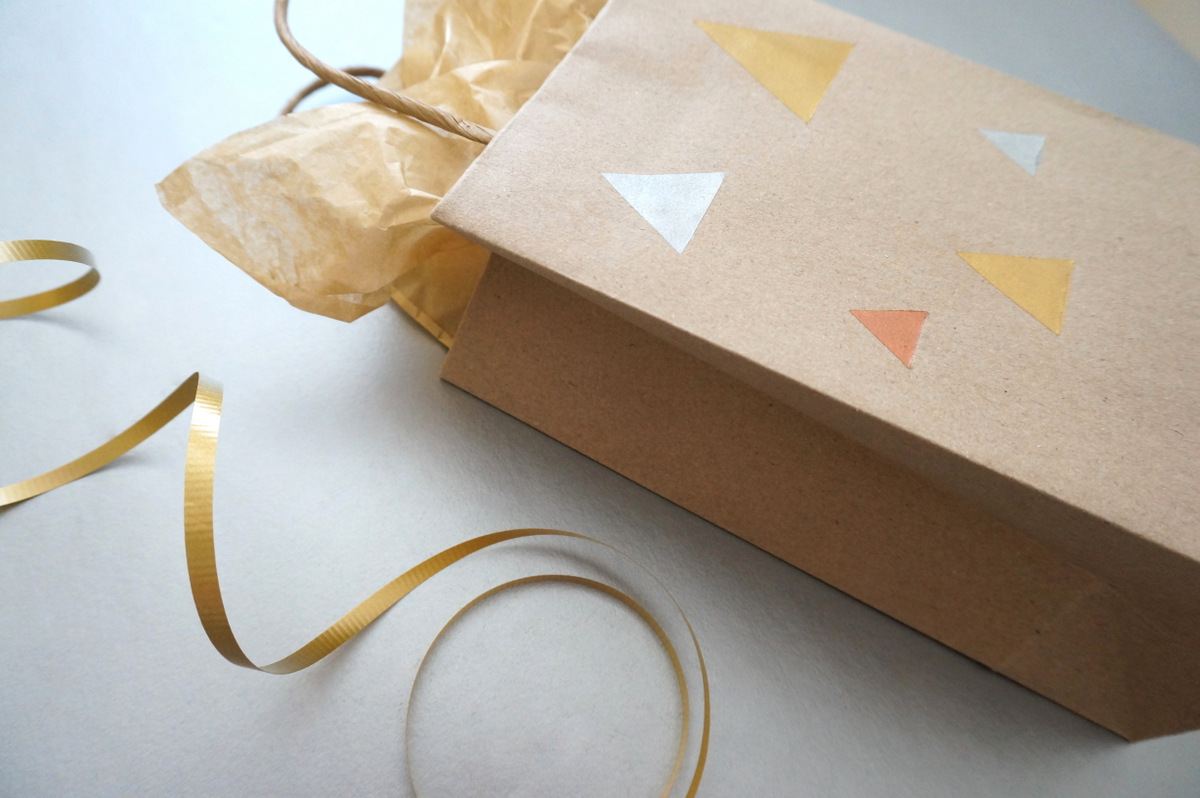
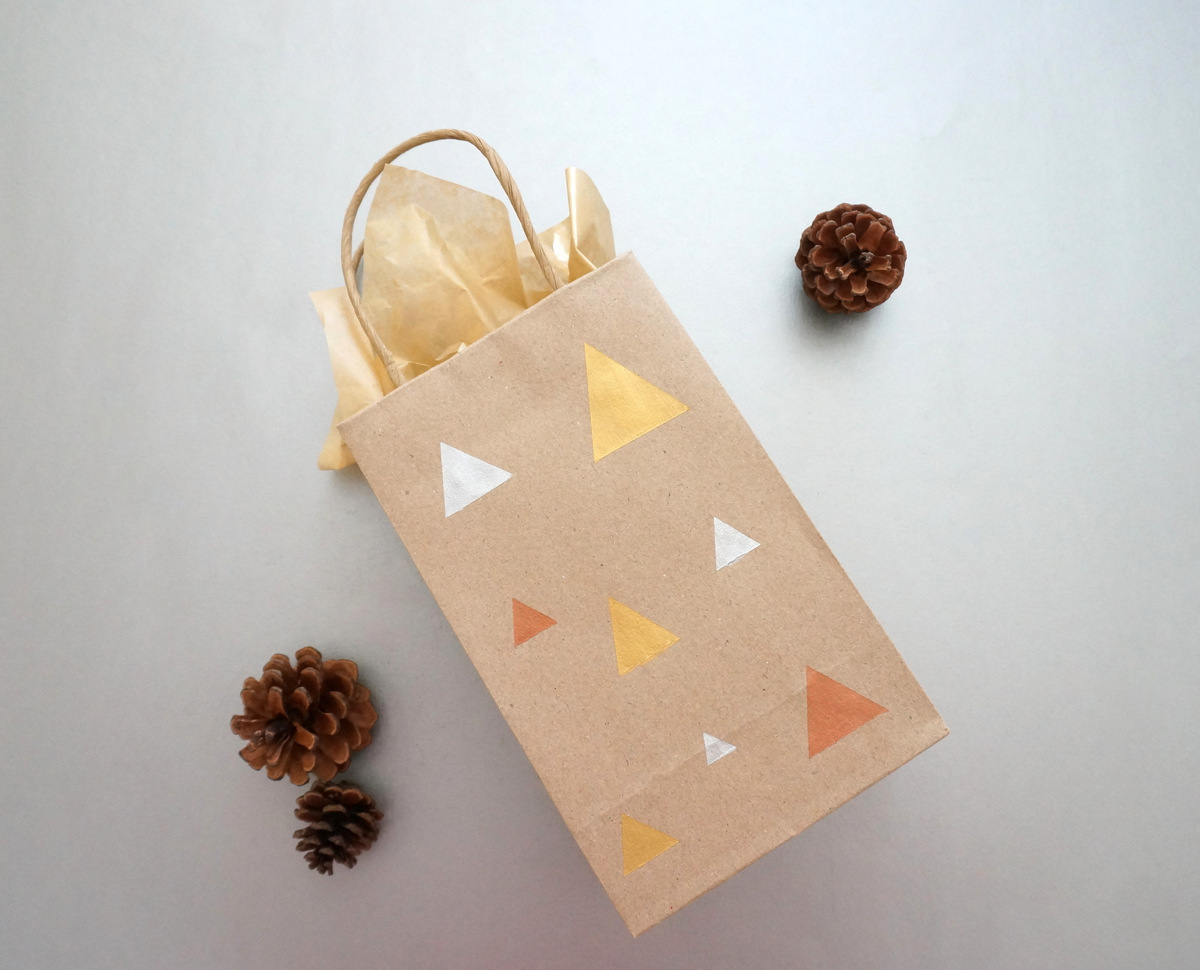
For the triangle-pattern bag, tape off triangle designs, using three pieces of tape to create the outline for each triangle form. Fill in the blank triangle forms with paint. Carefully remove the tape when you’re finished (take your time, as the tape will be overlapping).
RELATED: Easy Gift Wrapping Ideas Using Everyday Items

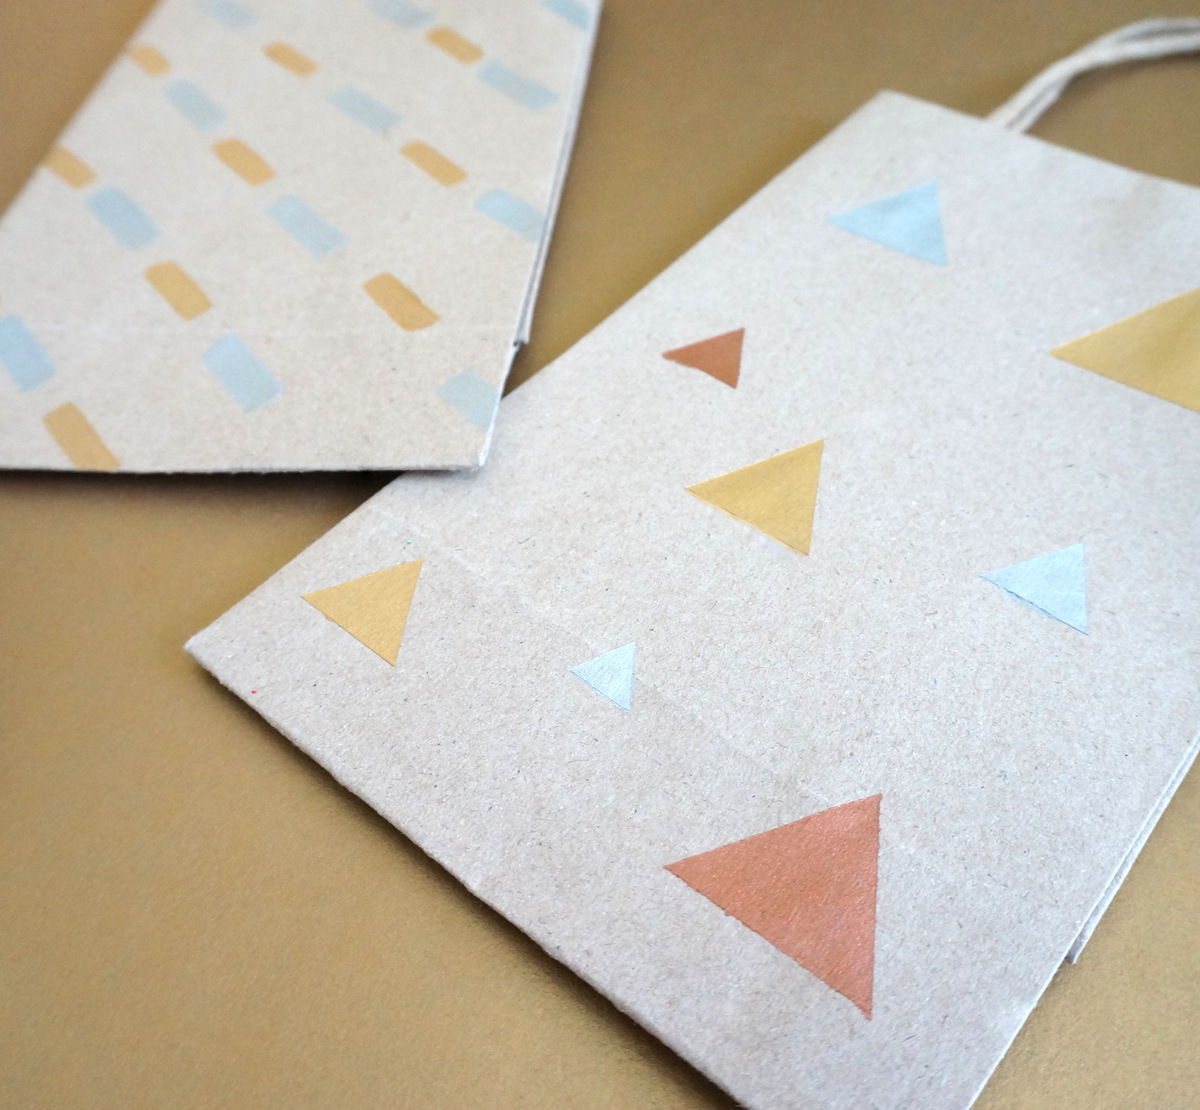
Voila! Instant geometry!…


For the brushstroke bag, use a flat-brush (yet fairly skinny) paintbrush to get the job done. Dip the brush in paint, and create a series of strokes over the surface of the bag. I finished all of the sliver strokes first, and then went on to create the gold strokes. It helps to have a general idea of your design before getting started.

Which of today’s featured bags is your favorite? Stripes, strokes or triangles?


A few special touches can put a festive spin on your next gifting experience. Happy crafting!


