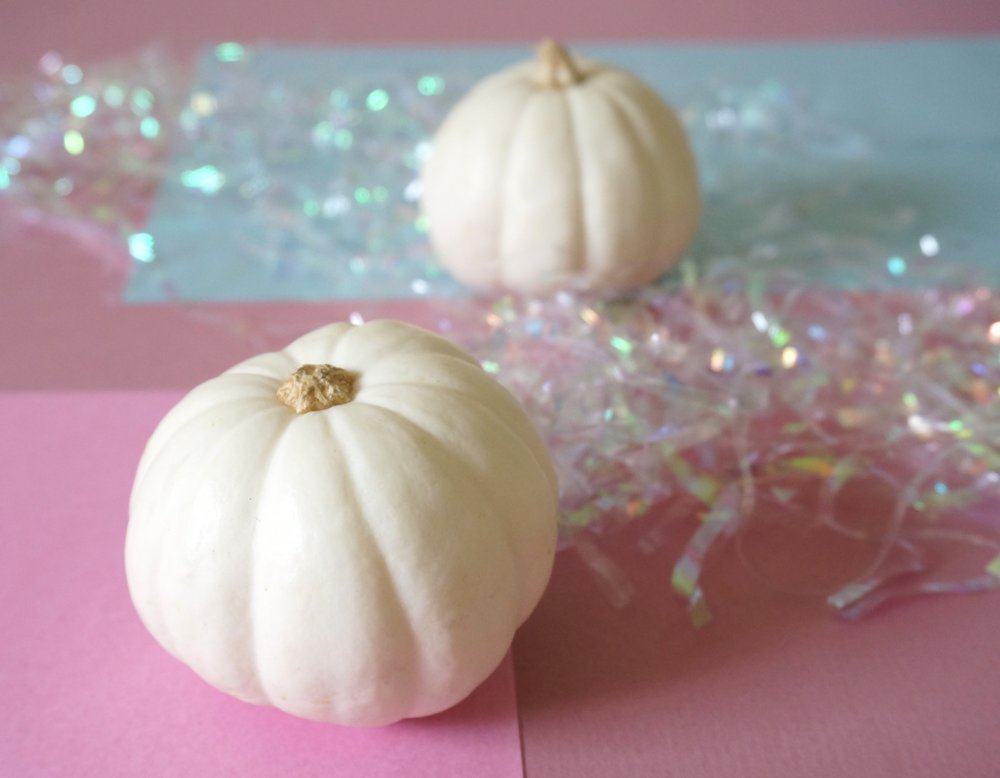
With the iridescent trend only growing in popularity, why not embrace a pearly glow this Halloween? After all, you can purchase iridescent flatware, serveware and barware, so adding iridescent pumpkins to your table will only enhance the rainbow shimmer! Keep reading for instructions on these easy-to-create DIY gems. Hint: It’s as simple as mixing paint and dunking pumpkins. And yes, it’s as much fun as it sounds!

DIY Pumpkin Supplies
While you might find the perfect shade of paint with just the right iridescent finish, it’s a lot of fun to get the “right shade” by mixing an assortment of iridescent craft paint selections. The small bottles are affordable, and you can experiment with different combinations. Here’s what you’ll need to get started…
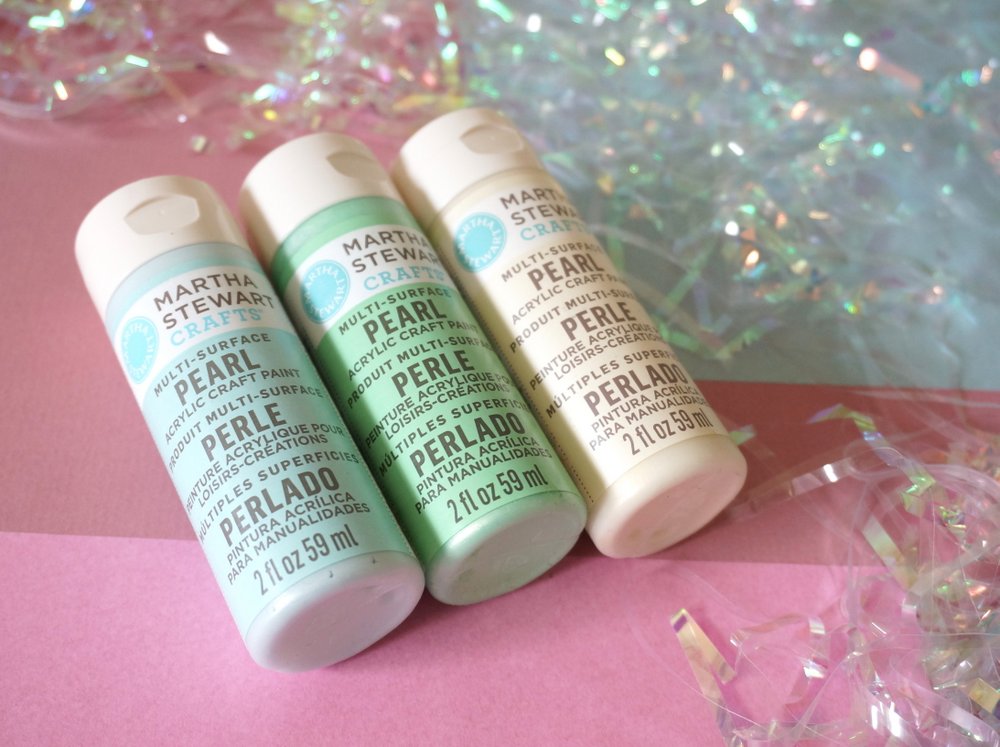
- several bottles of craft paint in pearlescent hues
- a small container for mixing paint/dunking pumpkins
- a skewer or straw for stirring
- painter’s tape (optional)
- parchment paper or another non-stick surface
- a metallic paint pen

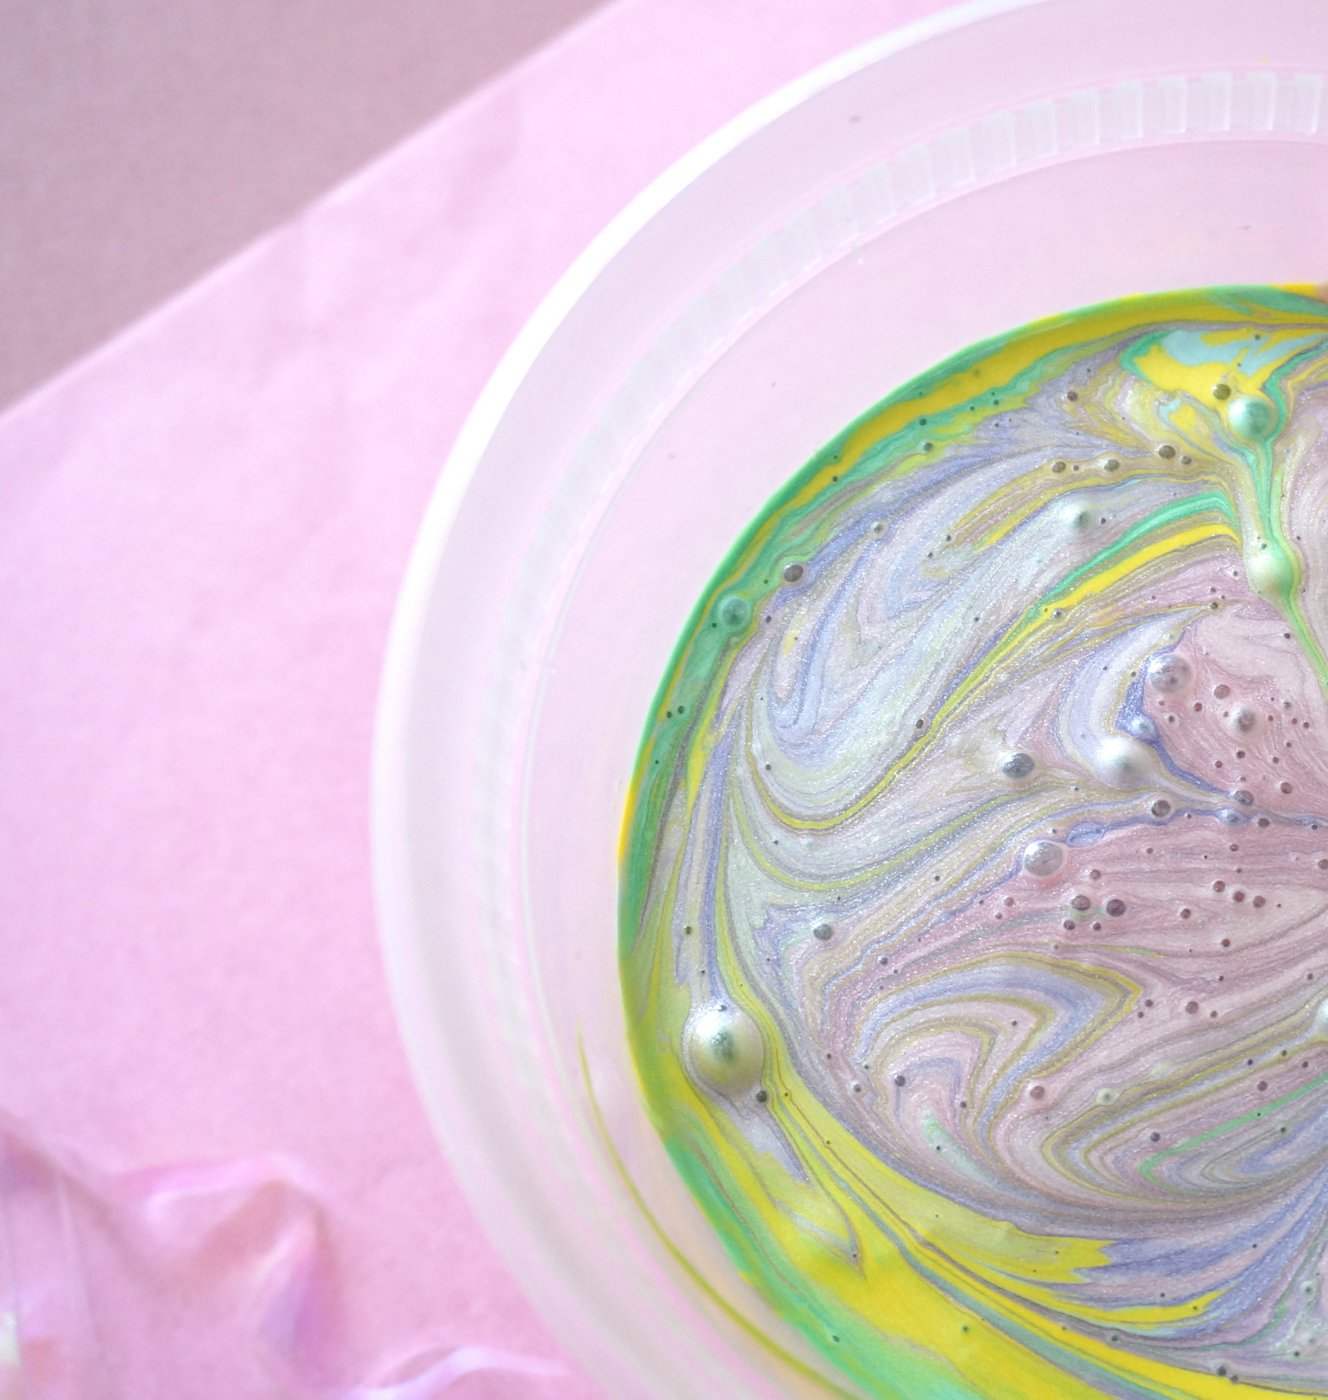
Since this project is only as good as the paint you use, make sure you choose quality over bargain prices. You just might find the good stuff on sale! A high-caliber paint will give you a beautiful sheen and plenty of coverage, ensuring that you don’t have to dunk each pumpkin more than once. Martha Stewart’s acrylic craft paints are consistently top-notch, but no matter which paint you opt for, avoid anything that’s too thin and watery. For this project, I chose selections in yellow, pink and purple, as well as the blue, green and white shades pictured below:

Project Steps
With your paint picked out, it’s time to get this project rolling. Gather your supplies and get ready to let the creativity flow!
Step 1: Pour your paint into a small container.
Make sure the container is deep enough to accommodate your pumpkins (which you’ll be dunking one at a time). You may choose to use less or more of certain paints in order to highlight the colors you’re most excited about showcasing.

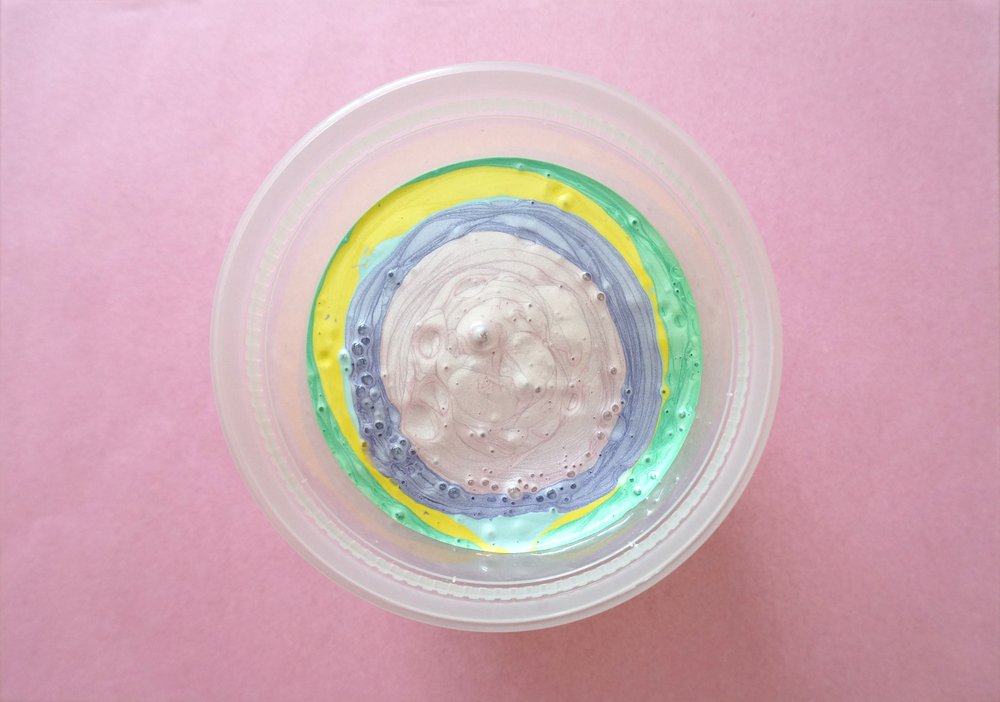


Step 2: Use a skewer or straw to stir the paint.
You want to mix it up without over-stirring. Too much stirring will result in one overall hue, and you probably want a variety of rainbow accents to show through. While the paint mix may look marbled, you won’t get a marbled finish. But the iridescence that results will not disappoint!

Step 3: If your pumpkin stems are on the short side, user painter’s tape to extend them.
You’ll be dunking the pumpkins while holding the stem, so getting a good grip is important. If you love the shape of your pumpkin but the stem is too short to work with (or extend), you can always gently place the pumpkin in the container, then lift it out by grabbing both the top and the bottom. You’ll get your hands dirty, but it may be worth it!

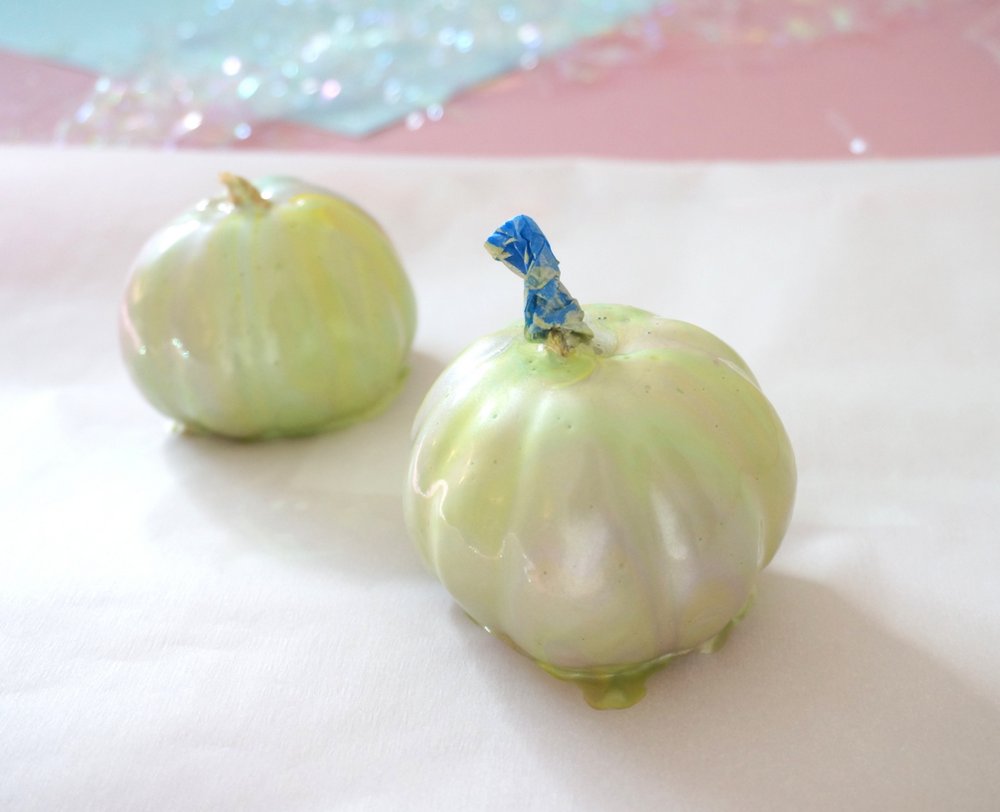
Step 4: Dunk your pumpkins and leave them to dry on a non-stick surface.
Parchment paper with a paper towel or two underneath will do the trick, although keep in mind that as the paint pools at the bottom of the pumpkins, you’ll likely want to move them to new areas of the paper to speed up the drying process. Another hint: don’t let air bubbles bother you. Most of them will leave the paint on their own time, creating a smooth finish. To be on the safe side, consider letting the pumpkins dry overnight before moving on to step 5.

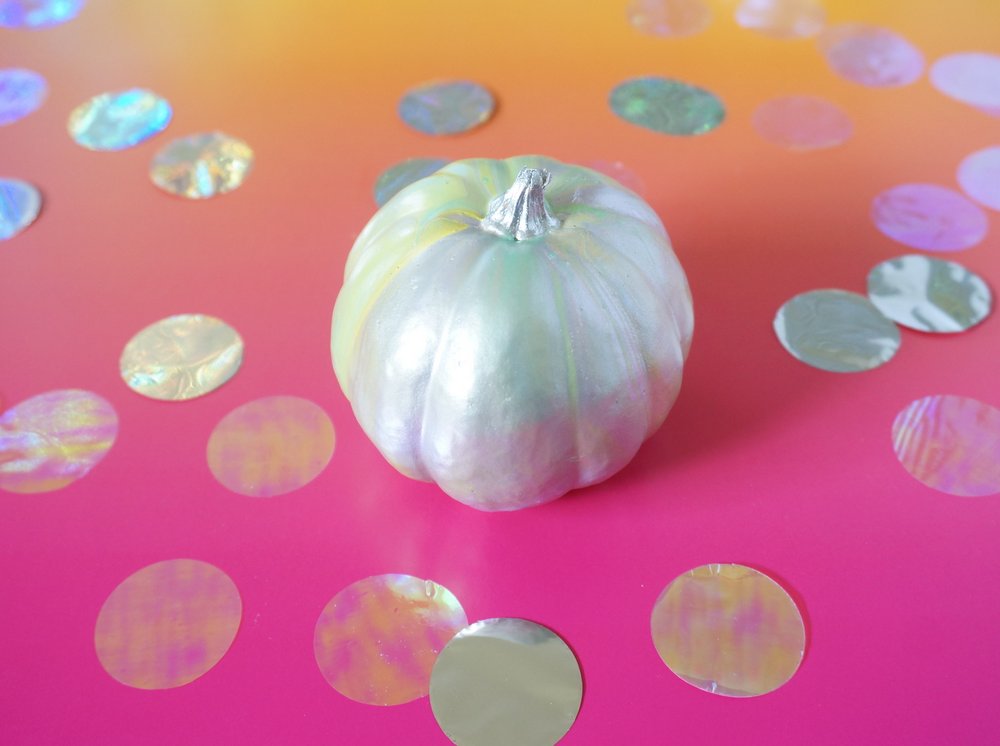
Step 5: Once the pumpkins are dry, use a paint pen to color the stems.
Silver and gold are great choices, but any color will do. You can also leave the stems as-is. Letting them be will give the pumpkins an earthier look, while painting them will create a more polished finish.

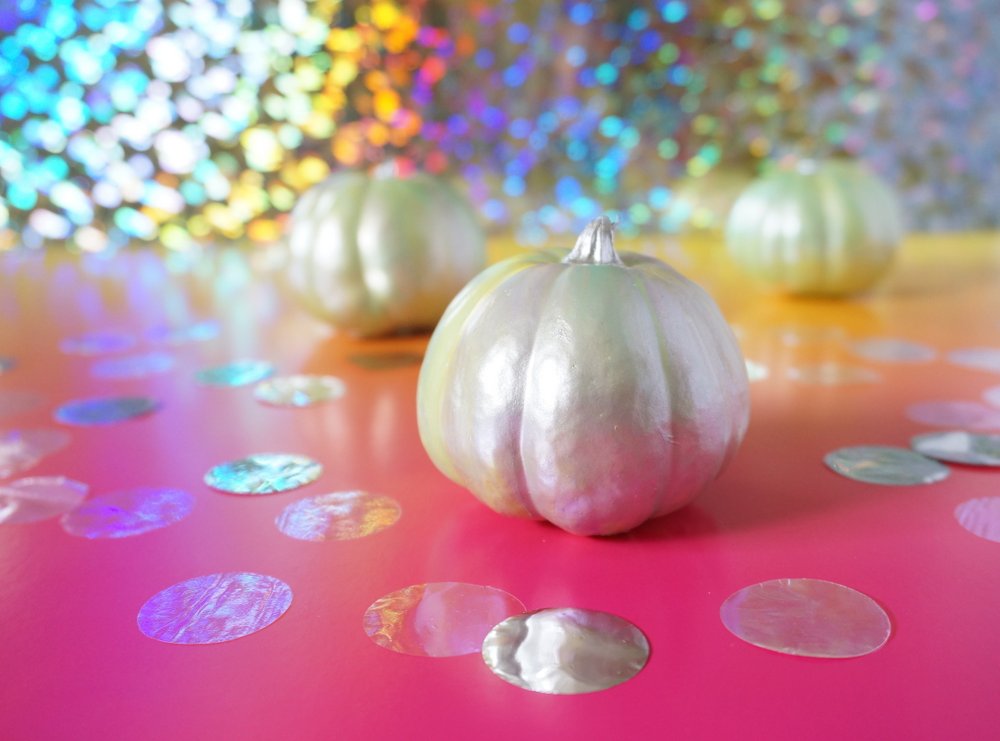
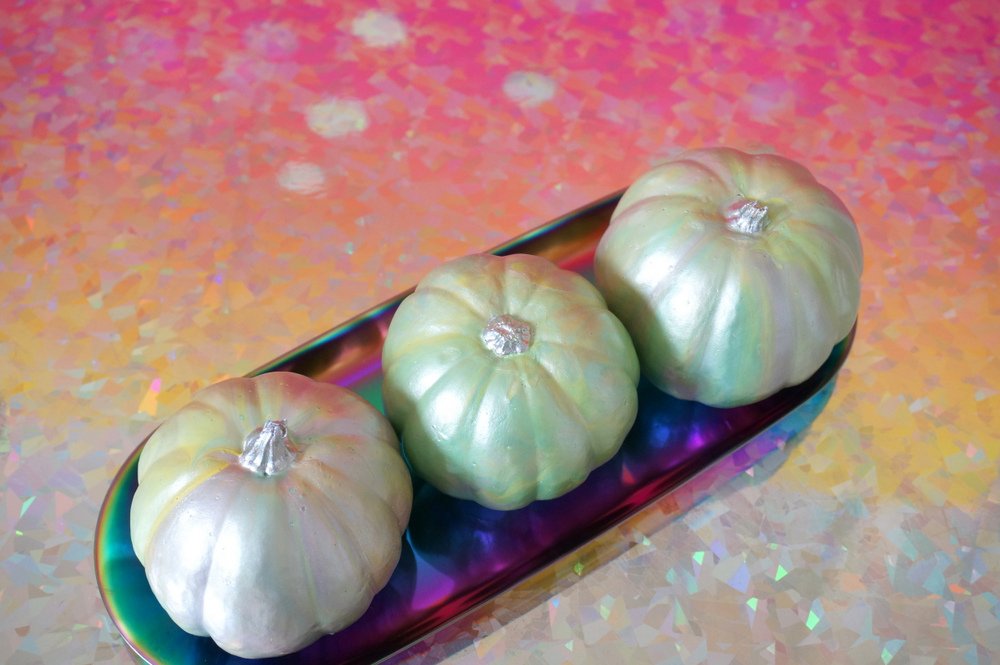
Where will you display your iridescent pumpkins? Mine are on the dining table, adding just the right amount of pearly shine to my fall tabletop. And it goes without saying that these pumpkin pearls are perfect for Halloween parties! Wishing you and yours a dazzling October!


