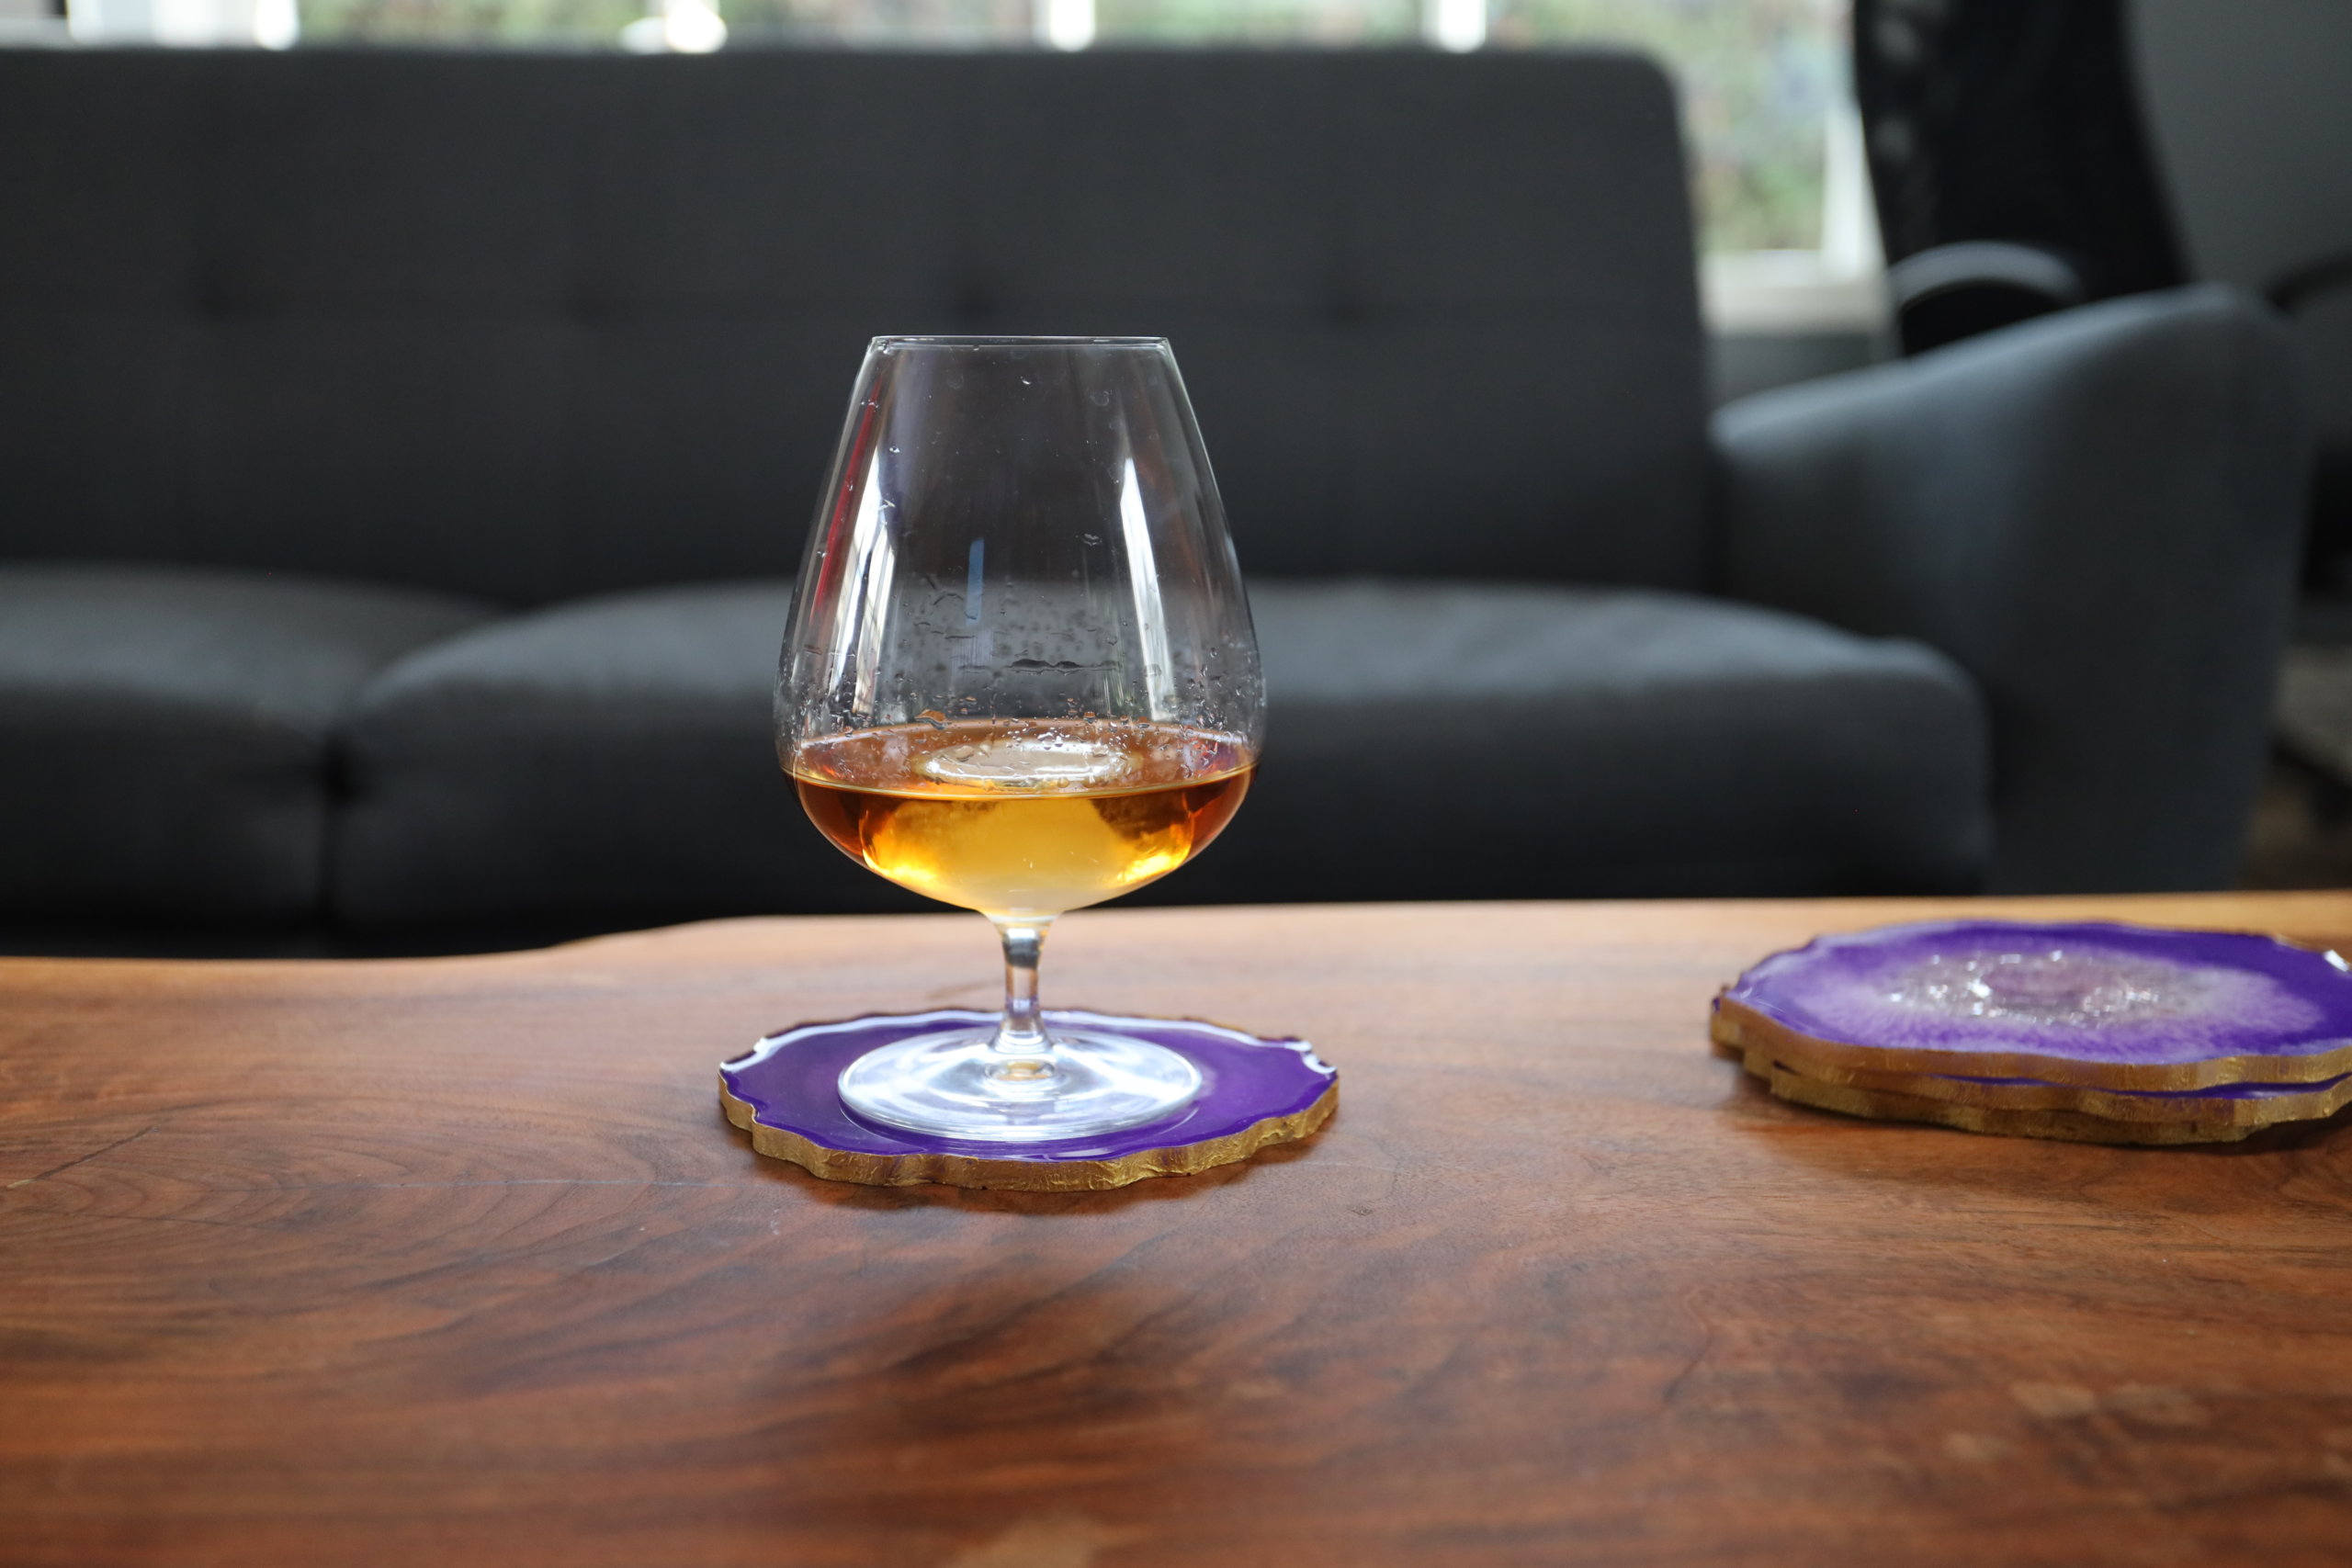
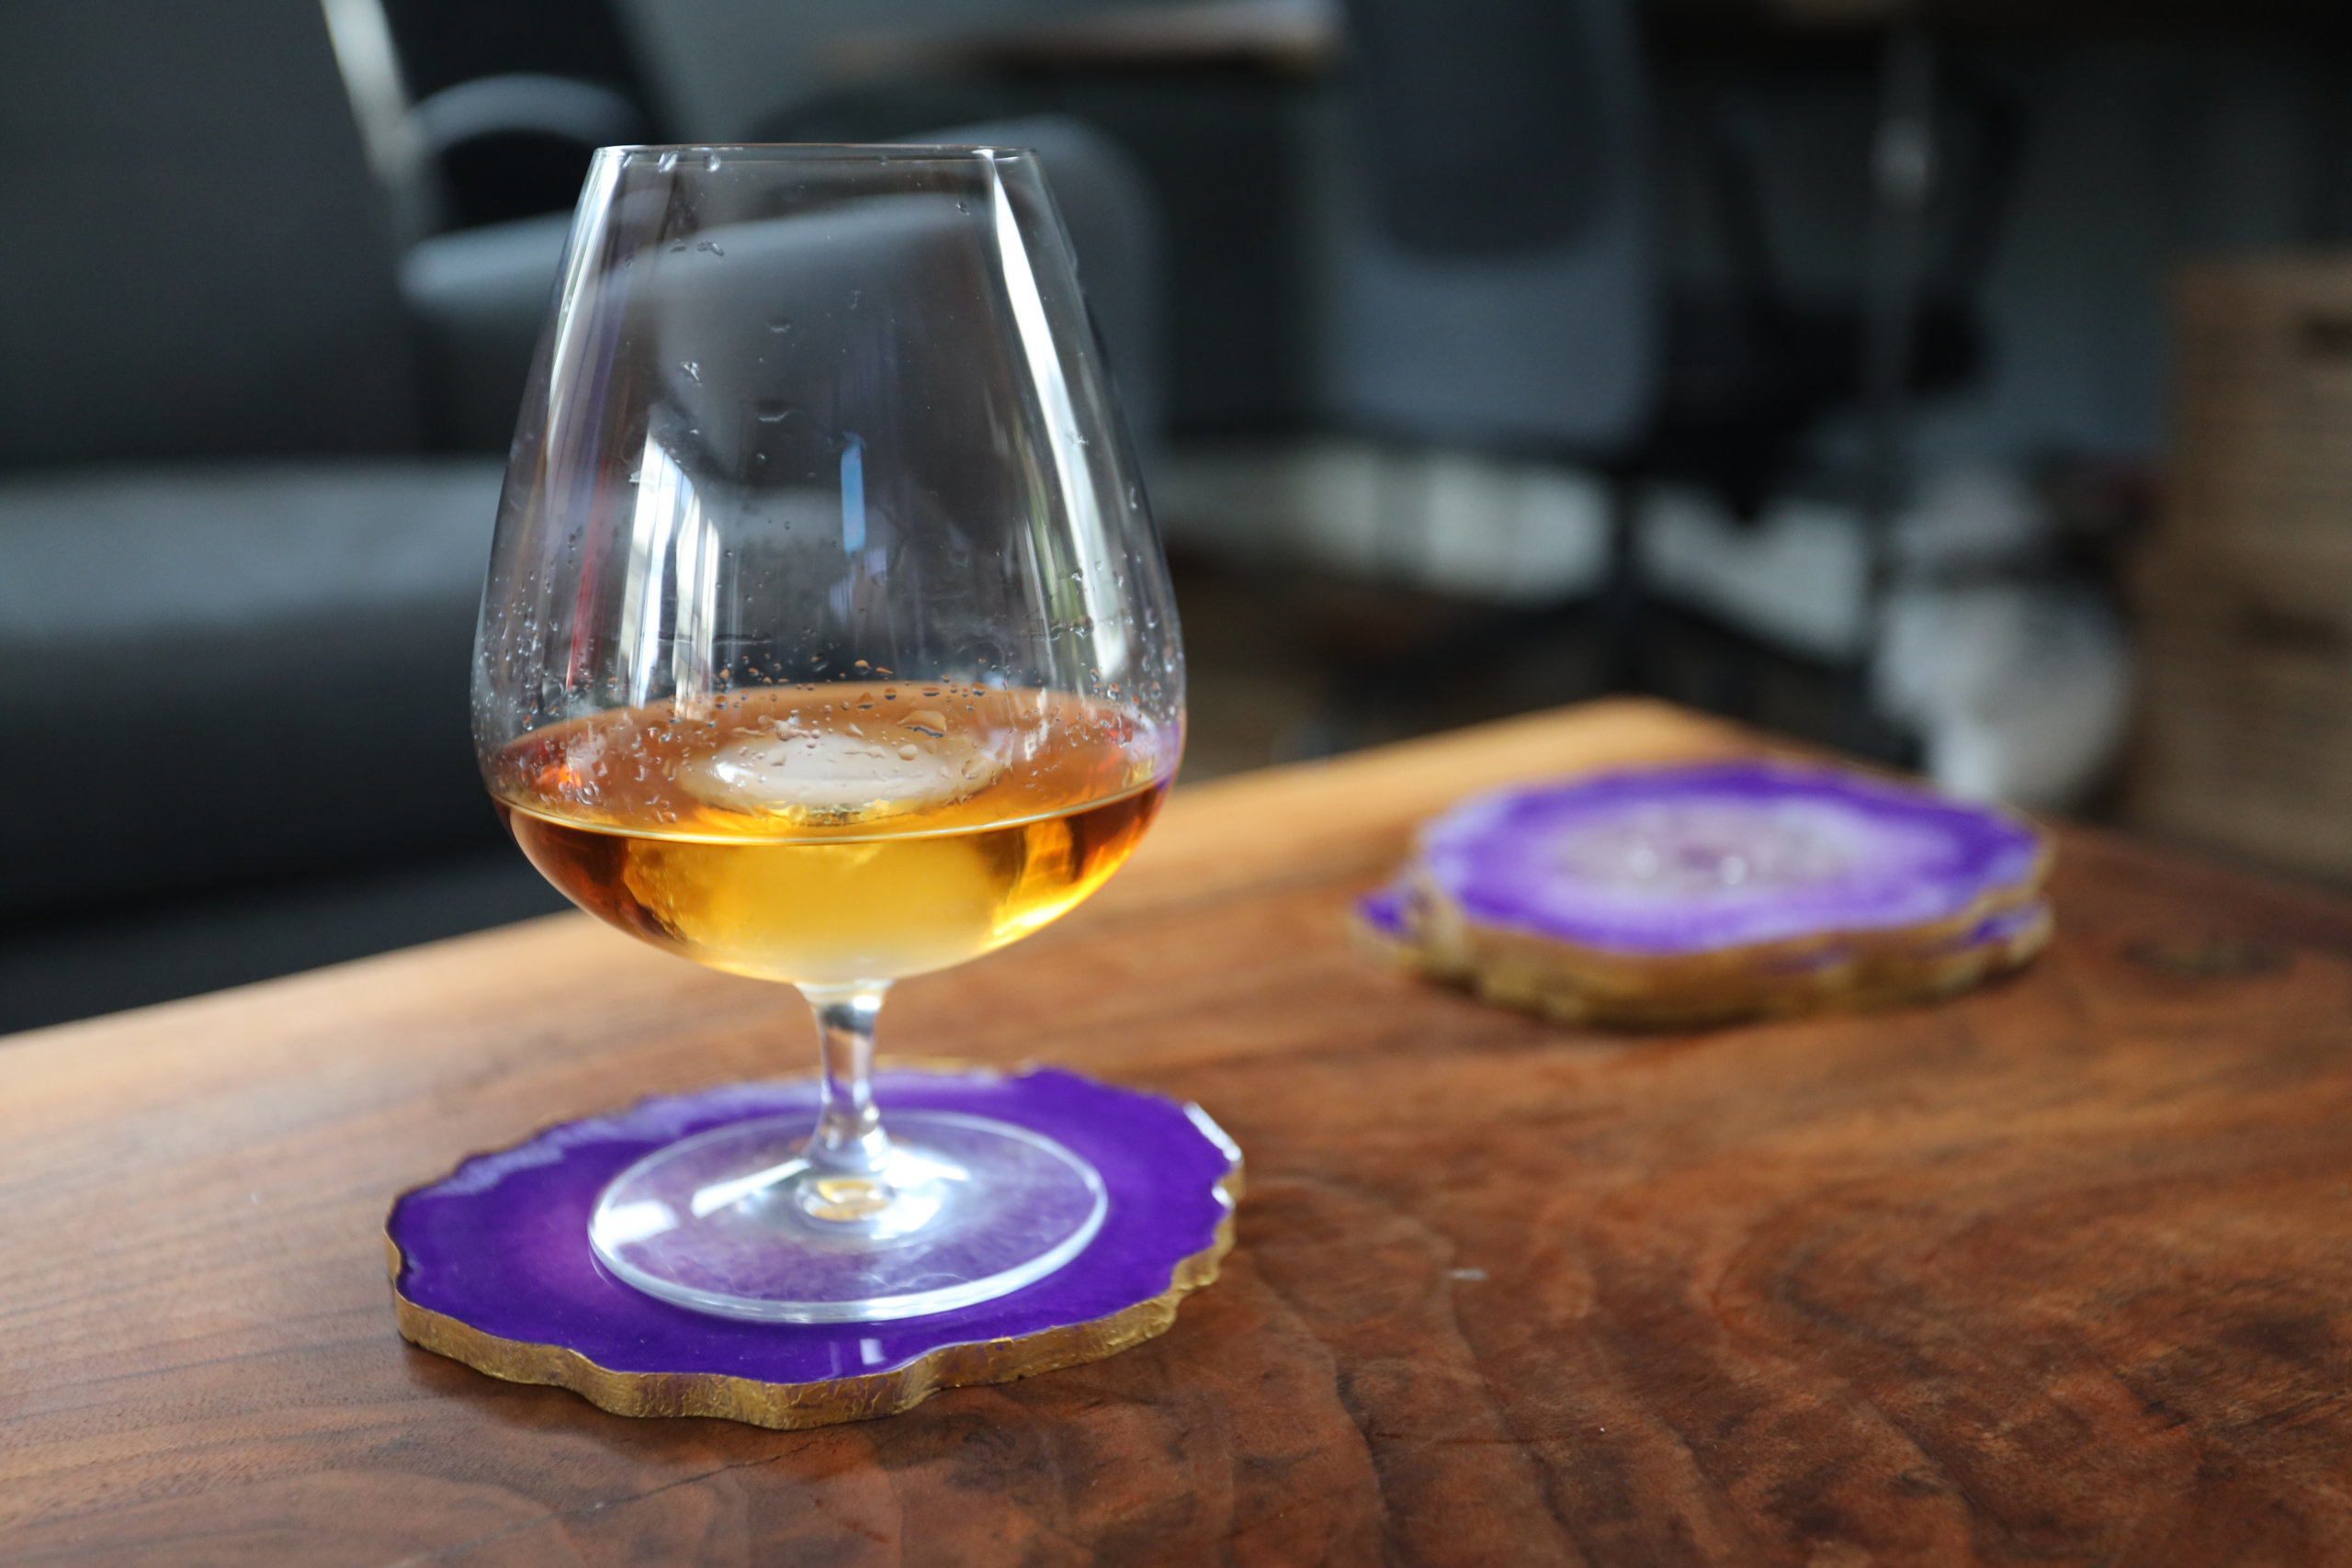
You spend time, money, and effort picking out the perfect furniture for your home, and you want the smaller elements like your coasters to reflect that. You expect that your guests are going to use your coasters since you don’t want them to leave rings all over your coffee table, so you might as well have unique ones! Why not create your own DIY geode resin coasters to add some flair to an otherwise boring product? This DIY resin project will leave you with beautiful coasters to add to your own home, or you can give them away to someone else as a gift that they won’t find anywhere else.

Supply List:
- Silicone Resin Coaster Molds
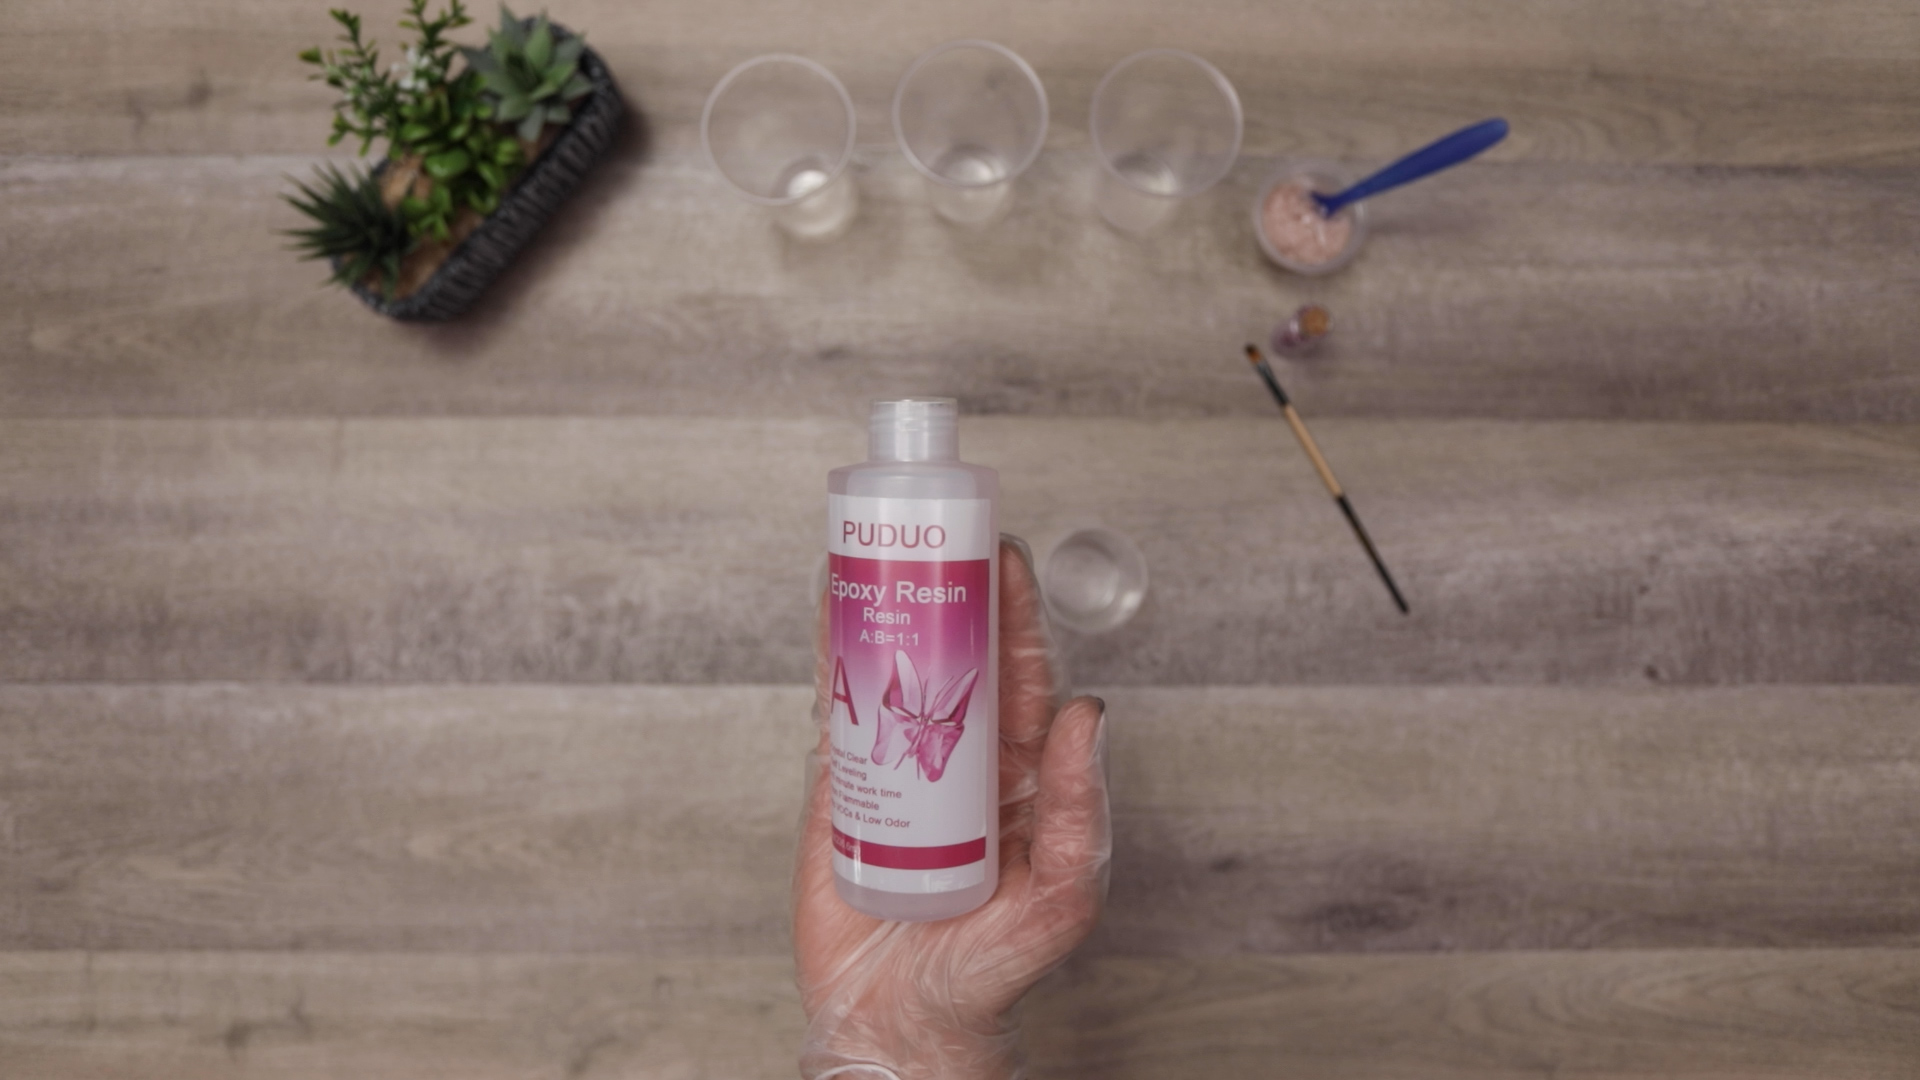
- Puduo Epoxy Resin & Hardener kit – this kit comes with stir sticks and rubber gloves
- Popsicle sticks (for stirring)
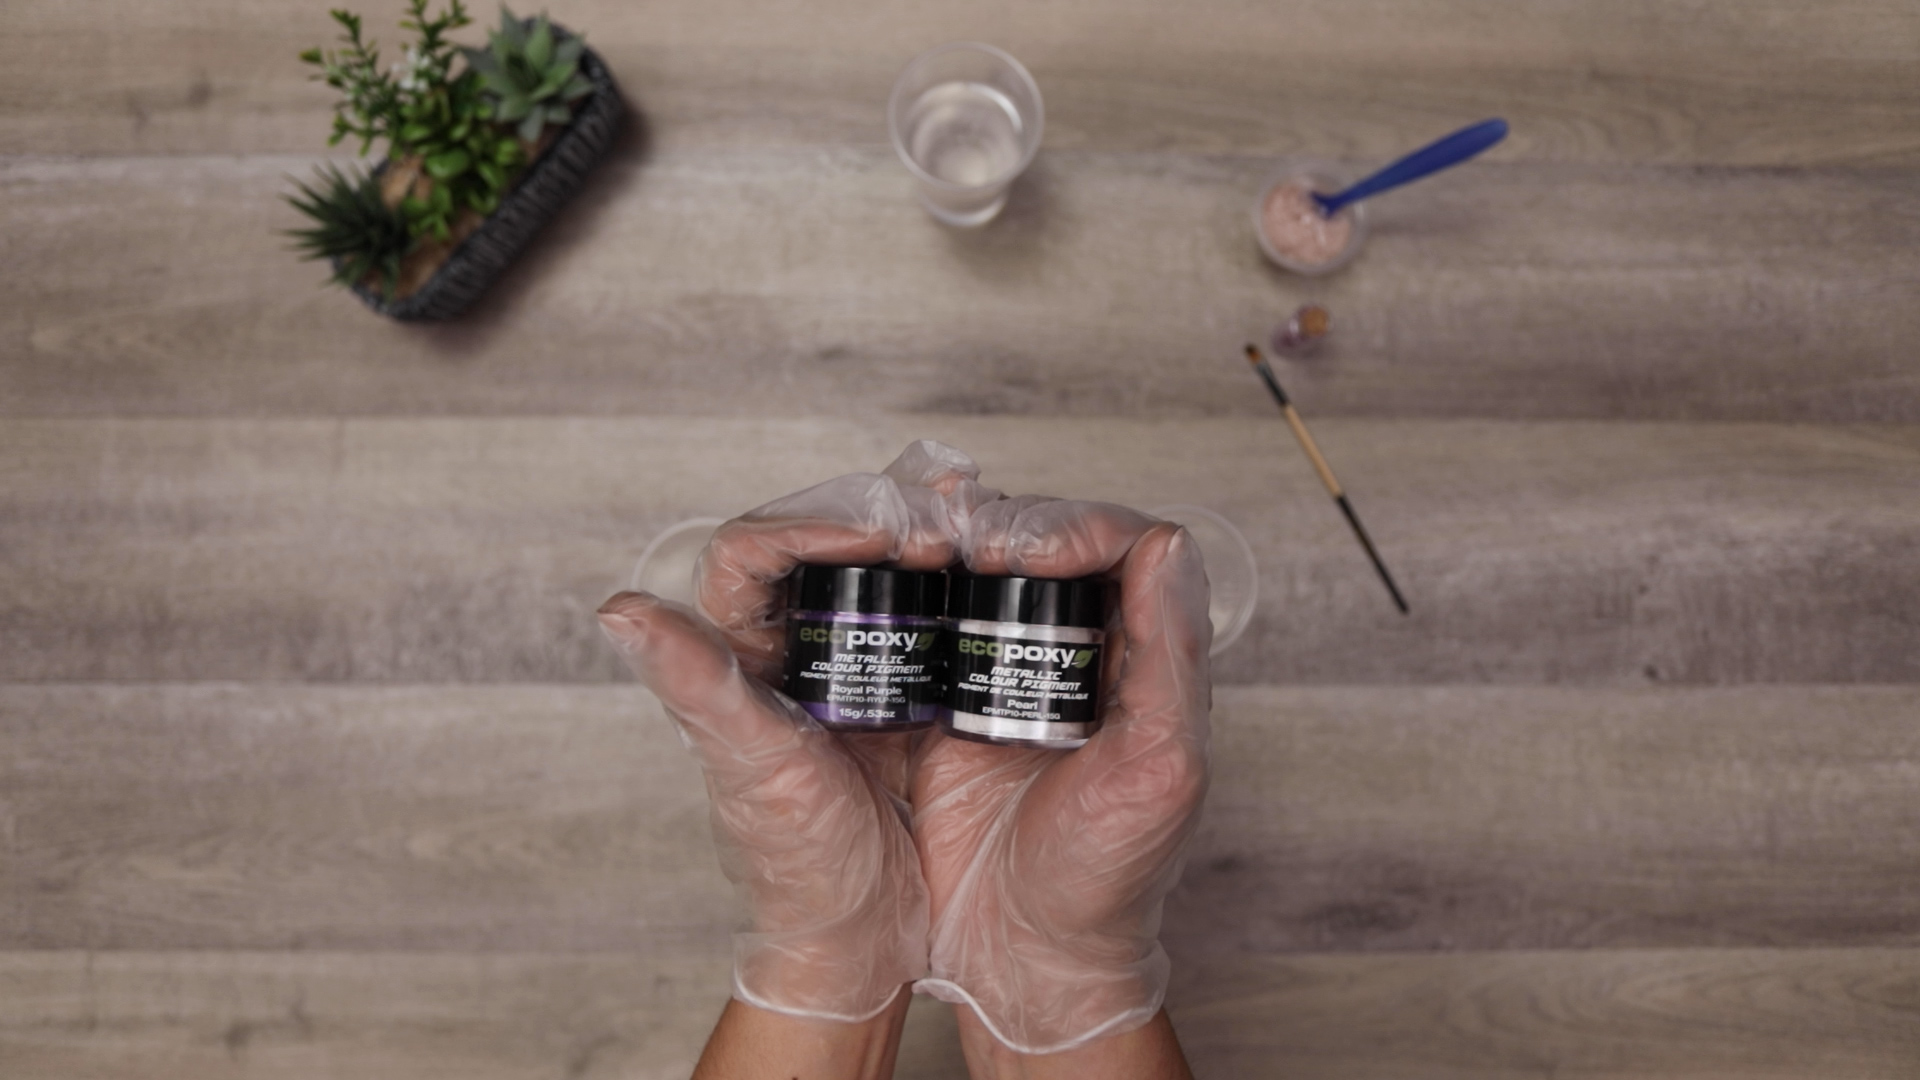
- Ecopoxy metallic pigment
- We chose pigments in Royal Purple and Pearl White.
- Gold Prisma Pigment
- Gold acrylic paint
- 1 small paintbrush
- Crushed glass or faux crystal beads
- Small spoons
- Plastic or disposable cups
- Plastic gloves
- A flat movable surface
- We’re using the back of a small canvas from the dollar store.
- Bowl of warm water
Step 1:
Start by taking the epoxy bottles from your Puduo kit and place them into your bowl of warm water. Bottle A is your resin and bottle B is your hardener. The warm water helps to loosen the product up, lessening the number of air bubbles and making it easier to spread.


Step 2:
While the bottles are warming, grab your silicone coaster molds. Lay the coasters out on your flat surface. It’s important that the surface is completely flat because the epoxy will flow outwards when you pour it into the molds. If your surface isn’t flat, the colors might flow in odd directions and ruin the geode effect.
Step 3:
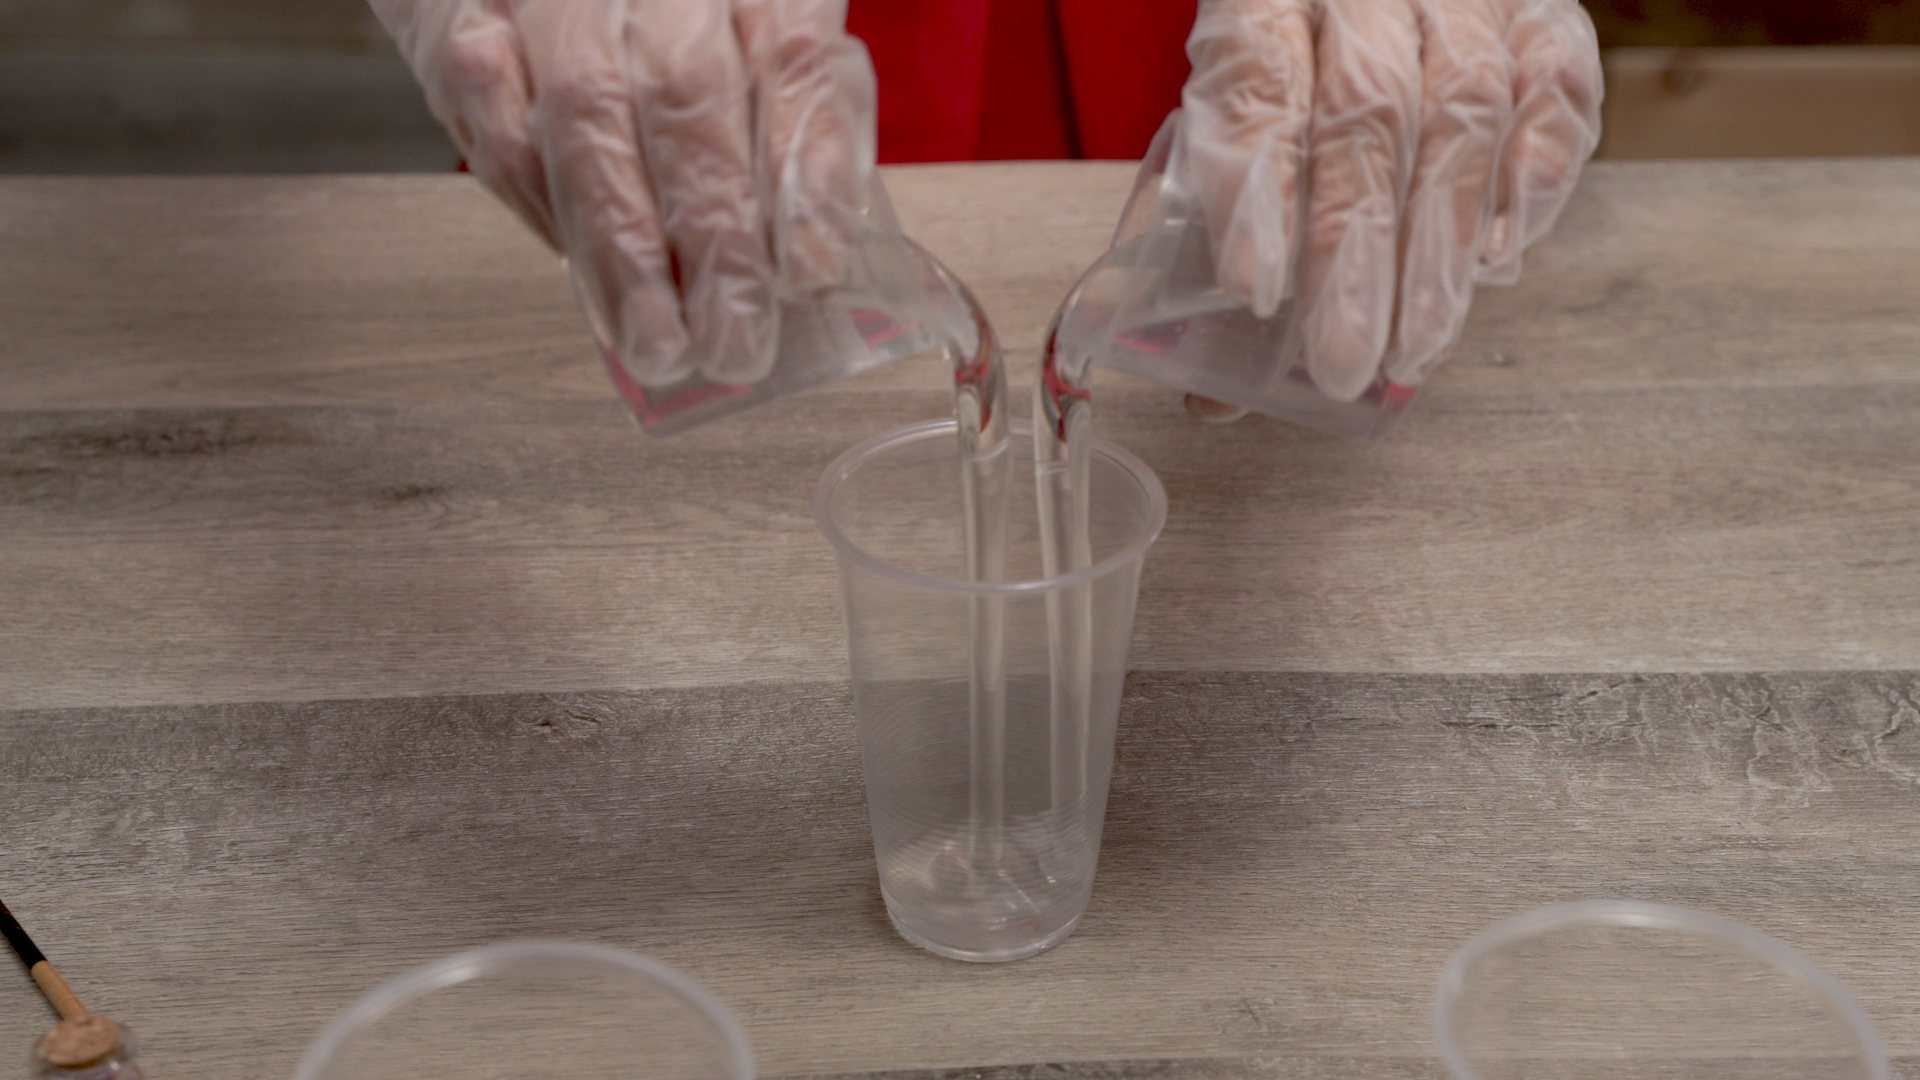
Once the bottles have been warmed, it’s time to mix them. Mix bottle A (resin) and bottle B (hardner) at a 1 to 1 ratio in a plastic cup. We mixed the full 100ml for this craft because you need a lot of clear resin, as well as the colored.

Step 4:
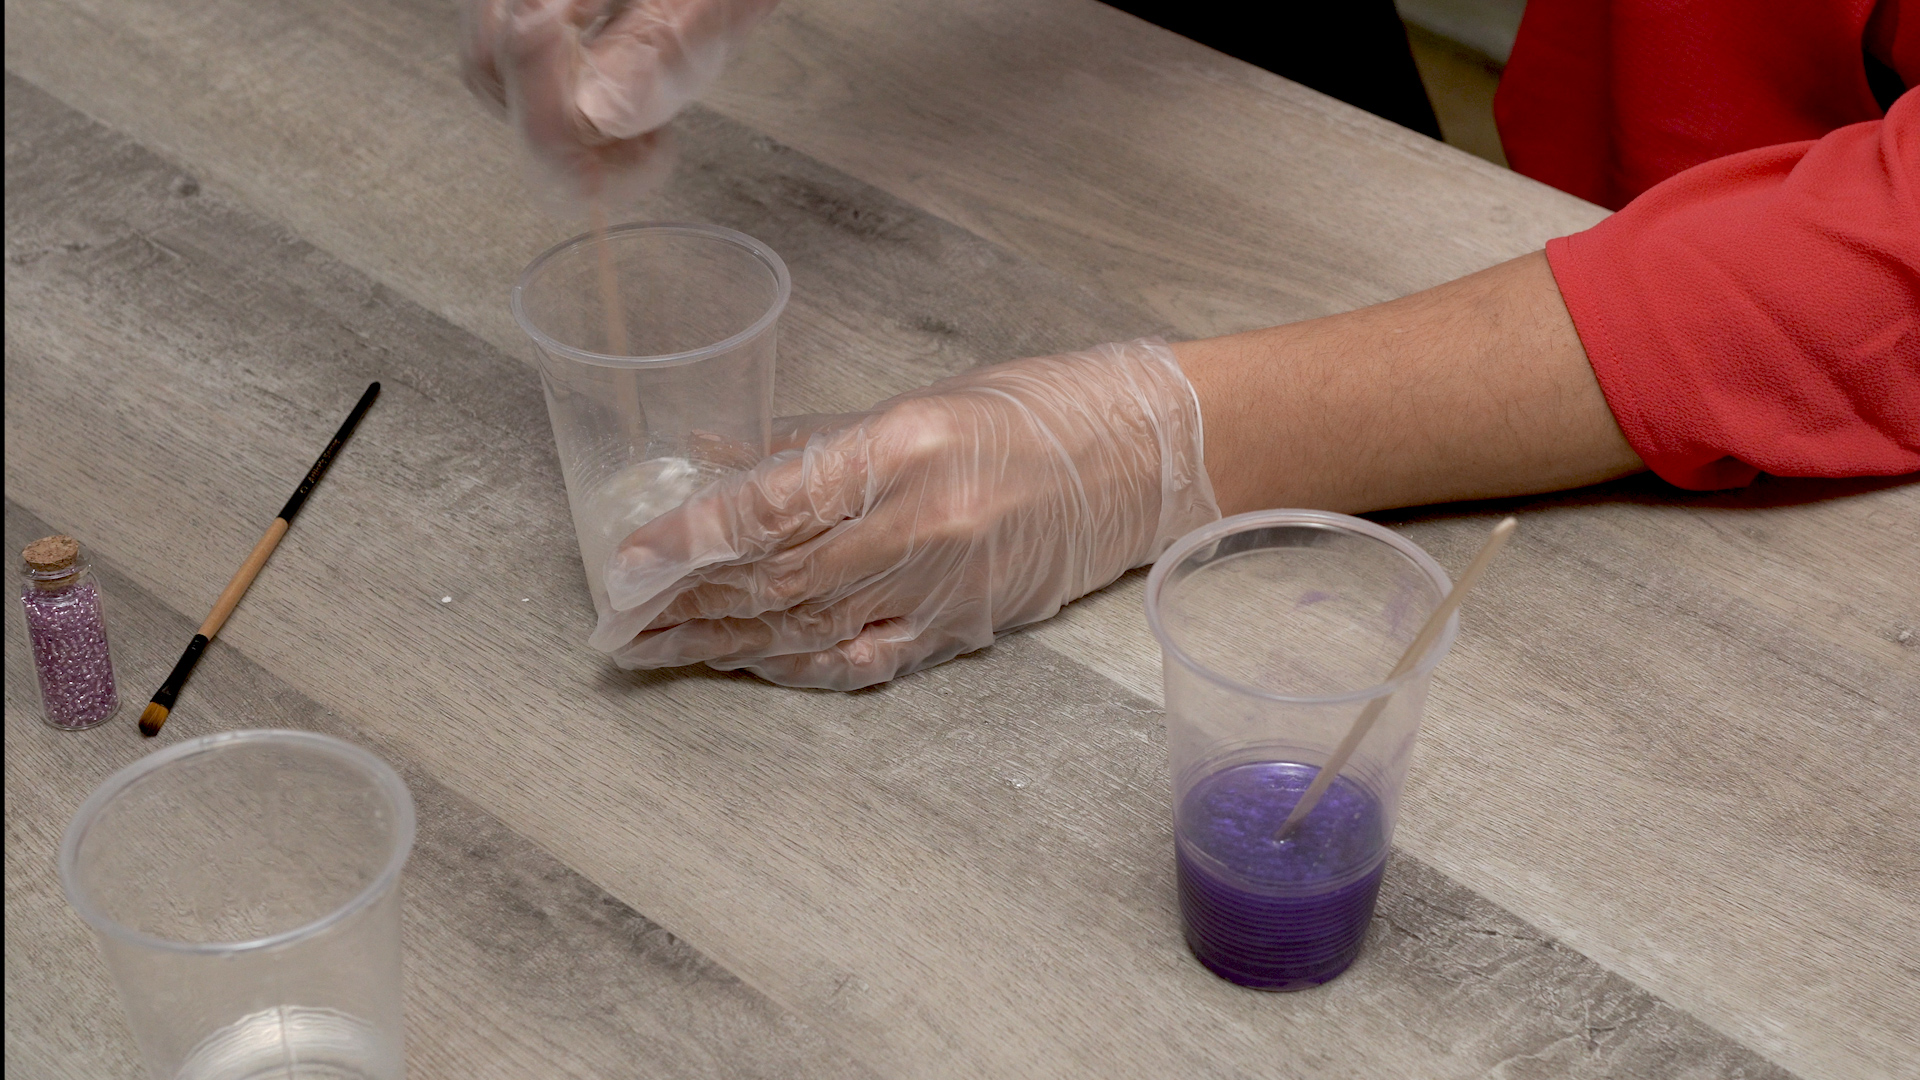
Stir the contents of bottle A and B together in a plastic cup, making sure to scrape the edges of the cup once in a while. The mixing process takes a few minutes. Eventually, you should feel the plastic cup starting to warm, which means that parts A & B are reacting and mixing. The liquid will also turn from a cloudy consistency to a clear, translucent liquid.
Step 5:
Now it’s time to choose the base color for your coasters. We chose powdered pigments from Ecopoxy in Royal Purple and Pearl White. The pigment powder adds texture to the epoxy and forms defined lines between the colors that help to obtain the geode effect.

PRO TIP: If you’re looking for a marble effect on your coasters, use acrylic paints rather than a powdered pigment.
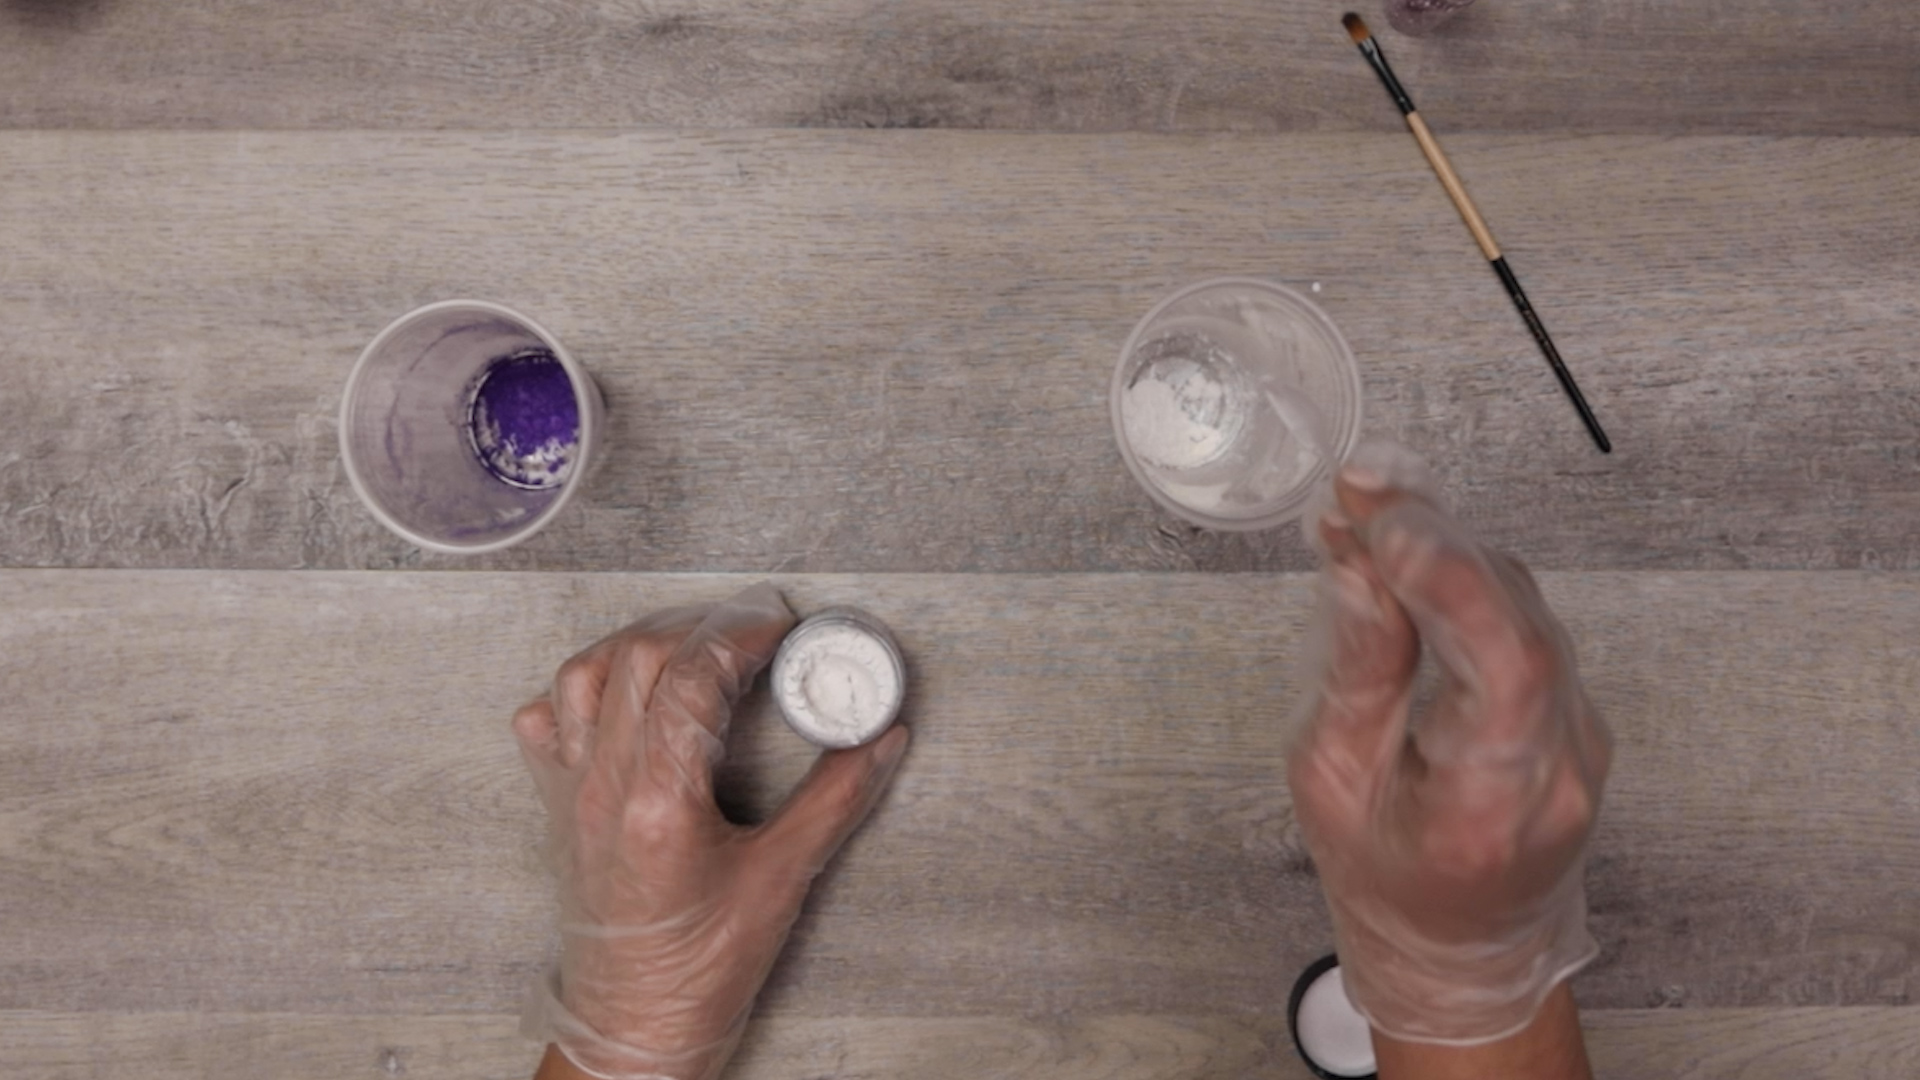
Step 6:
Divide a portion of your resin into two plastic cups, adding a mall amount of powdered pigment to each cup. Mix the color in well. A little bit of powdered pigment goes a long way, so start with less than you’d think.


PRO TIP: The resin may start to stiffen after sitting for a while. You can loosen it up by resting it back in the warm water while giving it another stir.
Step 7:
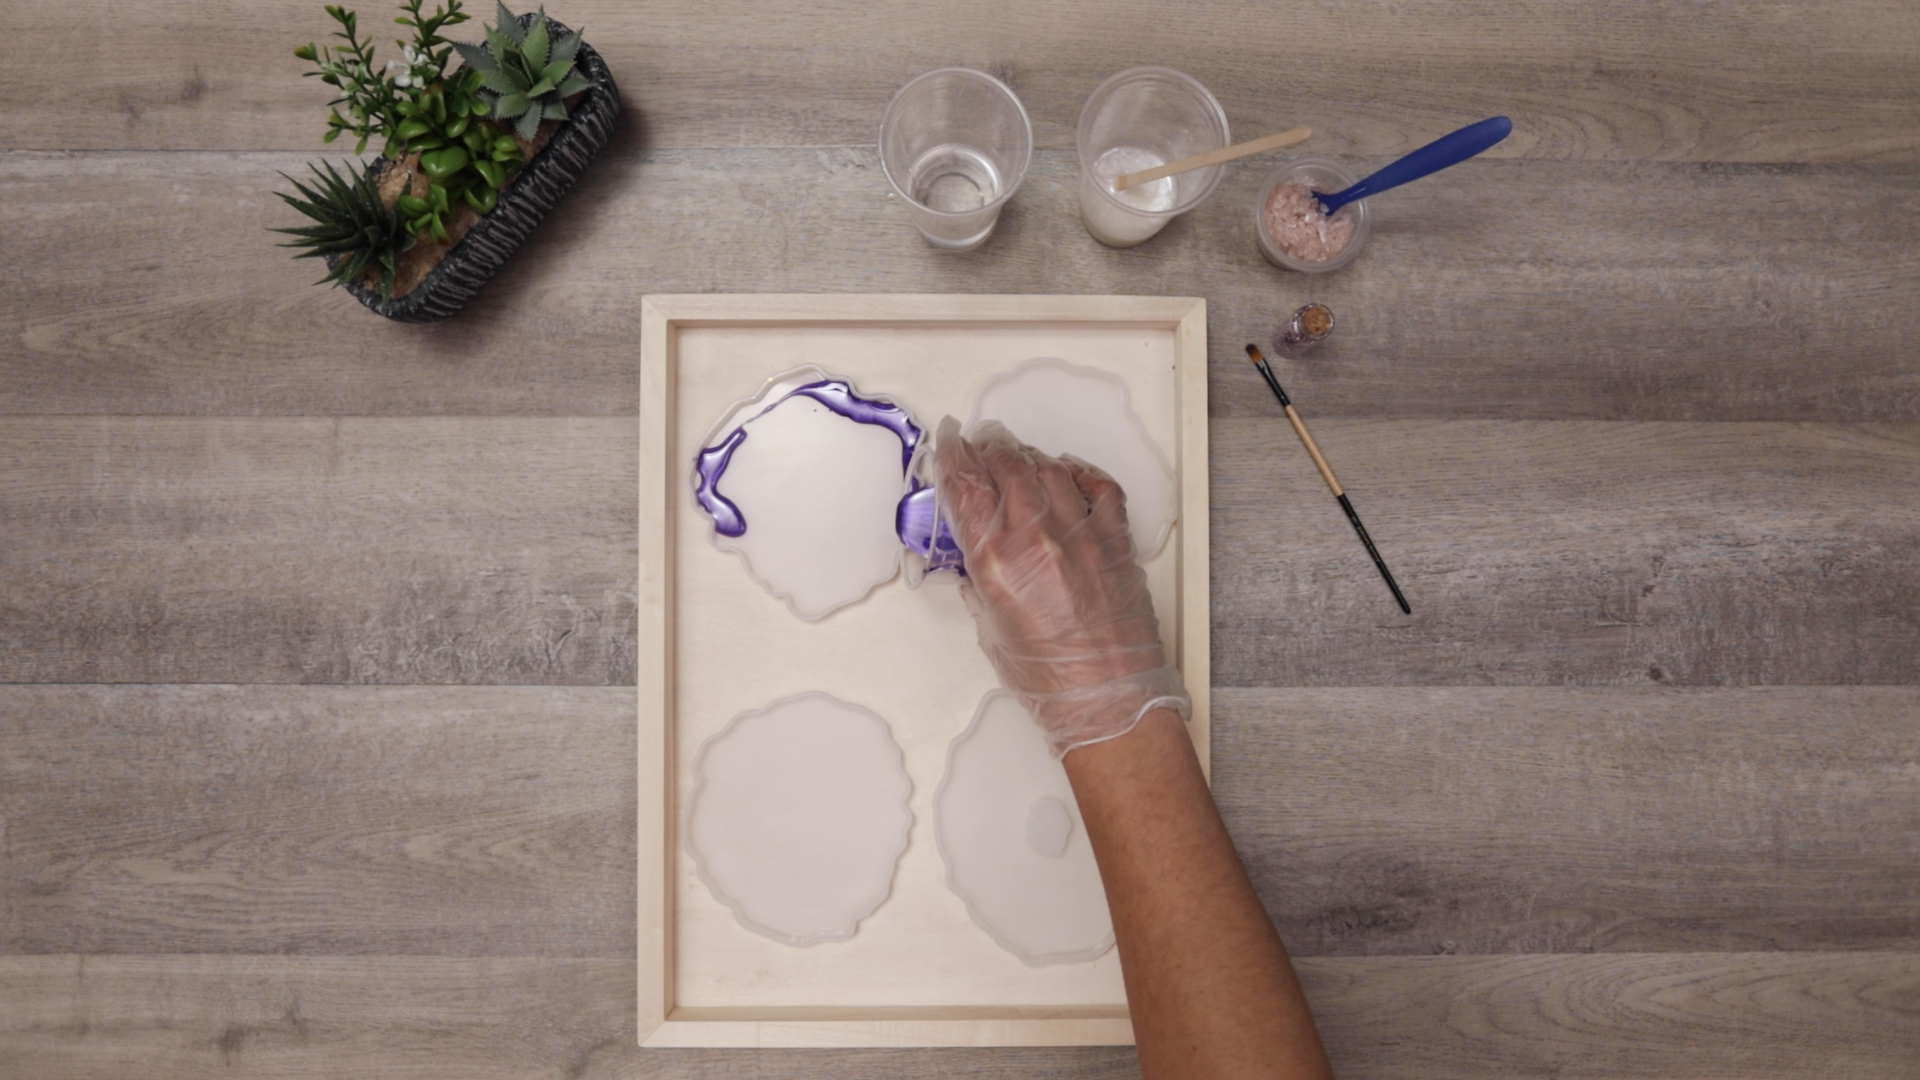
Start pouring the purple resin along the border of the molds that don’t have the center cut out. The mixture dries quickly so it’s important to work as fast as possible.

Step 8:
Pour a circle of white resin into the center of the same two molds, followed by another purple circle inside the white.


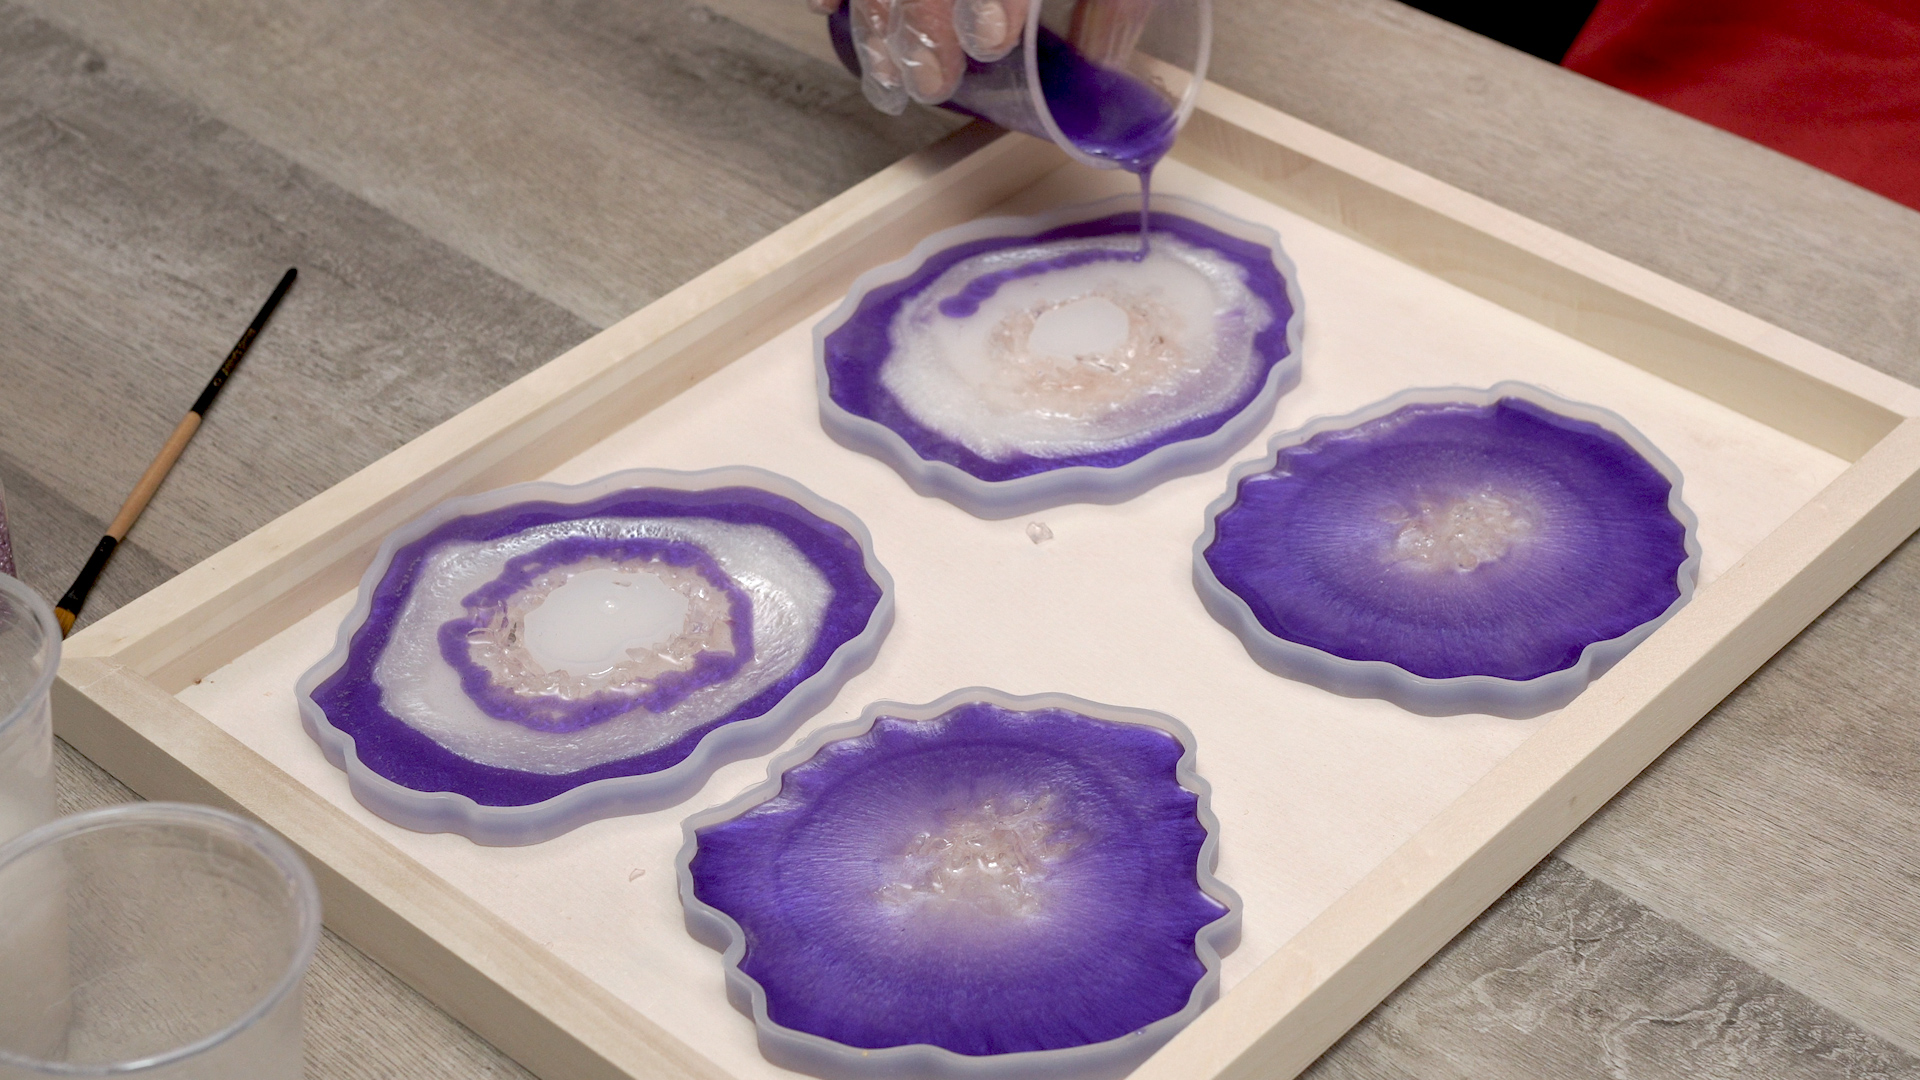
Step 9:
Finally, pour the clear resin into the center of the colored rings and watch how it pushes the rings outwards. The clear epoxy will start to push and pull the colors into one another.


Step 10:
Working with the two molds that have the center cut out, place your crushed glass or beads around the center of the mold.

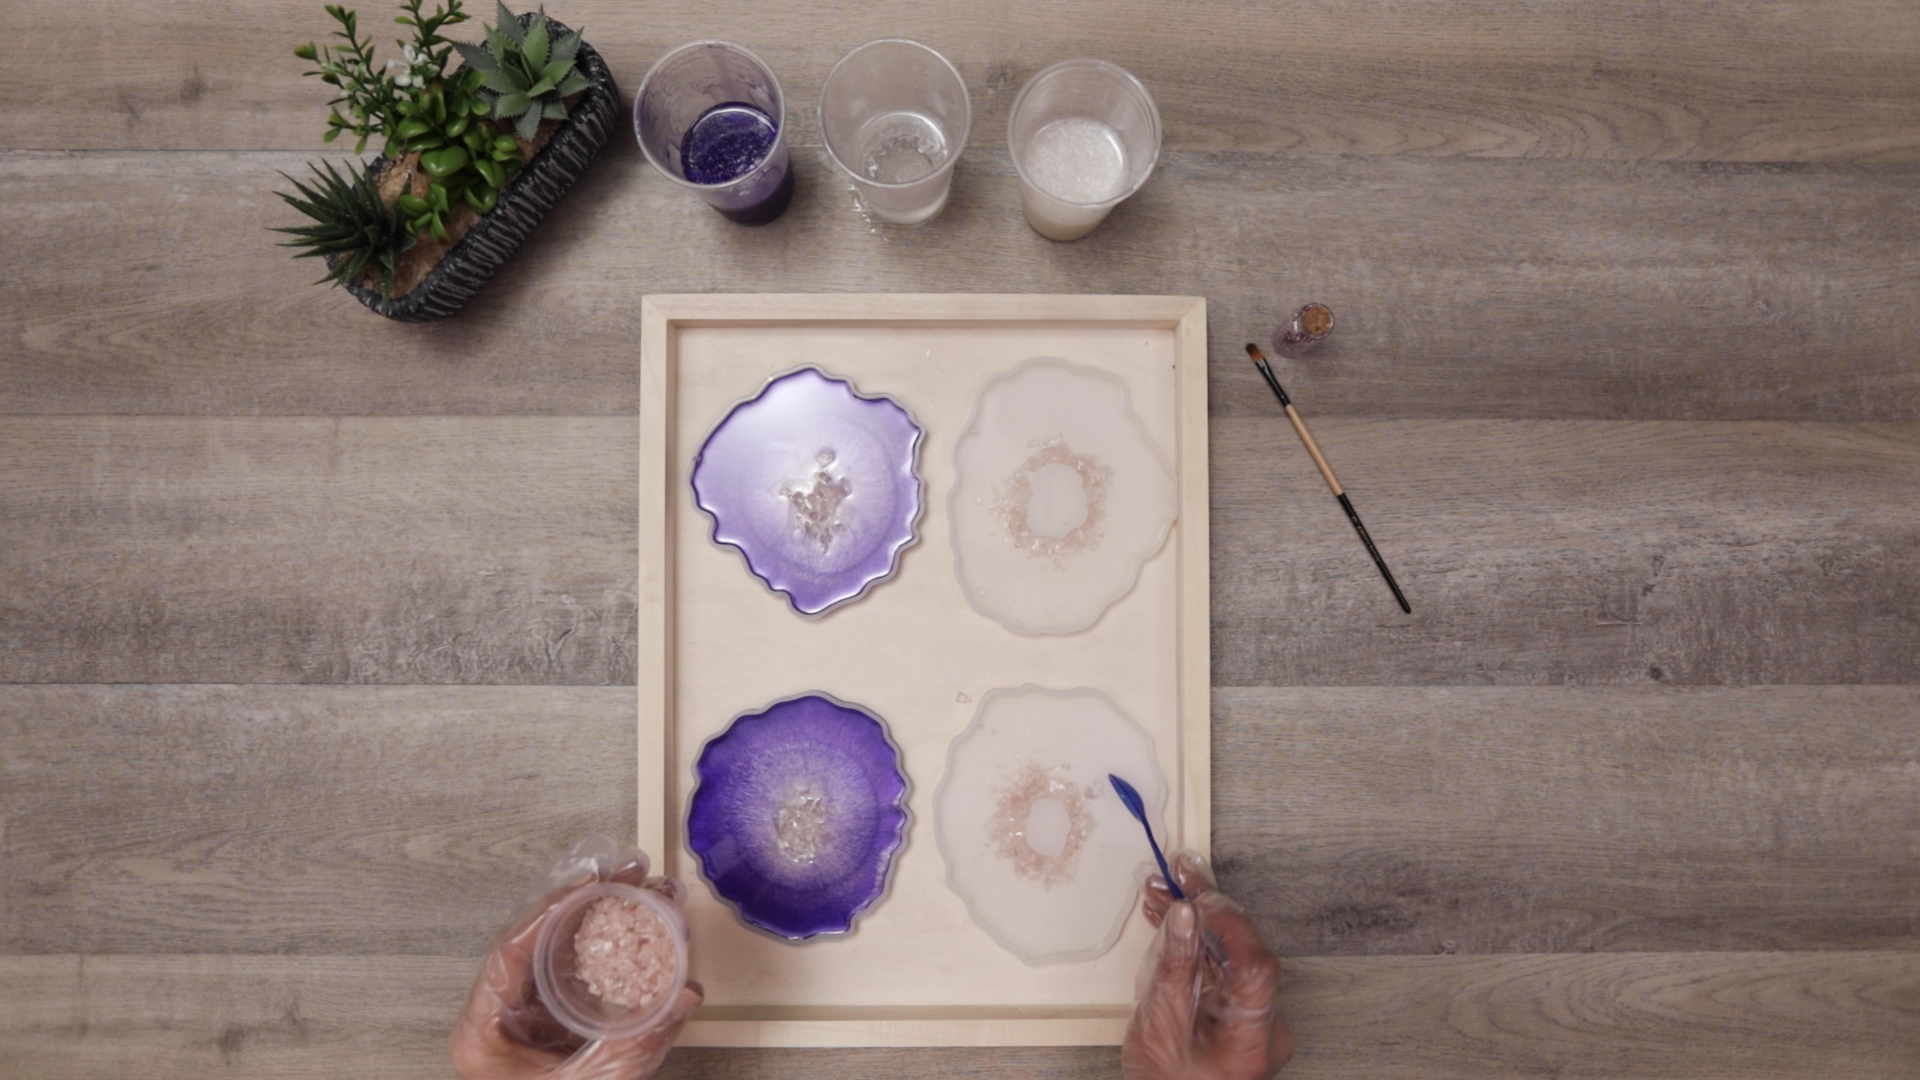
Step 11:
Use the purple resin to pour around the outside of the mold, then add some of the pearl white in between the purple ring and the glass in the center. Then, use the clear resin around the center to help push the colors outward.

Step 12:
Leave the coasters lying flat to dry for at least two hours, then add one more layer of clear resin to smooth out the surface. Cover your coasters with a sheet of parchment paper to protect them from dust or dirt while they dry.
Step 13:
Let the coasters dry for at least 8 hours to allow the product time to cure. We let ours dry for 24 hours.
Step 14:
After they’ve dried, pop the coasters of the mold by wiggling the edges and pressing up on the bottom of the molds.

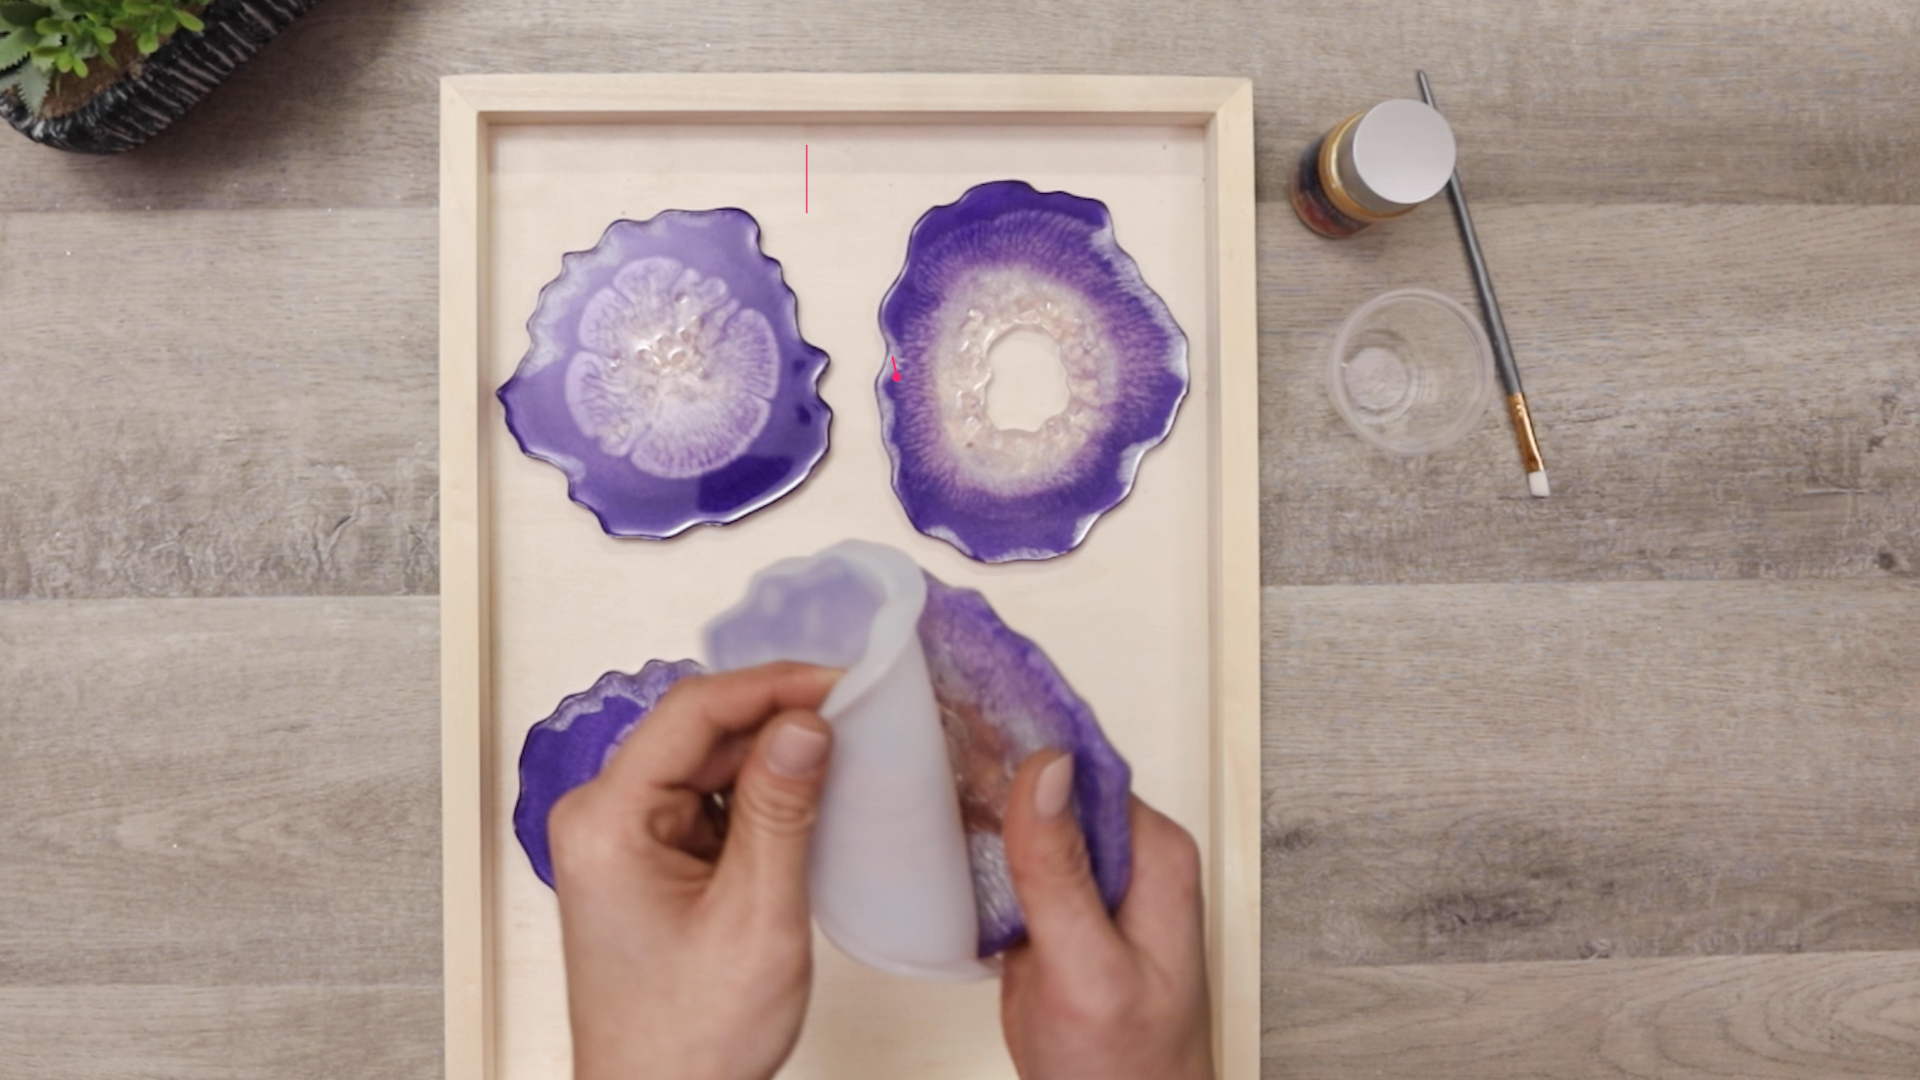
PRO TIP: You might end up with some sharp edges depending on how the resin dried. You can use scissors to cut them or use sandpaper the buff the sharp edges.
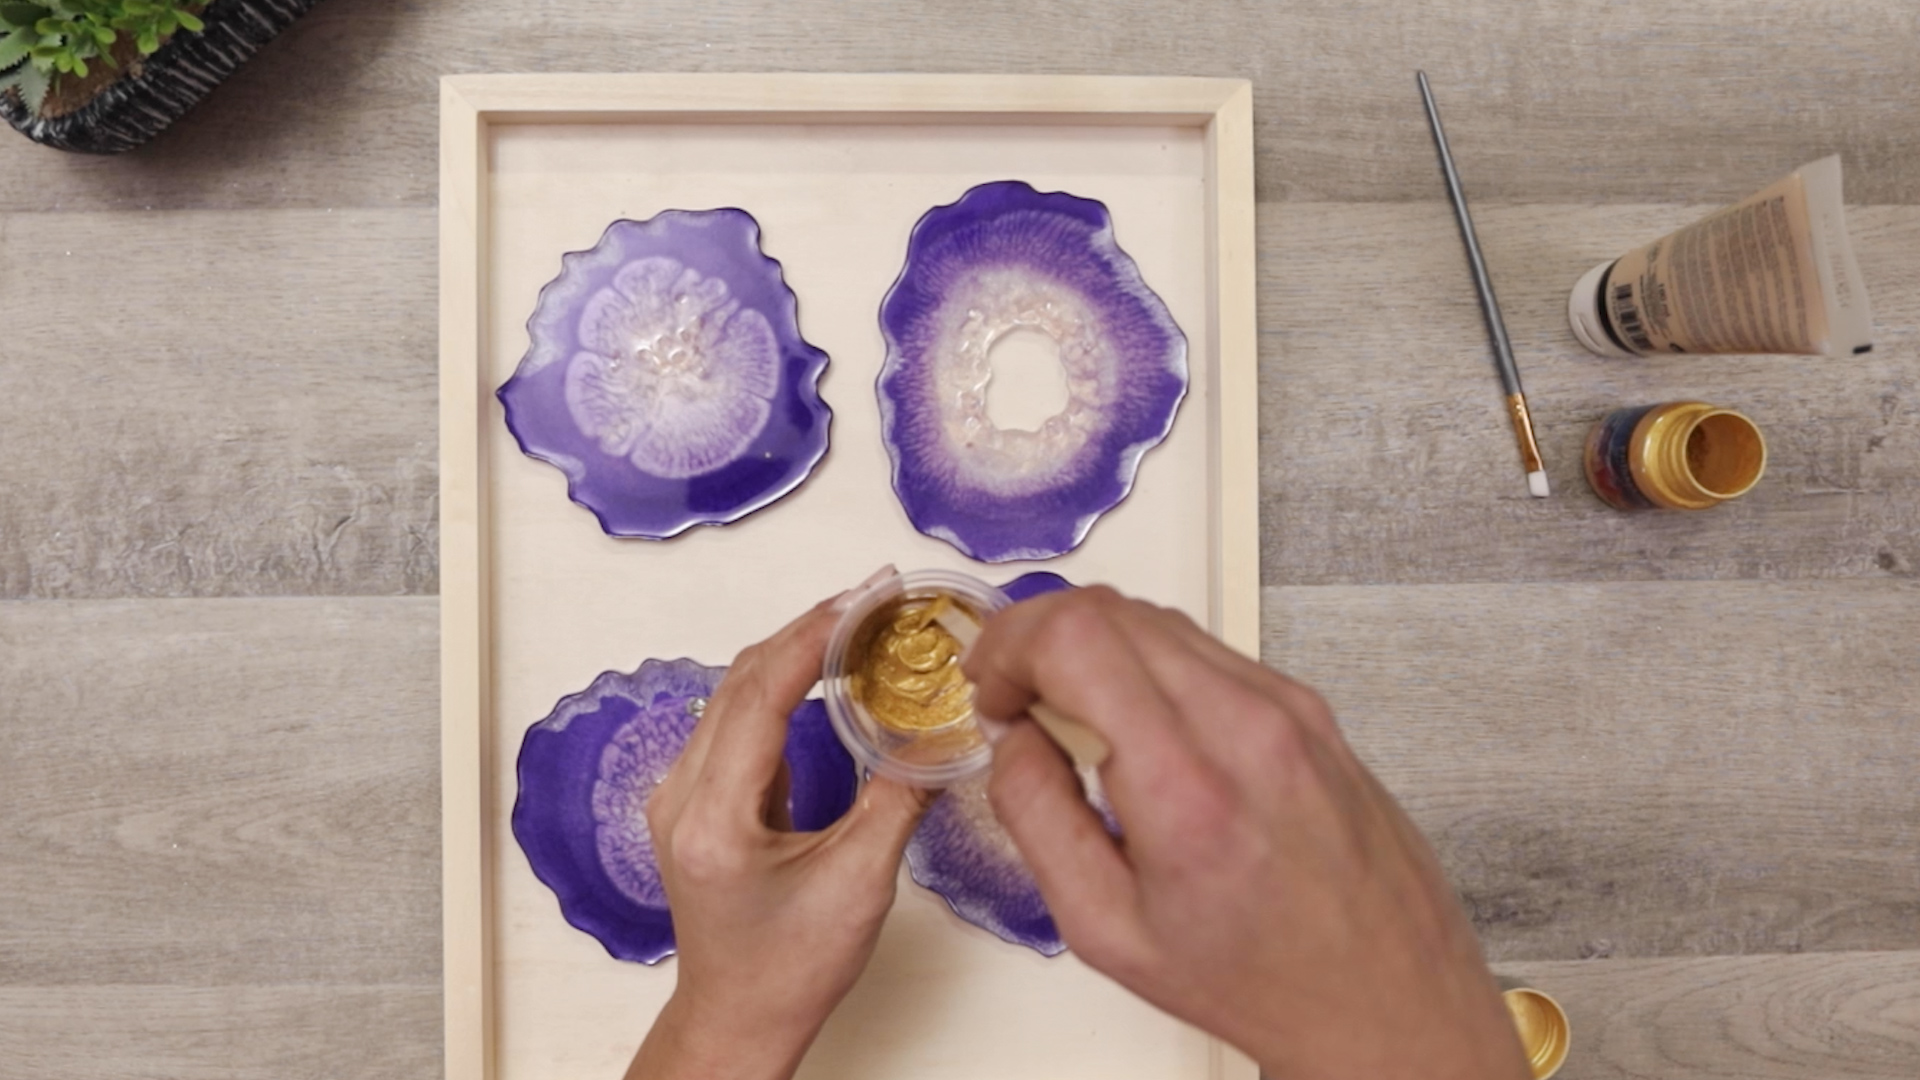
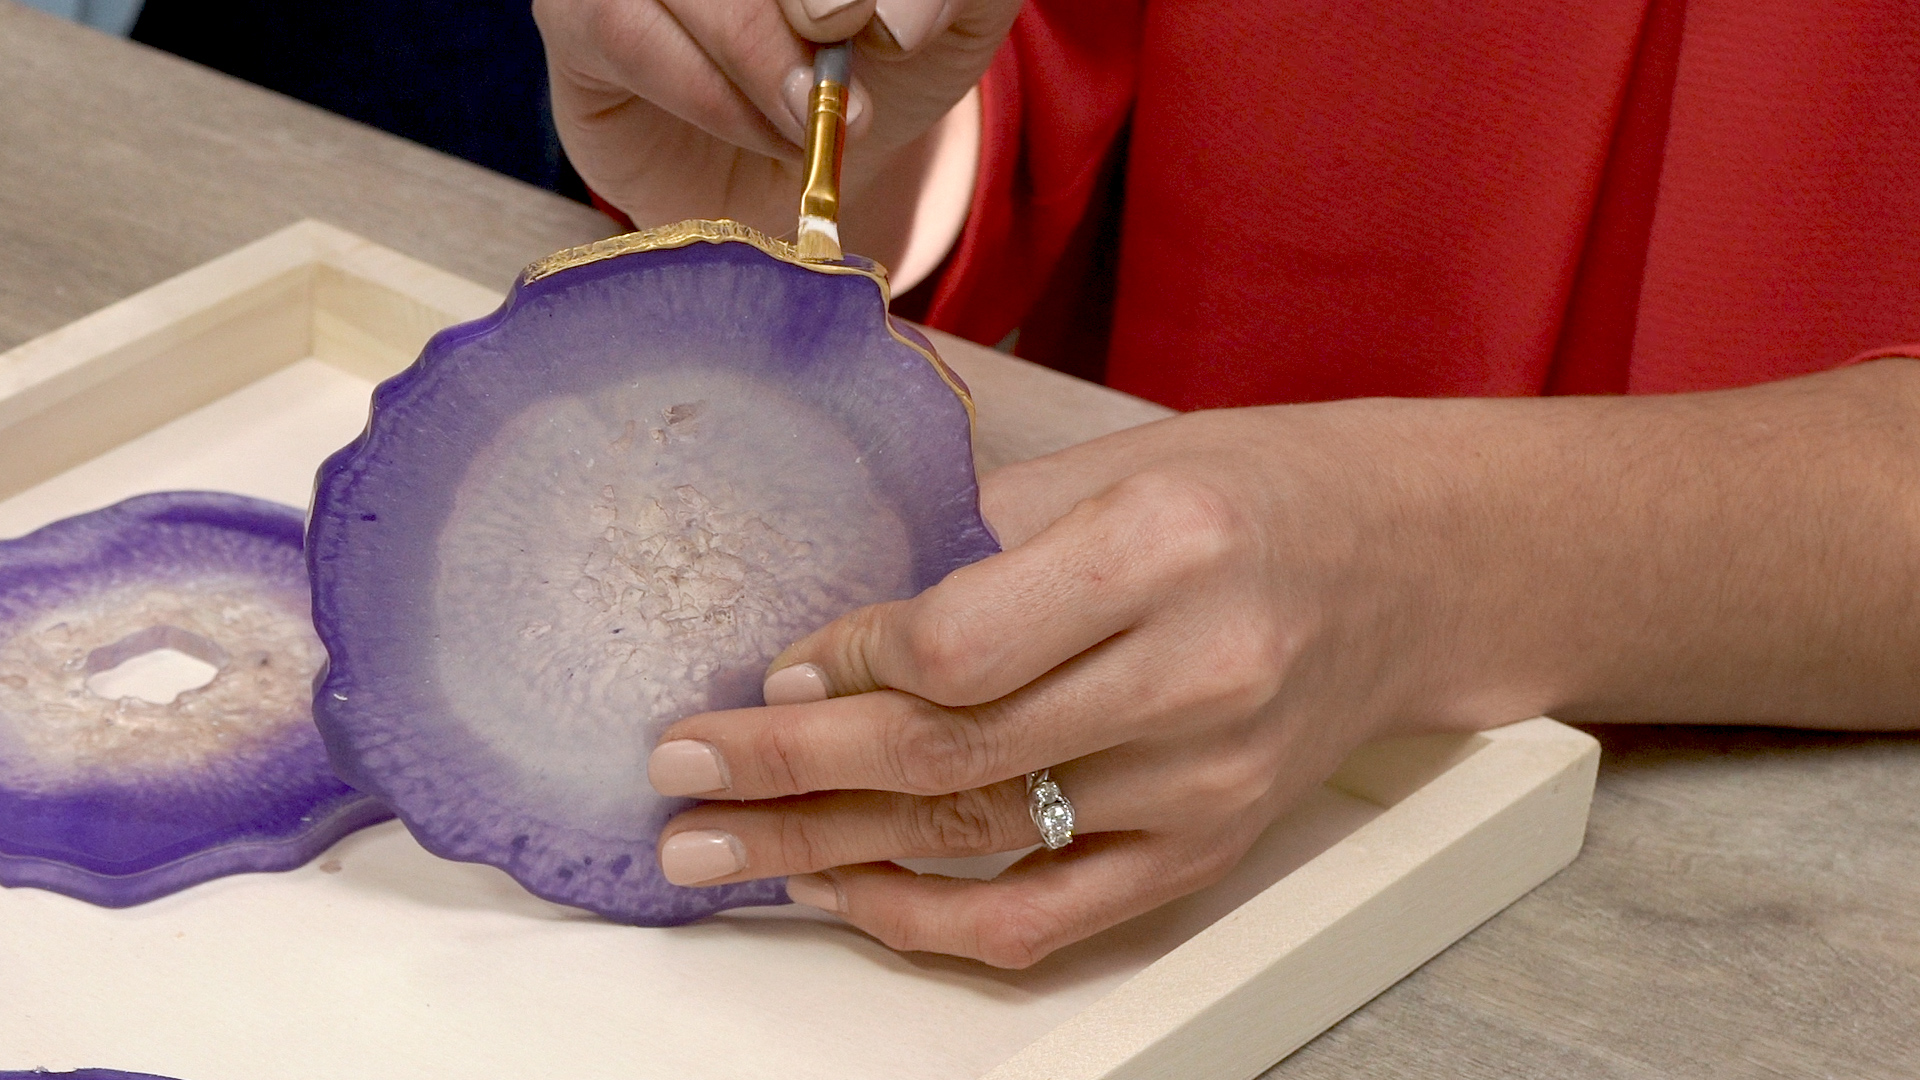
Step 15:
The final touch is to paint the edges of the coaster. Mix some of the gold Prisma pigment with the gold acrylic paint. The pigment will add a bit of texture and sparkle to the liquid paint, which you can then carefully apply with a small paintbrush around the flat edges of each coaster.


Now that you’ve finished creating your DIY resin coasters, you’re going to want to take a few pictures so you can show them off to your friends! Be sure to share them with us at Decoist too, whether that’s on Facebook, Instagram, or Pinterest.