
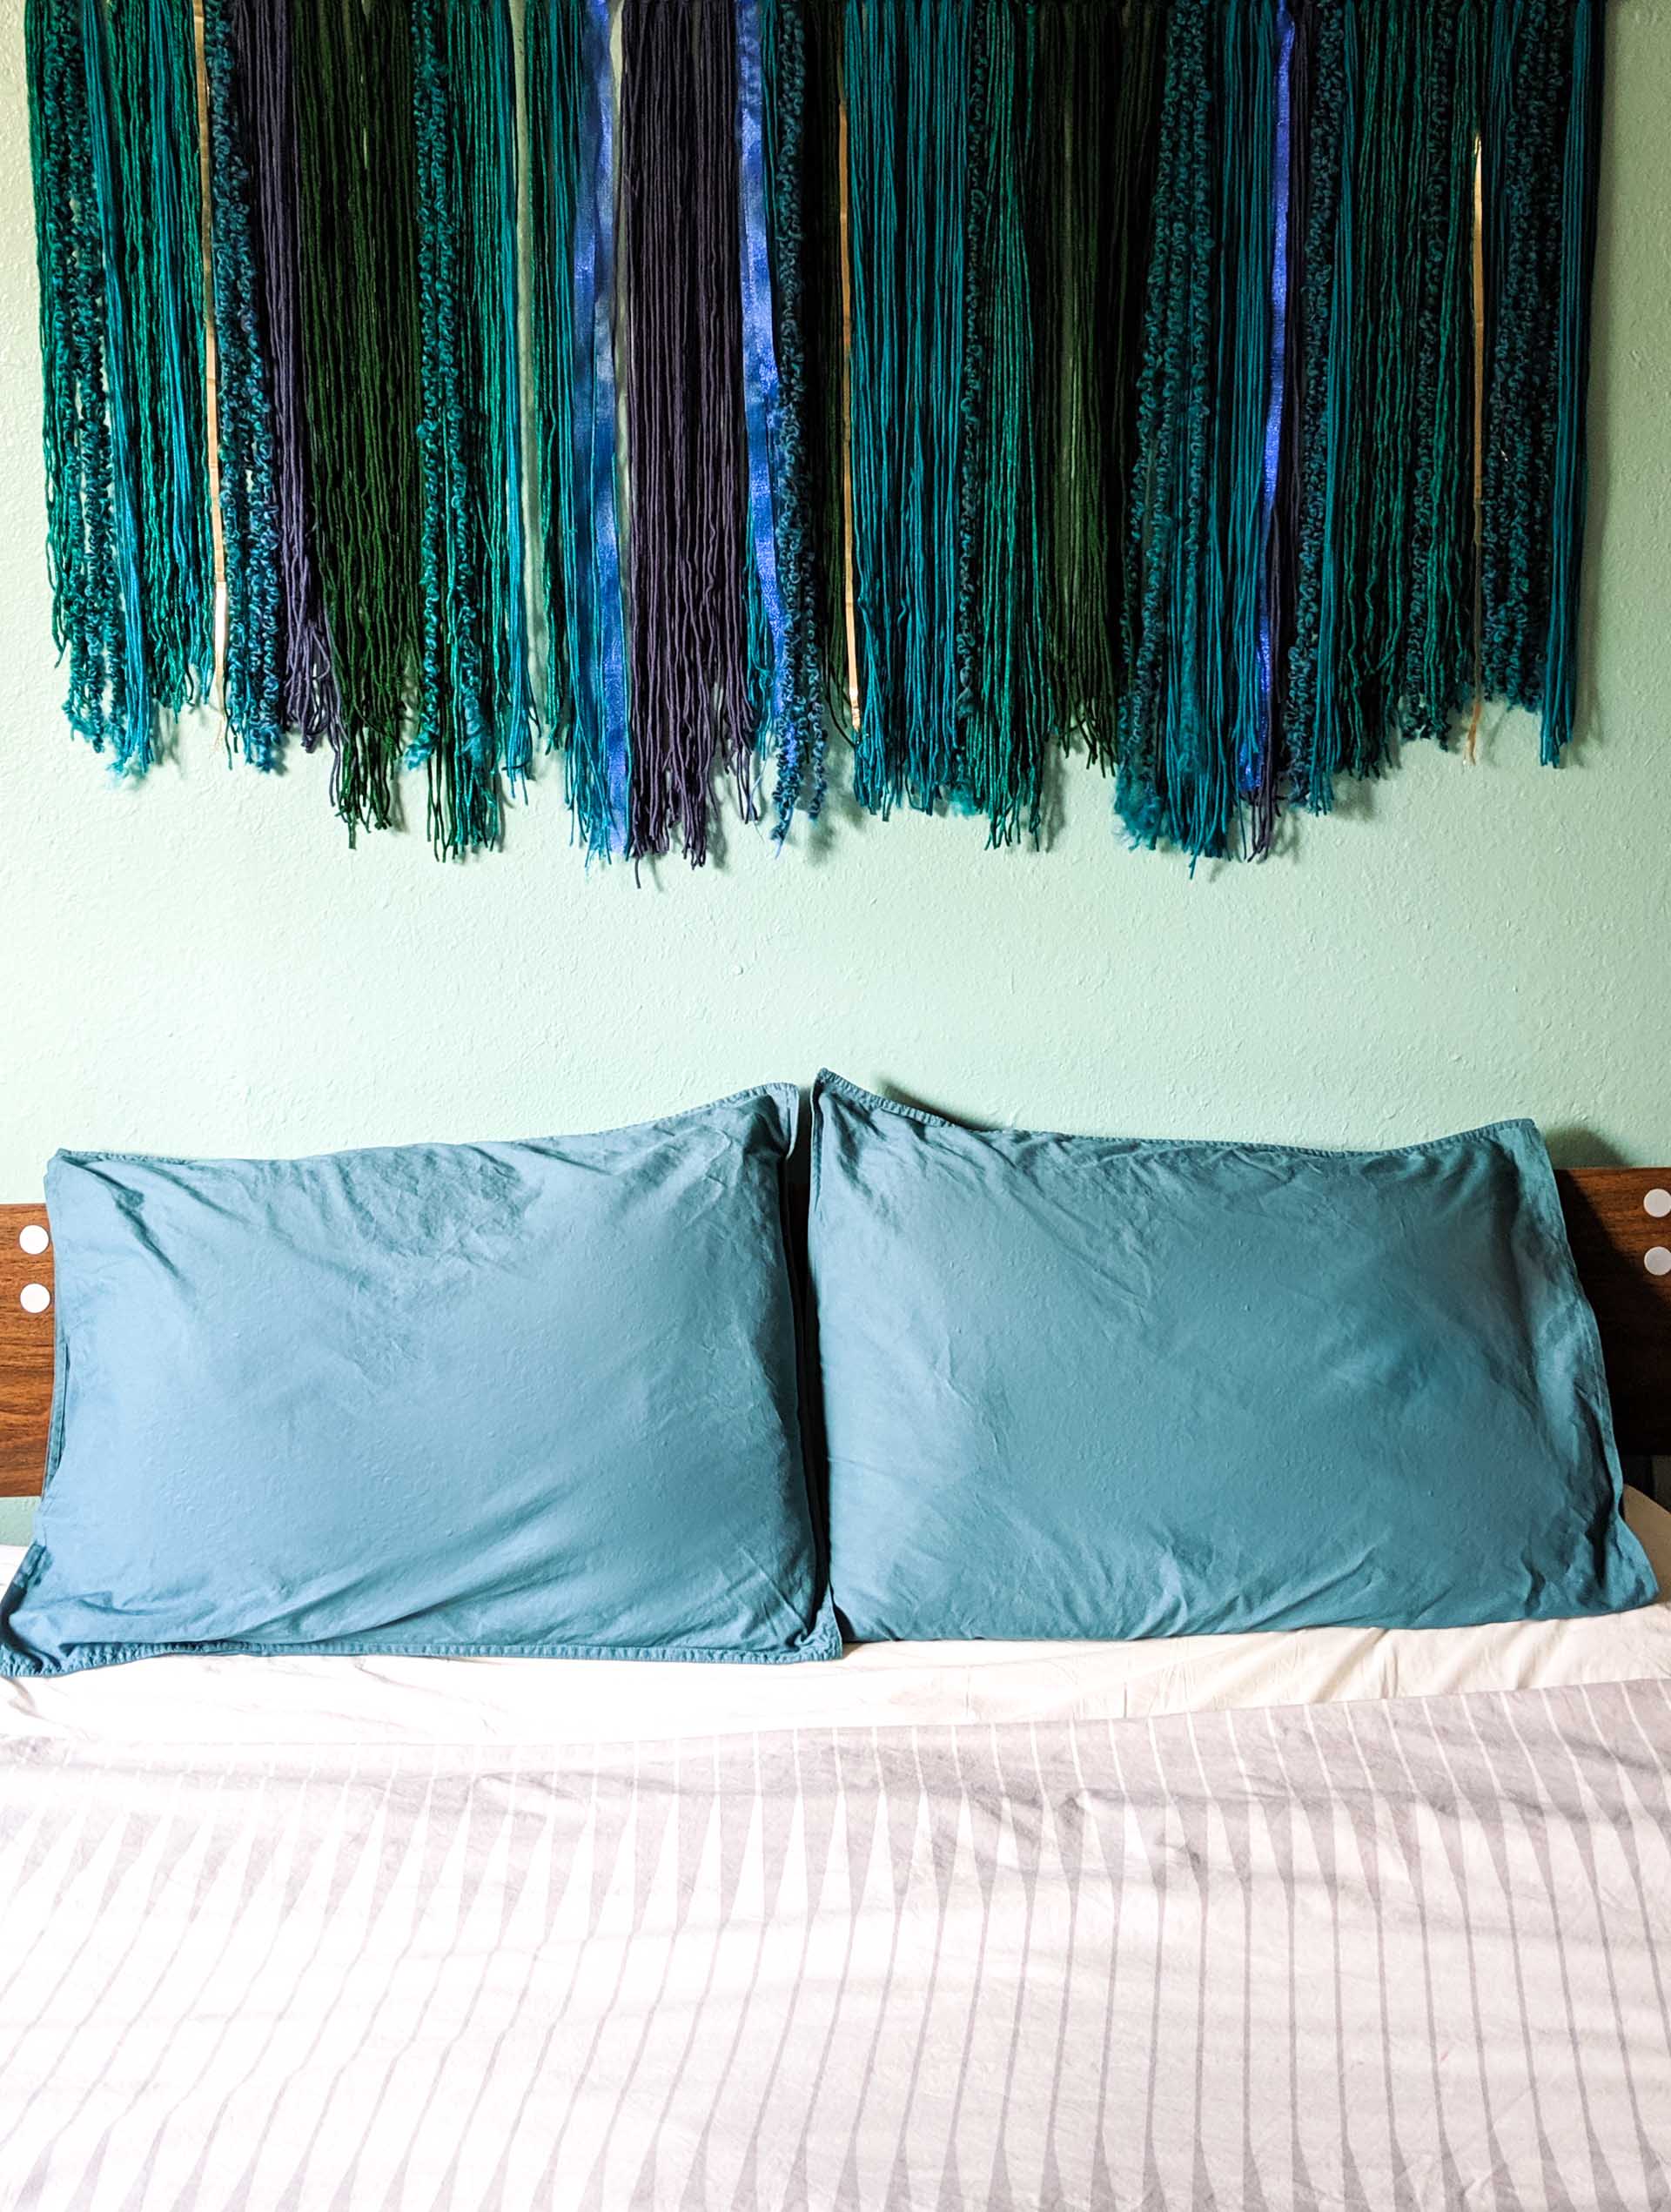
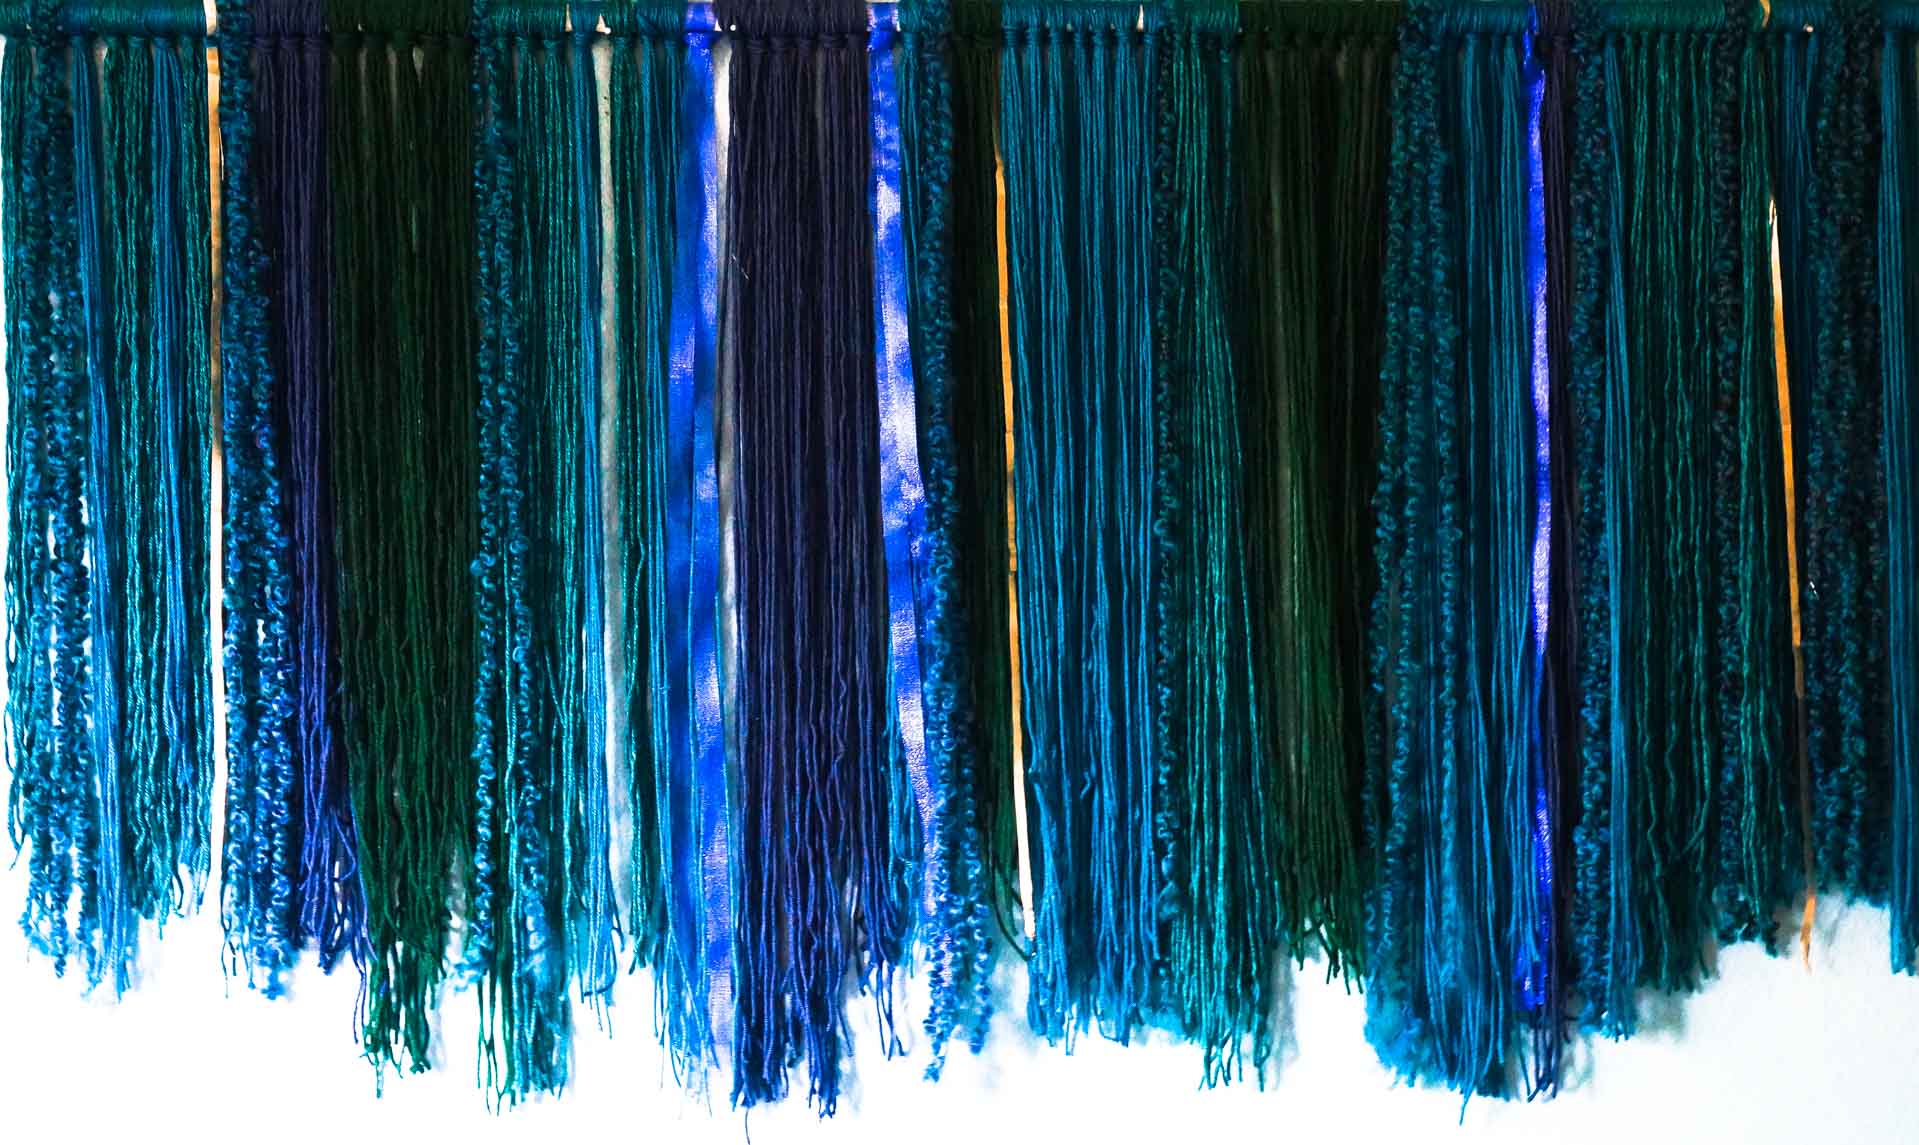
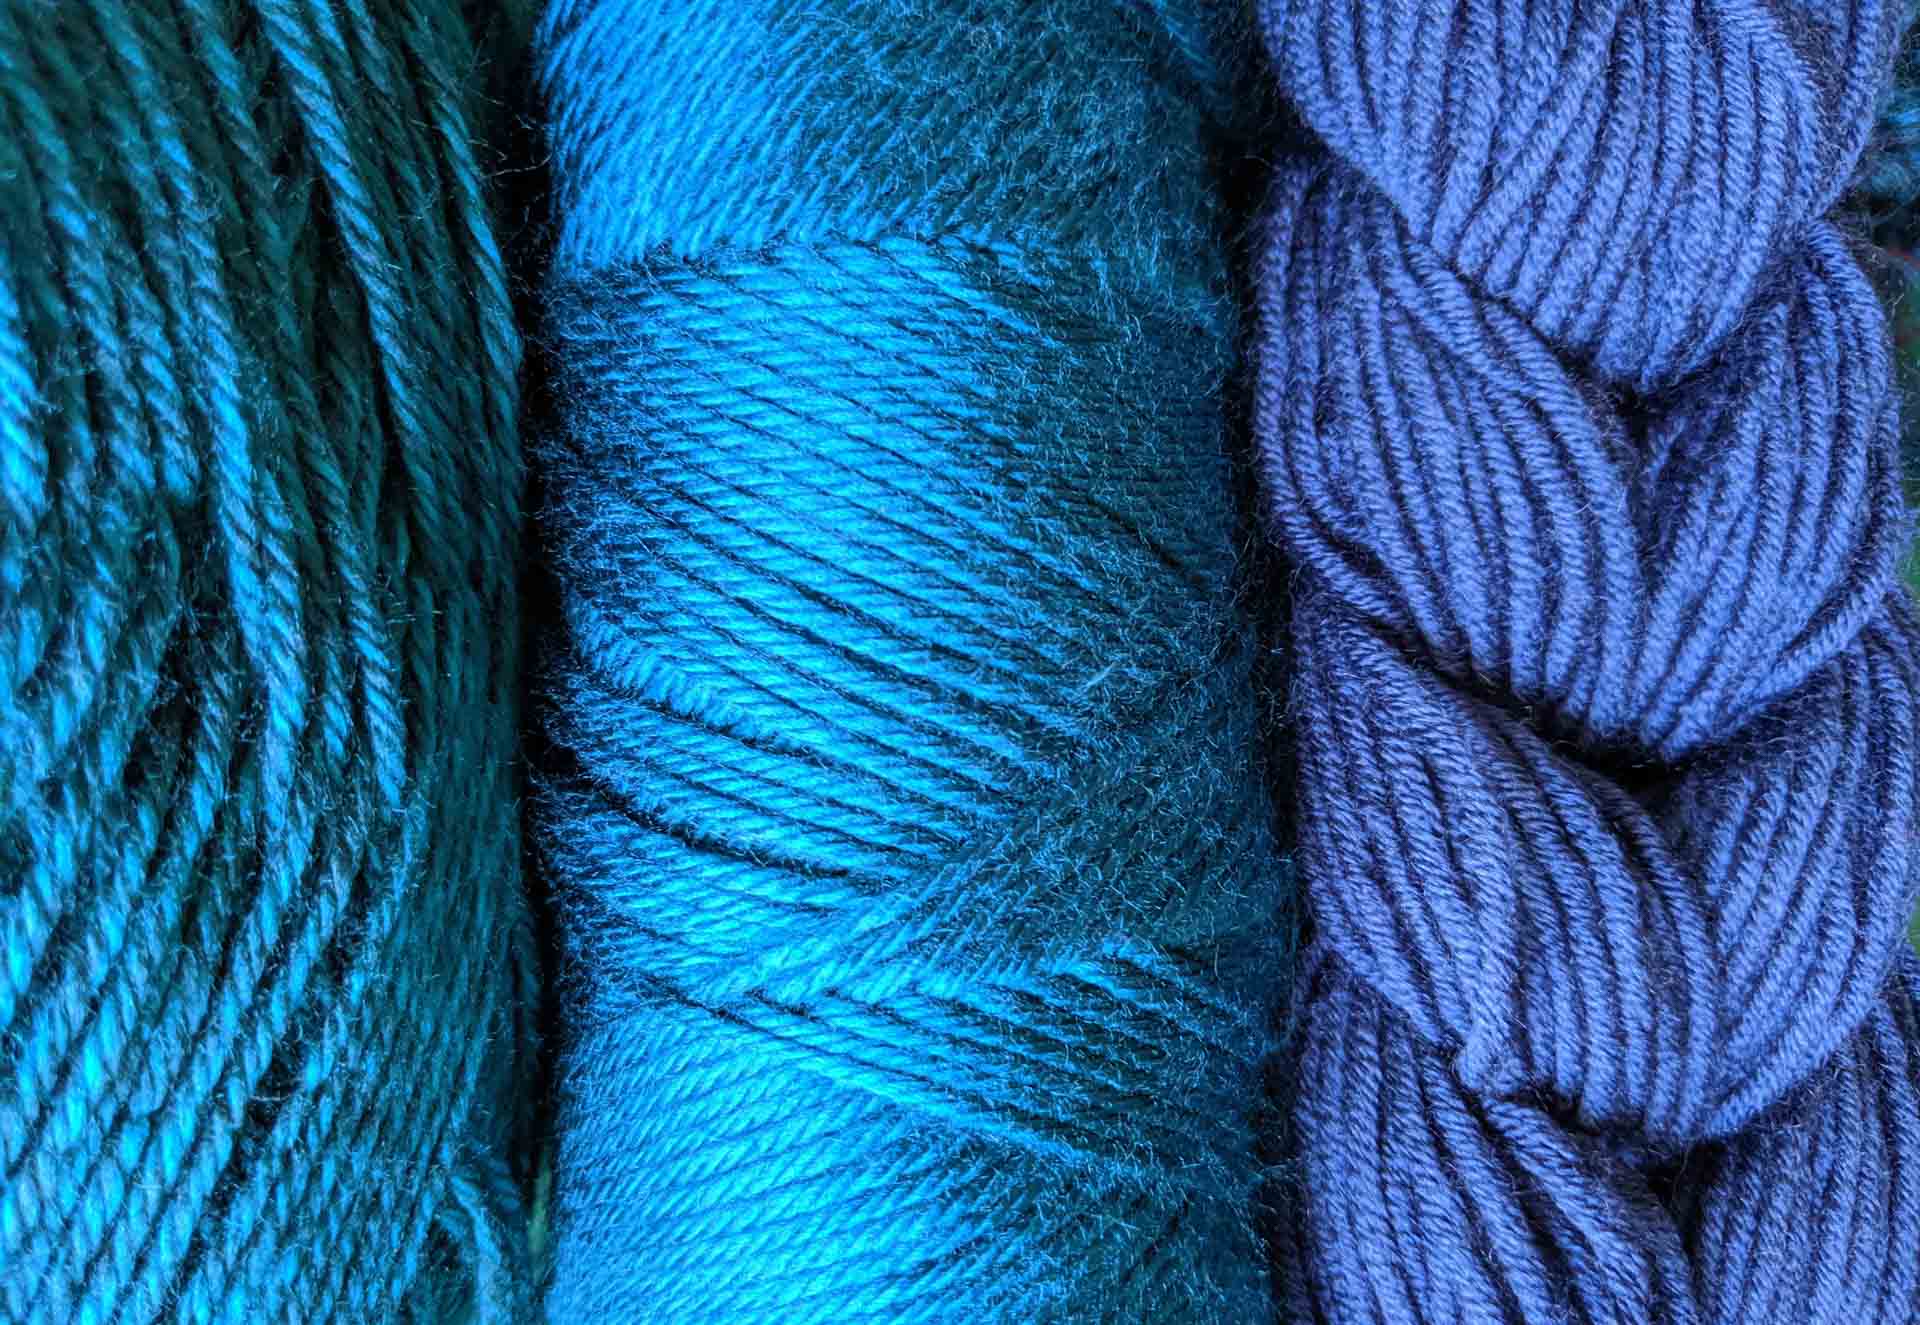
The beauty of a wall hanging is its ability to define a room’s color story. By juxtaposing yarn of different hues, you create a rich palette that can inspire the design of the entire space. Today’s easy wall hanging features colors in the blue, green and teal families, creating a jewel-toned, cool-toned finished product that is soothing and visually interesting at the same time. However, you can use the basic crafting process to showcase any collection of colors that you choose.

Since the process is super simple, try putting your focus on texture. Fuzzy and frayed is the name of the game! Keep reading for instructions and plenty of visual inspiration…
Wall Hanging Project Supplies

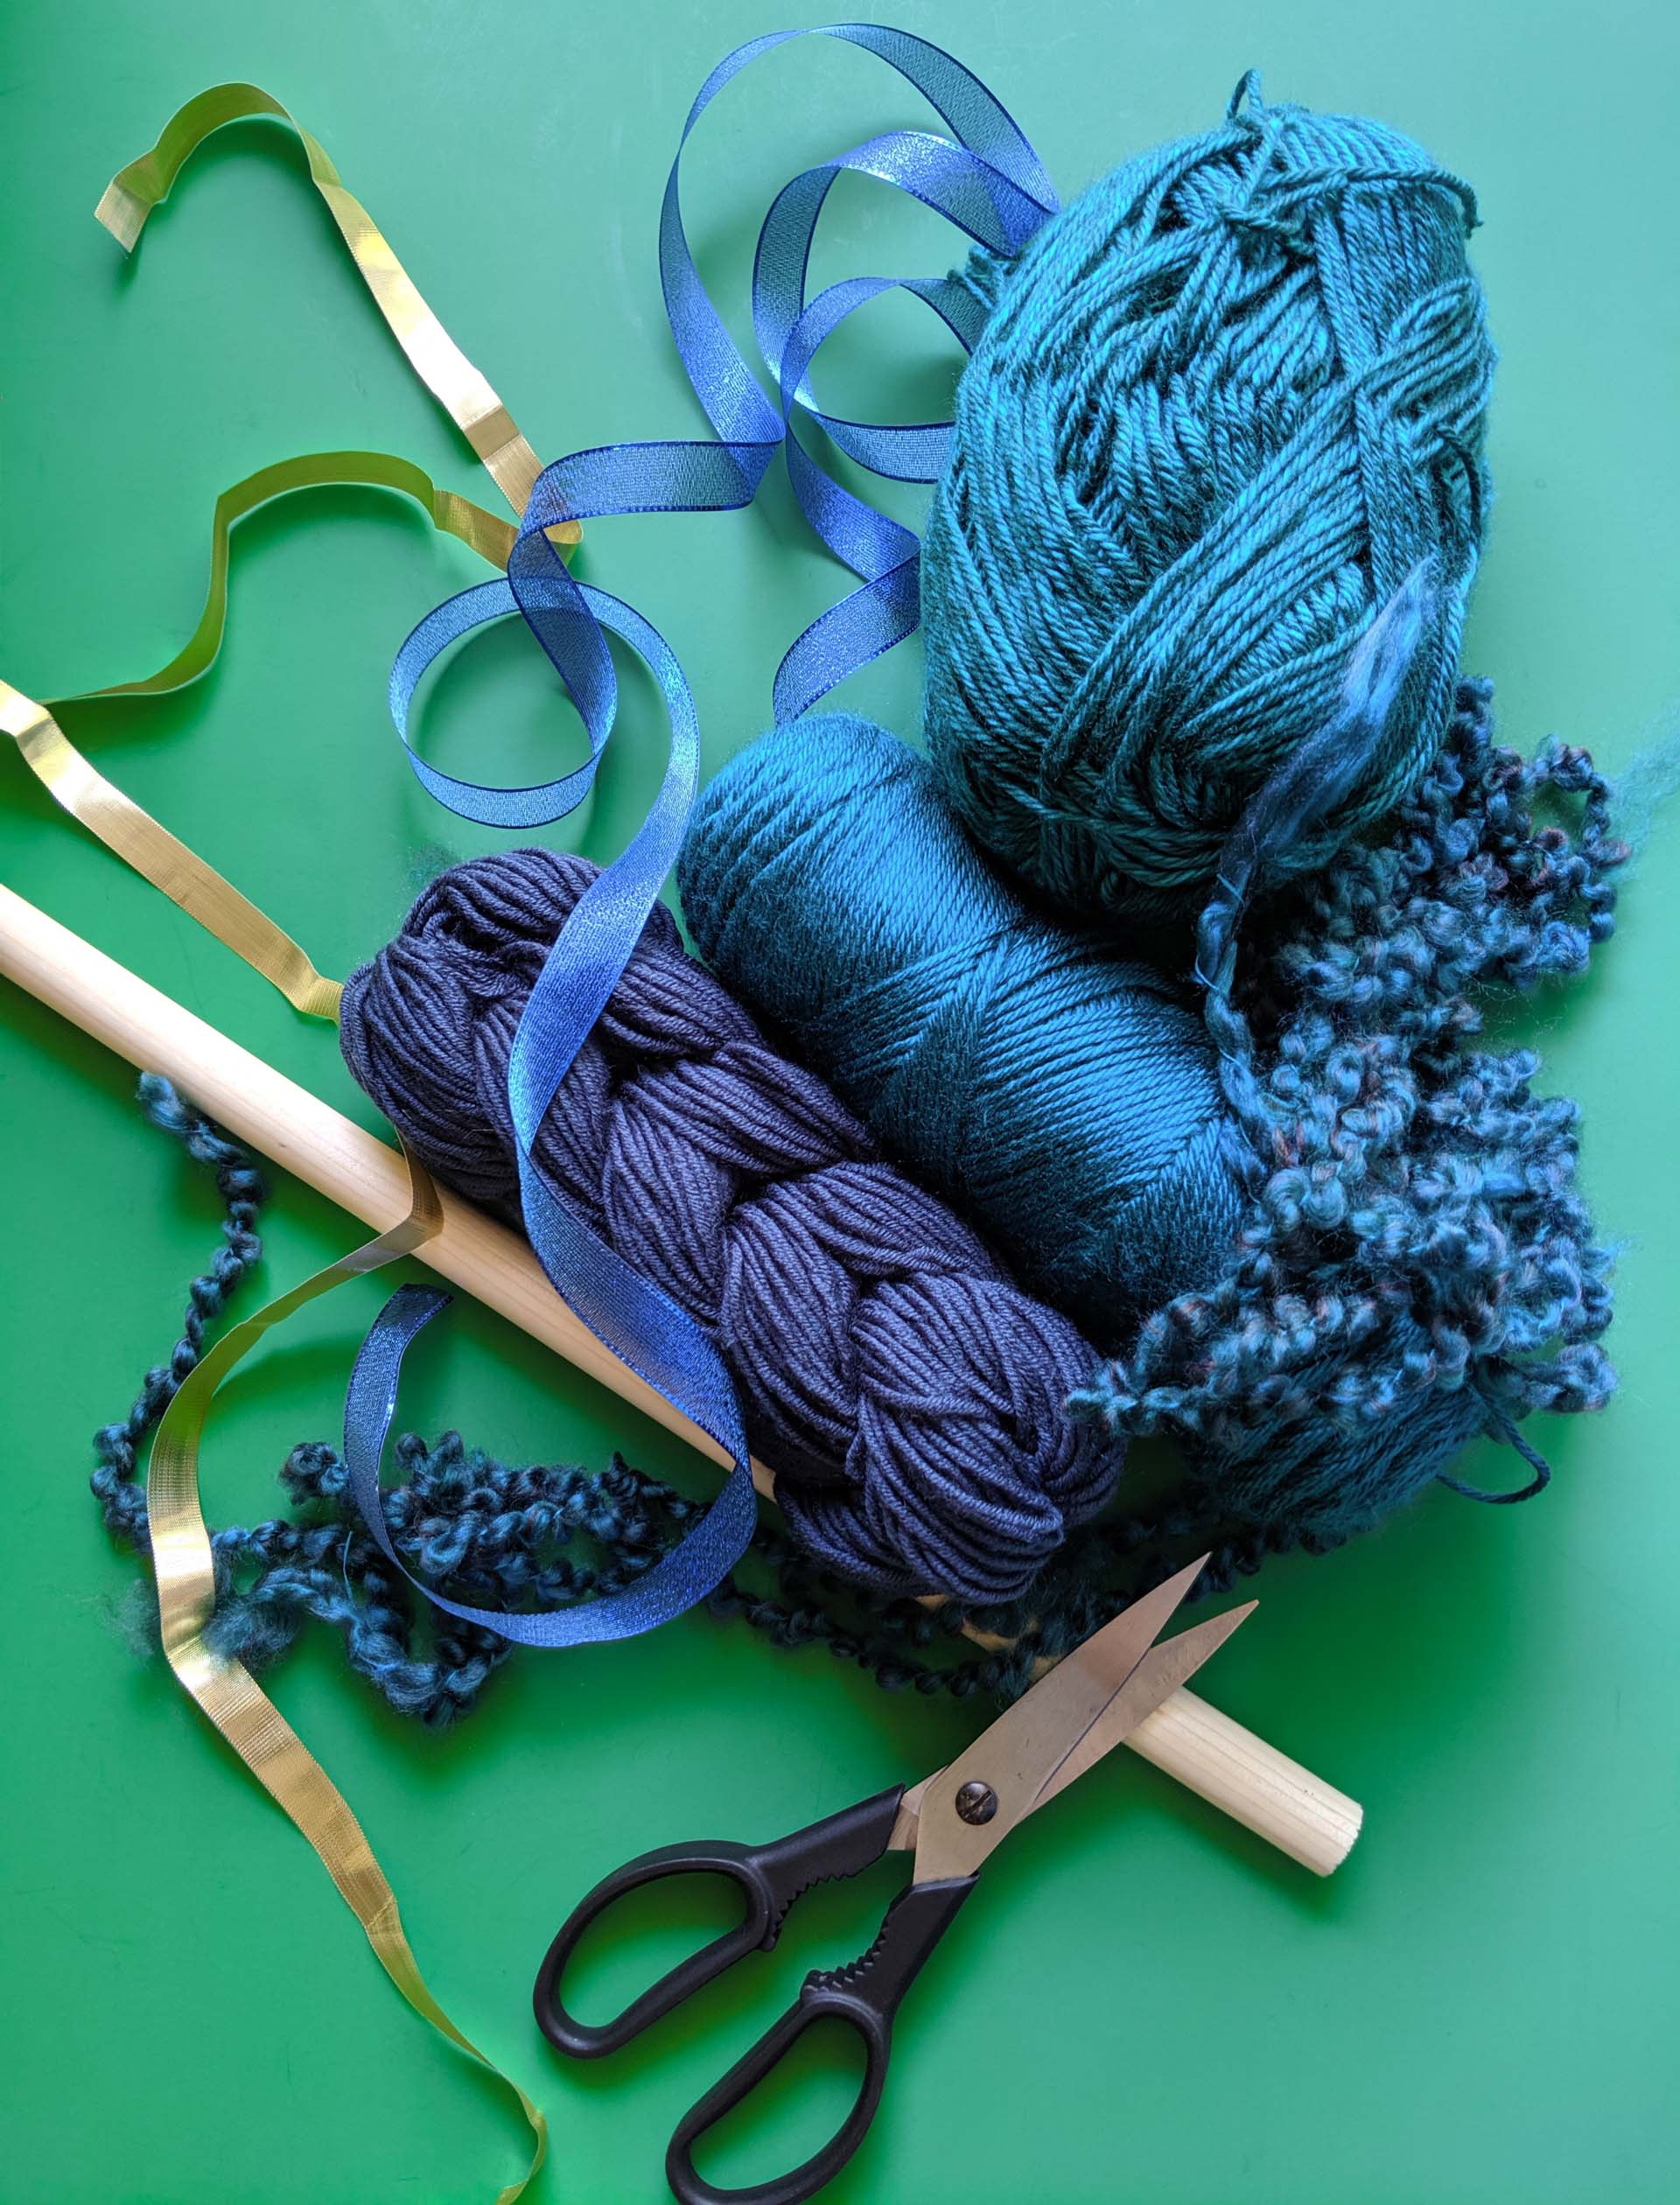
Yarn and ribbon are your friends for this easy project! Here’s a full list of what you need to create your own wall hanging:
- yarn in the colors of your choice
- ribbon (optional)
- a wooden dowel
- scissors

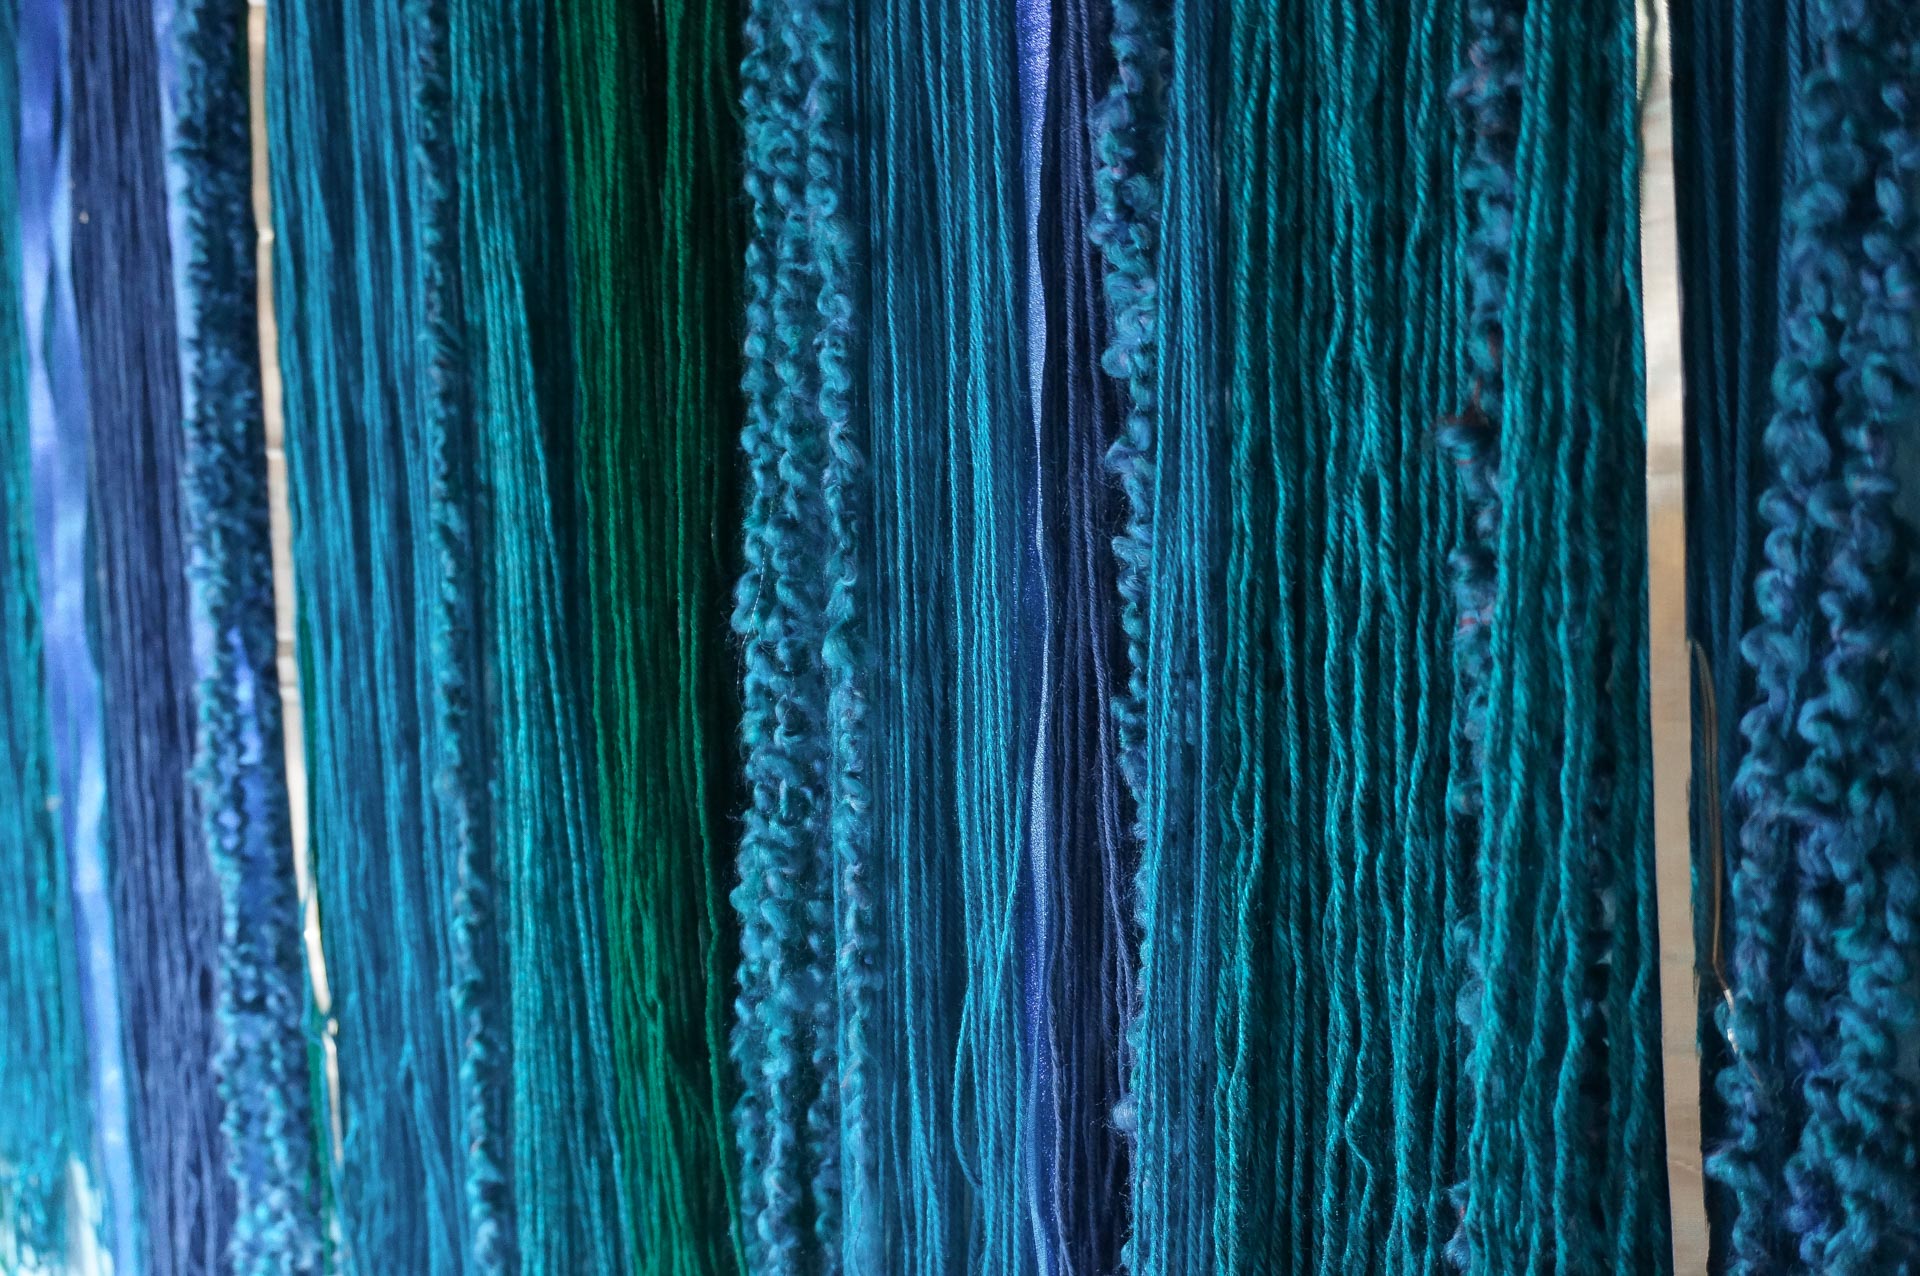
Make sure you include at least one yarn selection that adds texture to the project. Don’t shy away from yarn that you wouldn’t typically purchase. While it may look extra bold in the ball or skein, you’ll only be using it in a few key places. It may take on a totally different look and feel when added to the wall hanging!

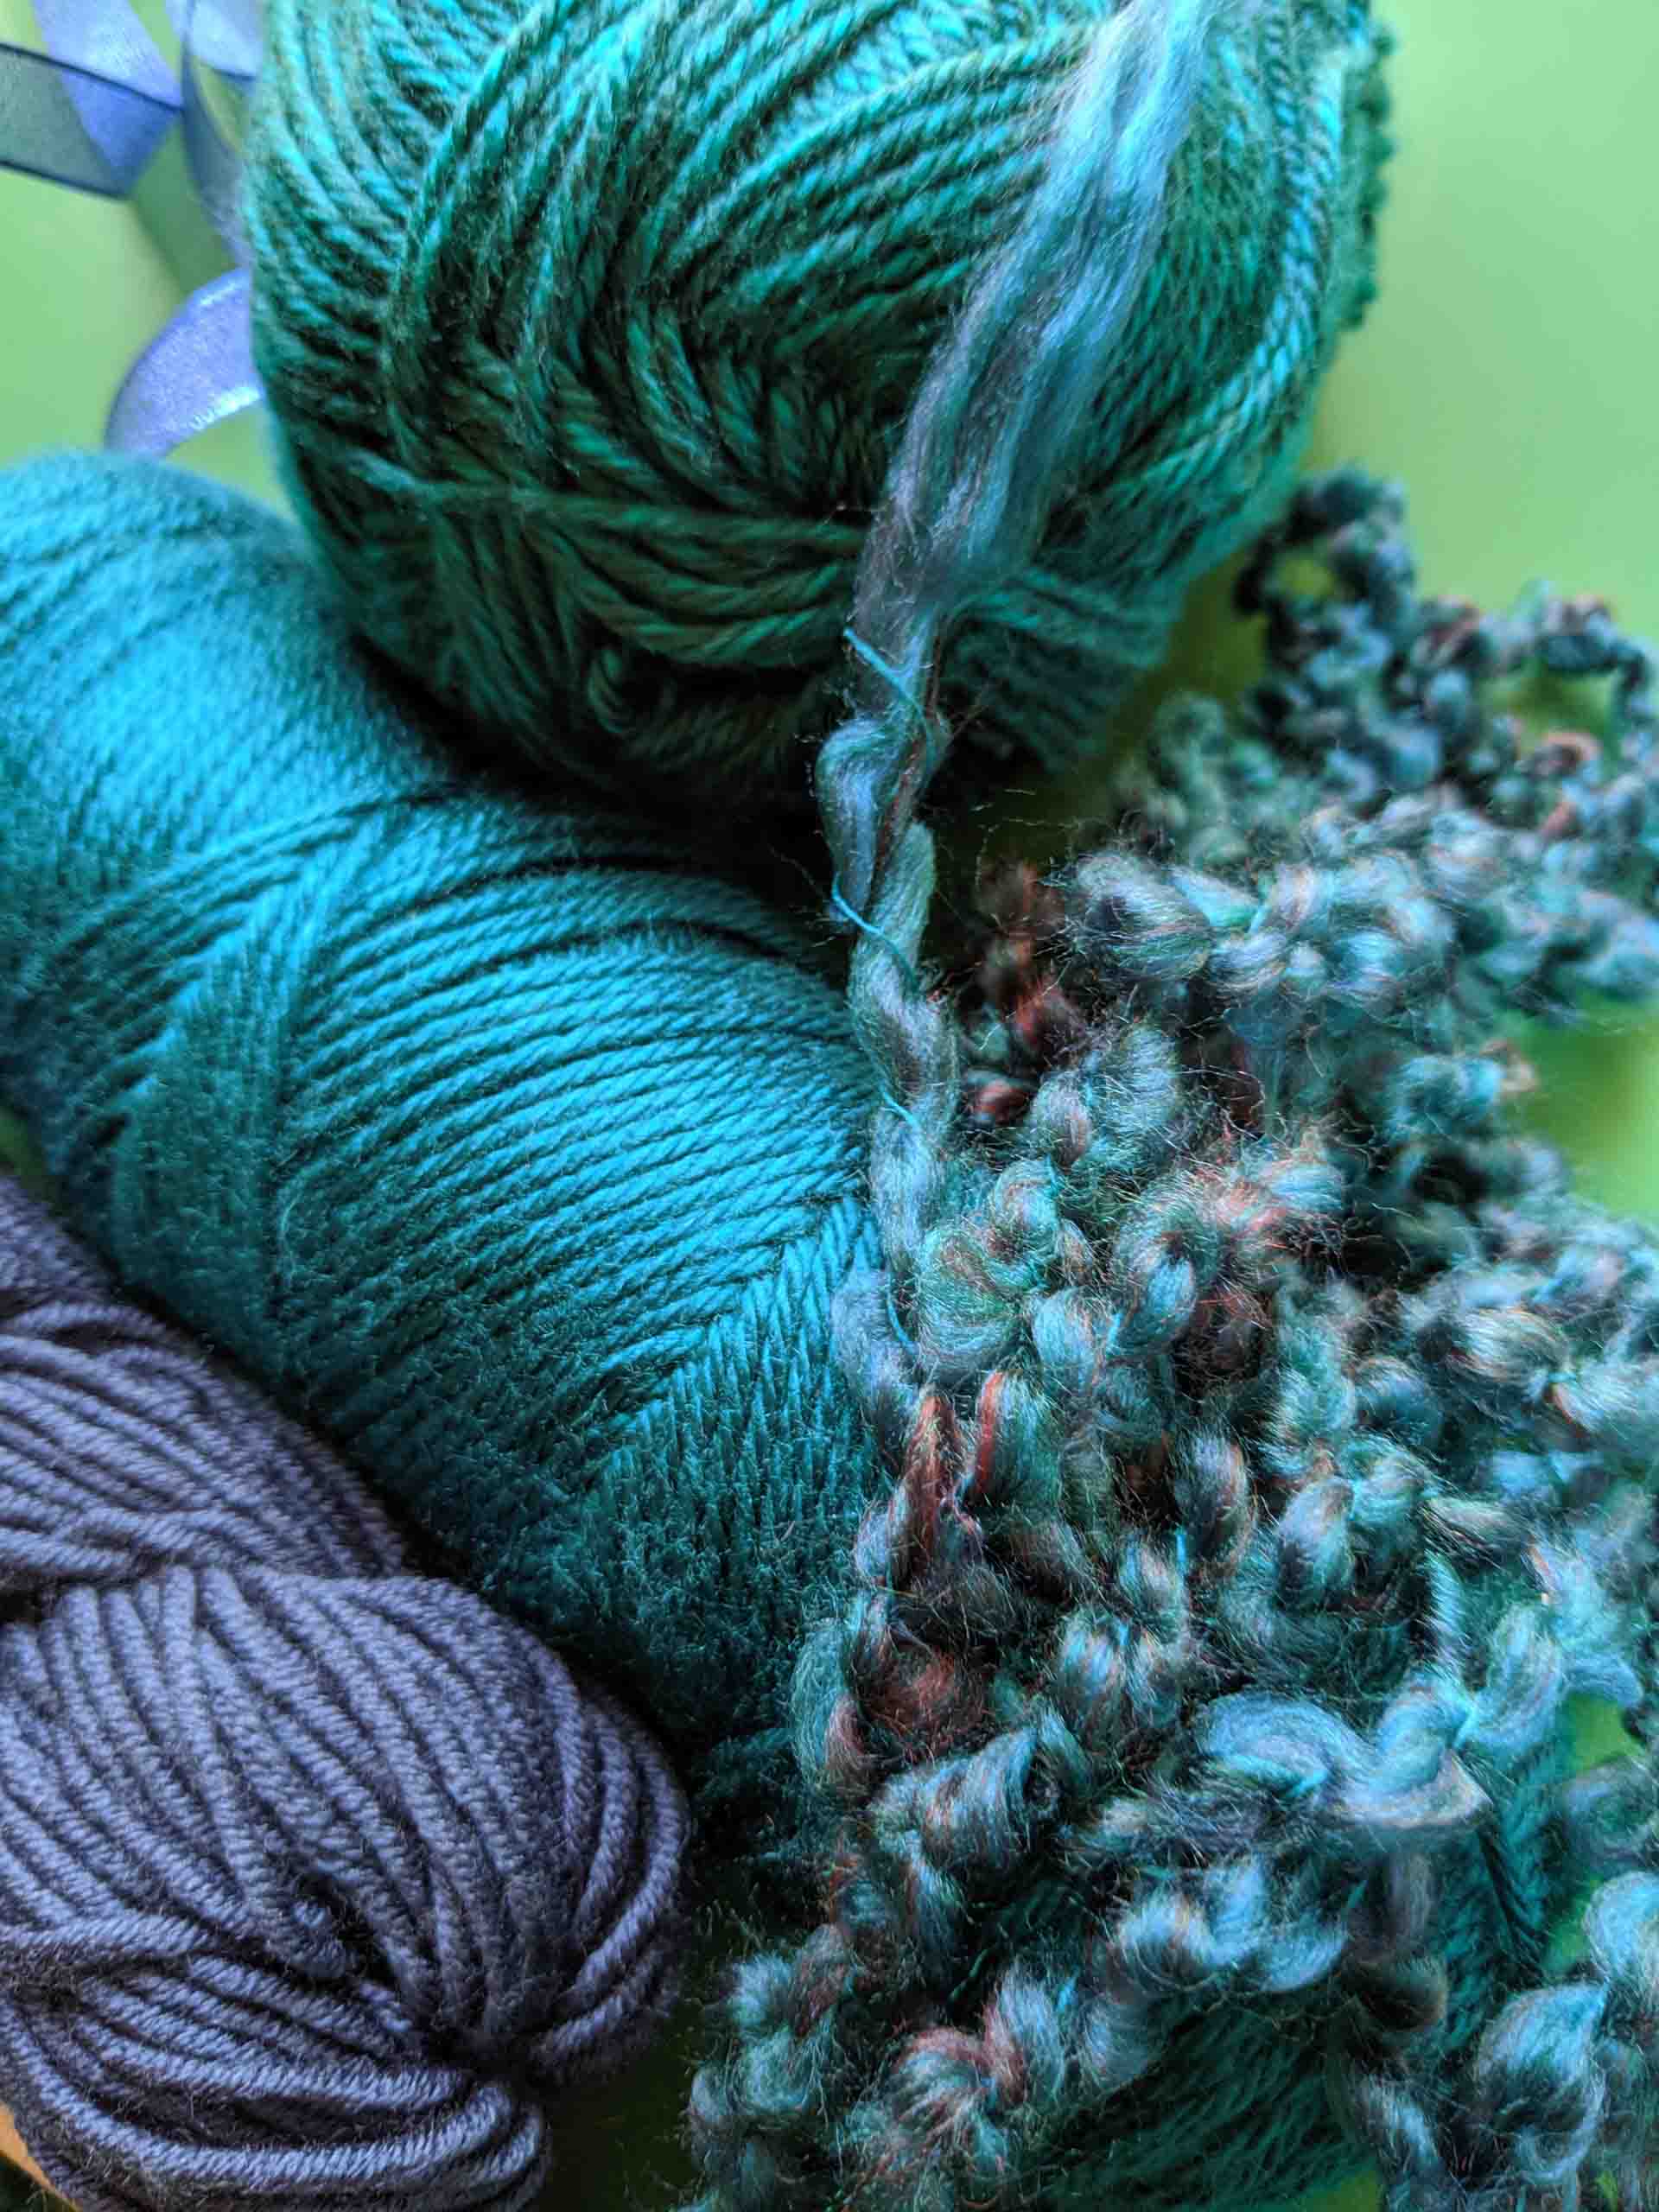
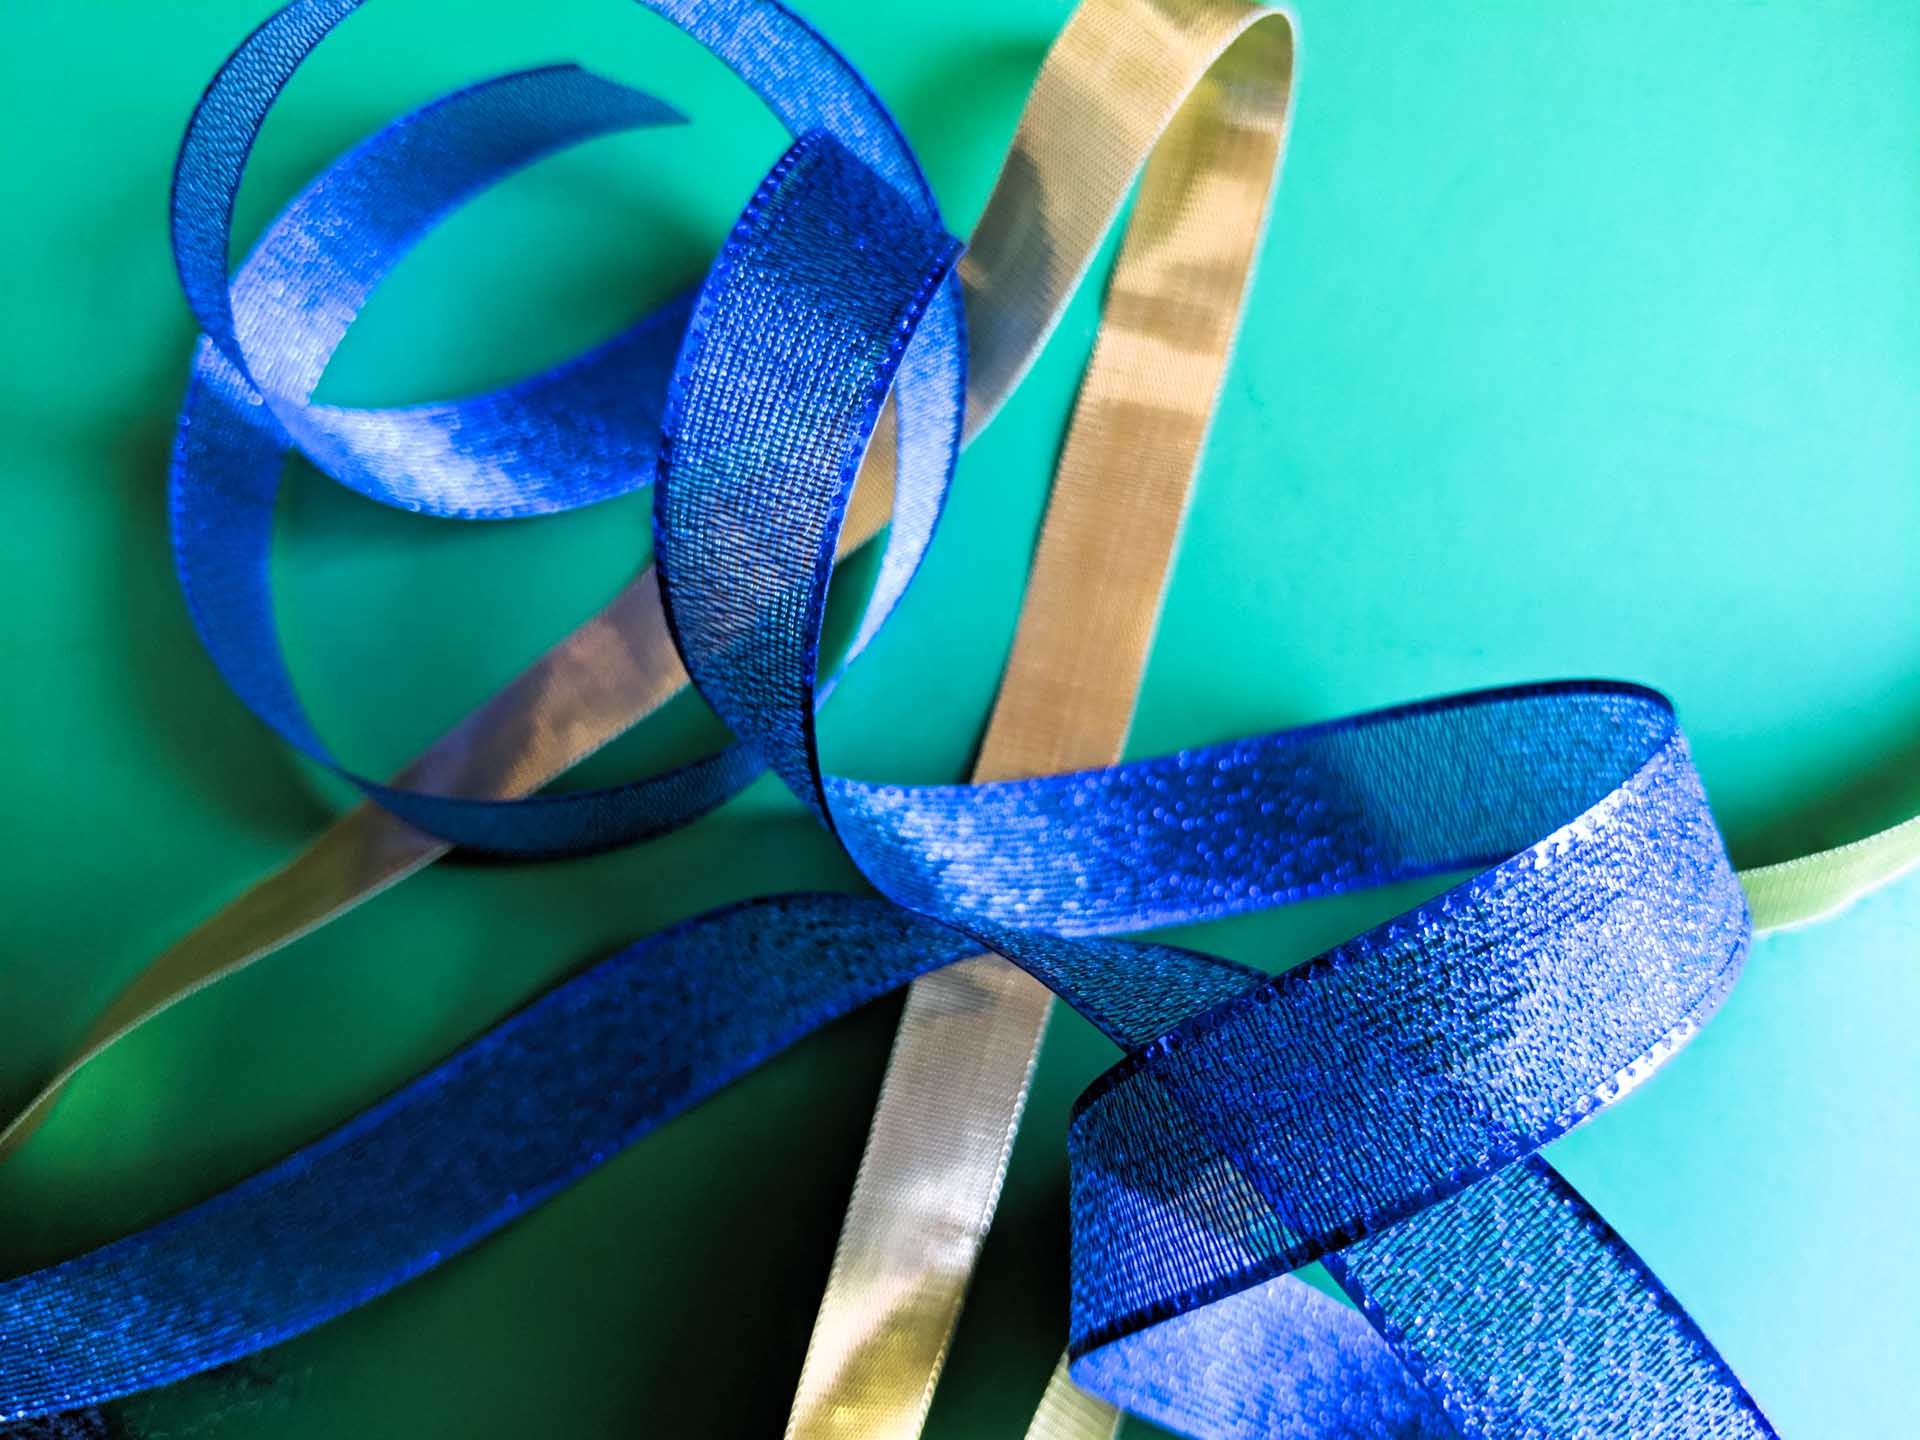
You can also include ribbon to add variety in texture and shine. You can modify the ribbon with a pair of scissors for a different look (more details below).

Ready to get started?!…
Project Steps
Now that you have what you need, it’s time to create your wall hanging. Be prepared to spend at least a few hours on the project. Patience is key, but the process itself couldn’t be easier. Here are the project steps:
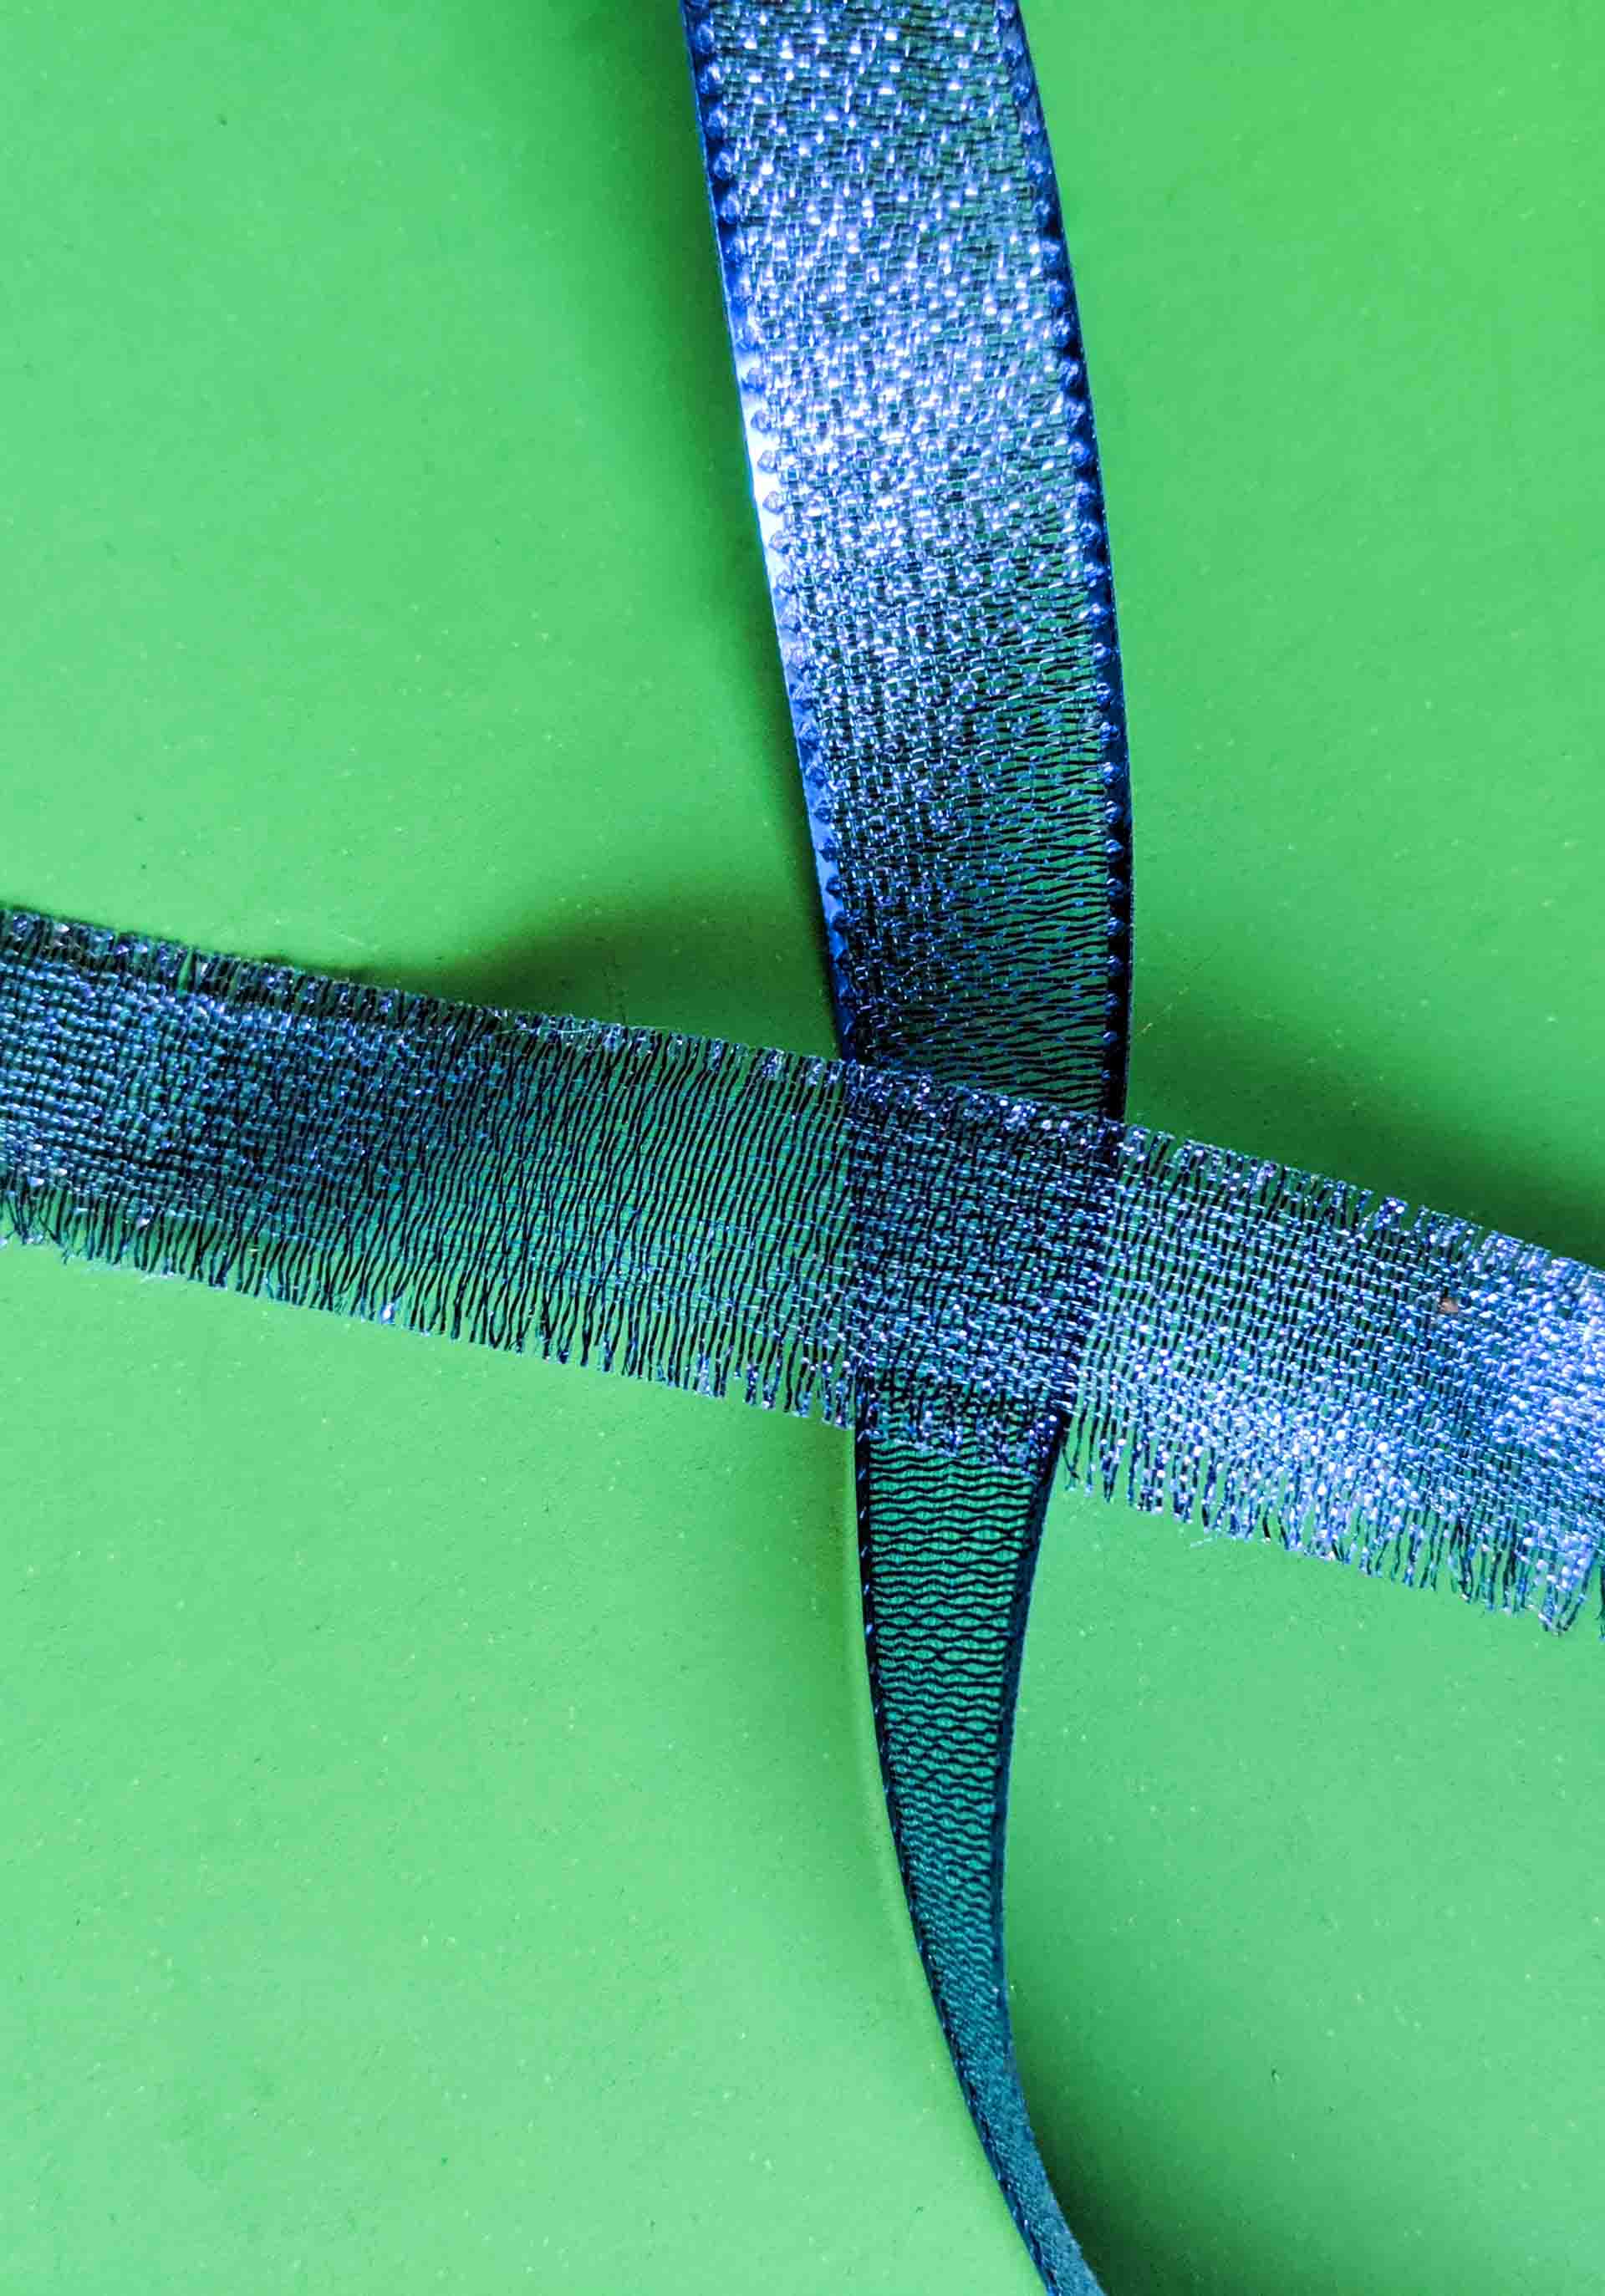
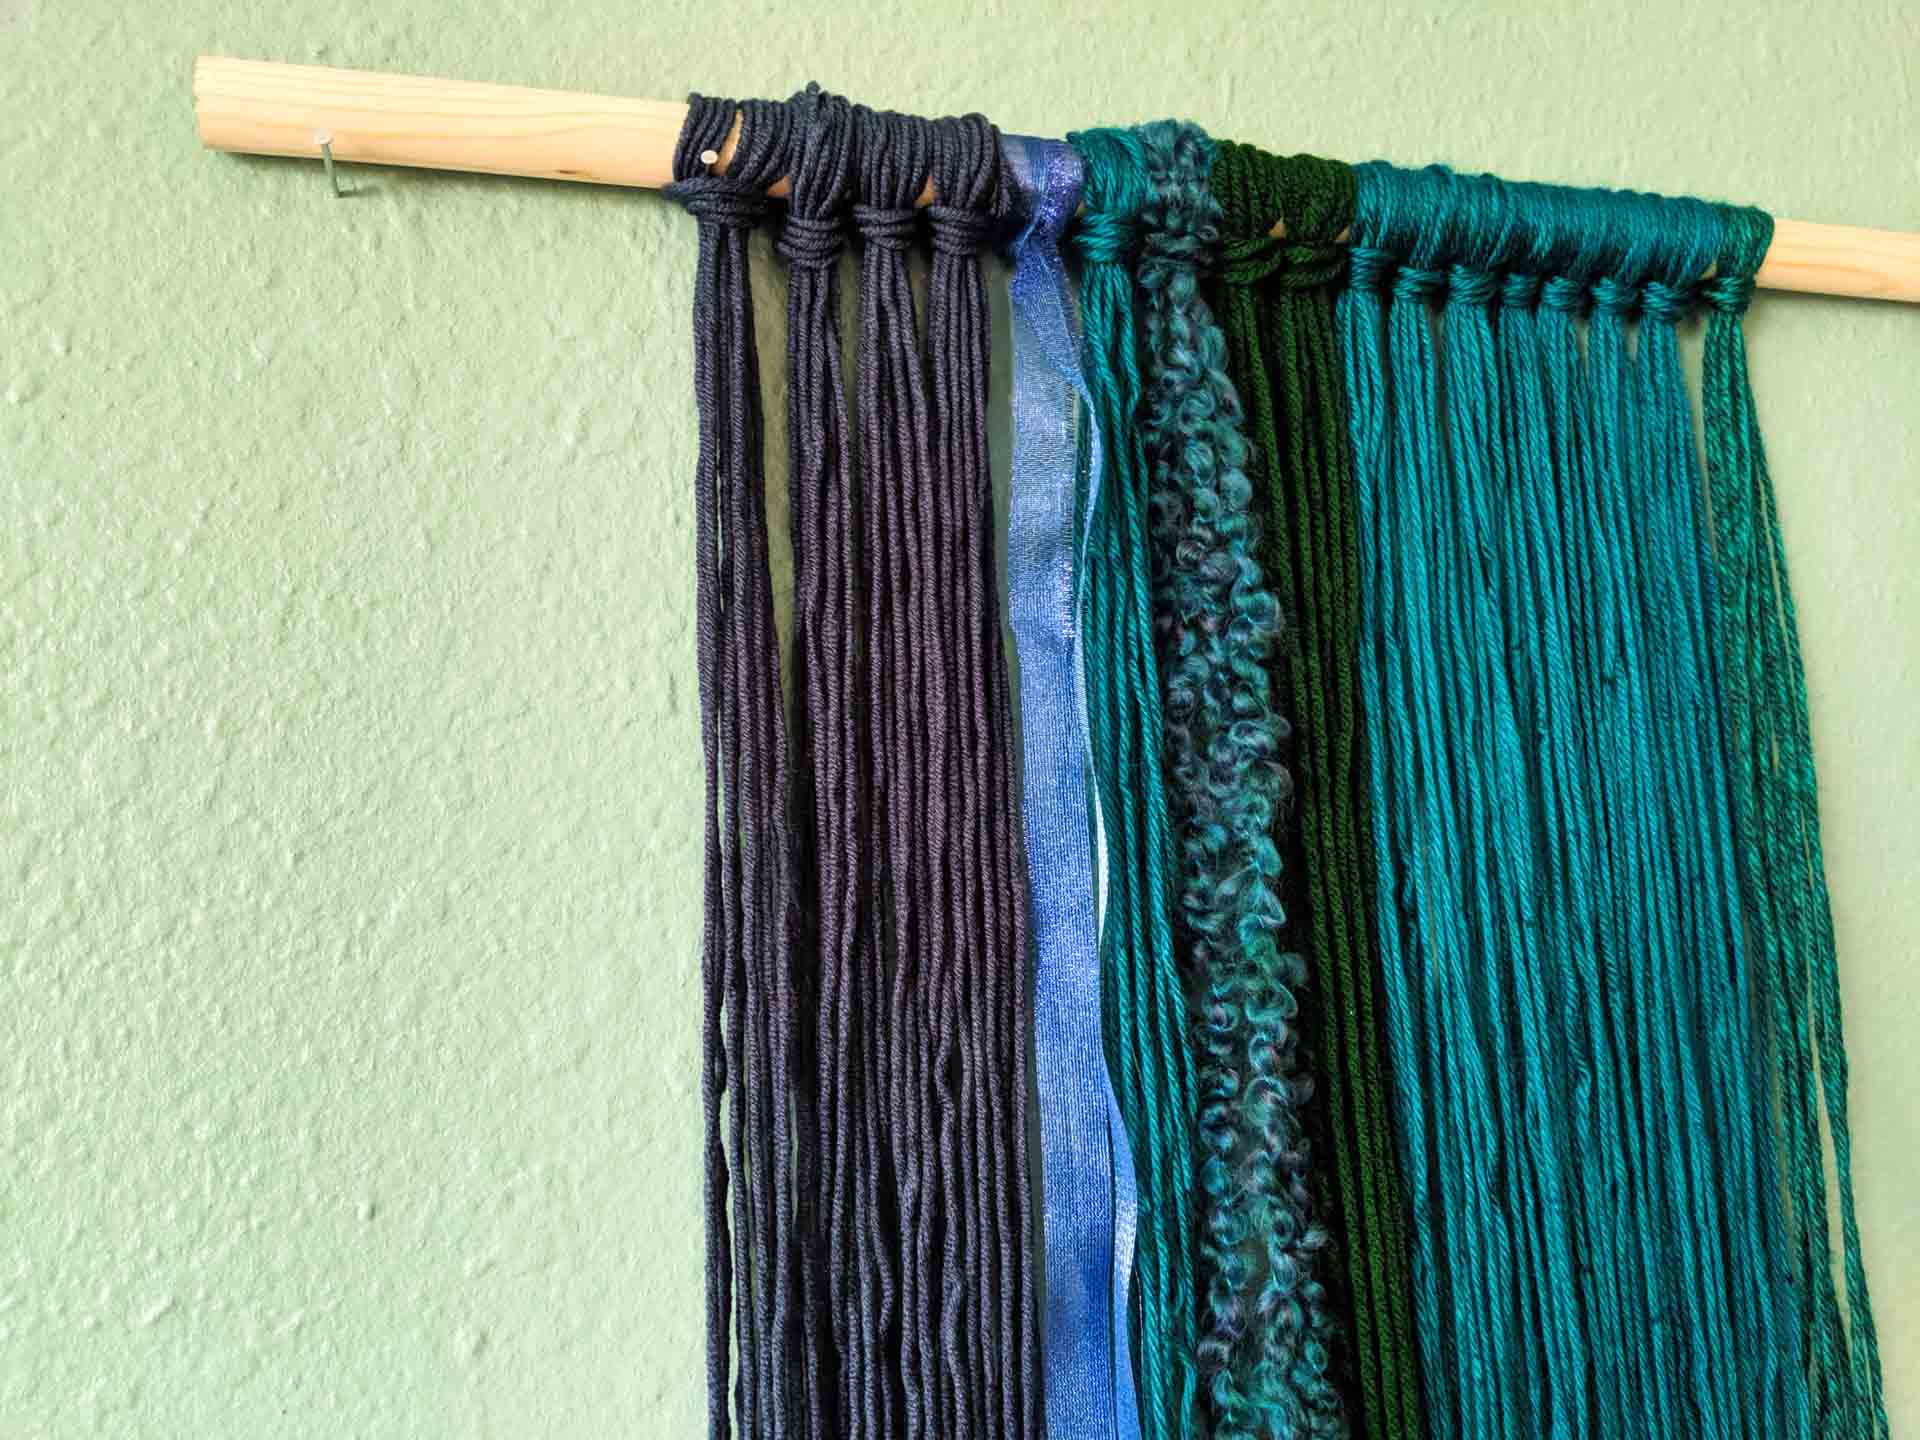
1. Prepare your yarn and ribbon. Cutting your yarn into long pieces is a good place to start. Get an idea of the length by hanging the yarn over your dowel, and trim accordingly. Now is also the time to texture or fray the ribbon you’ve purchased. Though not essential, it can be fun to create a more weathered look through strategies such as removing the edges/border of the ribbon. The look is less polished and wonderfully worn, as shown below.

2. Gather a cluster of yarn (5 pieces will do) and create a section of your wall hanging. By folding the yard in half, then creating a loop and pulling the ends through, you can secure your yarn to the dowel.

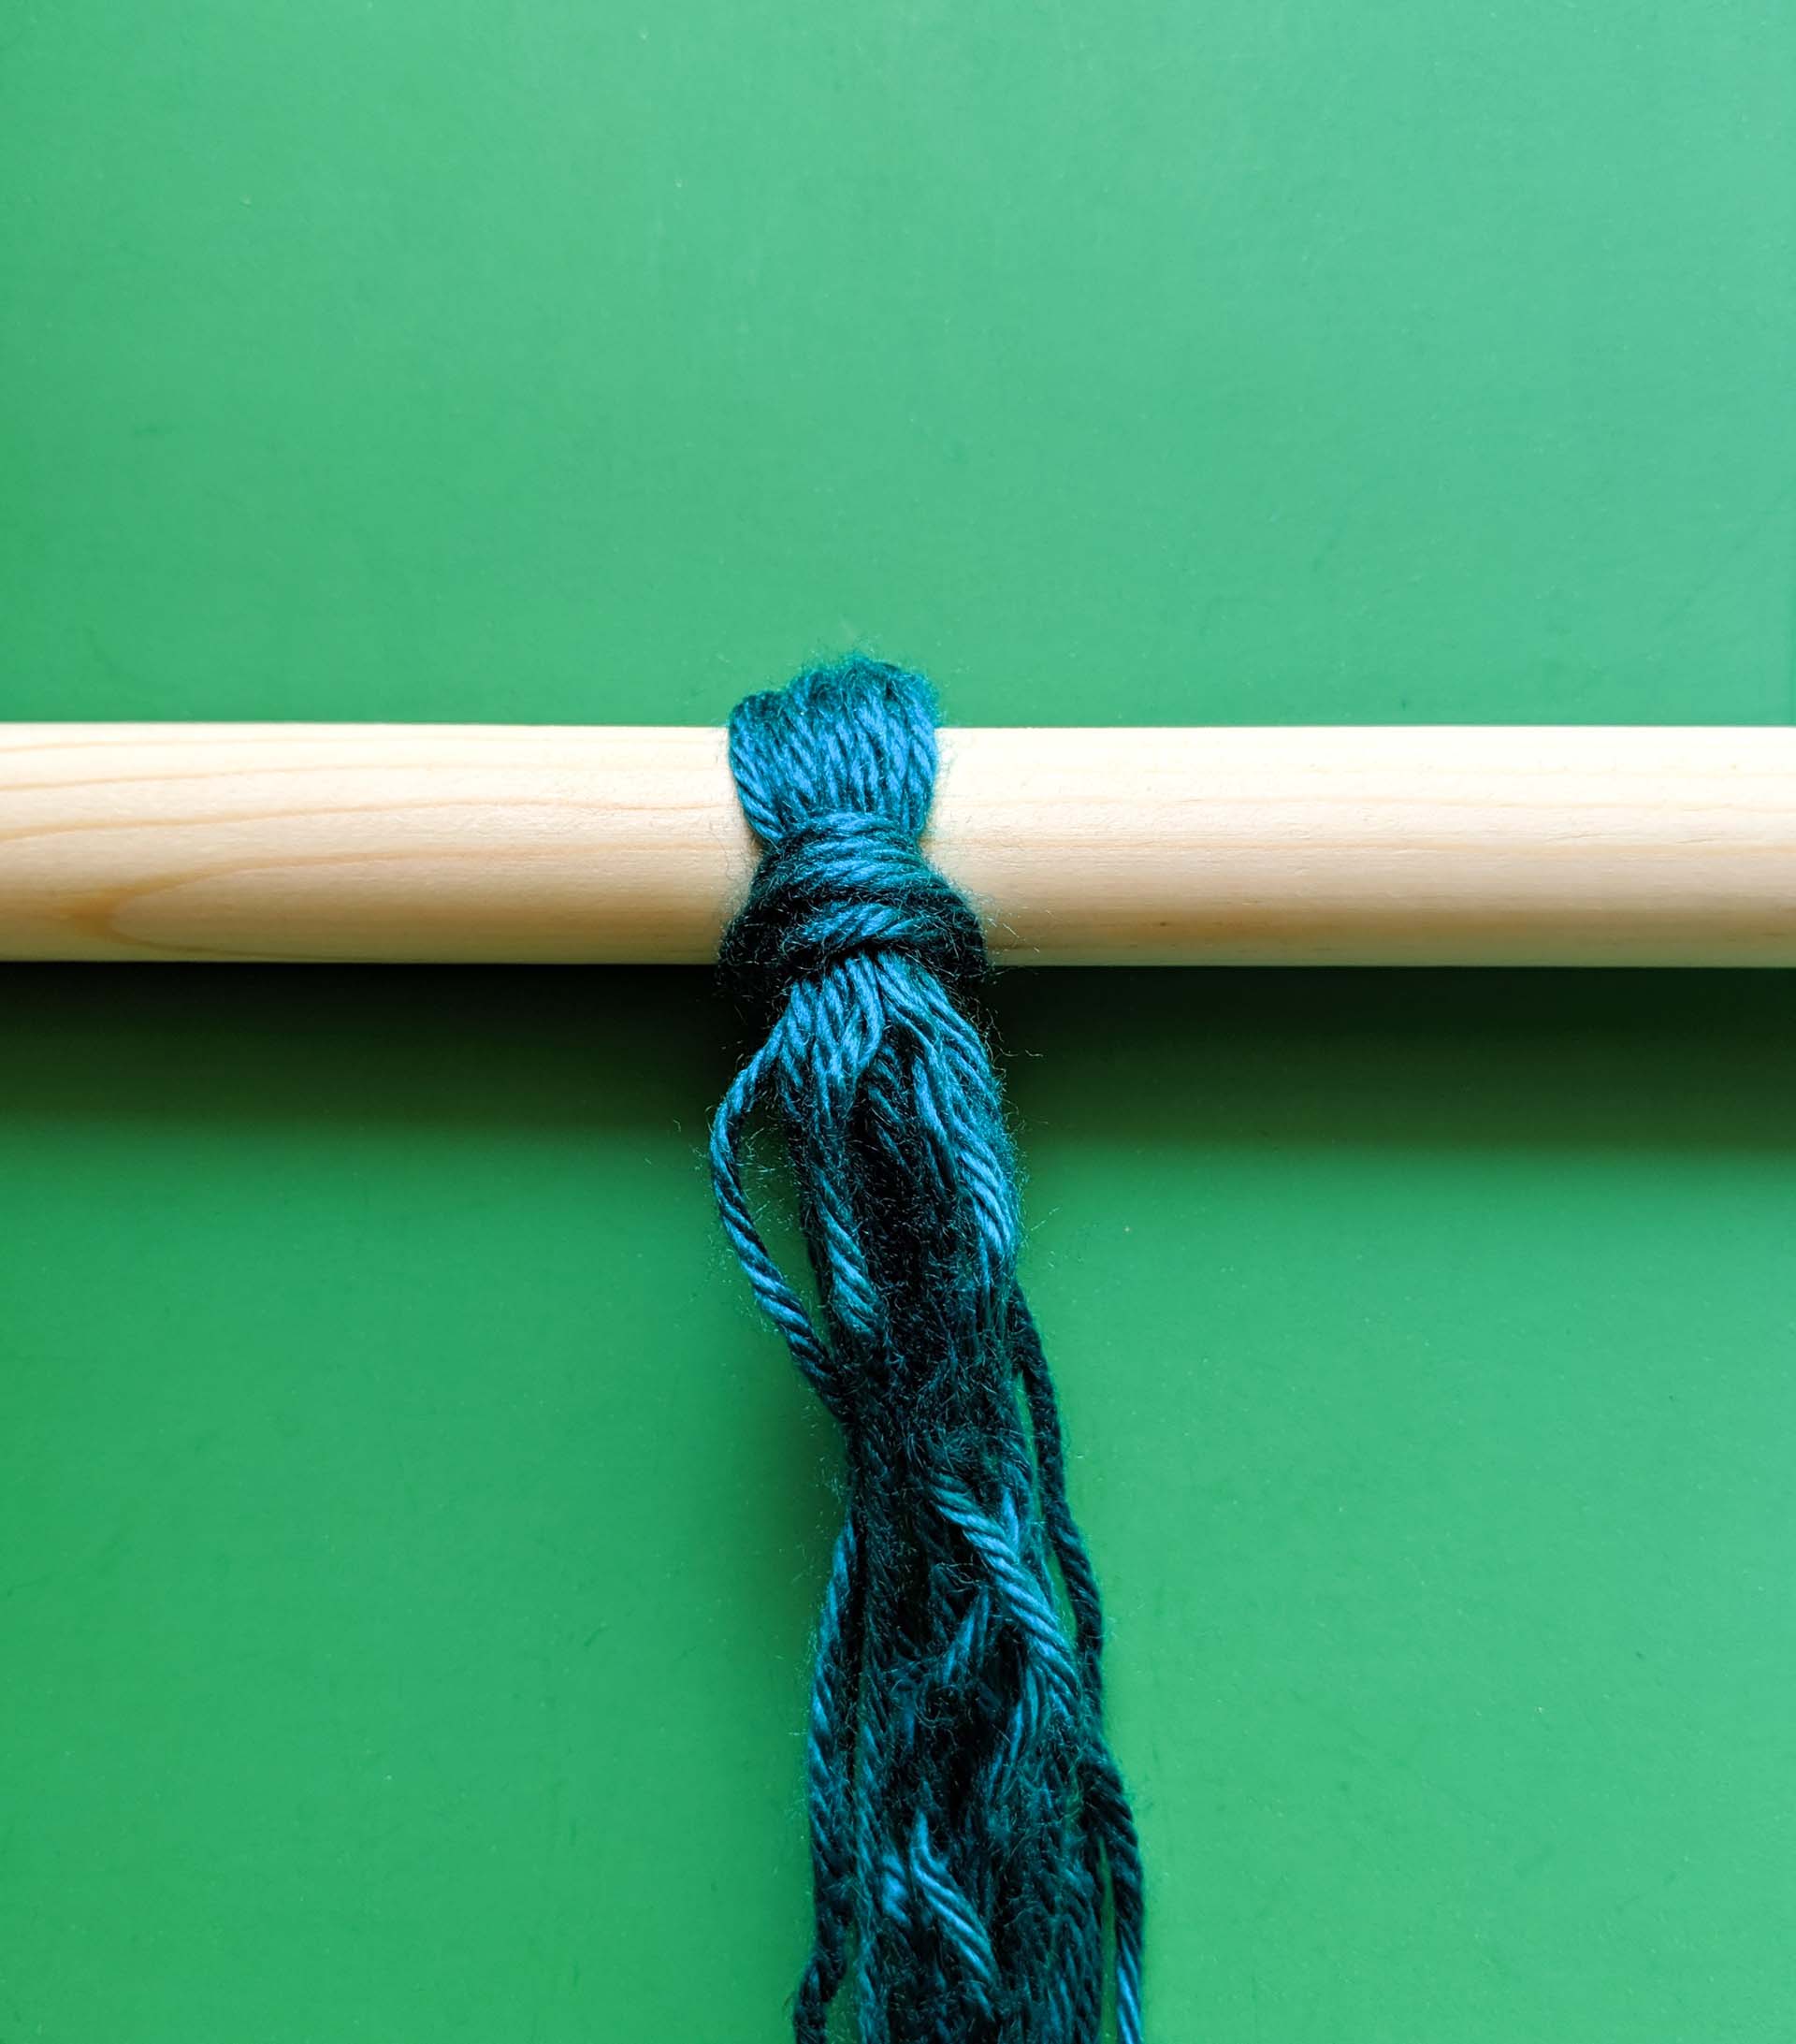
One great strategy is to drape the yarn over the dowel, and pull the ends of string through the loop:

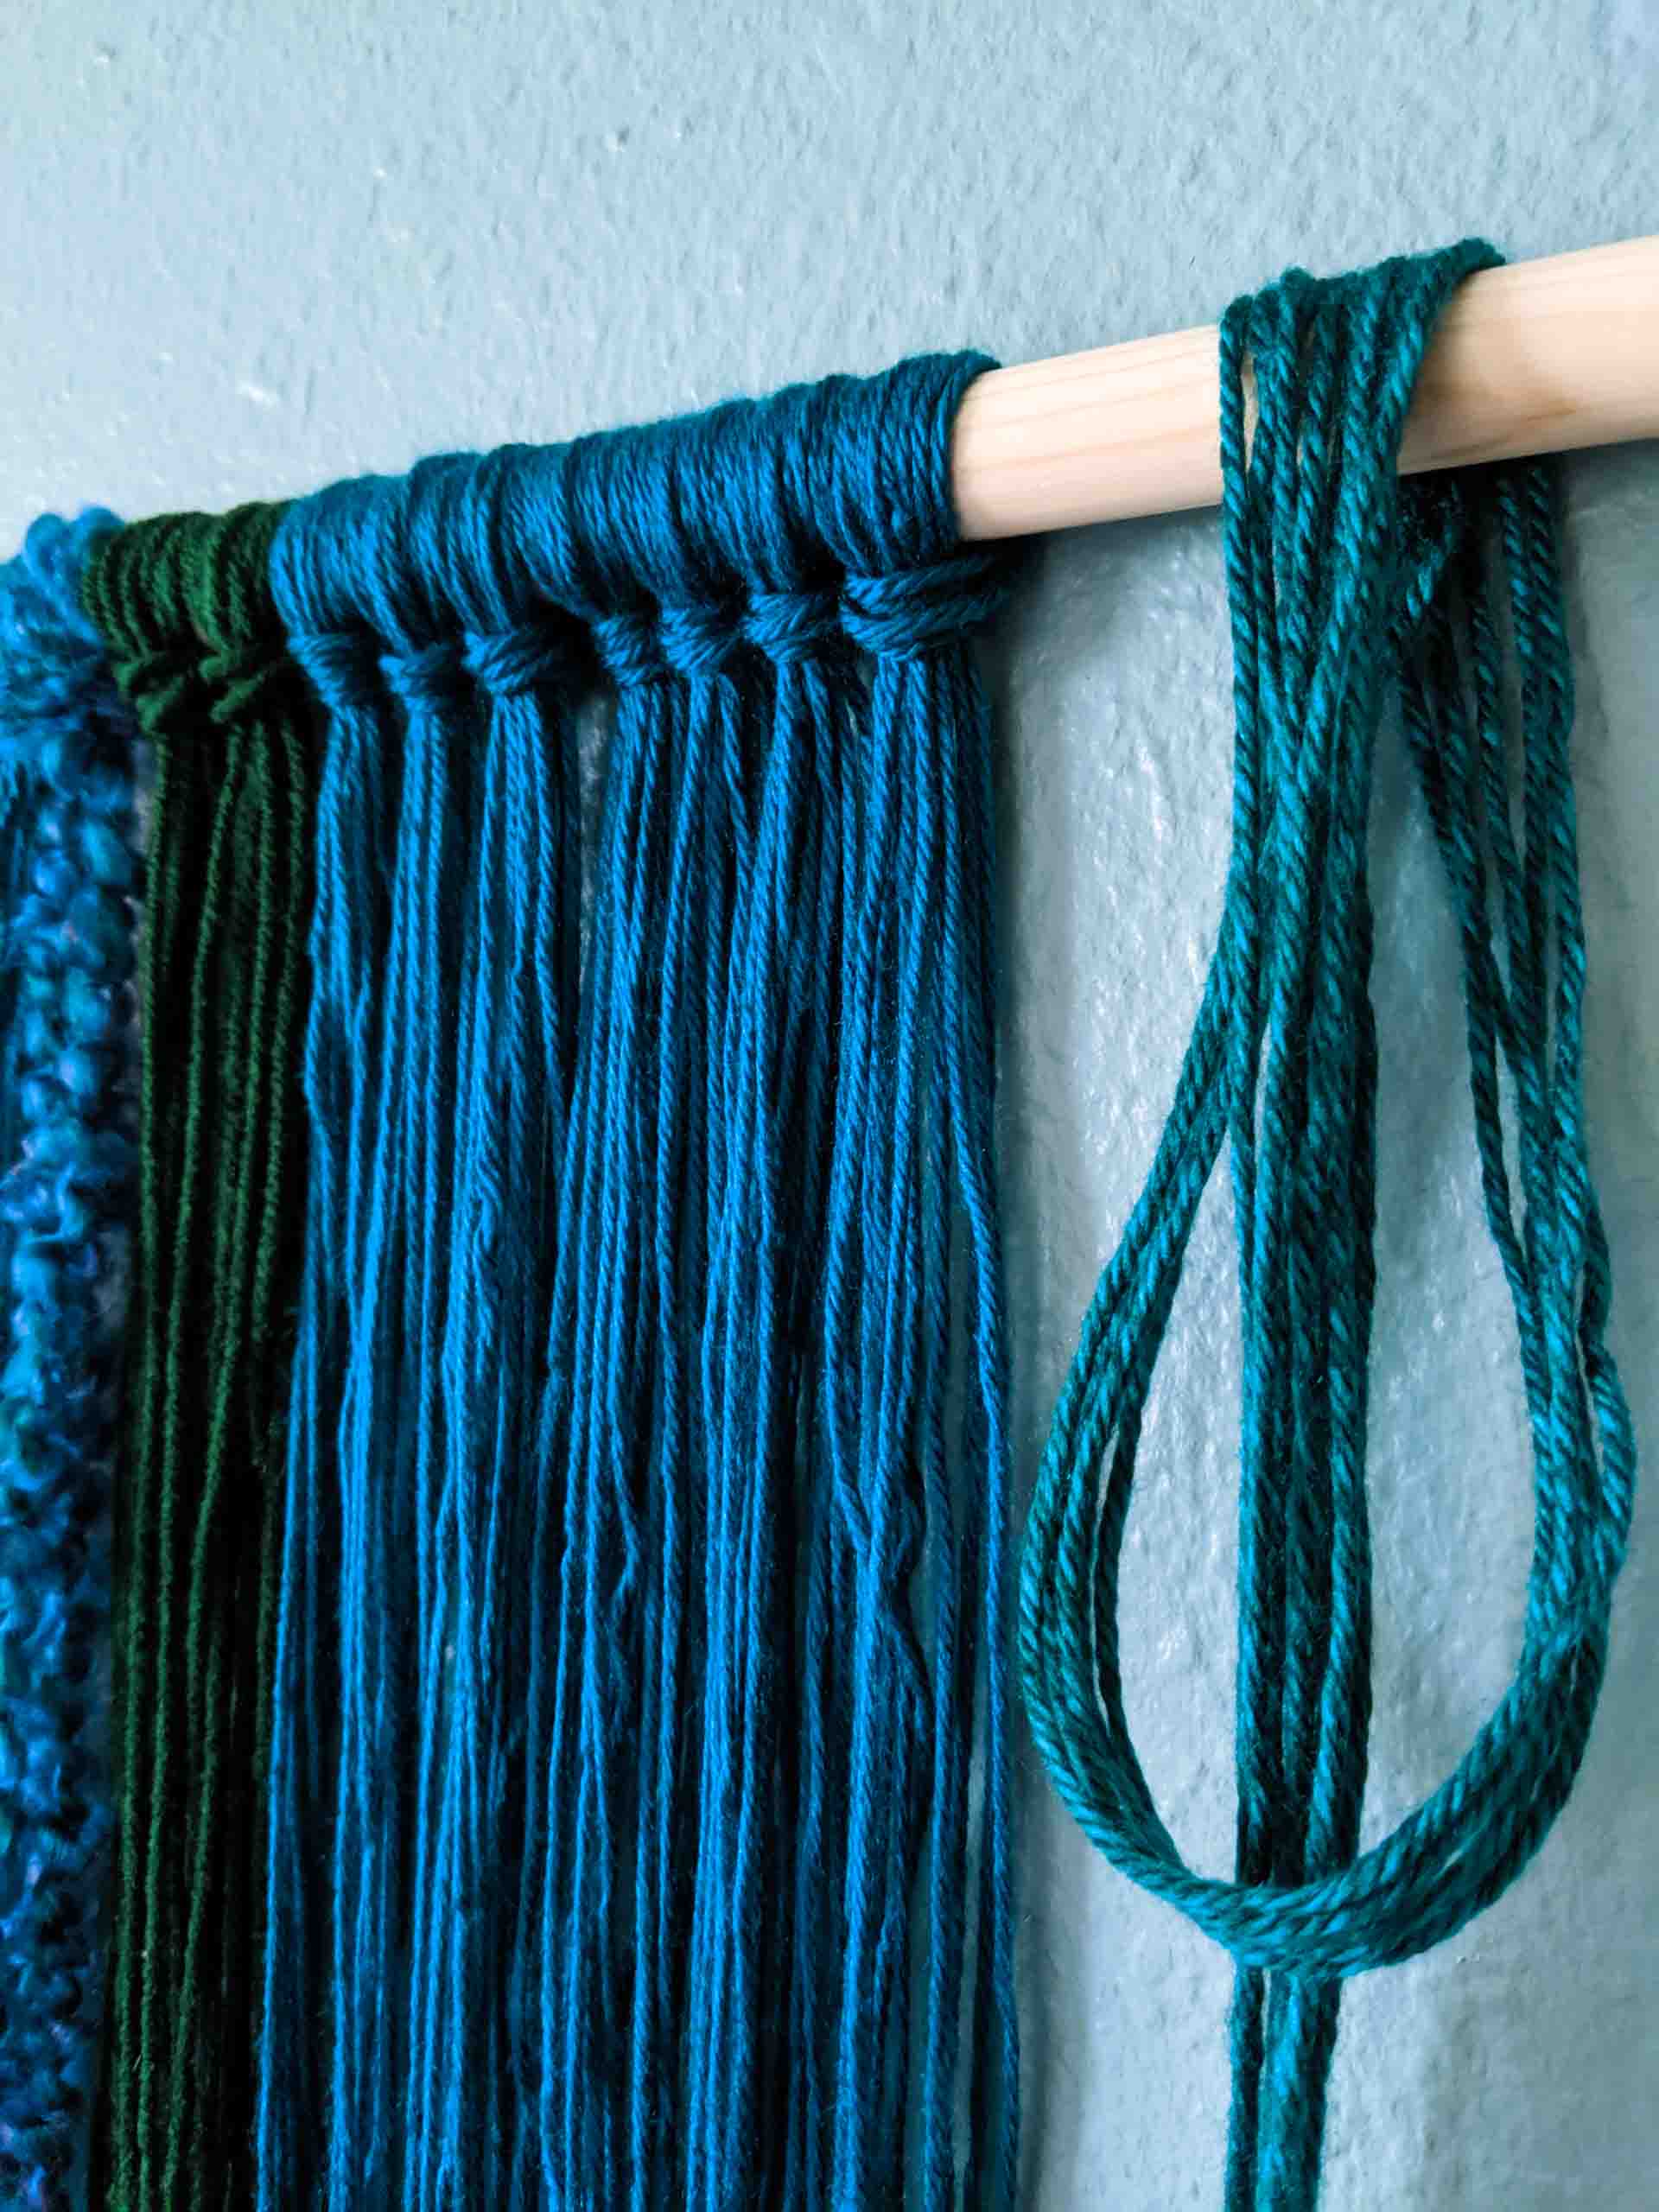
3. Repeat this process all the way across the dowel, switching yarn and ribbon colors as you go. For thicker pieces of yarn and ribbon, you may only need to use 1-3 pieces in each knotted section to create a full effect.

Have fun alternating colors and experimenting with the length of each large section. Don’t feel the need to achieve perfect symmetry or to follow tidy patterns such as “5 teal loops/knots, 5 blue loops/knots”. There is beauty in the imperfection.

4. Give your wall hanging a haircut. When you’ve finished adding yarn and ribbon to your wall hanging, it’s time to trim the ends. Rather than trying to achieve a perfectly straight edge, simply focus on trimming away extra long pieces and creating an overall sense of balance.
5. Attach your wall hanging to the wall of your choice and enjoy! Many find it helpful to hang the dowel in place before crafting the wall hanging, so you are attaching the yarn to the dowel in the exact location where it will end up. However, others may craft the wall hanging while it’s lying flat. If you haven’t yet attached your dowel to the wall, now is the time! Enjoy the fruits of your labor and take in all of the vivid color!


