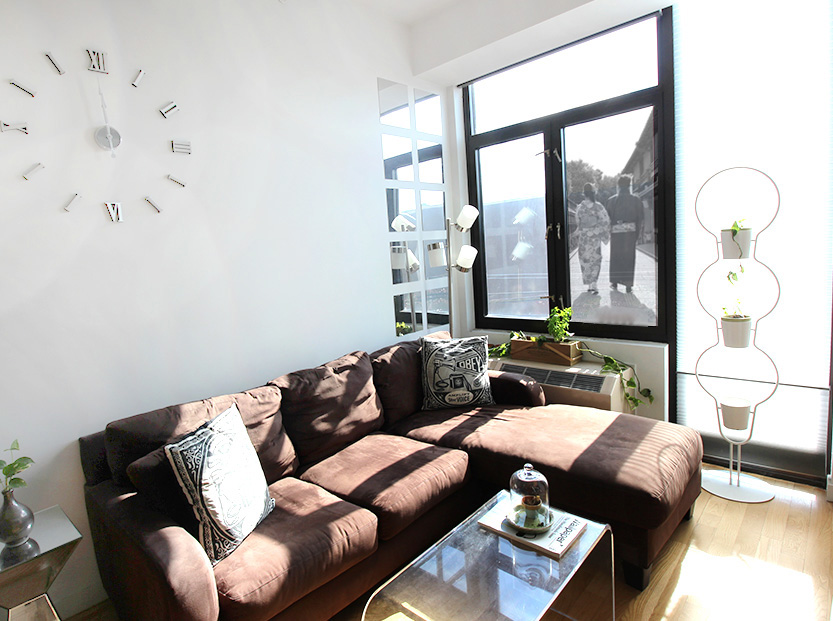
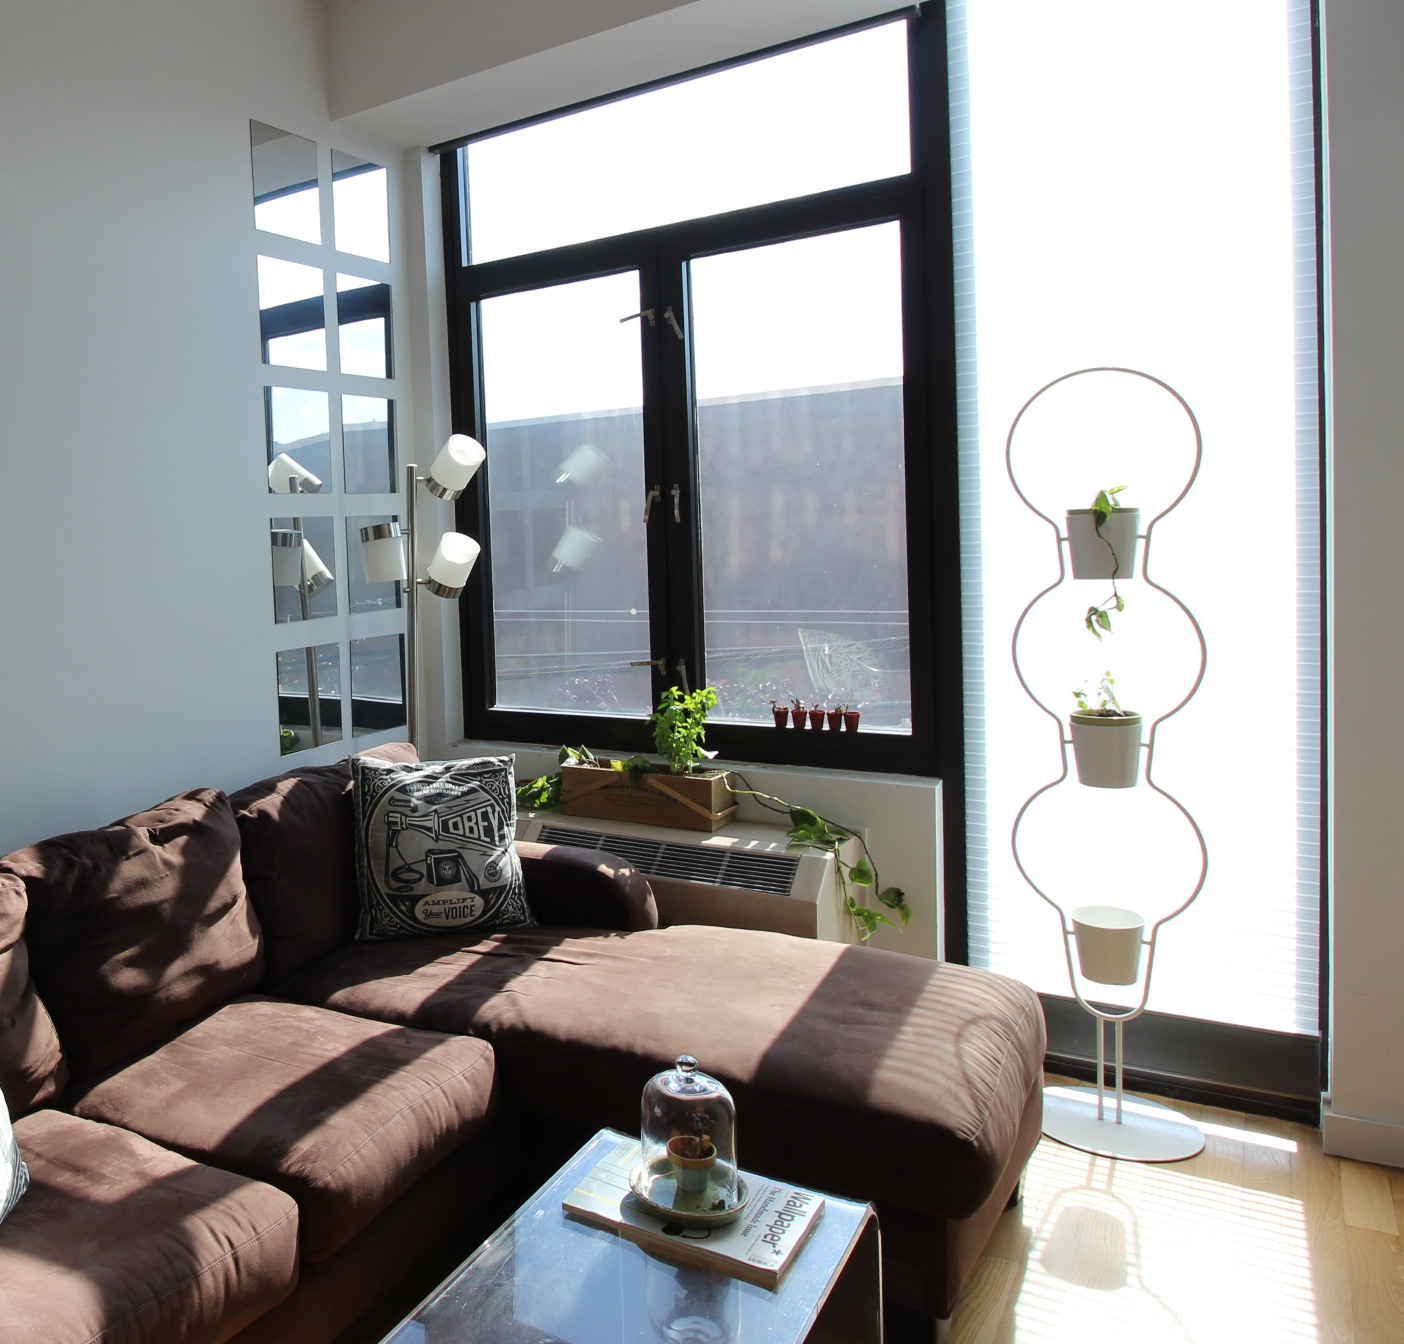
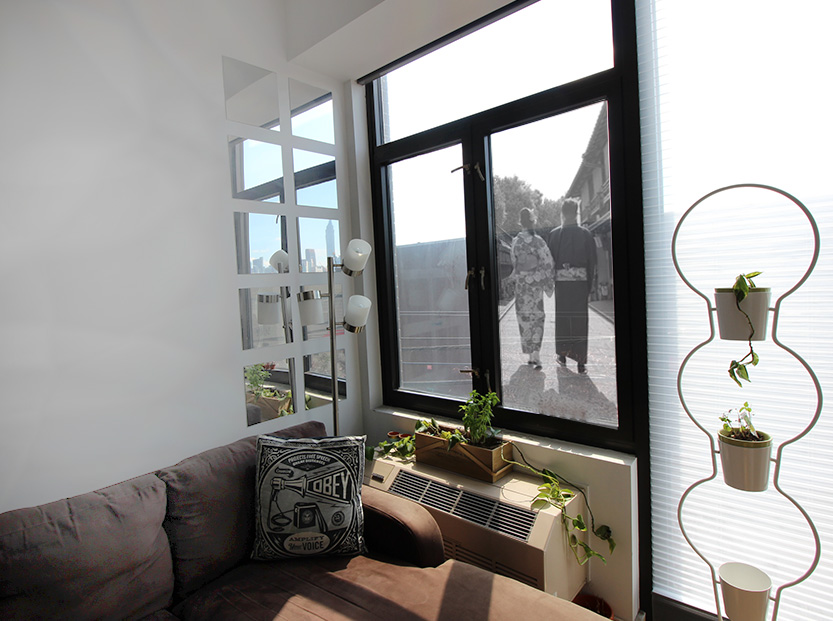
You’ve heard of picture windows, but did you ever think of using your windows as actual picture frames? This unique DIY project adds visual interest to a room, and can also act as a window covering if you’re not in love with your view (like mine, which is of a brick wall). The look is also pretty easy to achieve–read on to see how I did it!
DIY Window Photo Frame
Here’s what you’ll need to get started…
– a window
– a high-resolution digital image (Note: Decoist strongly recommends using an image that you took yourself or that you own the rights to.)
– measuring tape
– Printable transparency film (be sure to get the right kind for your printer)
– a printer and ink
– a scissor or blade and ruler
– crystal clear gloss finish tape
– a large-scale photo printing program like Rasterbator or Block Posters
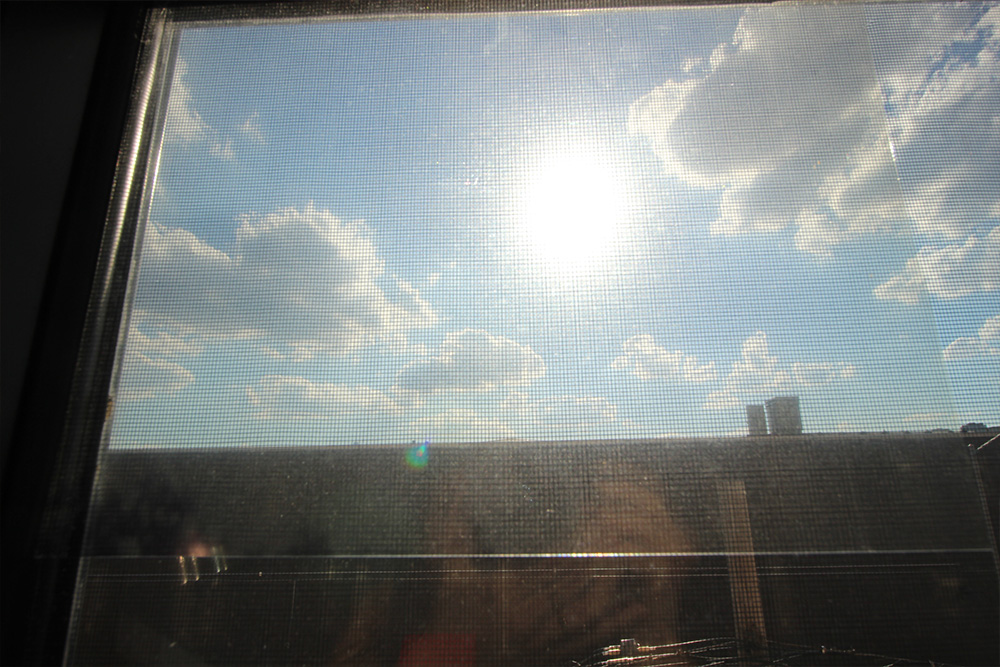
Step 1: Start by measuring the window you’d like to use as your photo frame. Don’t forget to account for any window muntins or dividers between the panes of glass, as these can block off parts of your image.
Step 2: Once you know how large your window is, upload your pic to Rasterbator, Block Posters or another rasterbating program and play with the sizing and options until you have exactly the look you want. Then download the resulting image to your computer. The whole rasterbating process can be a bit confusing if it’s your first time so check out this YouTube tutorial for an easy-to-understand step-by-step.
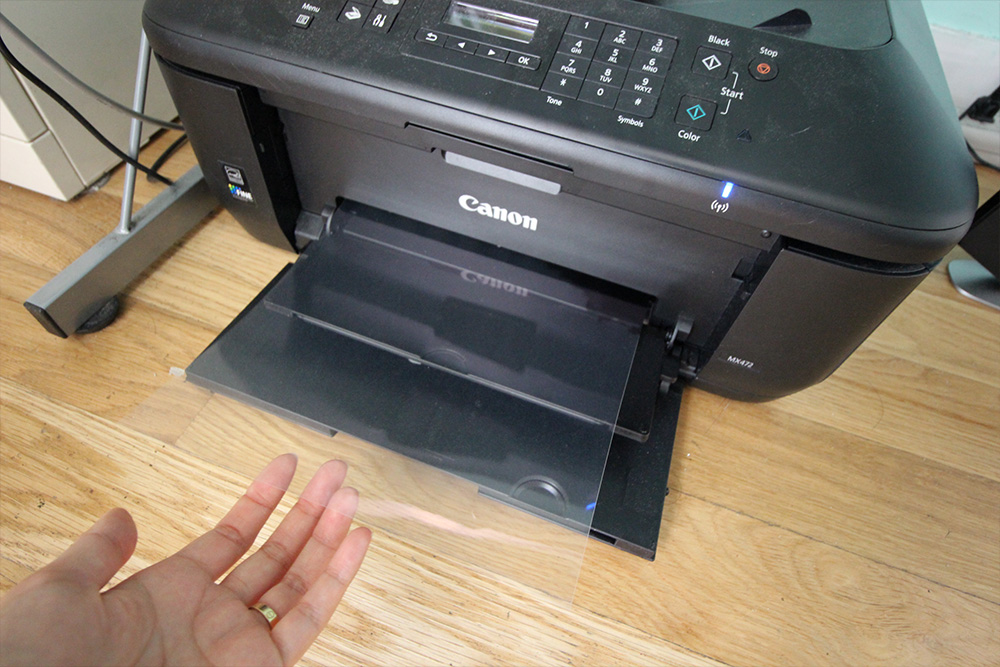
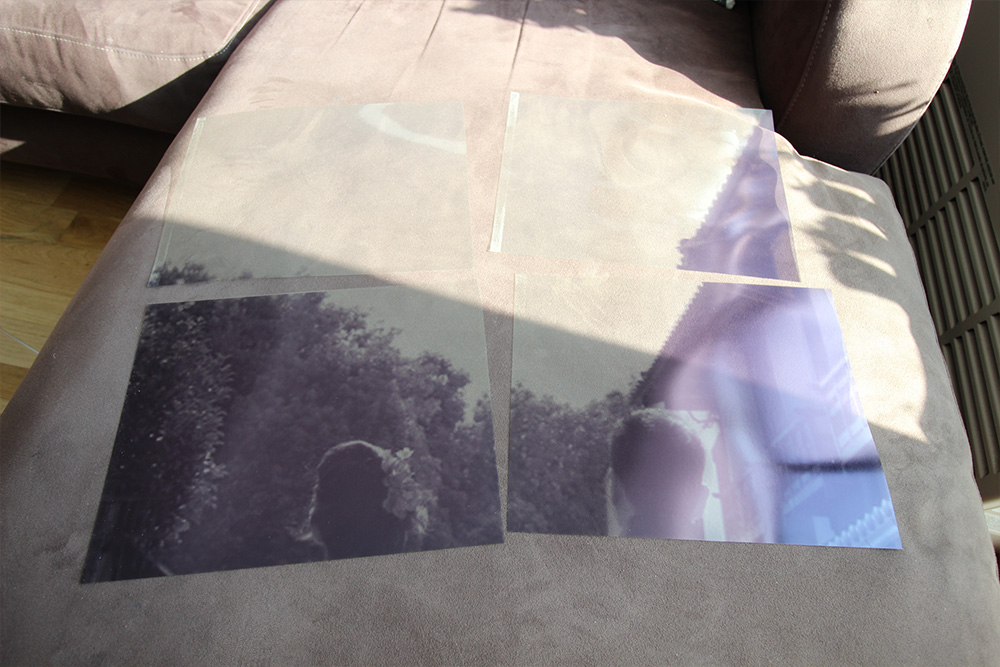
Step 3: Next, set your printer to transparency mode and full-bleed (if you have that option) and start printing out your downloaded file. It’s a good idea to keep track of each sheet of paper and lay it on the floor as it comes out so that you can keep track of the order of the sheets.
Step 4: (Skip this step if your printer has a full-bleed option): When all your pages have printed, use a blade and metal edge (recommended) or scissors to trim the edges off.
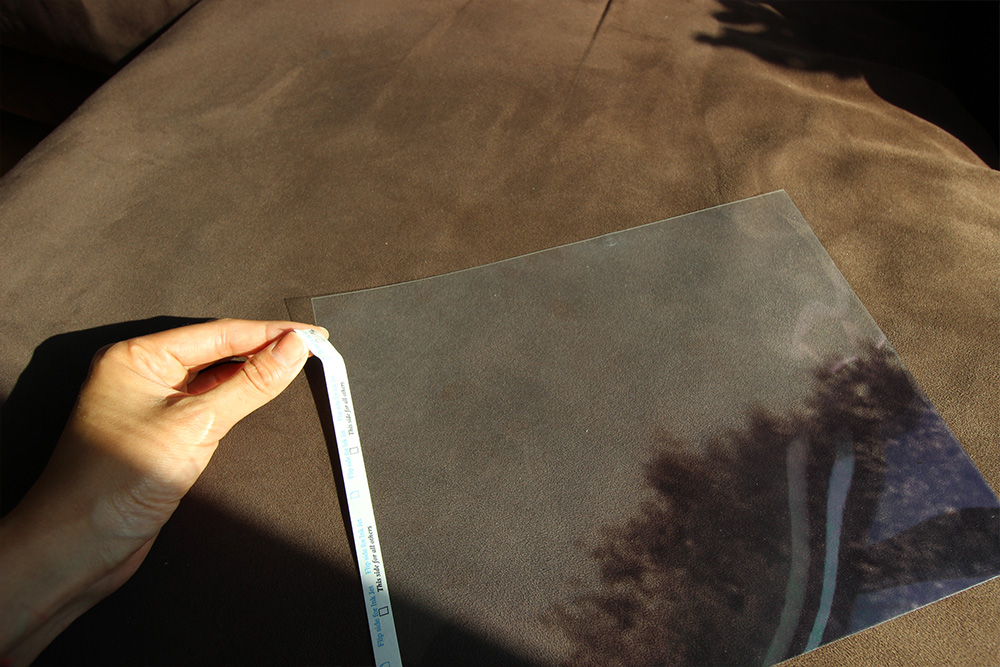
Don’t forget to peel any backings off of your printed sheets.
Step 5: Let your printed sheets dry for about 12 hours.
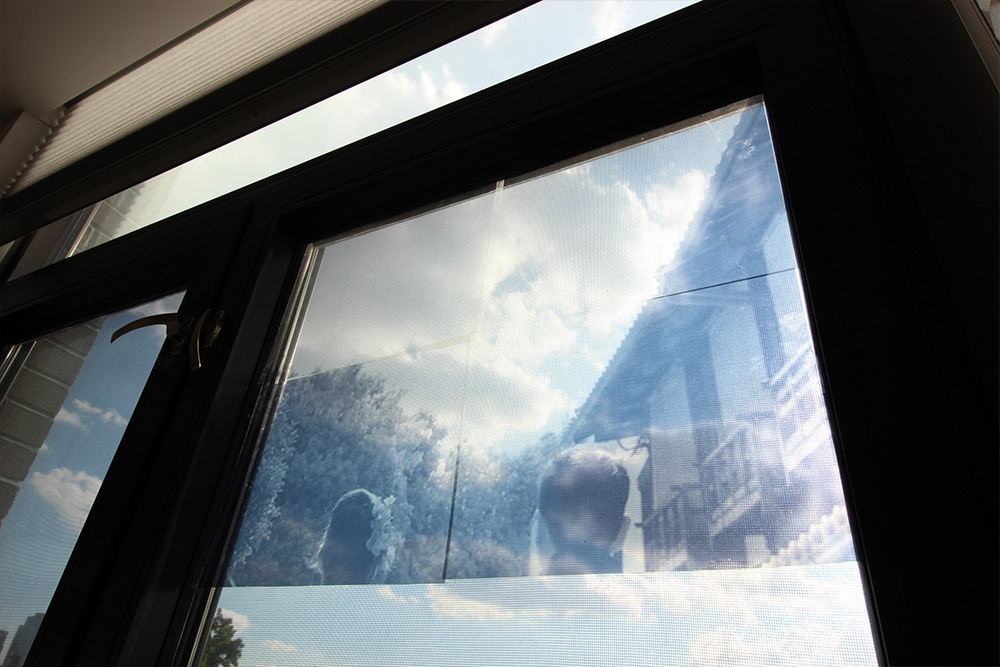
Step 6: Now it’s time to assemble! Make sure your window is totally clean and free of dirt or grease. Then, placing a small square of clear tape in each corner of the uppermost corner sheet in your design, affix it to your window. Repeat until your design is complete. Note: You may need to cut some of your sheets as you go to accommodate muntins.
And here is the finished product!
Which one of your photos would you want to display in this way?


