
Today’s super-easy DIY project involves only a few supplies, and the finished product has a look that’s unique and industrial! I love wandering around Home Depot and searching for items to use in creative endeavors. When I spotted these ceiling collars (used to cover the areas where pipes pass through the ceiling, wall or floor), I knew a new project was brewing! This DIY picture frame celebrates the mixed metal trend that juxtaposes silver and gold tones with modern flair. Keep reading, and I’ll show you how to take this project from the work table to the wall…

DIY Picture Frame Supplies

Here’s what you’ll need to get started…
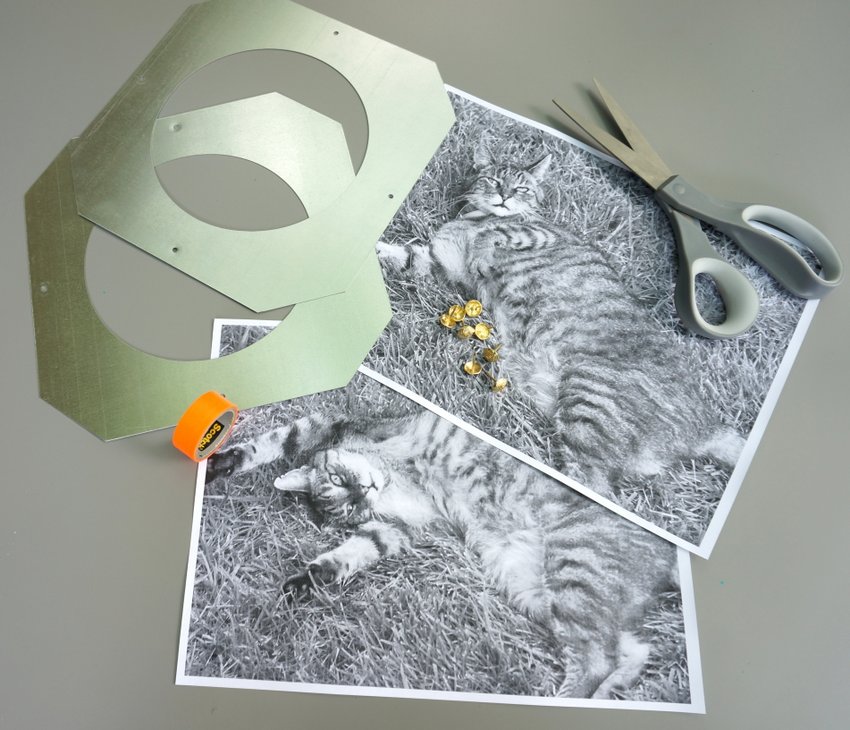
- 6-inch steel ceiling collar (I used this one from Home Depot)
- the photo of your choice
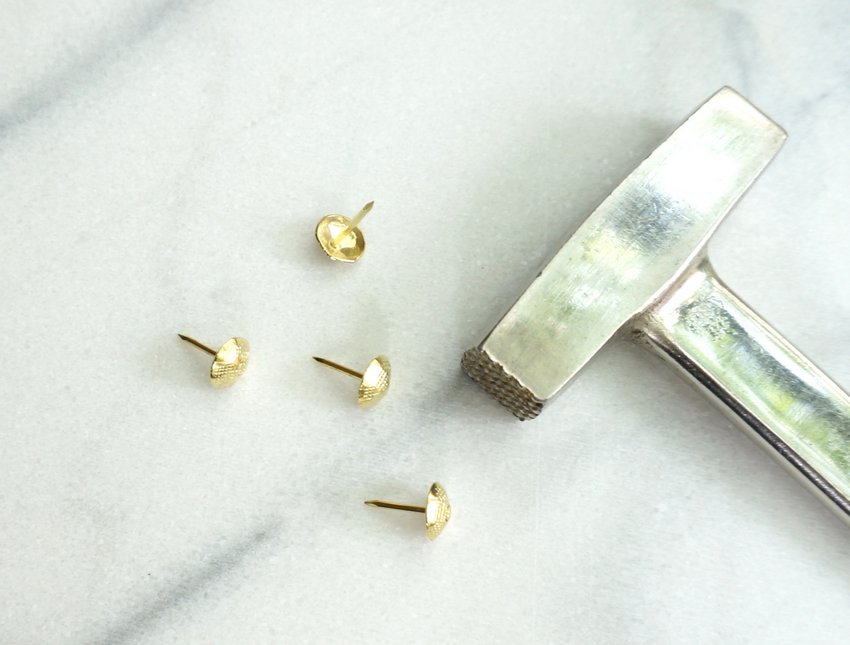
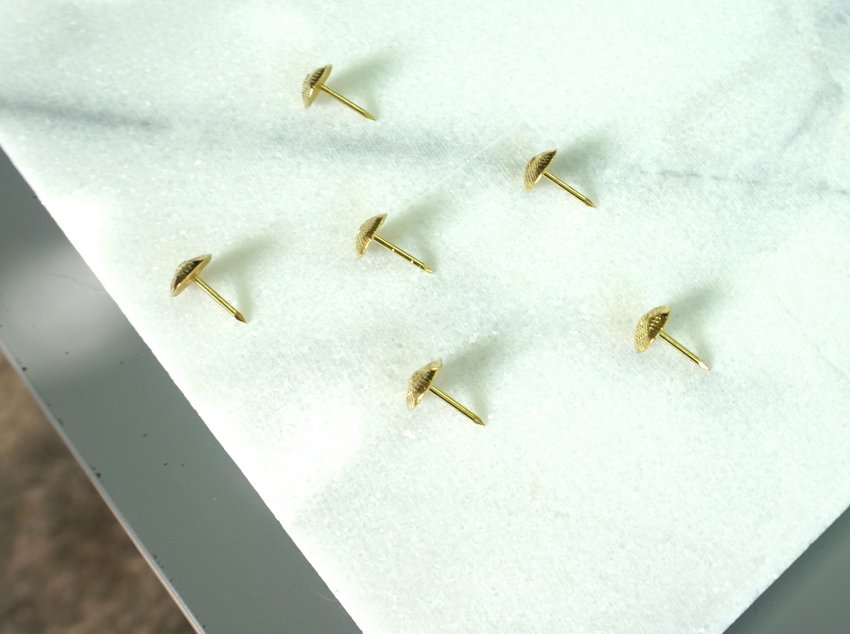
- 4 brass upholstery nails (such these)
- scissors
- washi tape
- cardstock or art paper (optional)
- a plastic covering such as an overhead transparency sheet (optional)

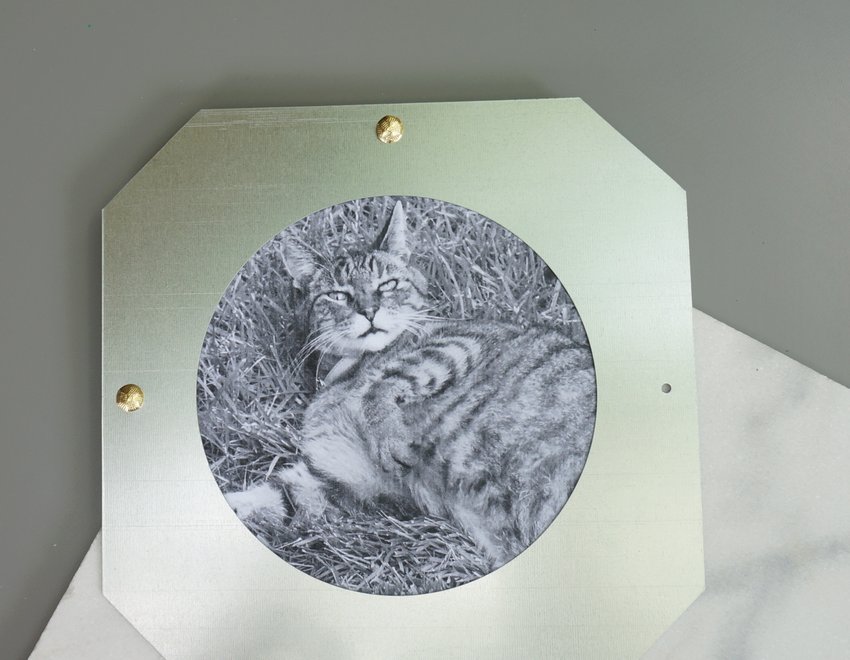
Upholstery nails work well for this project, and they come in different styles. I chose brass to create a contrast with the silver tone of the steel. Speaking of the steel ceiling collar, it comes in a variety of sizes, depending on how big you want the circular cutout to be. The 6-inch collar was ideal for my photos, so I went with that size. NOTE: THE EDGES OF THE CEILING COLLAR ARE A BIT SHARP, SO HANDLE WITH CARE.

Also keep in mind that you’ll want to have a hammer on hand for attaching the frame to the wall. How convenient that the ceiling collar already has pre-drilled holes (for hanging purposes)! Now let’s take a look at how you put one of these frames together:
Project Steps

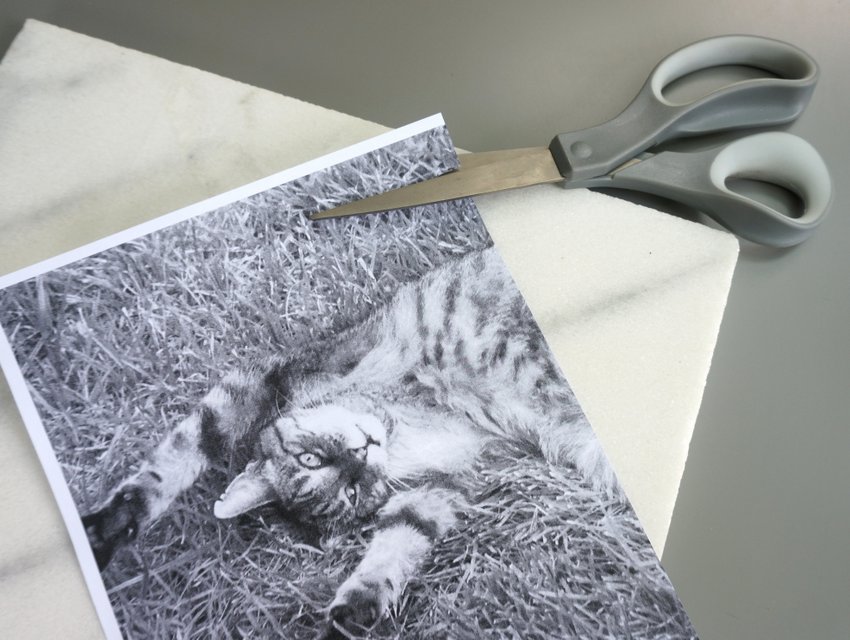
Step 1: Gather your photo and cut it to fit the ceiling collar frame.
You may choose to print out a photo on card stock or photo paper, in color or in black and white. I went super basic here and simply printed a black and white photo on white paper. My printer isn’t too fancy–ha! As it turned out, the look of the photo was perfect for the industrial feel of the frame.

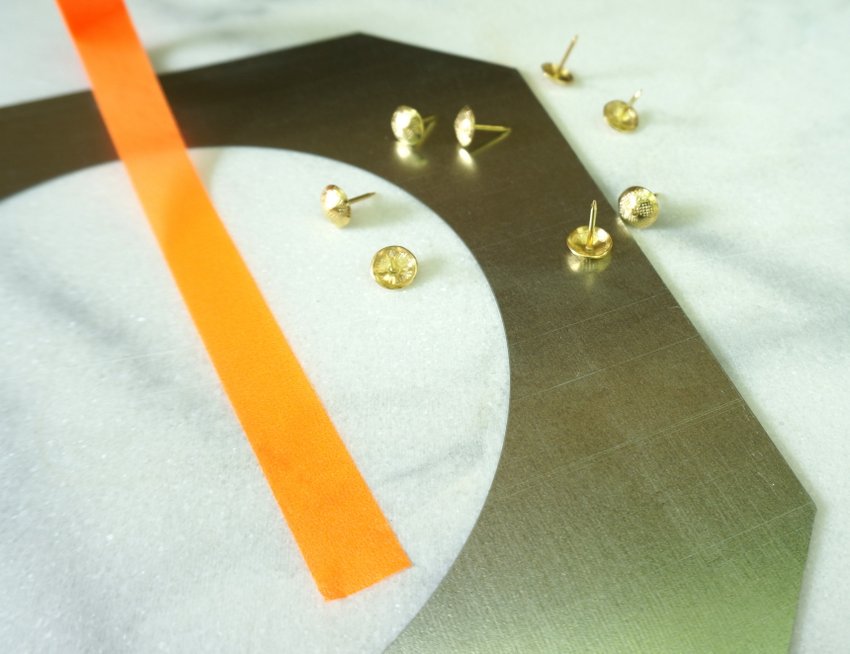
Step 2: If you wish, cut some art paper to use as a mat (border) for your photo, as well as a clear covering (such as an overhead transparency sheet) to protect the photo.
Using glass to protect the photo is not an option, as this frame is nailed directly to the wall. Truth: I didn’t use a border or a protector for my photo. I had the art paper ready to go, but I really liked the way the photo looked by itself in the frame!

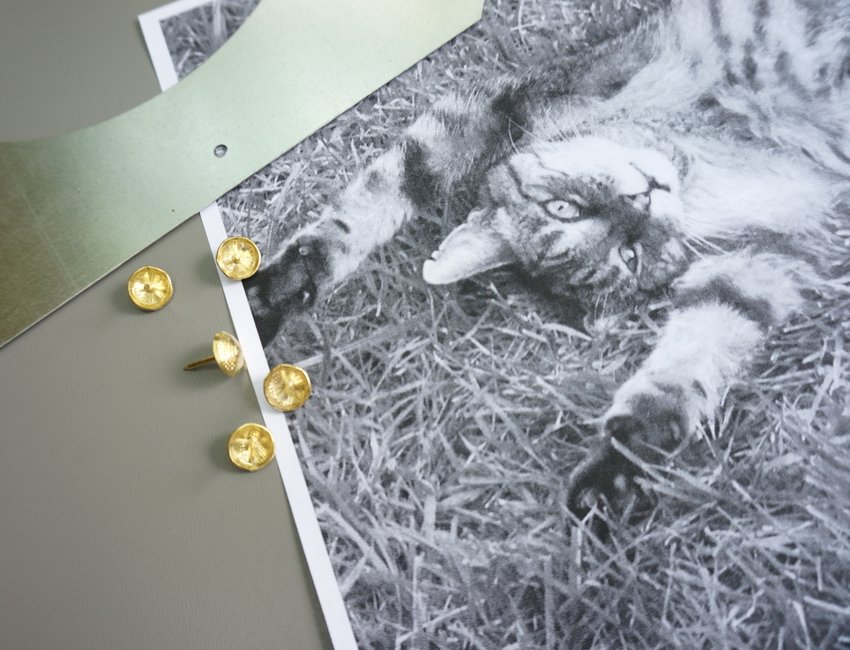
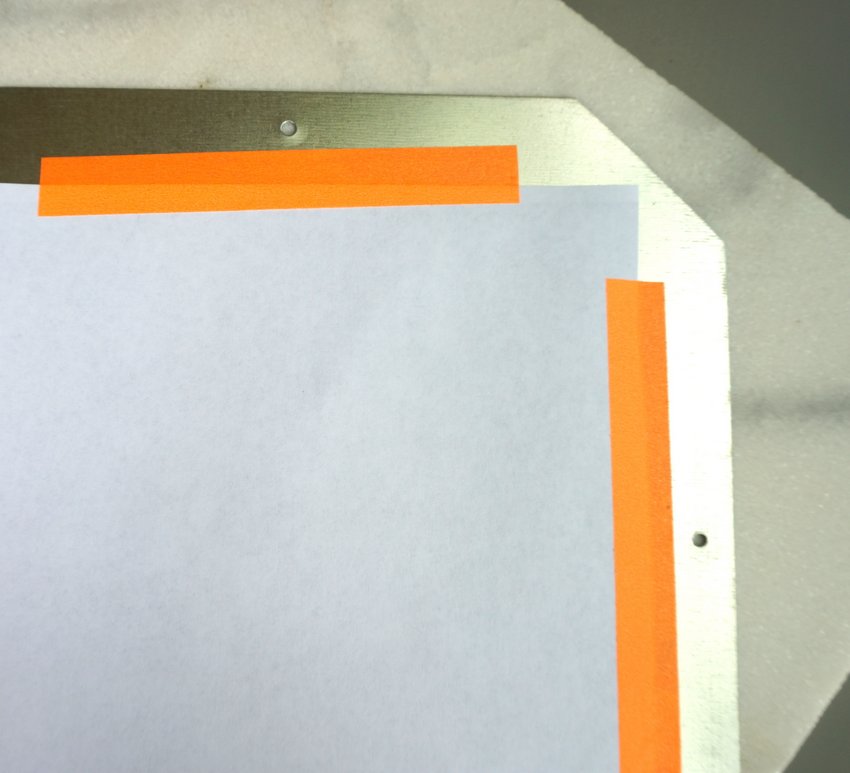
Step 3: Use washi tape to secure the photo to the back of the frame.
Why washi tape? Because it’s super easy to peel off. You know, in case you want to change out the picture one day! Since the washi tape is well hidden on the back of the frame, use large pieces of tape to securely and smoothly hold the photo in place.

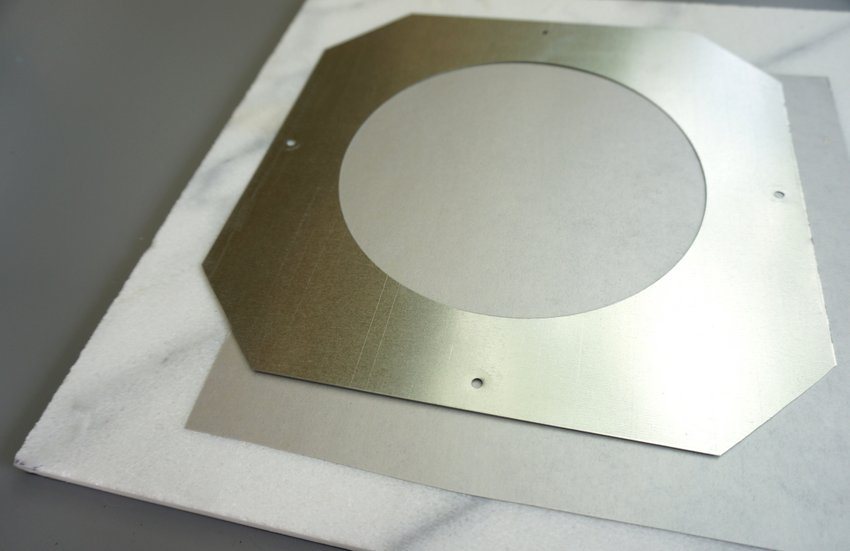
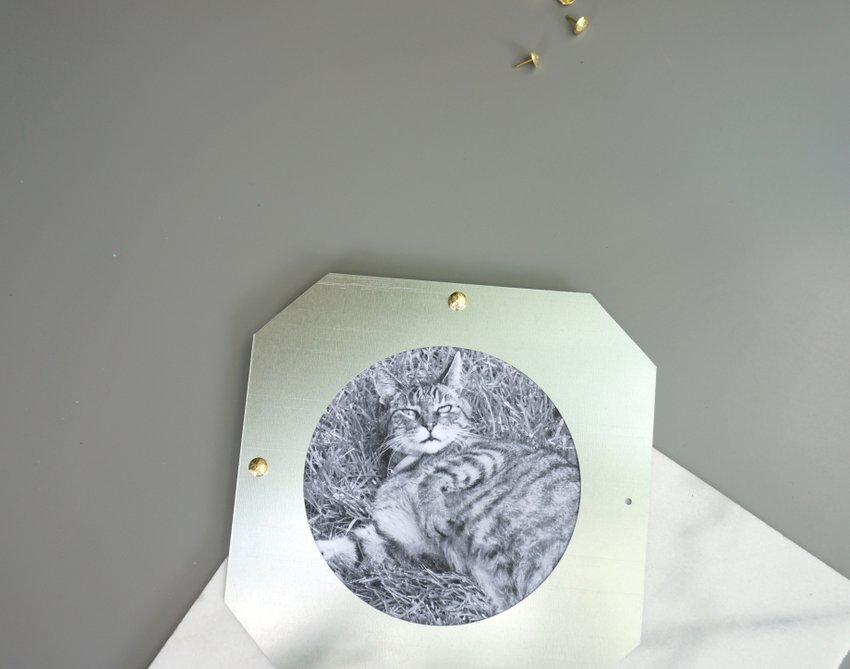
Now flip the picture/frame over. As you can see below, the upholstery nails will fit neatly into the pre-drilled holes of the steel ceiling collar. And speaking of the upholstery nails…

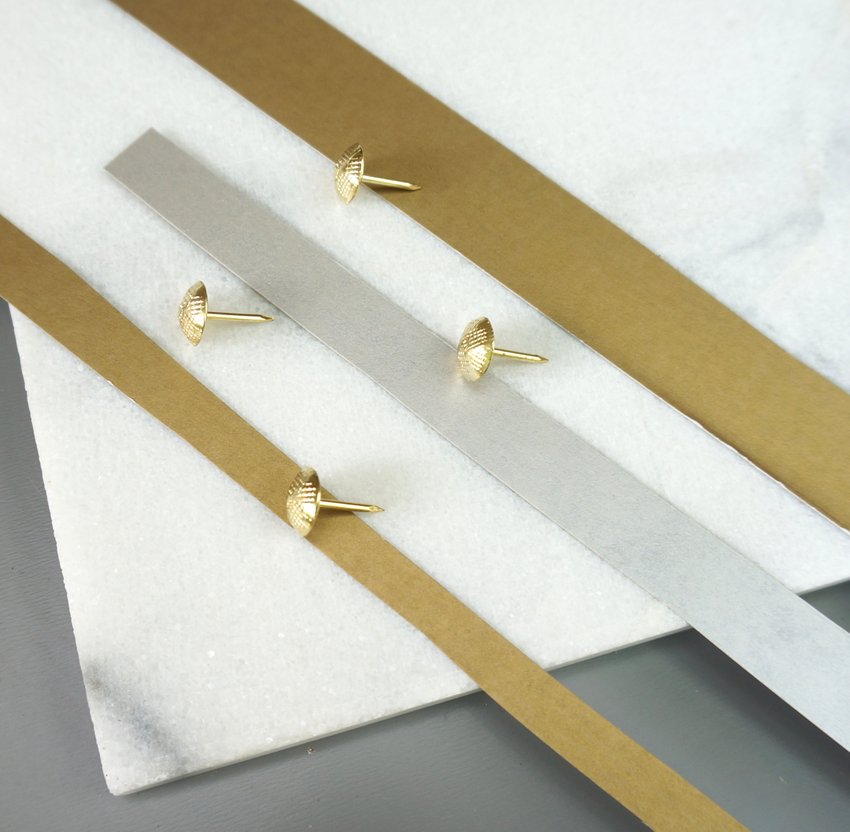
Step 4: Use upholstery nails to attach the frame to the wall.
You will need four nails per frame, and you’ll want to make sure they’re firmly in place, as this will keep those sharp edges of the frame securely against the wall.

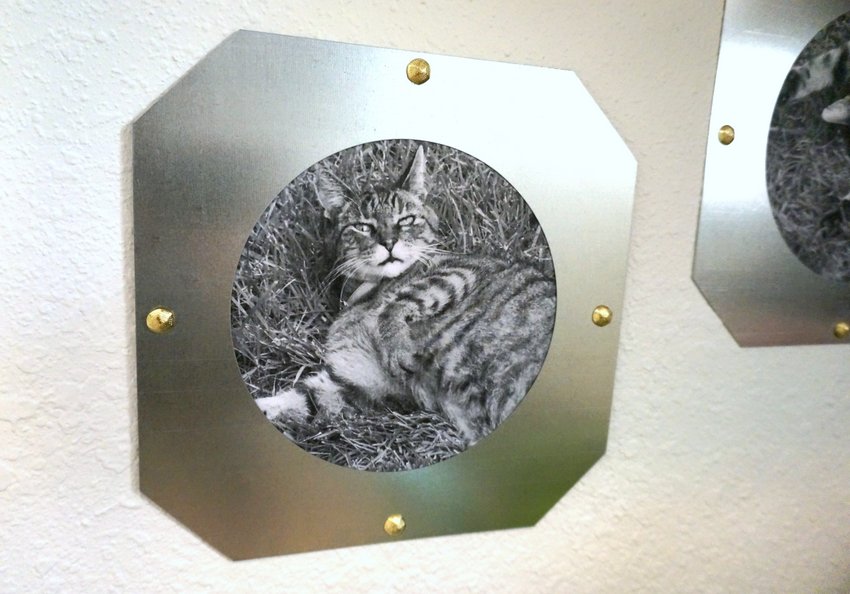
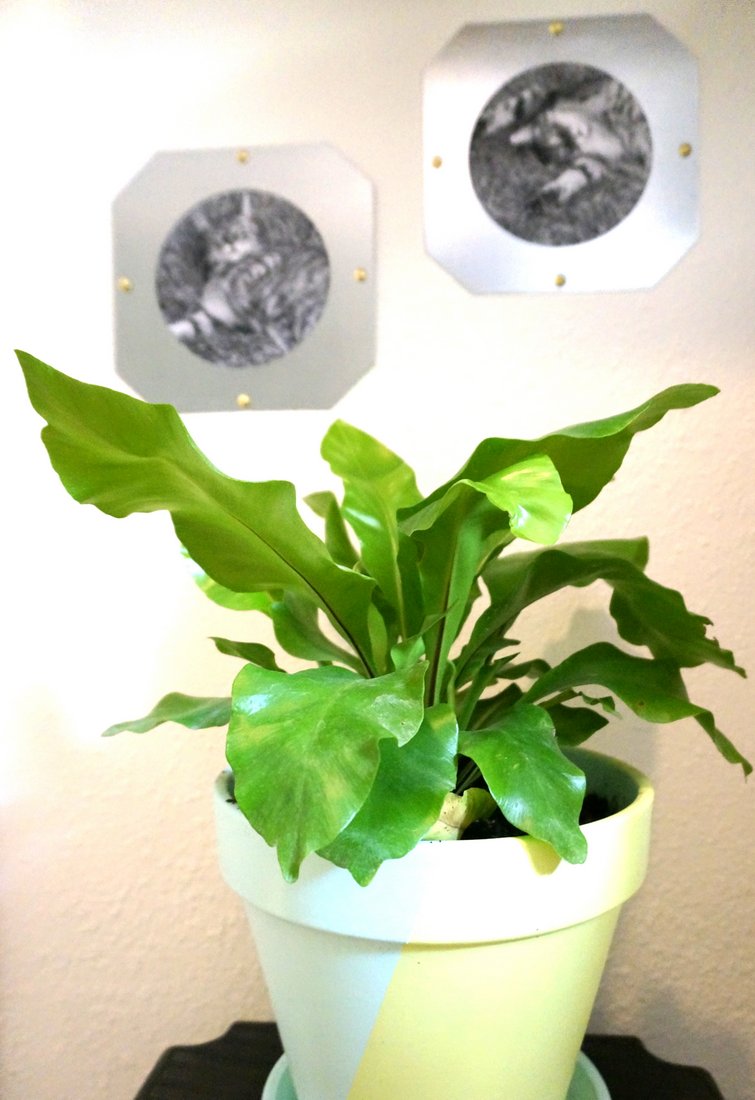
Here’s a shot of the frame on the wall. As you can see, it almost has the look of a porthole! While it may be tempting to hang these in a child’s room, keep in mind that the frame is steel and the edges are sharp. Keep the frame in an area that’s out of reach of little hands!
Picture Frame Styling

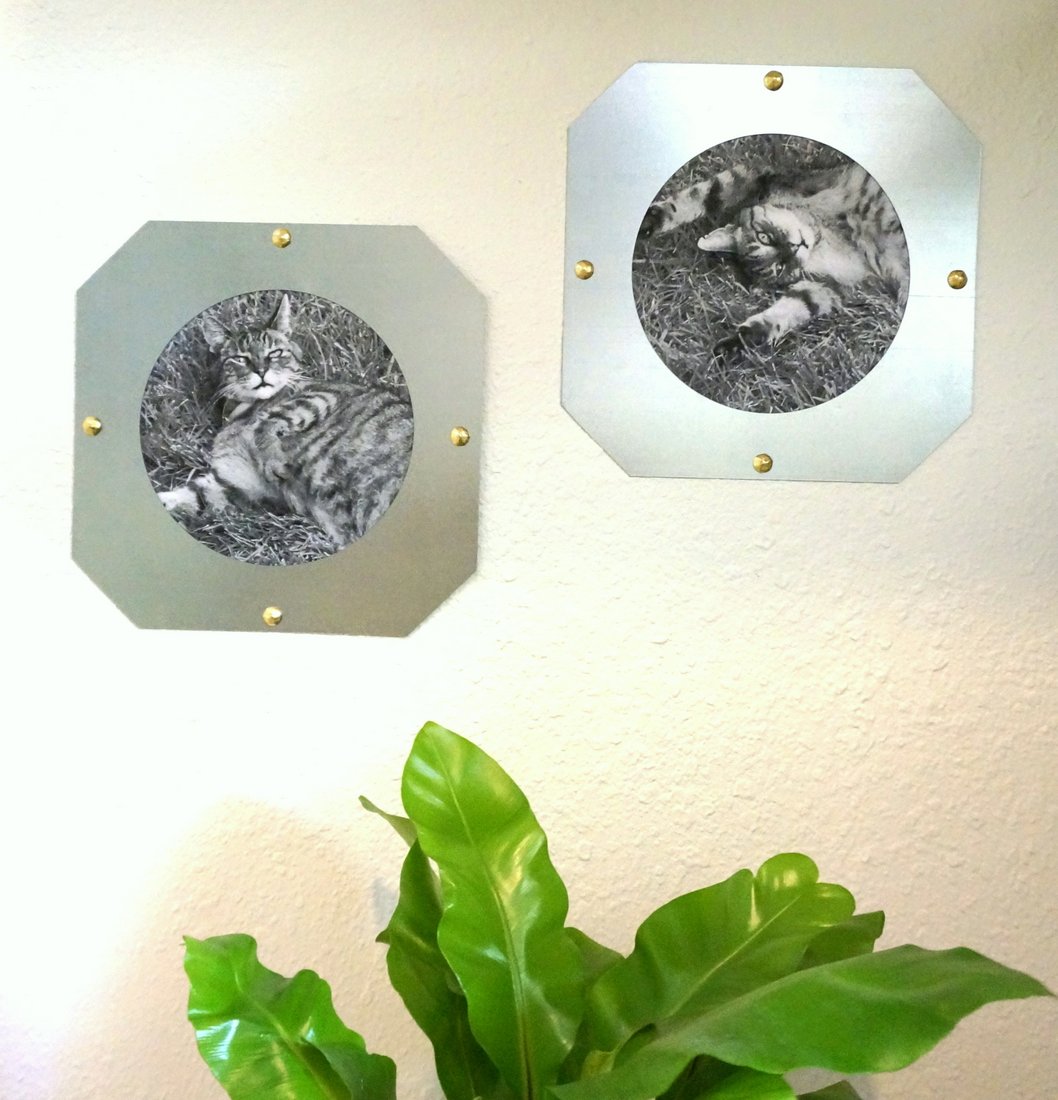
In the image above, you’ll notice that I made two frames and staggered them on my laundry room wall above a bird’s nest fern. Why in this spot? Because the laundry room is also the location of our “kitty shelf”, which holds our Little Man’s food, medication and other supplies. And now, another gratuitous upholstery nail shot:

Remember this DIY painted pot? It’s still alive and well, but the plant we originally placed in the pot is not. Hence my recent trip to the nursery for the bird’s nest fern. The DIY picture frames are the perfect size for the wall space between the plant and the cabinets that hang overhead.

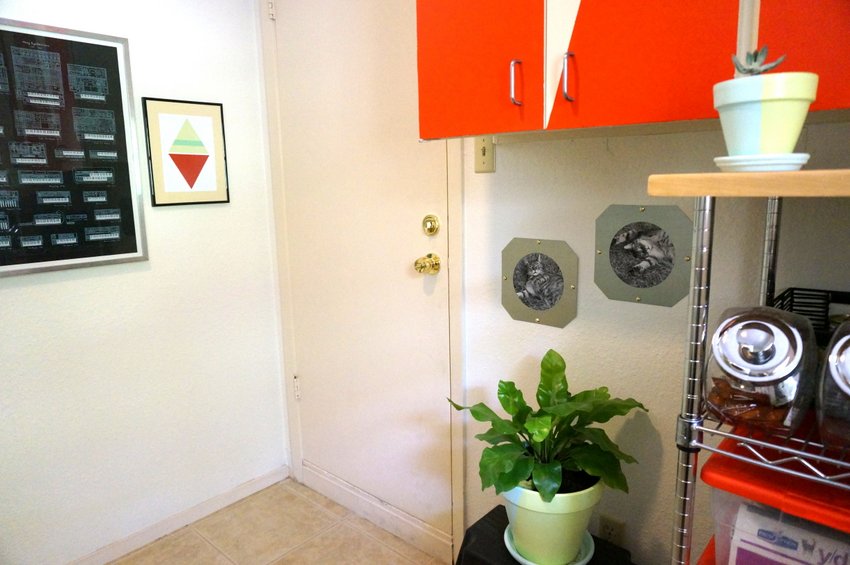
Here’s a little bit of context, as you see the laundry room wall, complete with the painted cabinets, painted pots, kitty supply shelf, and now the DIY frames. It’s only fitting that Kitty’s photos would grace this space! Check out the full laundry room makeover for more photos.

Thanks for letting me share my latest DIY project. Happy crafting!


