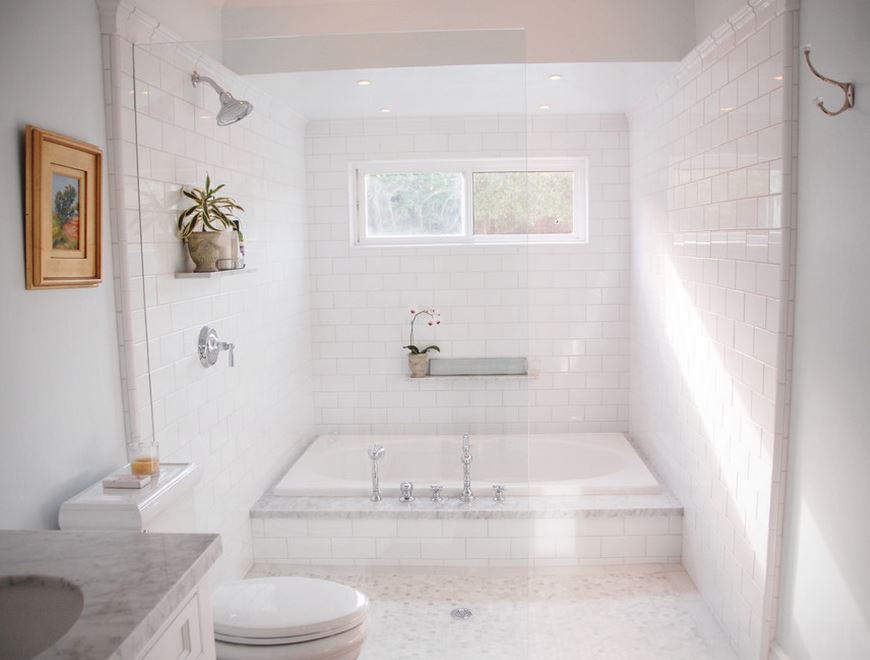
Spring is officially here, and it’s natural to be inspired to clean at this rejuvenating time of the year! Spring cleaning can vary from organizational activities such as cleaning out closets to more in-depth cleaning challenges, such as scrubbing down the powder room. On that note, today’s post is dedicated to achieving a truly clean bathroom, which is difficult to do when mildew permanently resides in the shower and tub area. It might be time to caulk the tub (which in most cases means recaulking the tub)! Here are some easy steps that will help you get the job done… [image from Kade Restoration]

Step 1: Remove the Old Caulk
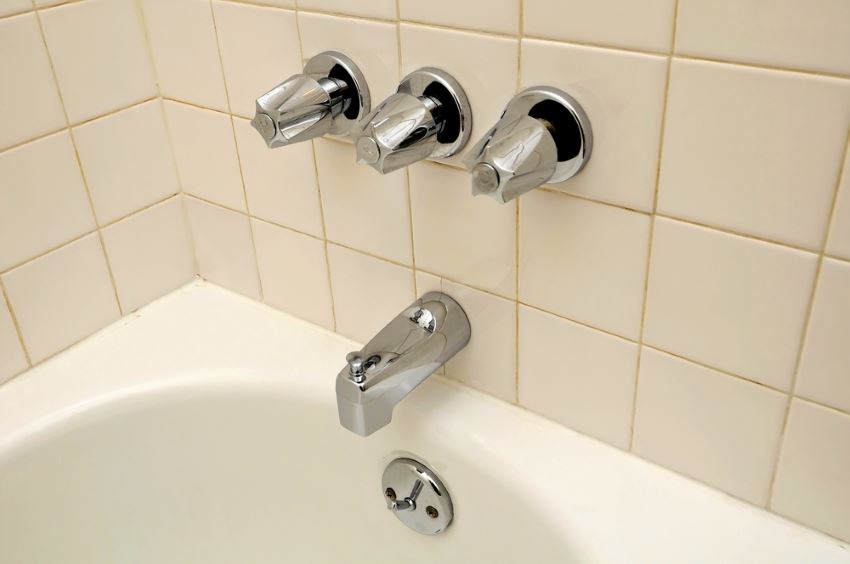
You’ll likely be very motivated to remove the existing caulk, since its mildewy presence may be exactly what inspired you to recaulk in the first place! Don’t be tempted to cut corners for this step. Not removing all of the current caulk and residue will result in the need to recaulk again in the near future. [photo from The Finishing Touch Blog]

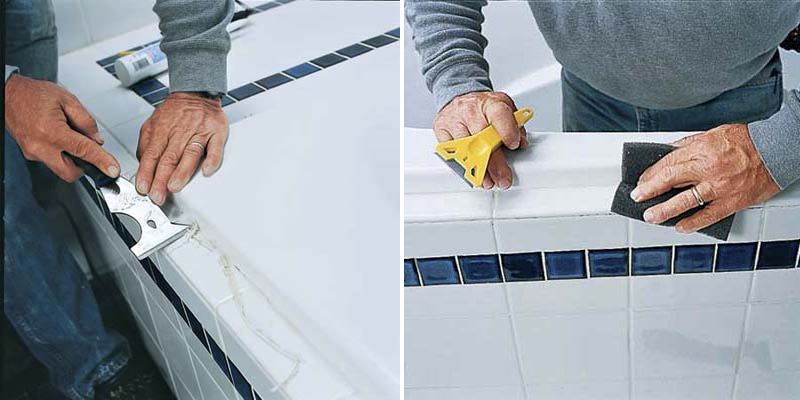
There are different strategies for removing the old caulk, and a number of tools are available to make the job easier. Some prefer a putty knife or utility knife, while others swear by a 5-in-1 painter’s tool. It all comes down to what you’re comfortable working with and what is safe for your tub (for example, a plastic razor blade may be the safest bet for a plastic tub). [photos by David Carmack for This Old House]

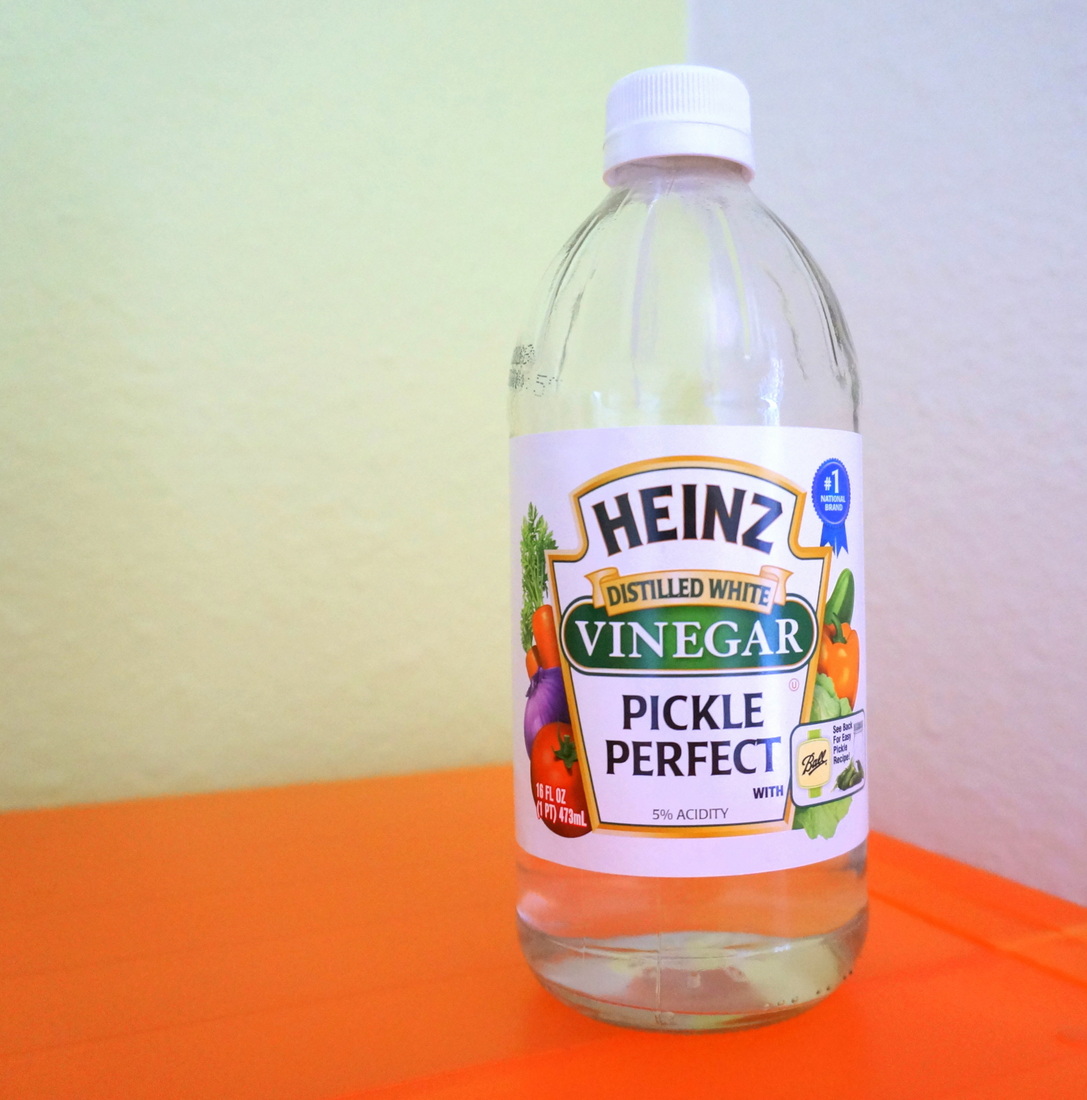
The same range of choices goes for liquid caulk softeners and removers, which will likely need to be used in conjunction with the tools. Recommendations include a caulk softener (to be used before scraping), a liquid caulk remover, and bleach and mineral spirits, while other folks insist that more natural supplies such as white vinegar can get the job done. You may want to have a couple of different options on hand just in case.

At any rate, you will want to make sure that any remaining mildew has been removed from the tub area so you can truly make a fresh start. This may involve spraying the area with a liquid mold and mildew remover after the caulk has been removed. Not to mention, make sure that you brush away excess caulk dust and other debris with a soft rag.
Step 2: Apply the New Caulk
Now that you have a clean slate, it’s time to apply the caulk. Start by choosing a suitable caulk for the job. This Old House offers a helpful breakdown of both silicone and acrylic latex caulks, with acrylic latex being the easiest to work with. Learn more here. [image from Wettling Architects]


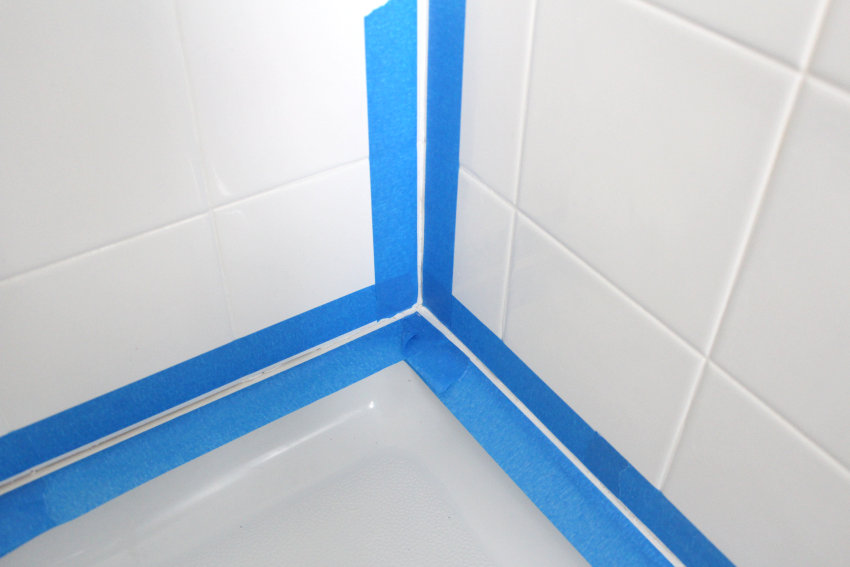
Before you apply the caulk, you’ll want to make sure that the tub area is completely dry. Sealing in moisture can cause more mildew issues, which is exactly what you were trying to avoid in the first place! You may also want to put painter’s tape on each side of the area that will hold the new line of caulk. This will ensure a neat and tidy application. [photo from Our Home from Scratch]

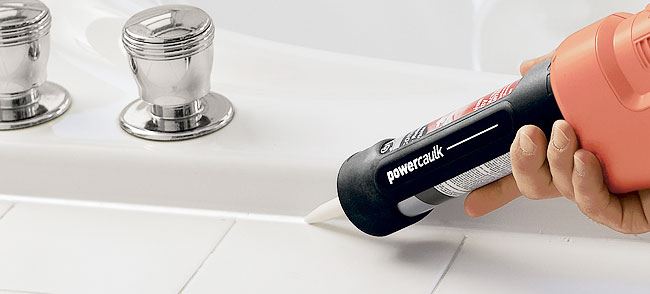
After you’ve cut the tip of the caulk nozzle at a 45-degree angle, use a caulking gun to help apply the new caulk. To avoid clumping or thinning, maintain a consistent pace throughout the application process, making sure to avoid slowing down in spots, as this may cause pooling. Use a rag or paper towel to wipe away excess caulk in between applications. [image from Lowe’s]

Step 3: Smooth the New Caulk
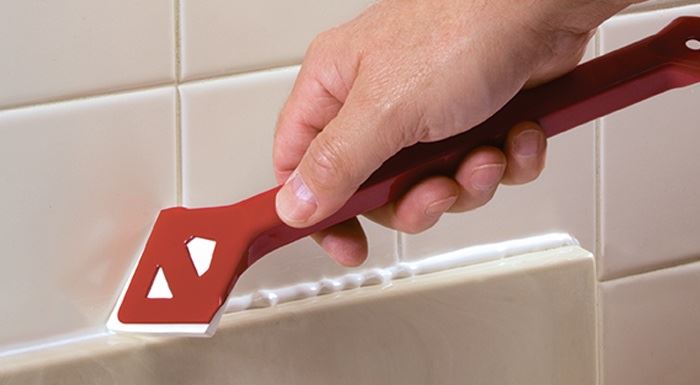
Now that you’ve applied the new caulk, pat yourself on the back for a job well done! But your job isn’t over just yet. Ensuring that the caulk has a smooth, tidy appearance is an important part of the process. Some will insist that using a wet finger or a damp cloth is all you need to create the perfect smooth line of caulk, while others prefer to keep their hands clean and use a special smoothing tool, such as the Caulk-Rite Tool from Hyde, shown below:

When you’re finished smoothing, remove the painter’s tape if you used it to help guide you through the caulking process. If necessary, smooth out any irregularities caused by removing the tape. Make sure you air out the bathroom while the caulk dries, although hopefully the caulk you selected doesn’t have strong fumes. Either way, good ventilation is never a bad idea, as it may help the caulk to thoroughly dry! [photo from Levy Art & Architecture]


Make sure you wait the recommended amount of time before showering or bathing (check the caulk tube for instructions). Does breaking down the process into easy steps make the task of re-caulking the tub seem less daunting? Or perhaps it makes you want to skip the hassle and get a freestanding tub!… [from Amelie de Gaulle Interiors]


If you re-caulk this spring, there’s no doubt that bath time will be all the more refreshing when you’re surrounded by a sparkling, clean space!


