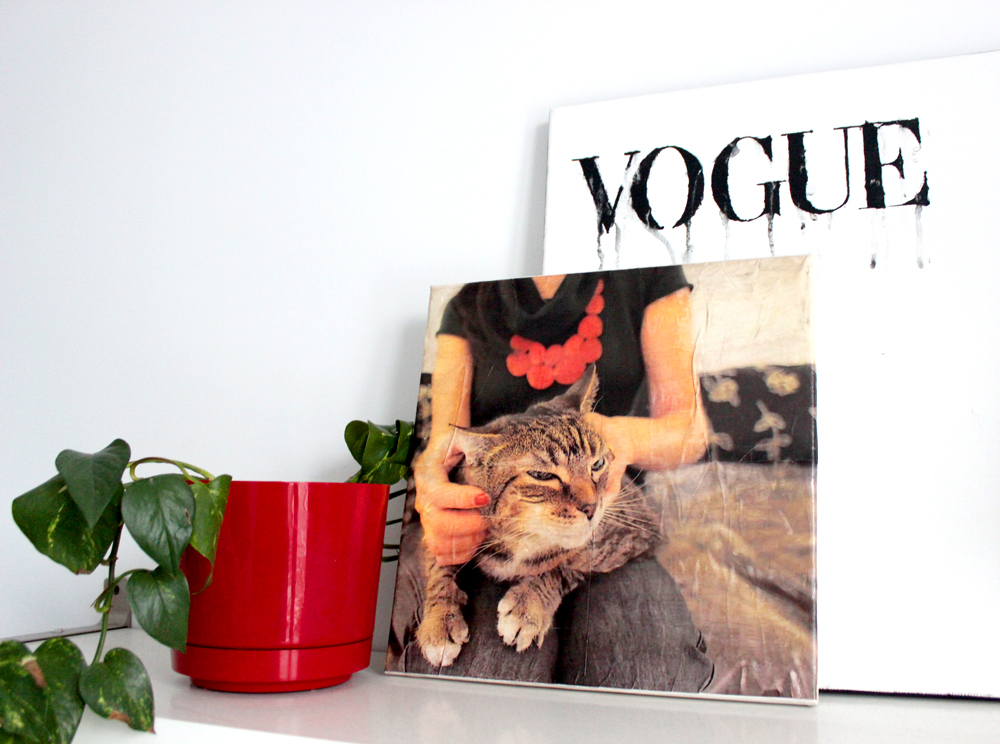
Nowadays you can buy almost anything on the internet, including customized canvases featuring your own photos. But did you know that you can achieve nearly the same result at home for a fraction of the cost? Follow our easy DIY tutorial to see how you can take a favorite image and immortalize it as a piece of meaningful artwork to give as a gift or display in your own home.
DIY Customized Photo Canvas
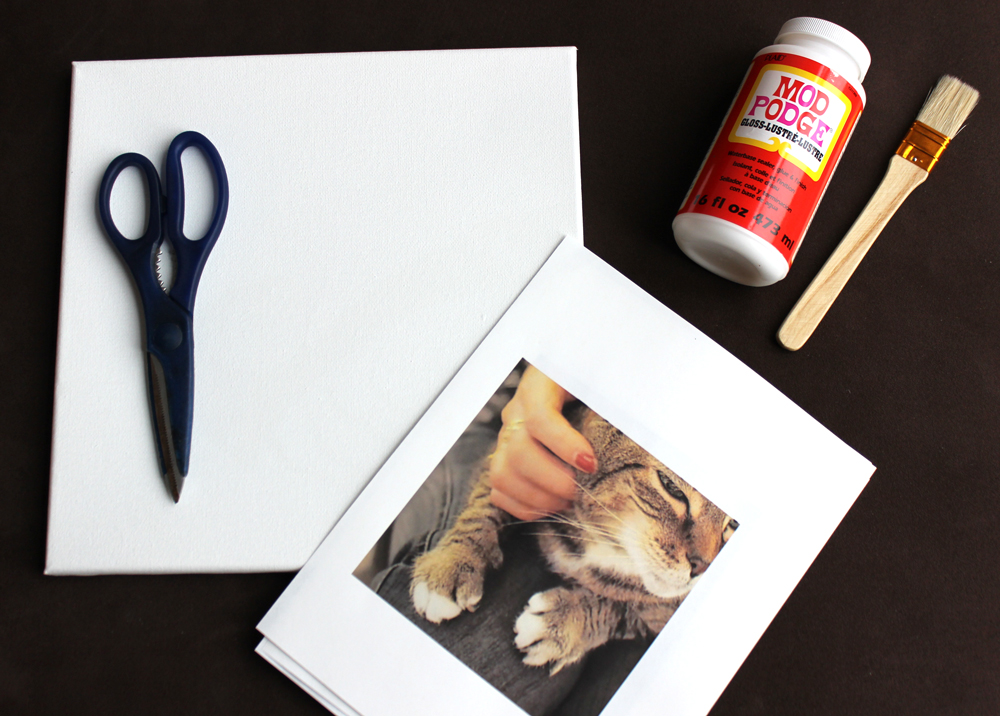
Here’s what you’ll need to get started…
– A blank canvas
– Mod Podge or other decoupage medium
– A medium-sized paintbrush
– Scissors or a paper cutter
– Regular white paper
– A printer to print out your photo
– A computer and photo editing software
Step 1:
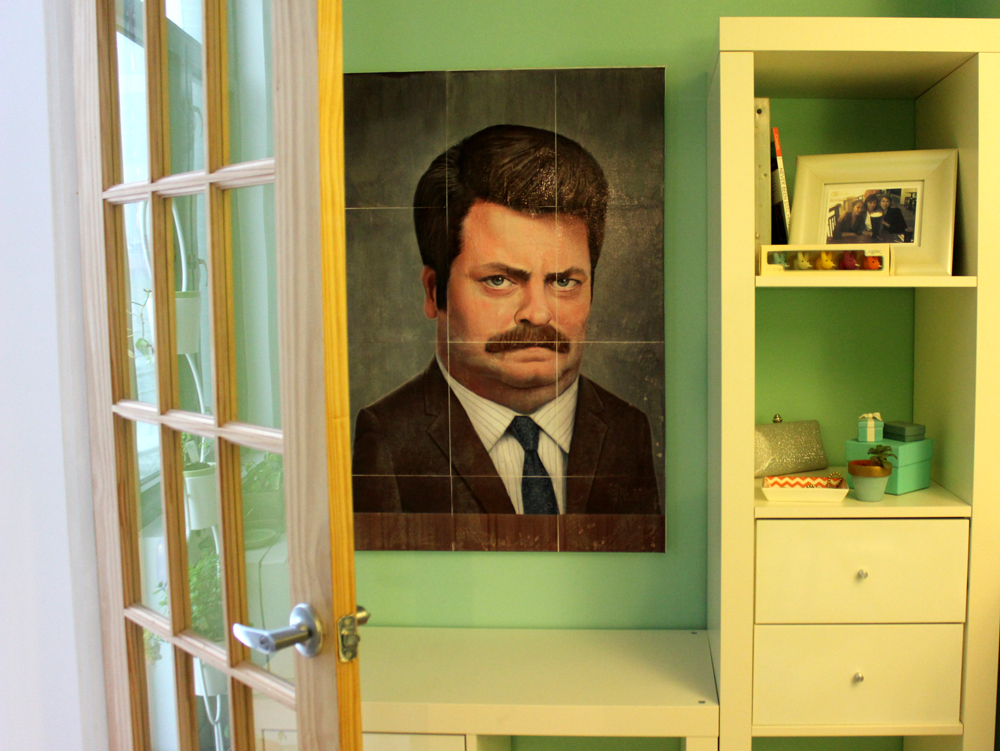
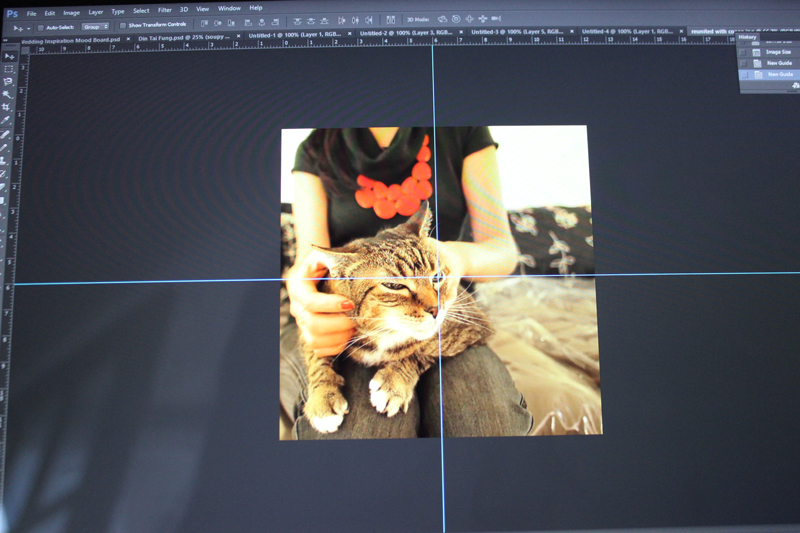
Open up the photo you want to use on your computer and resize it to match the dimensions of your canvas. My canvas was 12″ x 12″ x 12″ so I cropped my photo to be the same size.
NOTE: For best results, use a high-resolution photo so that you don’t experience pixelation.
Step 2:
Don’t worry about this step if your canvas is smaller than piece of regular letter paper. If your canvas is larger than 8.5″ x 11″, use your photo editing software to divide it into several different segments. Each segment can then be printed out on a separate sheet of paper and then pieced together like a puzzle later on.
Step 3:
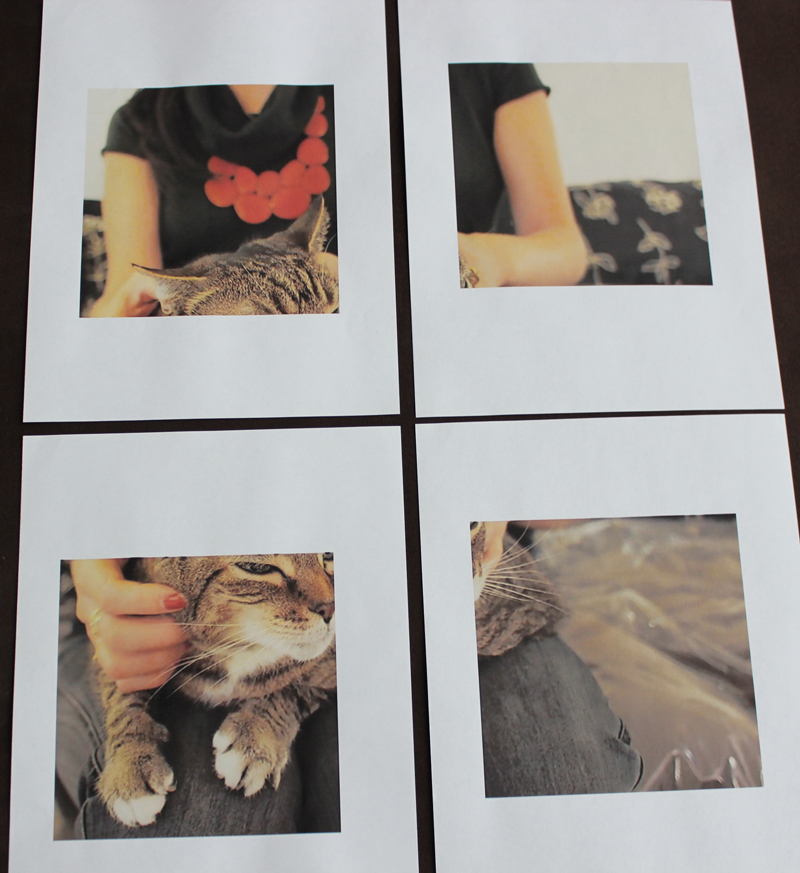
Once you have all of your segments, print them out.
Step 4:
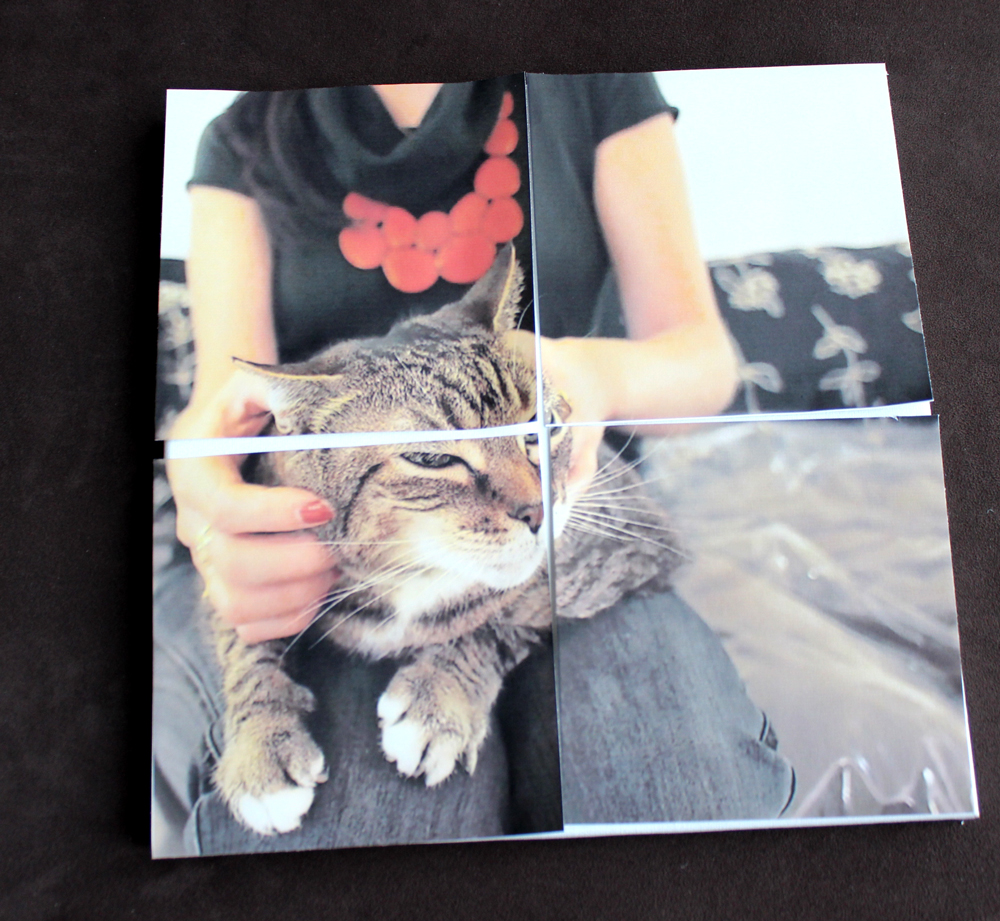
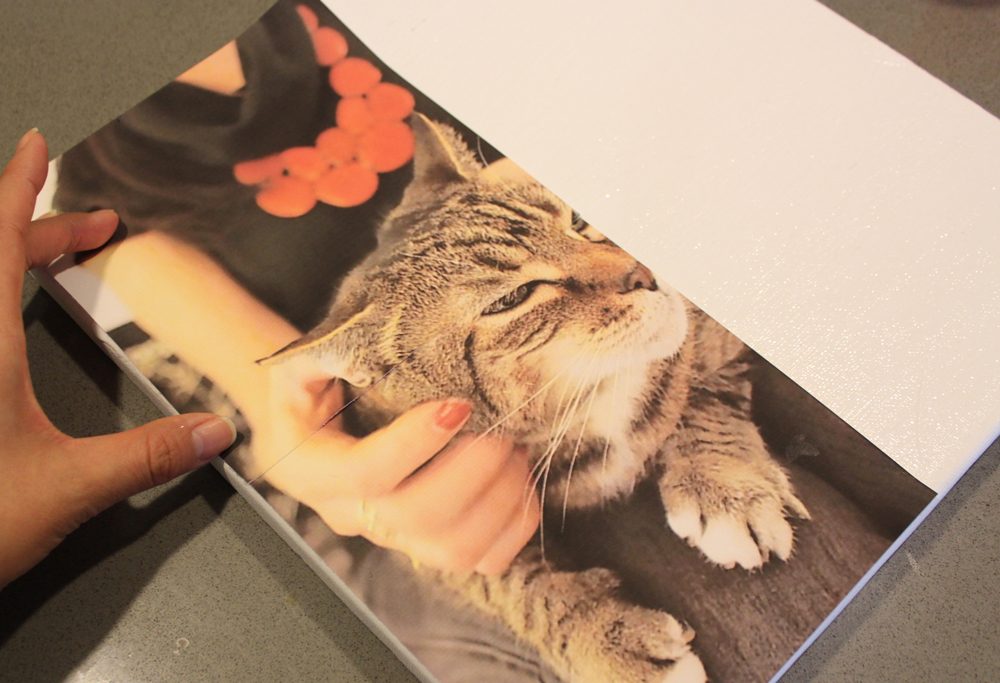
Cut out all of your segments using scissors or a paper cutter. Then try placing them next to one another on top of your canvas to make sure that they all fit together.
Step 5:
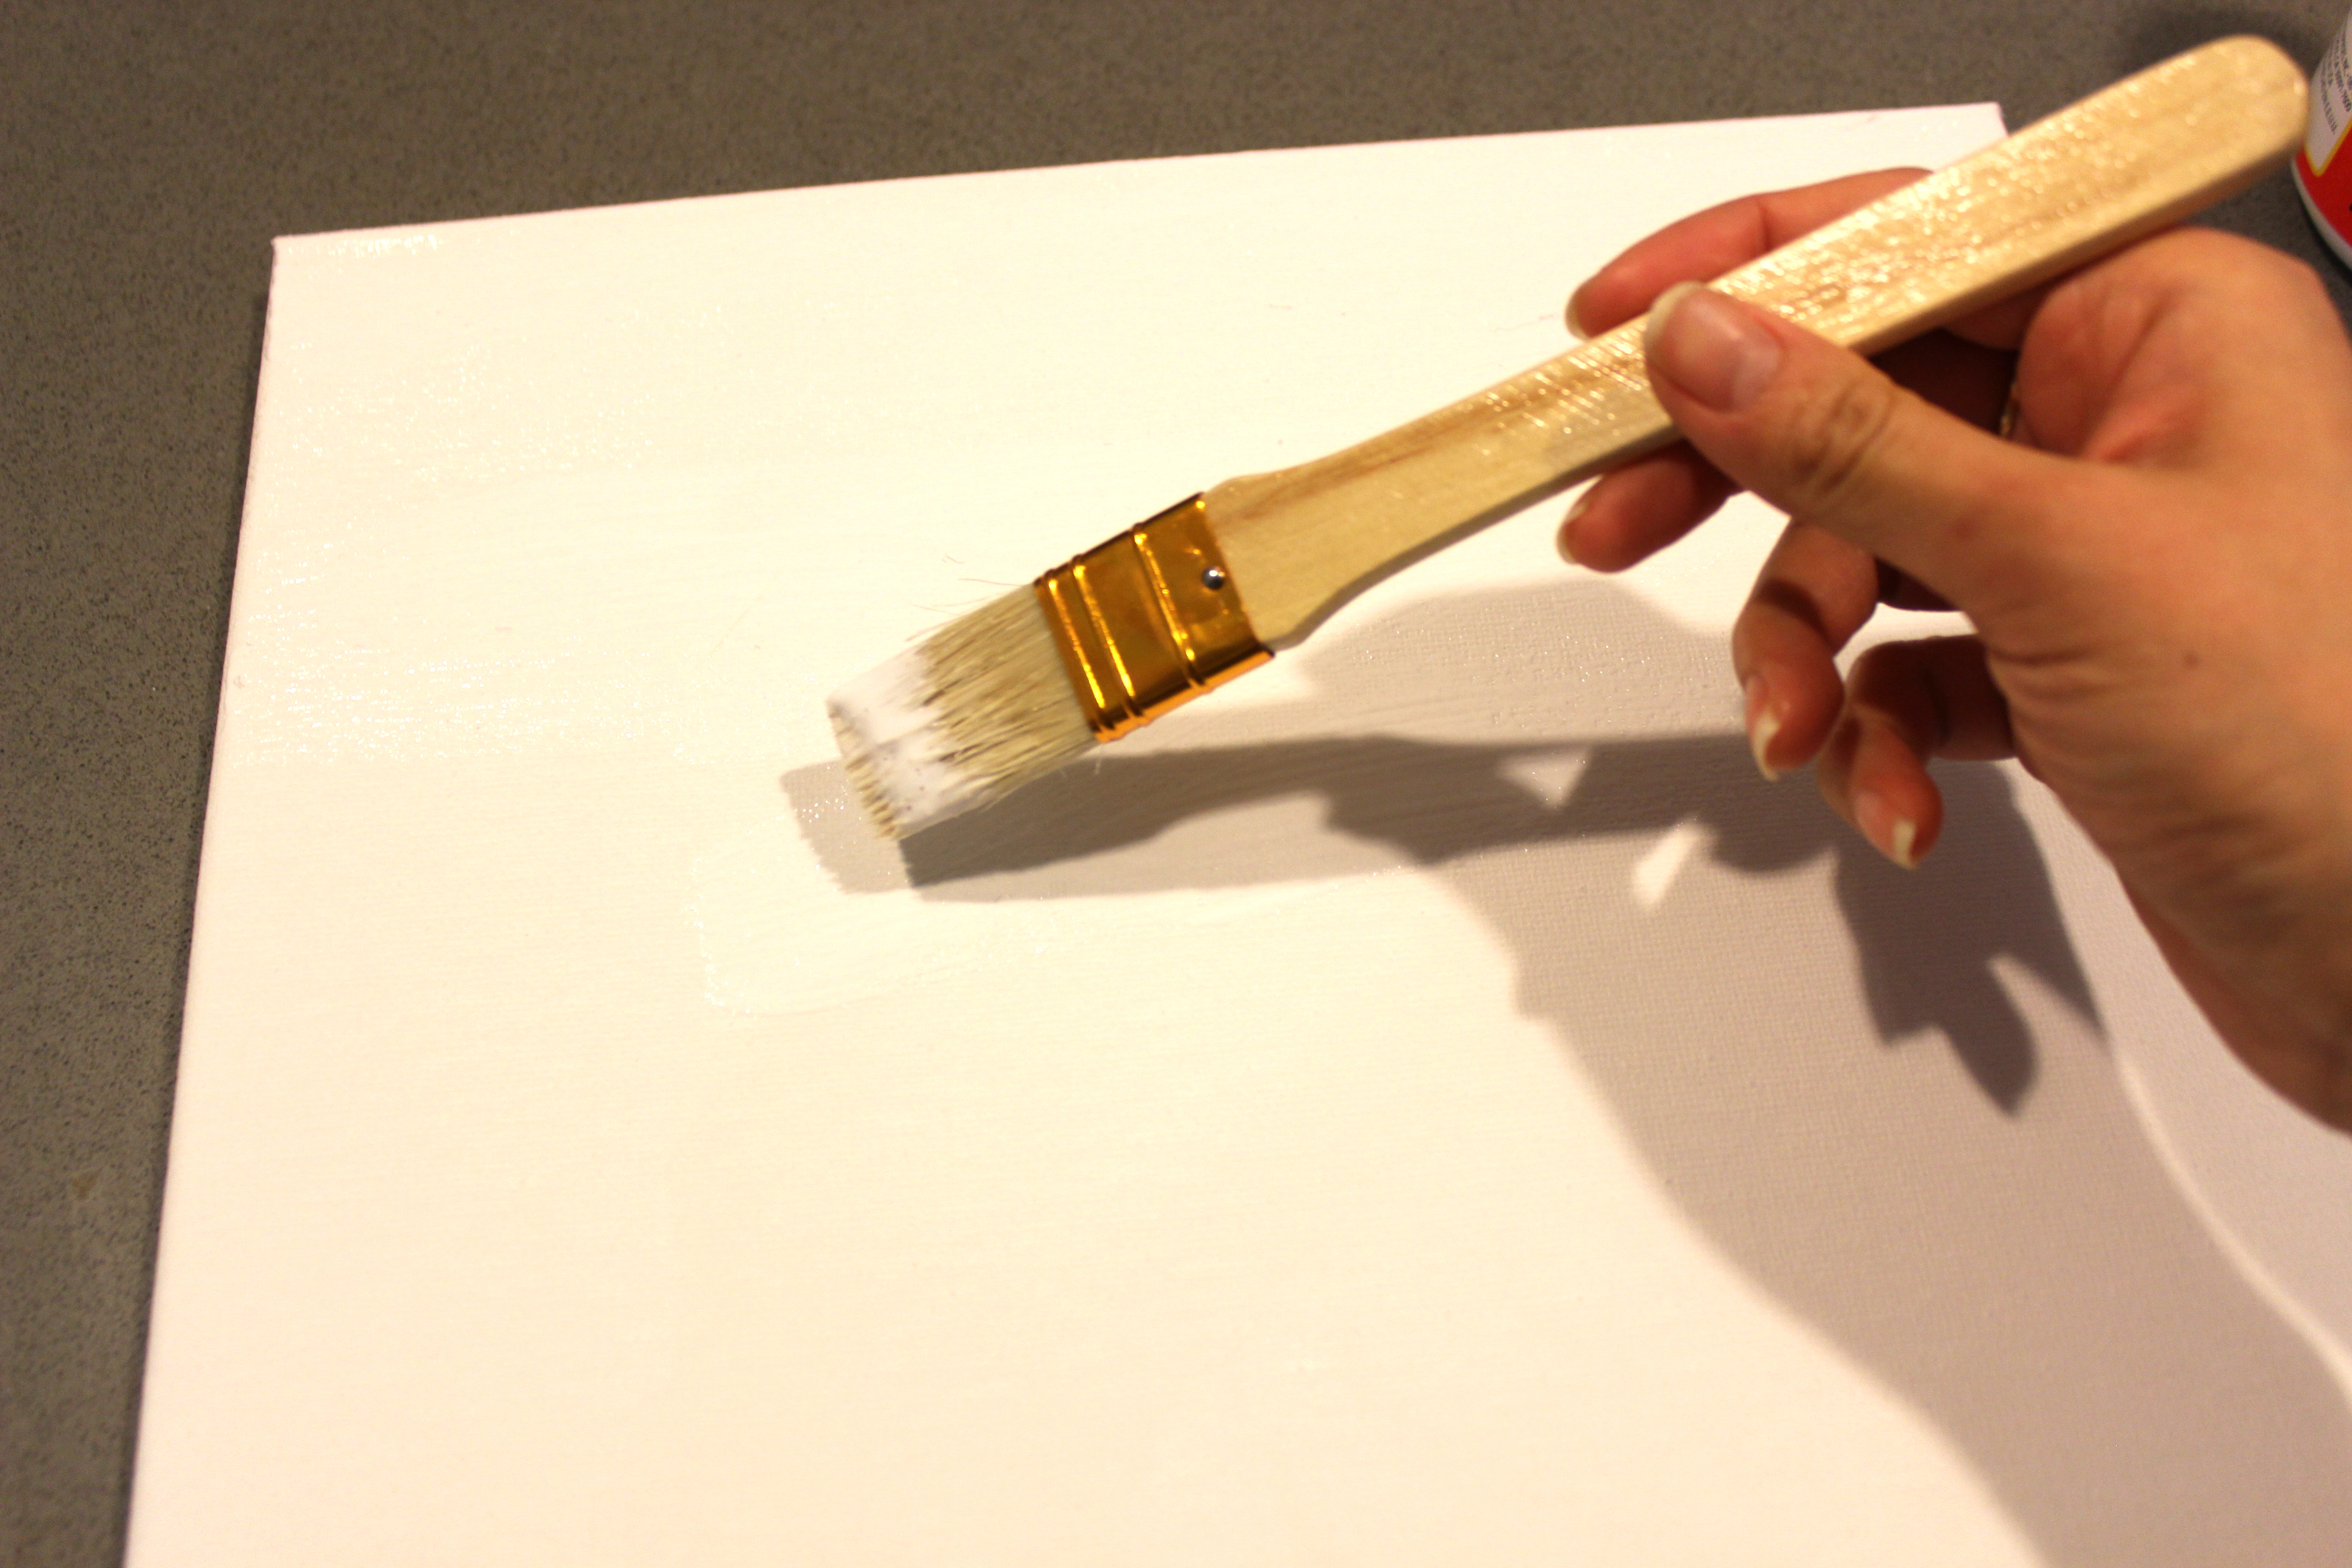
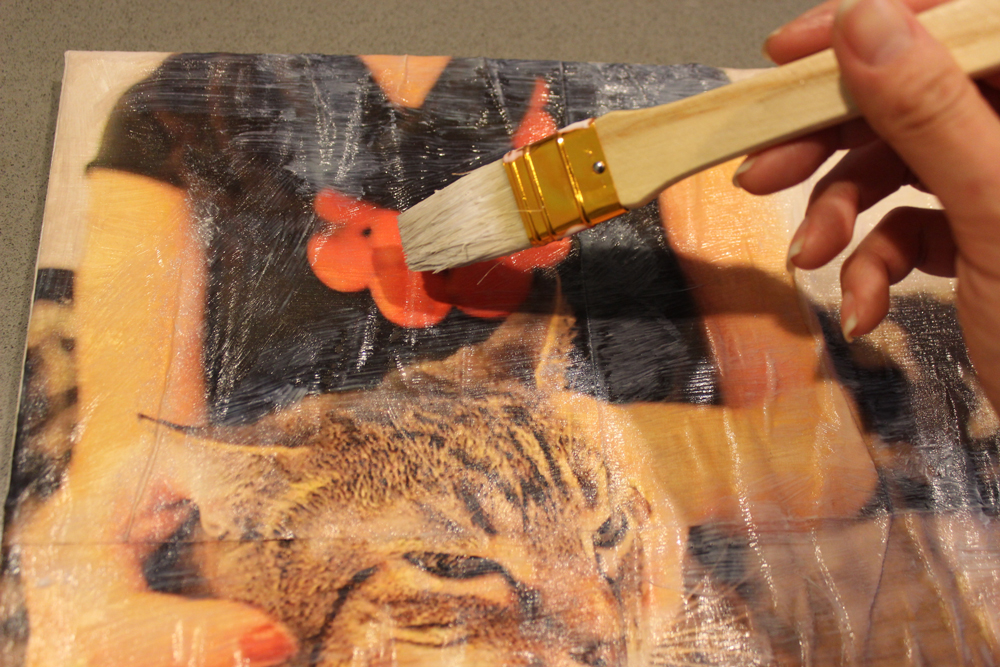
Once you’re sure that you have all of your segments ready, start prepping your canvas. Dip your brush into your Mod Podge and apply a thin layer onto your canvas.
Step 6:
Piece by piece, carefully start laying your segments in place, smoothing out any air bubbles as you go (or you may opt to leave the air bubbles in for a more rugged look).
Step 7:
When all of the segments are in place, start brushing another layer of Mod Podge over your entire image. You may choose to make your topcoat smooth and flat, but I like to purposely create brushstrokes for a painted effect.
Step 8:
Let your new piece of artwork dry overnight.
Think of all the masterpieces you’ll be able to create now that you know how to make your own piece of personalized artwork!