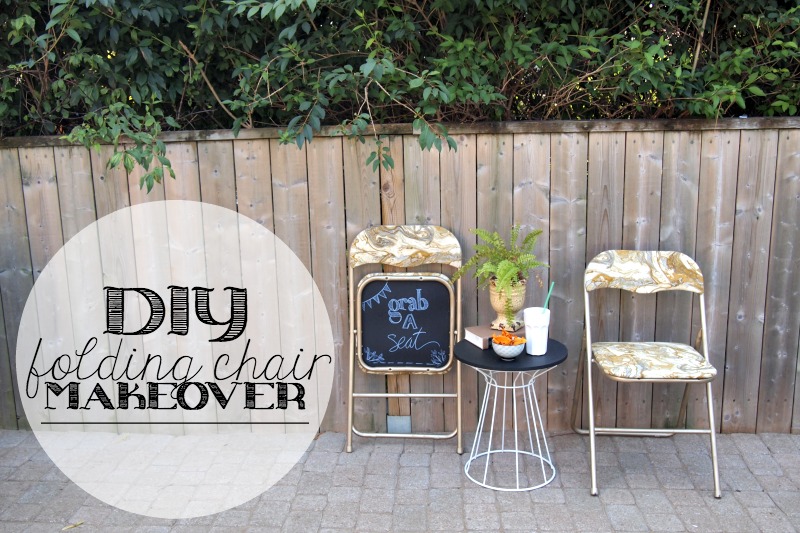
Summertime is the time for parties, get togethers, barbecues and hosting friends, right? Well if you’re anything like me, sometimes you find yourself wishing you had just a couple more chairs, or even a few that can easily fit into your car to take to the park or a picnic. Here’s your answer: folding chairs. And these aren’t your typical folding chairs – they’re super chic!

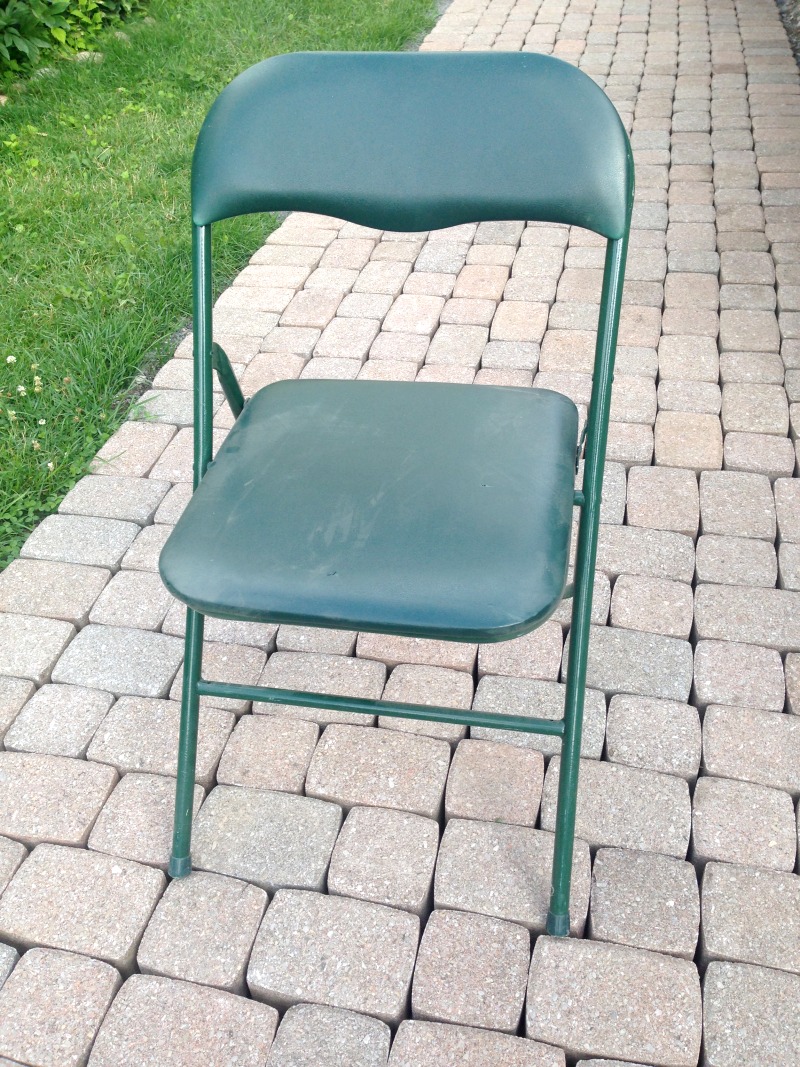
When I started, these chairs were quite sad-looking! I mean, forest green? Vinyl? It was a bad mix! Want to see what I mean? Here is the before picture!

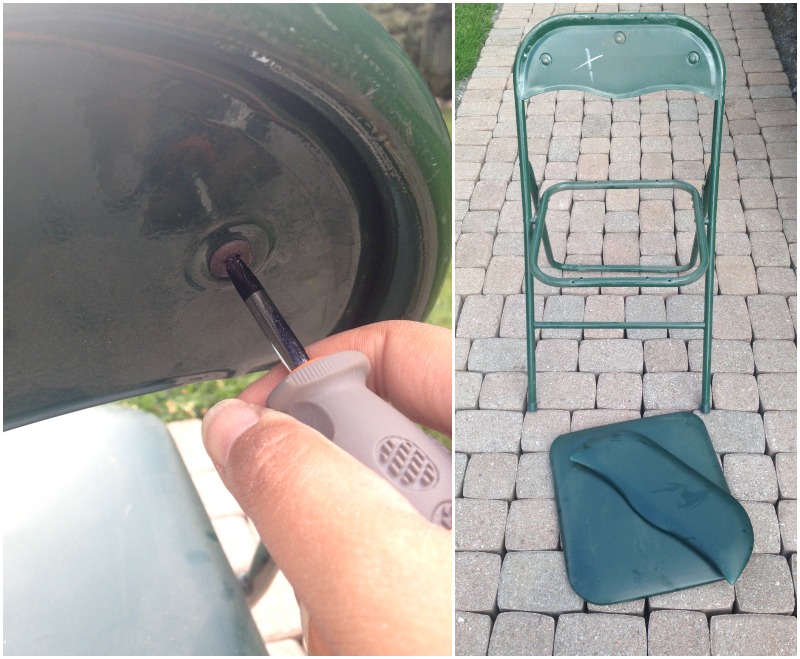
I got two of these chairs almost for free and I just knew they needed to be made over. First, I removed the backs and seats so that they could be refinished separately. It’s as simple as unscrewing the parts off, so anyone can handle this!

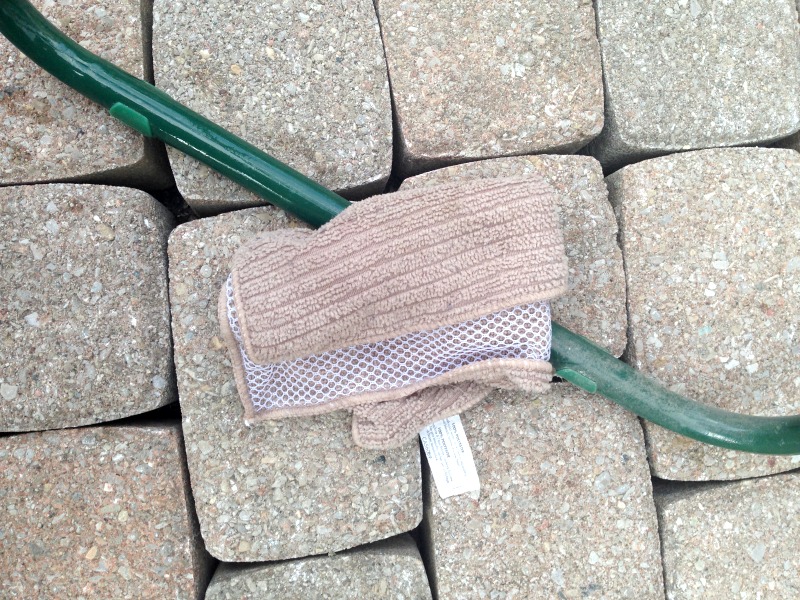
Chances are, if you have some of these around, they’ve been gathering dust somewhere. Before you start doing anything with them, it’s very important that you clean them up a little bit. All it takes is a damp cloth and about 5 minutes! Make sure you also let everything dry before you go further. Just another 10 minutes or so for drying will be fine!

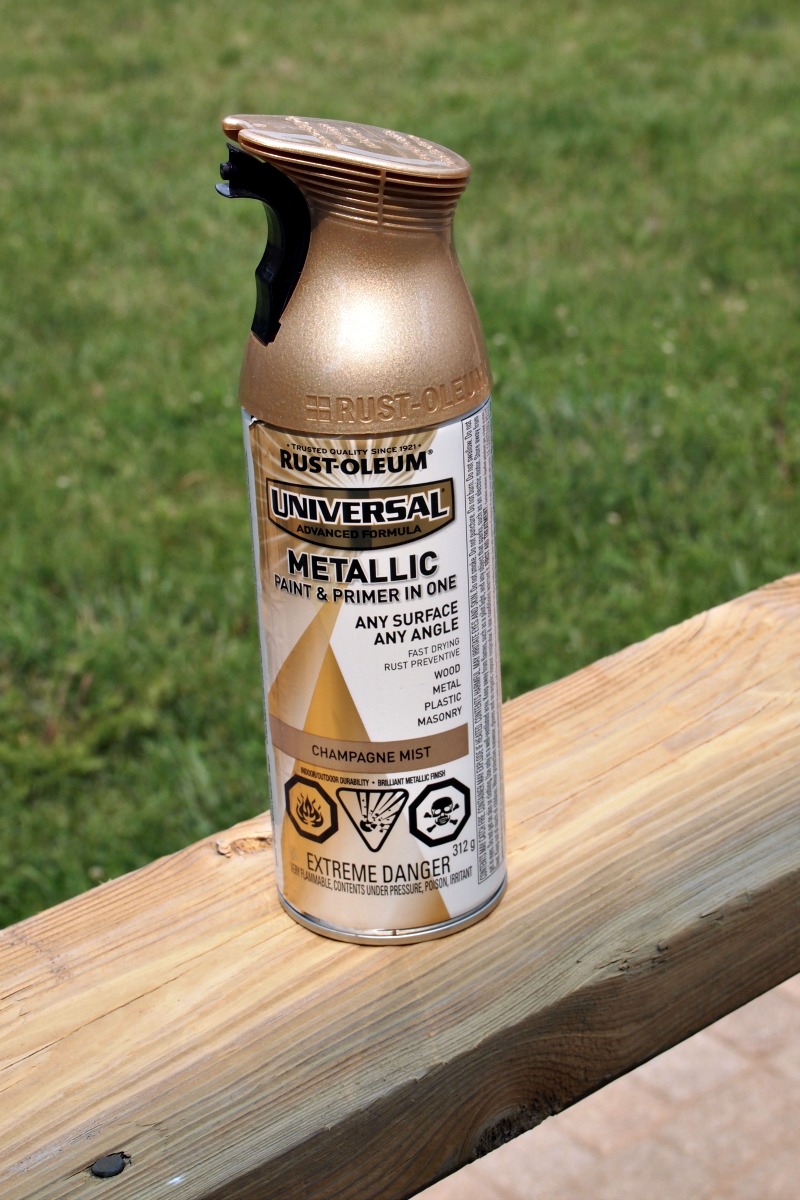
Now let the fun begin! Take your chair frames and place them on a surface you don’t mind getting paint on – I love using my backyard for this. I paint the grass then the husband cuts it, so it’s like nothing ever happened! The color I used is a very subtle gold, almost with a little bit of silver in it and not a lot of yellow, so it’s very neutral.

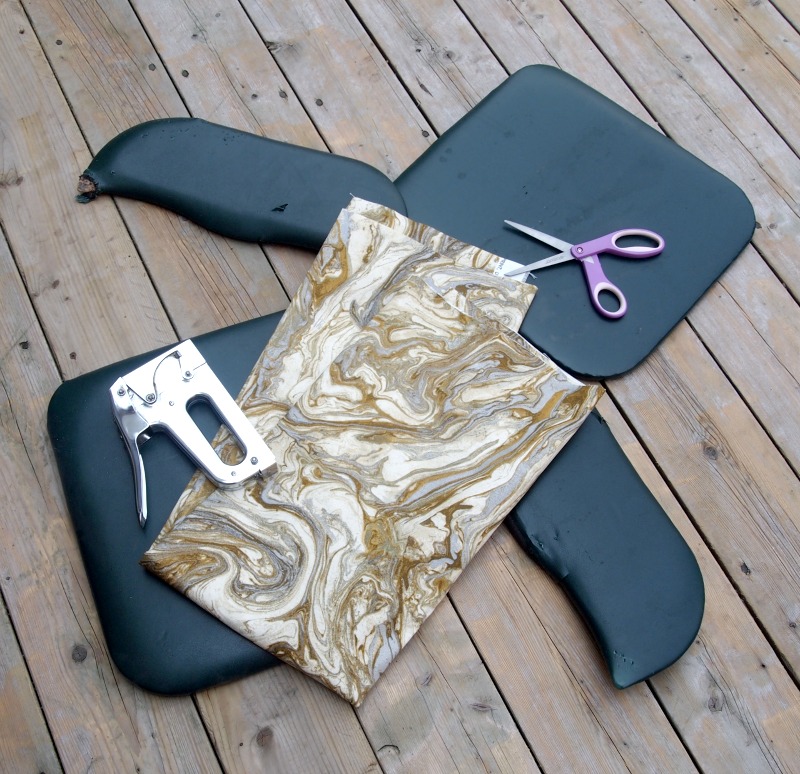
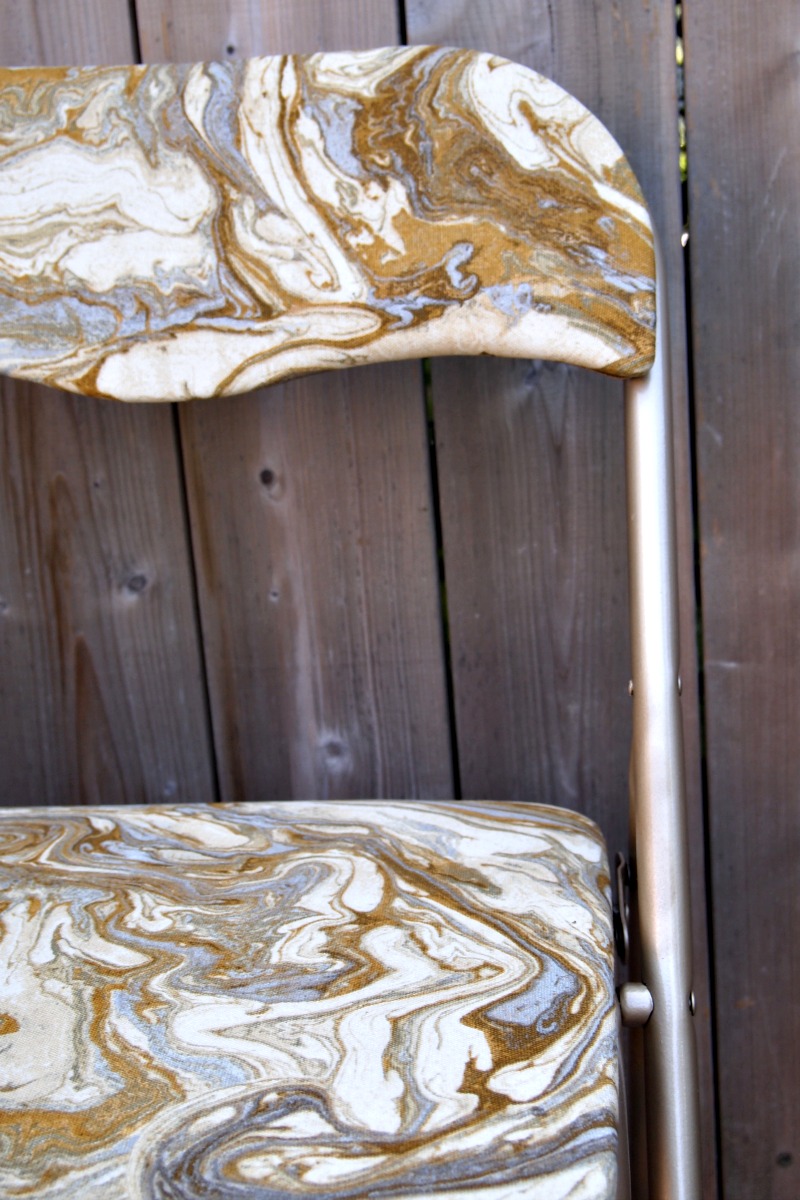
The chairs each took about 2-3 coats. The lighter the better, so you do need a bit of patience with these. While your paint dries, consider getting to work on the seats and backs. I used a beautiful marble-like fabric for these to keep them neutral and monochromatic. The tools you’ll need here are a staple gun and scissors.

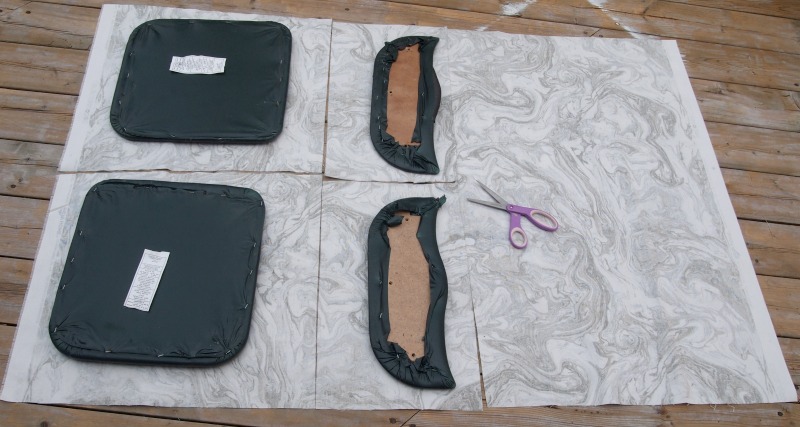
The easiest way to measure how much you’ll need is to lay the fabric face down and put each piece on top of it, then cut about 2 inches all the way around. I used one yard of fabric and had lots left over still!

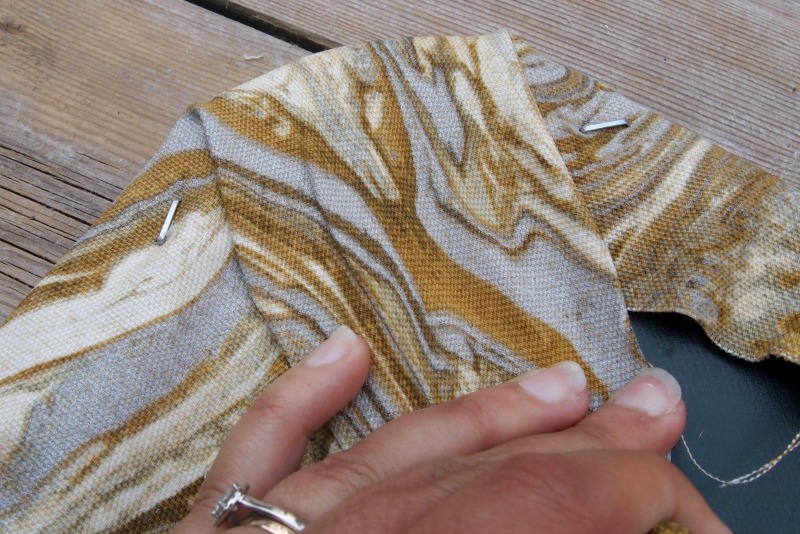
Once you’ve “measured” you can start stapling. Staple along one side first, then pull tightly on the opposite side. Leave the corners for last, then pull tightly while folding the fabric in so you get no creases on the side you’ll be sitting on.

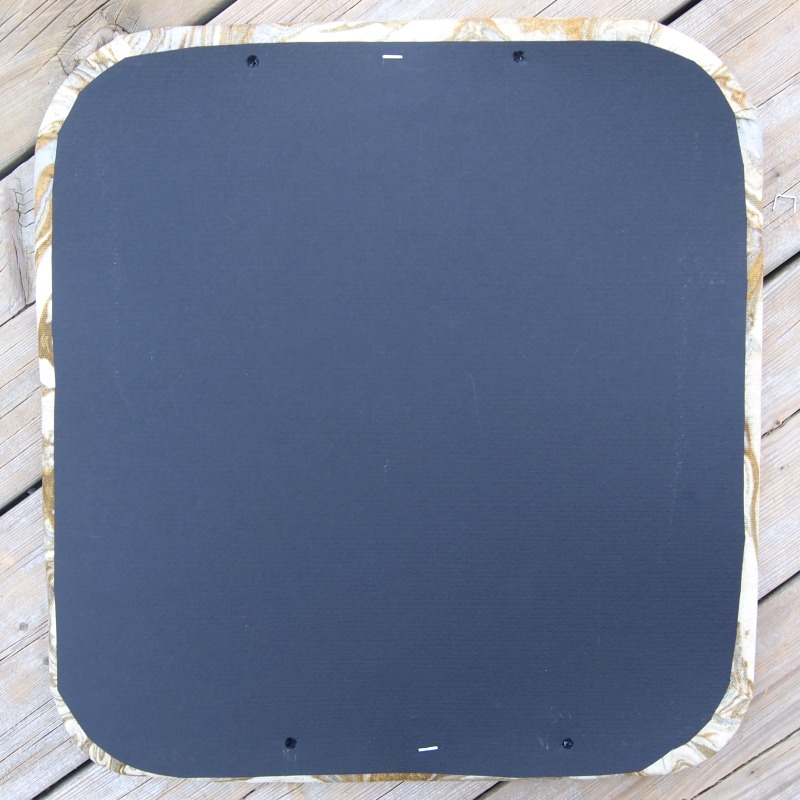
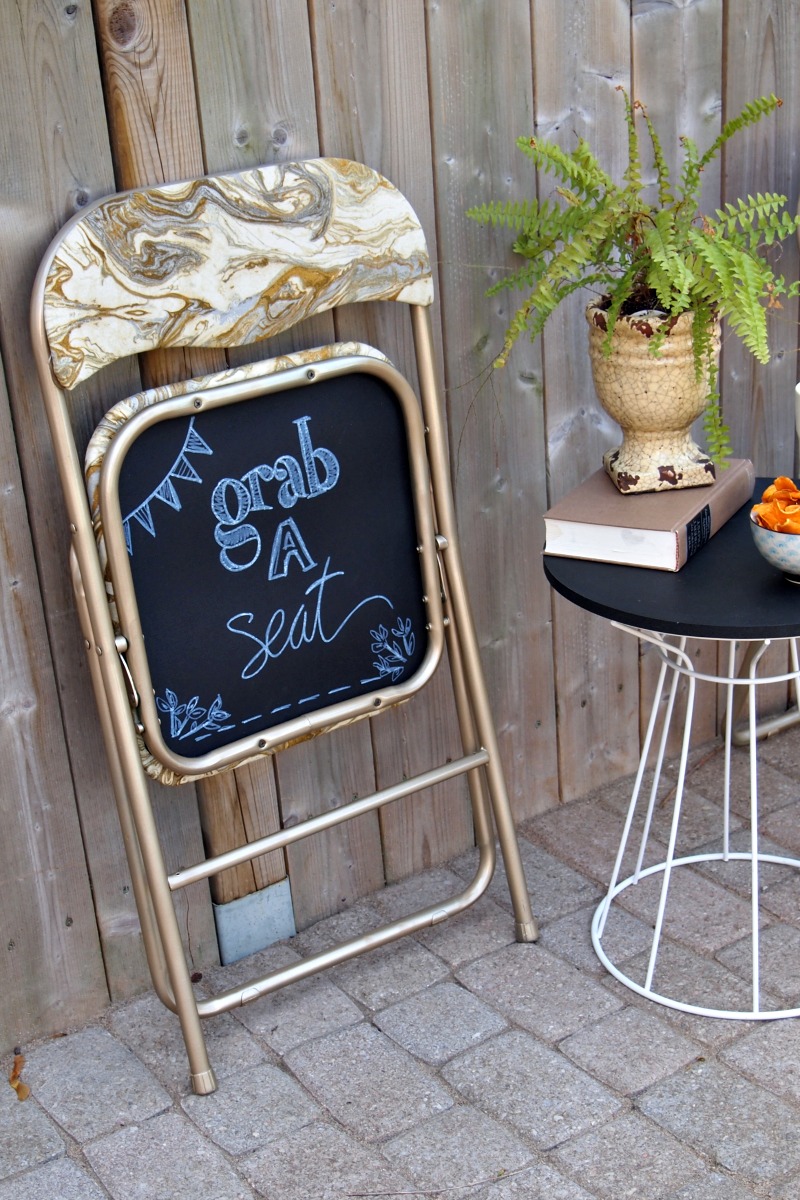
You’re almost done! And at this point, you could just put your chairs back together, but I wanted the bottoms to look nice as well, because that’s what people will see when these chairs are folded up, so it’s important to have them look good too. I used a really heavy cardstock and cut a rough shape of the chair before stapling them onto the bottoms. No need for perfection here because the chair frames will cover a bit of the black anyway.

Now go ahead and put the chairs back together. Am I done? Not quite… I also wanted to have a little message on the bottoms, just to make these chairs a little more fun! For this step I used a white paint marker and a pencil – pencil first! Sketch a little message on the paper before committing with the marker.

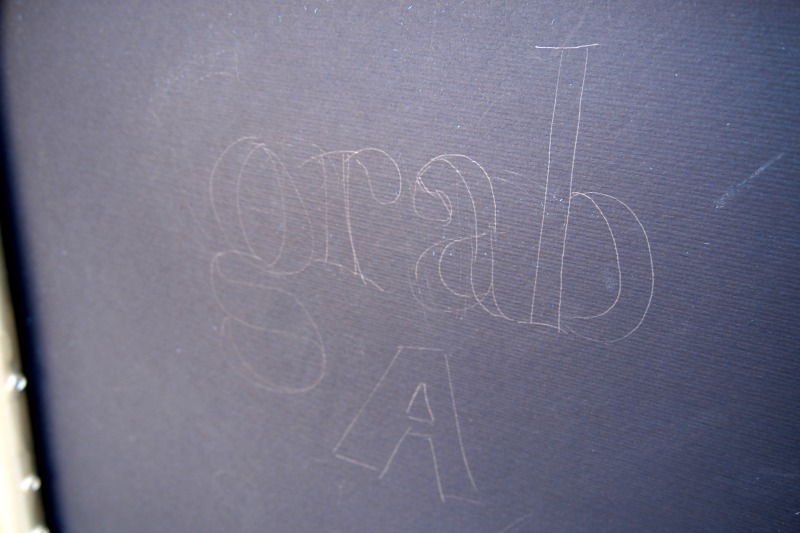
Ready? Now you’re done! I chose almost the same message for both chairs because they won’t likely be seen folded up side by side, and I liked the subtle change between the more formal “take a seat” and the more light-hearted “grab a seat.” Nothing wrong with a little play on words, right?

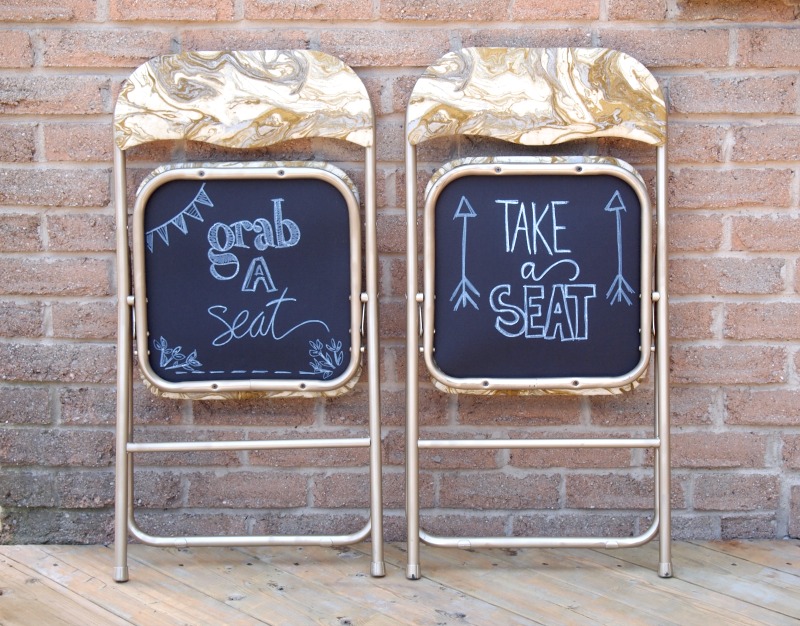
Now all you need is to have a party and put these chair to good use! They look lovely both indoors and out, and in all honesty, I think they look great as just regular chairs to have around!

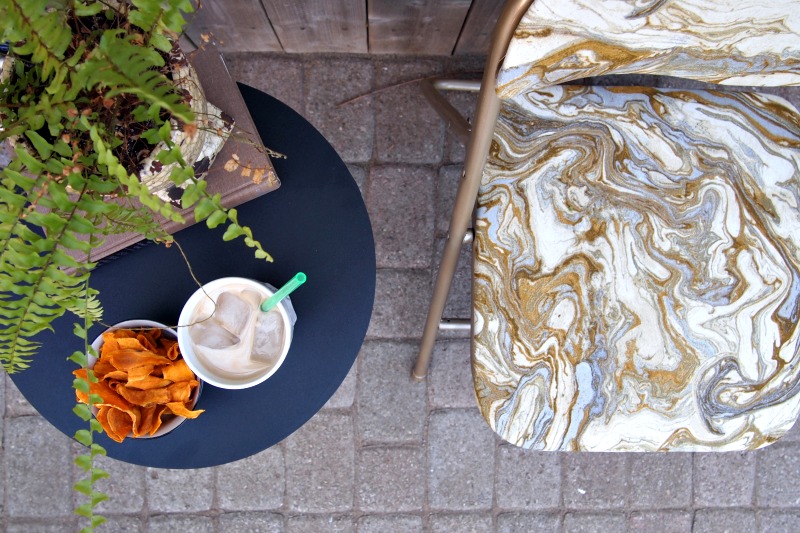
So get yourself a little snack and sit back and enjoy these little beauties! The fact that they’re monochromatic and neutral means they’ll fit in anywhere, right?


Take a quick look at the fabric. I can’t get enough of it! The golds, the shimmer, the silver and the swirls. The faux marble is super chic, and a surprising element in a folding chair, don’t you think?

A few words of advice to end this tutorial: make sure you use a heavy upholstery fabric if these are going to be used a lot, and make sure you give the spray paint a few days to really dry and cure into the metal – that way you don’t have to worry about scratches!

So is this a DIY you might tackle? I certainly hope it’ll make you look at those dusty old folding chairs you might have cooped up in your garage a little differently!