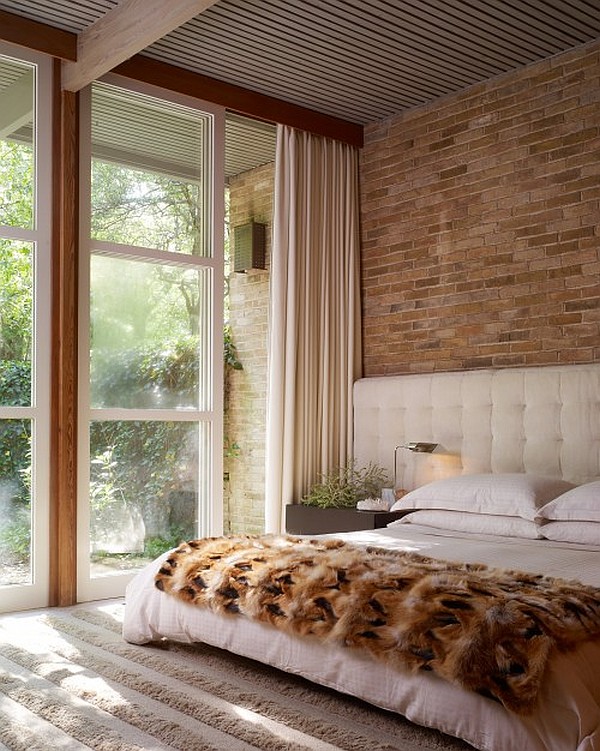
How often have you watched a film where the innocent victim is being attacked by a sadistic, insane serial killer only to find the climax of the film has come too soon? You are only midway through the movie when the victim is lost in a rundown mansion that resembles a mausoleum. Spooky, right? It gets worse. He or she is pressed up against an aged and dusty bookshelf. Cobwebs, dim lantern light and the tip of a gleaming knife all enclose the victim to a near death. The killer’s eyes glass over in the moment.
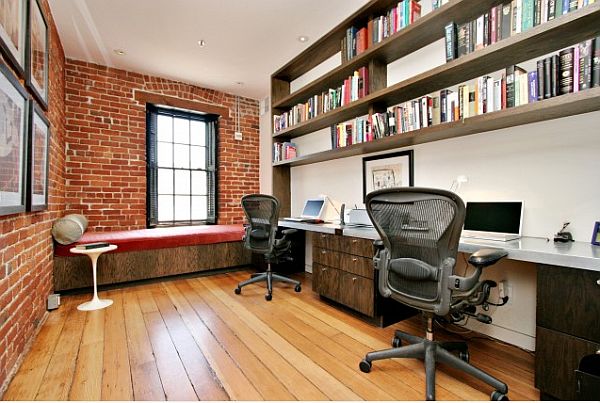
Suddenly the wall begins to move. It turns around 180 degrees taking the victim and leaving the killer behind. Ah, you wipe your forehead. That sure was a close call. There is nothing like a secret revolving library bookshelf wall to save the plot and enable another 45 minutes for the viewers.
How I longed for a sweet escape such as the cinemas portray. I could vanish into my own world and find refuge and quietness for one beautiful moment. Reality check. Few are the homes that feature a selling point such as this. Many are the homes, however, that have a secret wall just waiting to be exposed, touched and gazed upon.
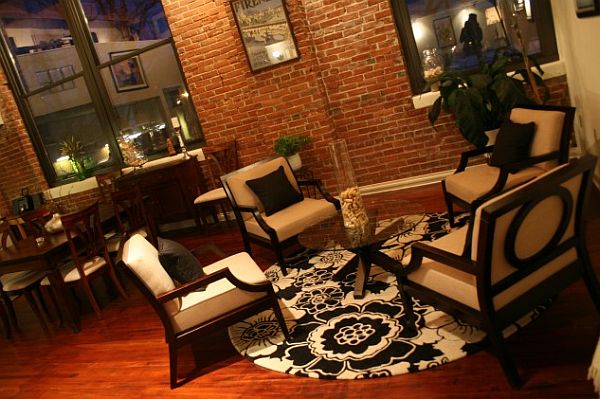
The unveiling begins now. We can expose the brick walls of our home and experience the tragic romance of a secret wall. The authenticity will lend our homes a complete character renewal and leave our eyes glazed over with the intake of beauty.
But without careful and proper administration you can have one mess of crumbled mortar and bricks that vanish at the touch of your finger and that of your admiring guests.
Step 1-The Curtain Pull Test:
Before you reveal your entire wall, you must check to see if it’s a noted architecture element worthy of discovery So piercing a small hole in the wall first you should get a better understanding if your brick is a showstopper or not.
Step 2- Evacuate the Dance Floor:
Demolishing your wall is going to be messy enough, but once you hit brick it just gets worse. Depending how long the brick has been sealed off, or how much decay or buildup there is, you will be spreading a lot of dust. Dust that not even remotely resembles the magical fairy dust of our dreams, so pull the fire alarm and have your table, chairs, everything, evacuate the space.
Step 3- Wired Up and Ready To Go:
Before you get sledgehammer happy, you need to make sure there are no electrical wires or any other lines that could bring your project to an immediate stop. While confronting DIY projects it’s easy to get eager and approach the project with much ado. But safety is foremost and if you have a doubt regarding the procedure consult a professional. For all other inquiries, slip on a pair of safety goggles.
Step 4- And the Walls Come Tumbling Down:
Carefully tear down the walls. As you pry use caution as you can damage the bricks beneath. The plaster or drywall would have been applied to four by fours for security reasons, so you’ll want to dispose of this too, or if you have another project following, reuse.
While the brick wall of your brick house may be beautiful remember that this is a wall. It bears the weight of the ceiling and other components of your home so one little mishap and your compromise the stability of your wall and foundation.
Step 5- Perfecting the Façade:
The piles of trash and junk may seem a bit overwhelming but you are hours away from the premier of your secret wall.
A chemical solution of muriatic acid will be the most precise and effective approach to removing the filth and mildew but you are going to need those goggles again before you can proceed. While you are at it, grab a pair of elbow length rubber gloves, a stiff wire brush, a bucket of clean water and hopefully you had a goodnights sleep. Scrub. Rinse. Scrub. Rinse. Follow this ritual until the brick wall is cinema quality.
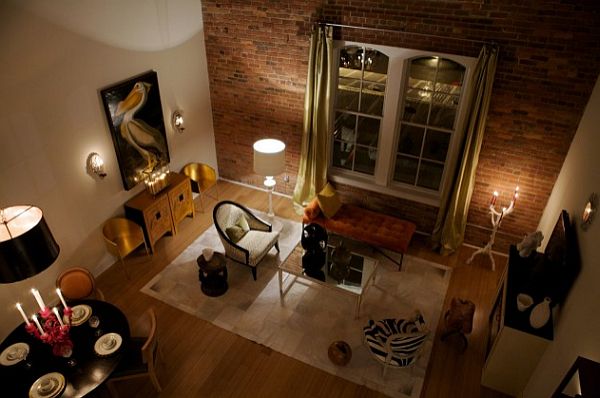
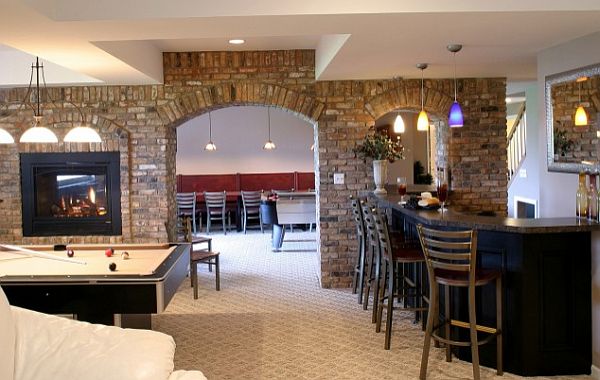
This should resolve much of the issue, but in some cases the brick needs a little extra TLC. Once the wall is dry you can seal it with a special masonry sealant found at your local hardware store. After applying two coats with a paintbrush, allowing drying time and ventilating the room with some fresh air, you can bring back your room’s furniture and set up house.
The stage is set. From home movies, to homework sessions, to family meetings your brick wall is there to support you. Relish this red carpet moment!
