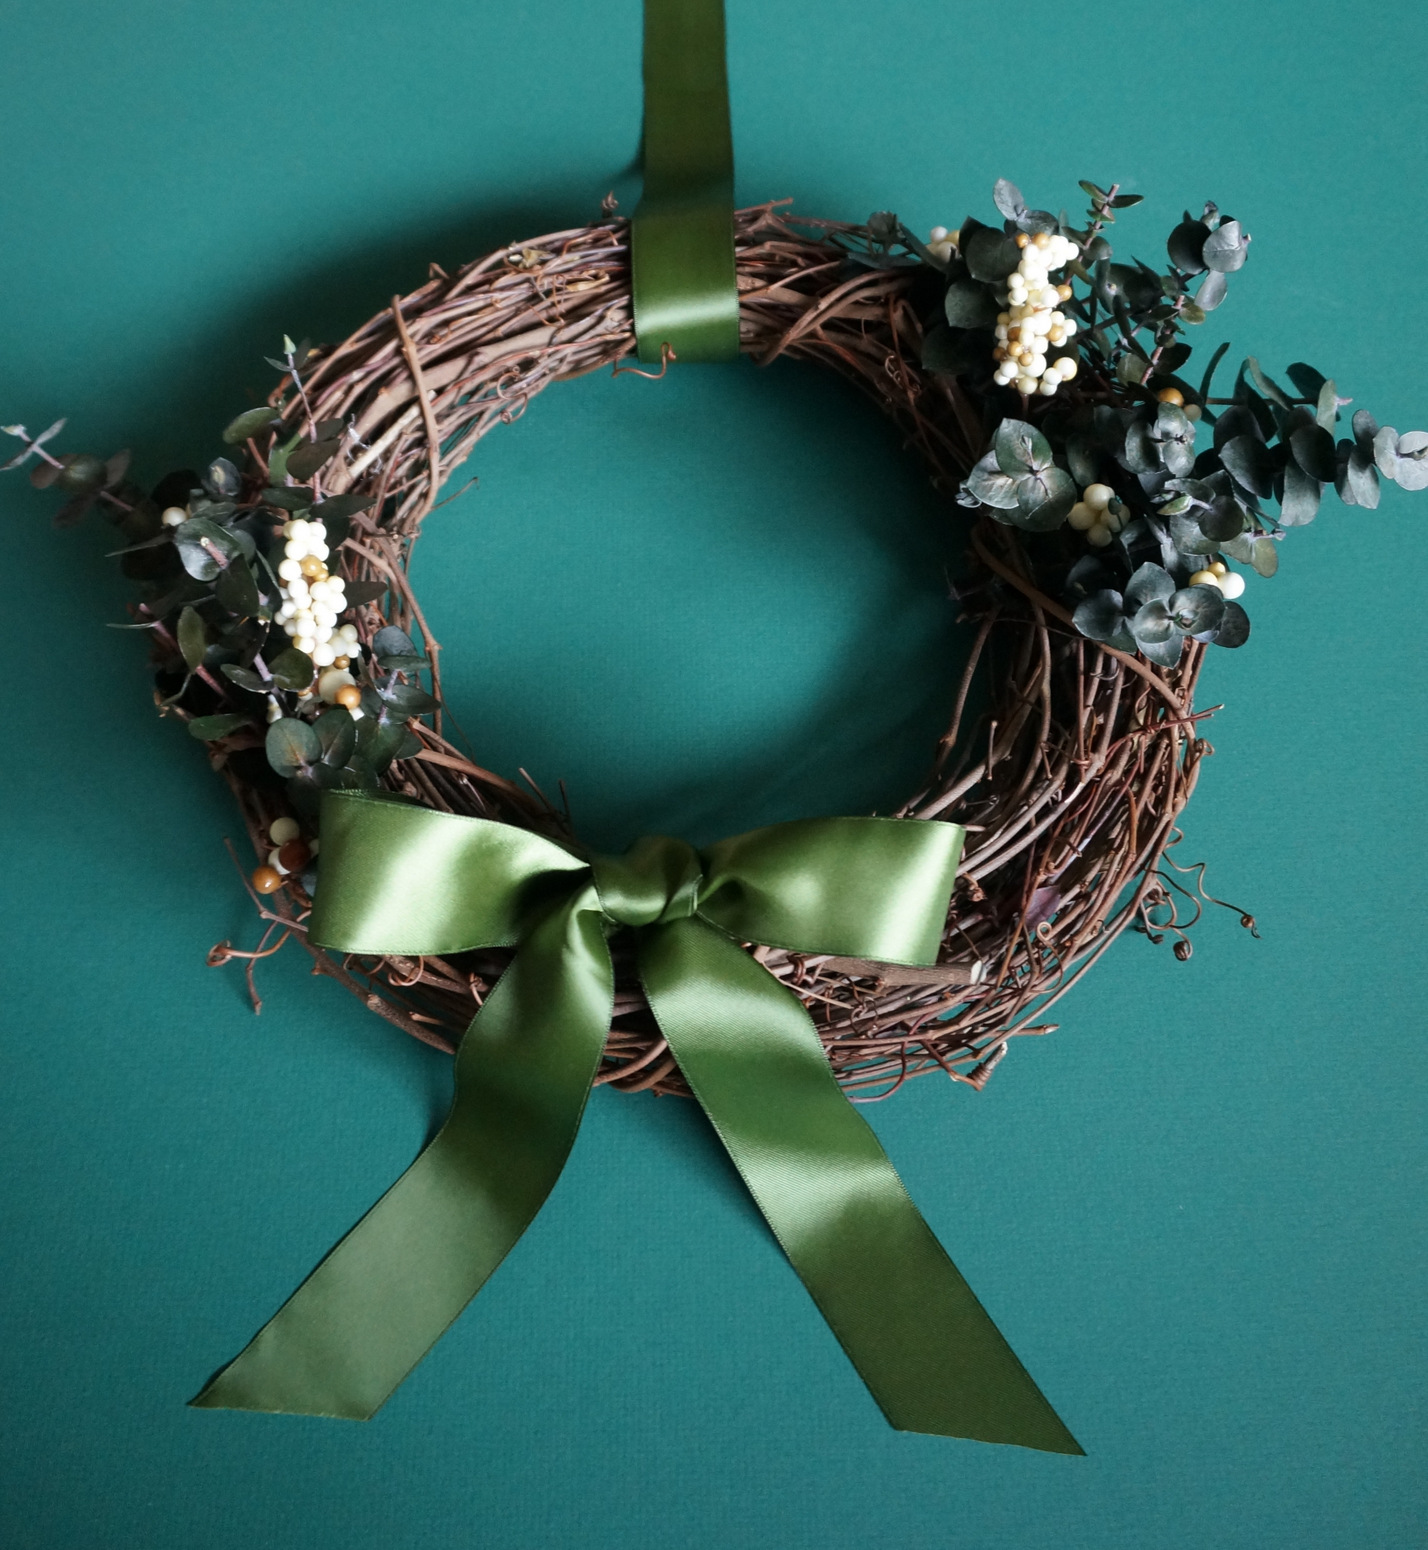
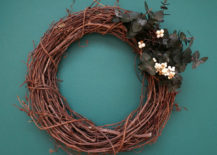
Today’s DIY holiday wreath can be displayed from Thanksgiving through New Year’s Day! While there are pops of green, the simplicity of the dried eucalyptus and the classic style of the satin bow are more festive than holiday-specific. Plus, this wreath couldn’t be easier to make. With an asymmetrical look and a modern, lush feel achieved through the layering of foliage, this seasonal decoration can be crafted in under an hour. Keep reading for all the DIY details…


Project Supplies
Start by gathering your supplies. Here’s what you’ll need to have on hand:
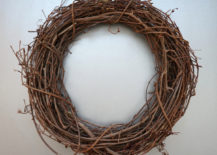
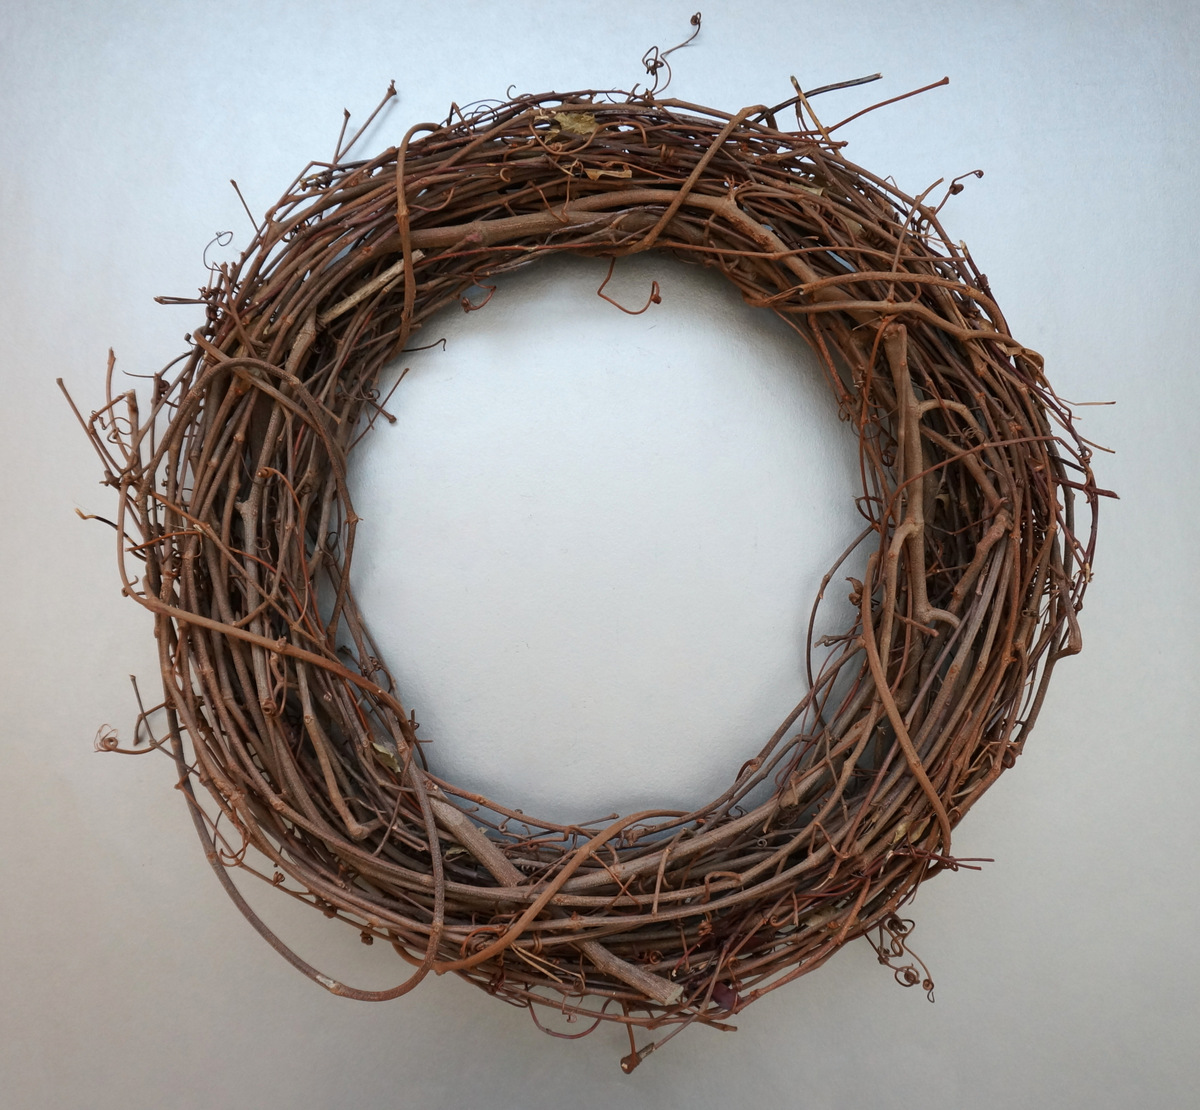
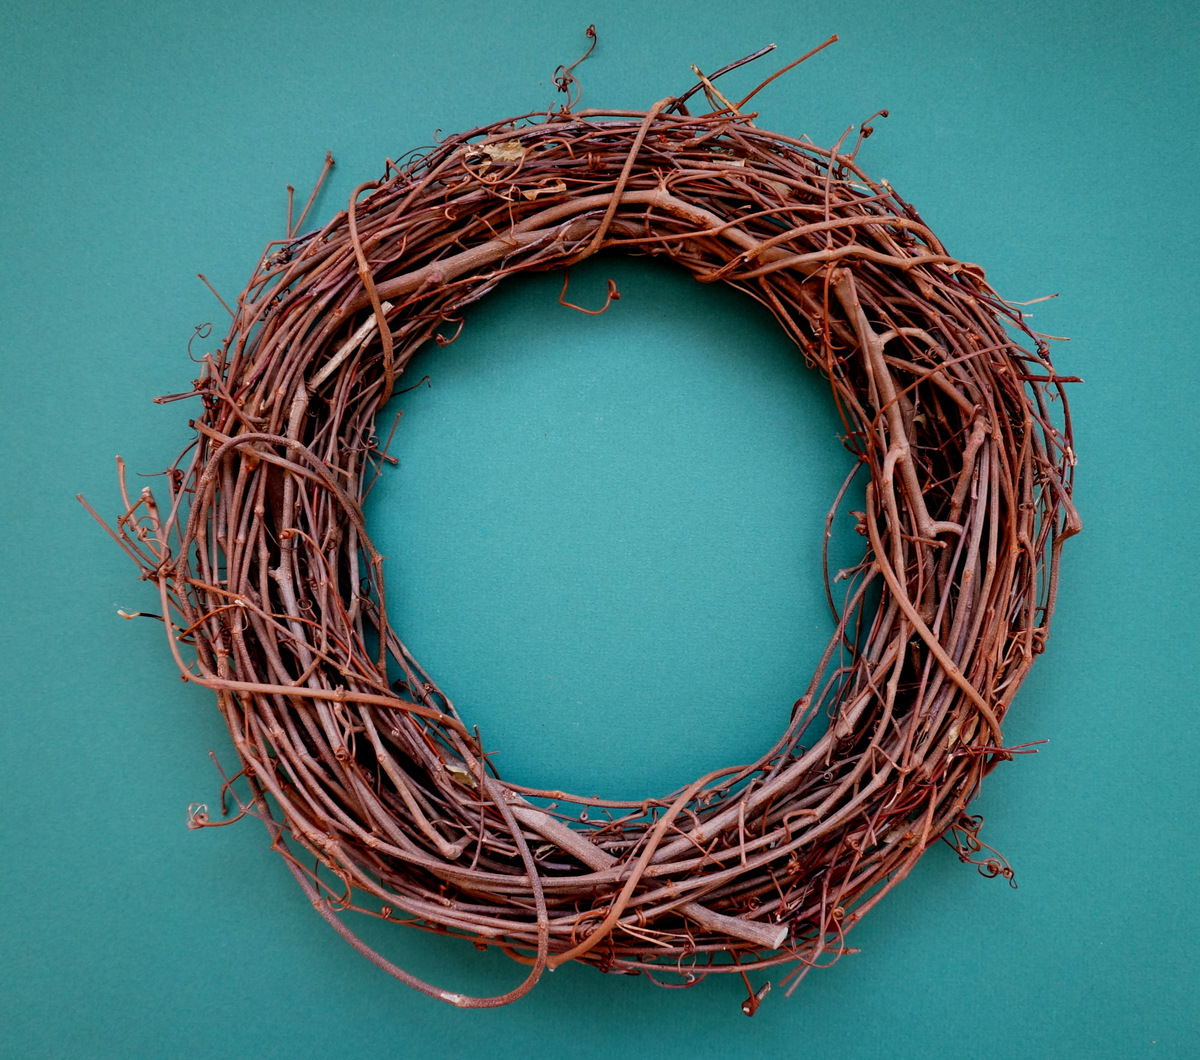
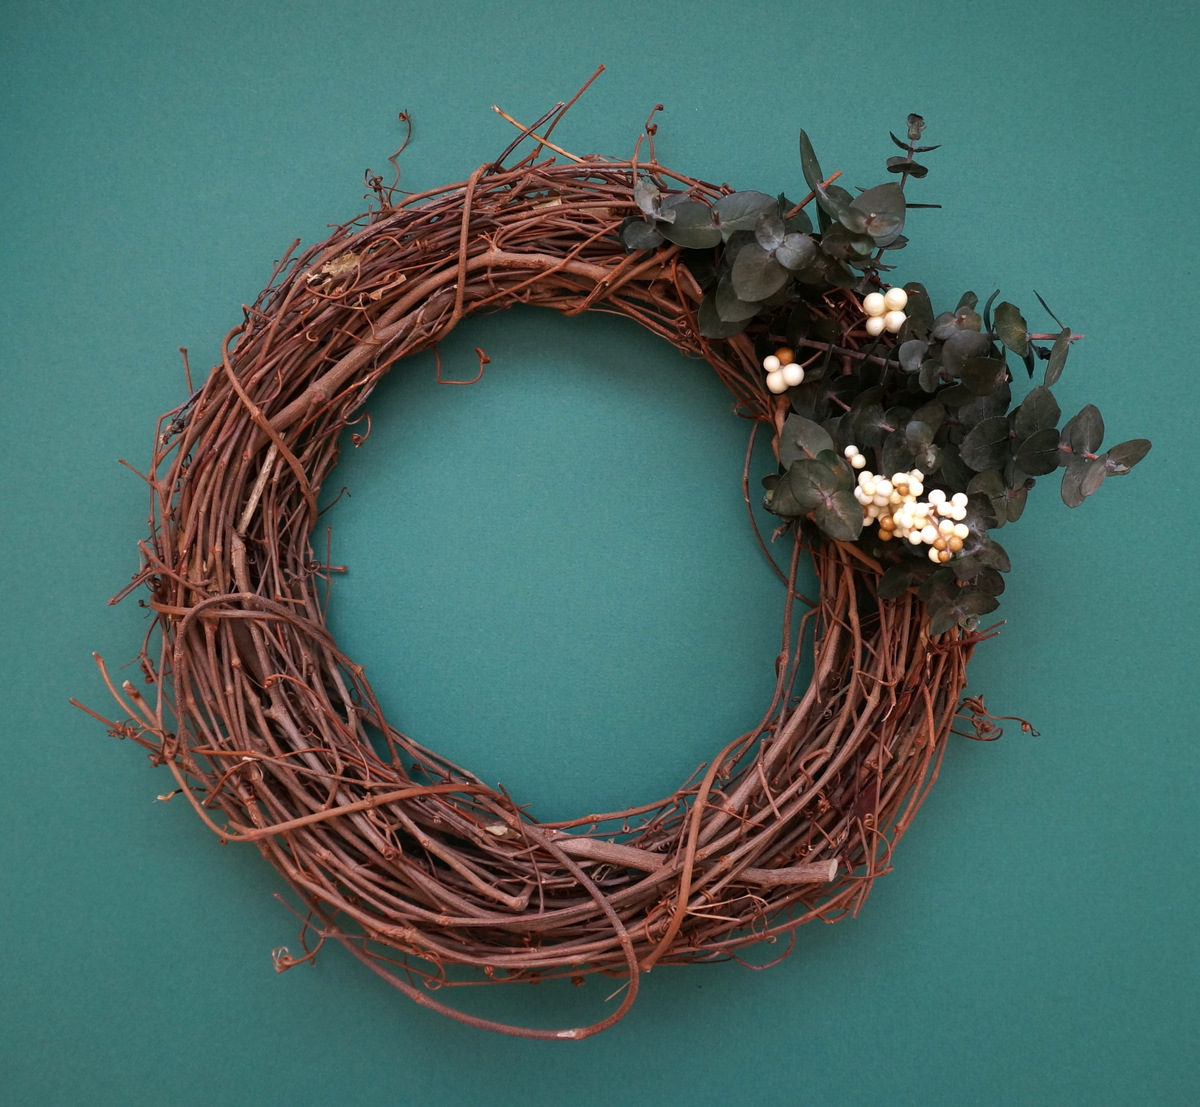
- a grapevine wreath
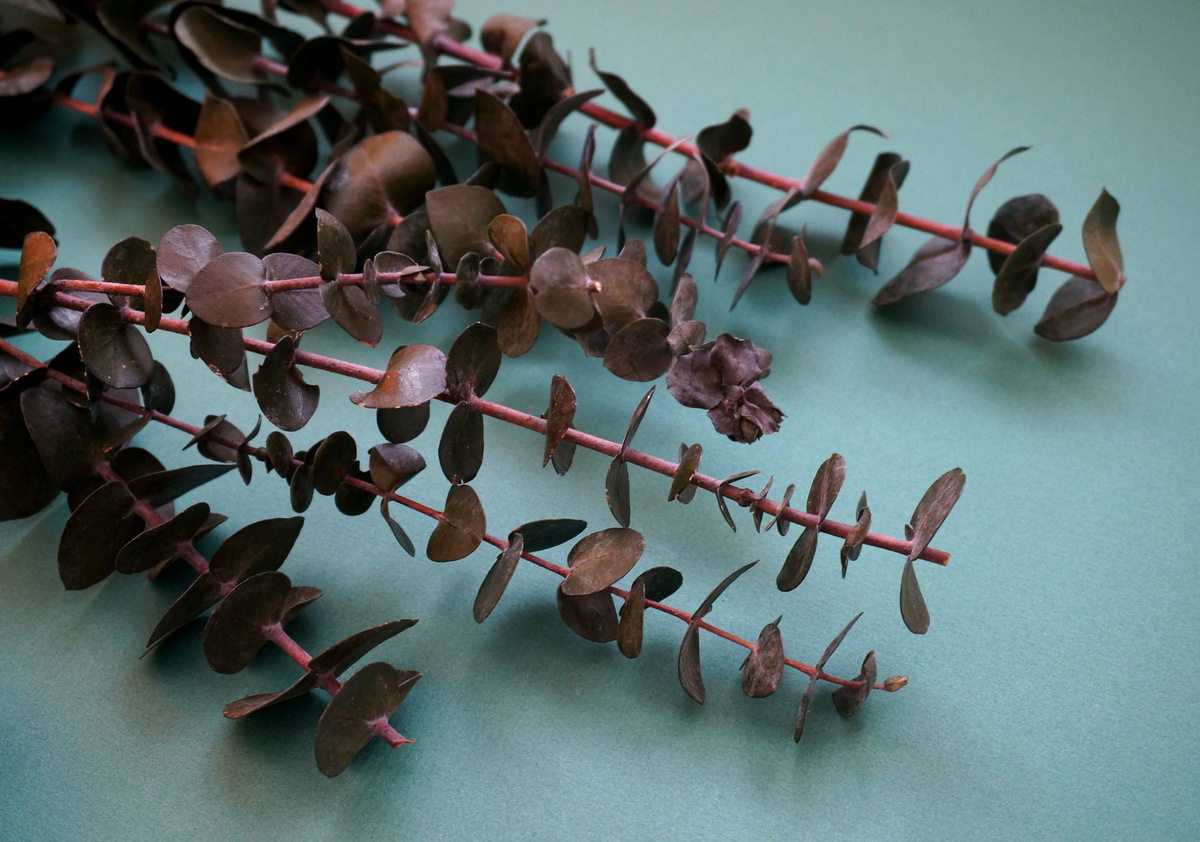
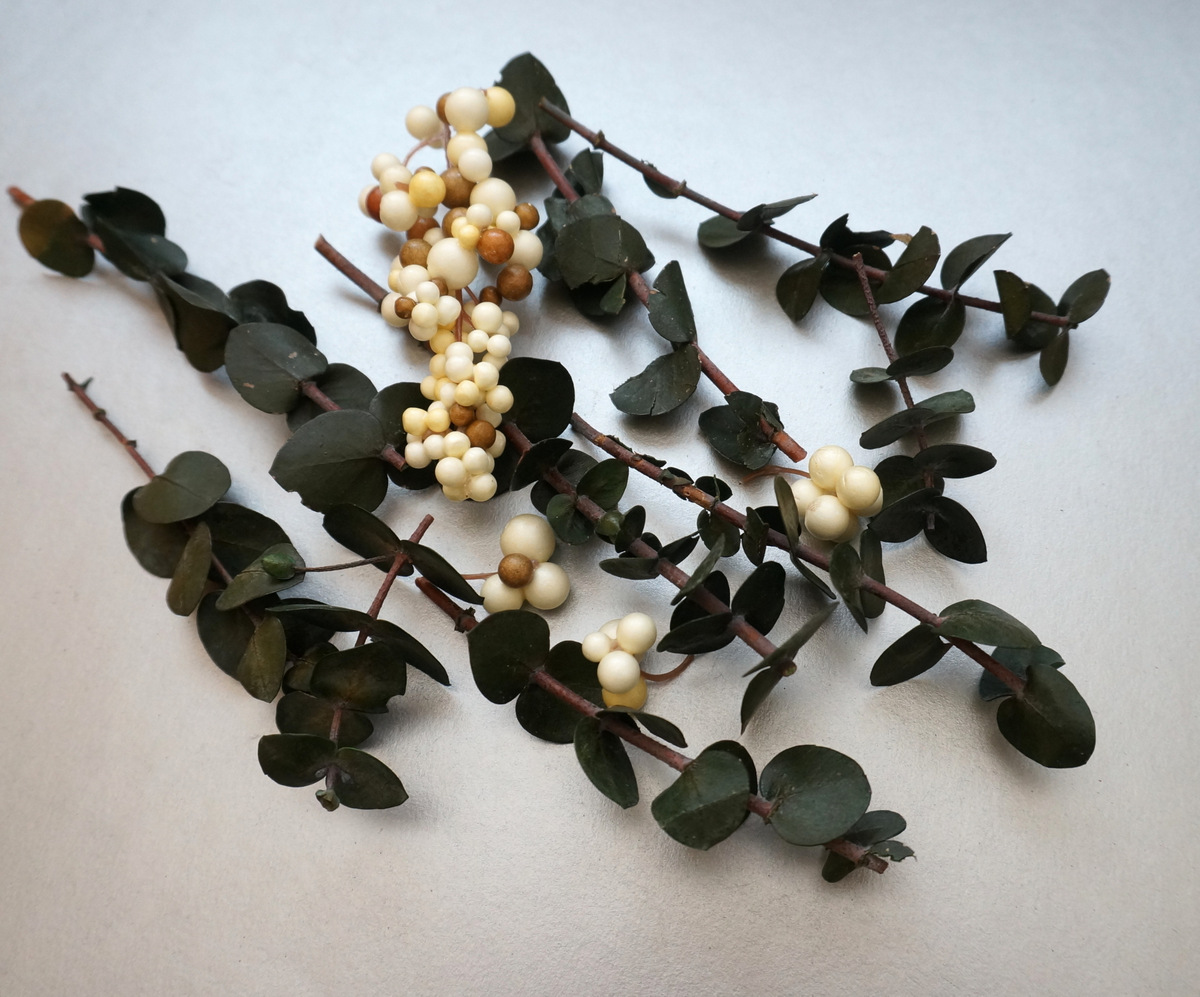
- dried eucalyptus
- faux berries
- satin ribbon
- a glue gun and glue sticks
- scissors

Note that eucalyptus is toxic to animals such as dogs and cats, and it should be kept out of reach of children. Make sure you’re working in an area away from small creatures!
RELATED: A DIY Fall Wreath with Metallic Shine

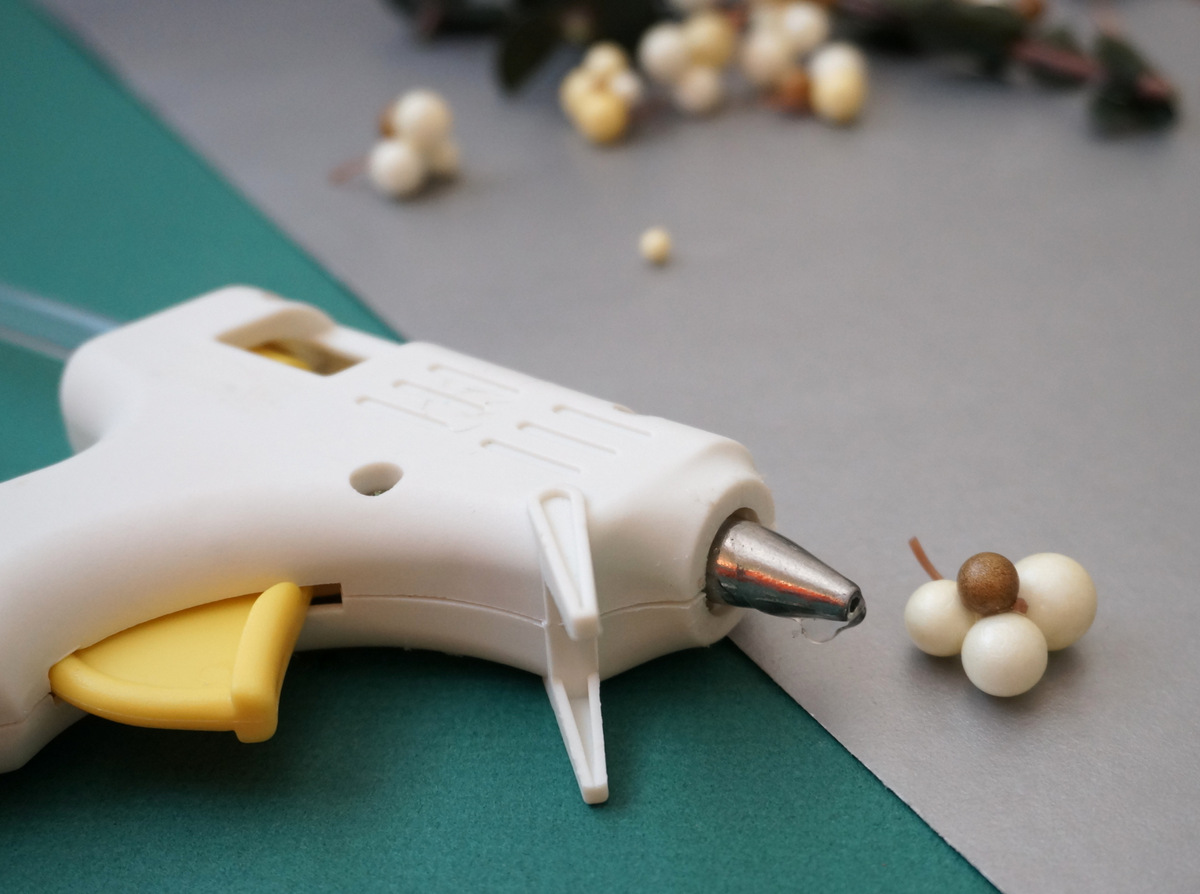
A glue gun is handy for this project. You should be able to tuck most of the greenery into vines of the wreath, but it’s helpful to secure loose foliage with the glue. This is particularly helpful with small pieces such as clusters of berries.

When it comes to ribbon, a satin selection in olive green is festive yet understated. There’s just something about shiny ribbon…


6 Steps to a Stunning Wreath
Ready to craft a holiday wreath for your front door or living room wall? Below you will find six easy steps for getting the job done:

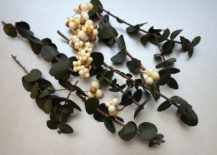
Step 1: Use scissors to cut your foliage. You will be tucking the stems into the vines of the wreath. Aim for pieces that are long enough to stay put, but not so long that they stick out the back of the wreath.

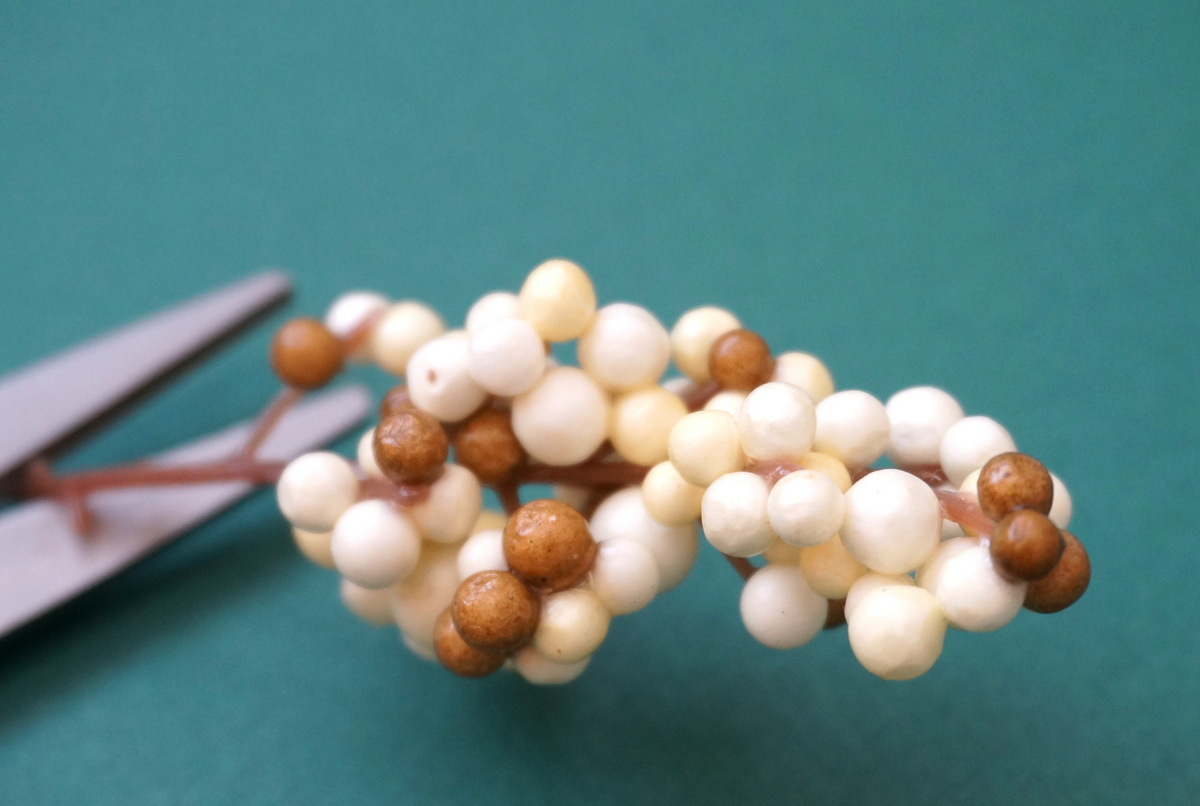
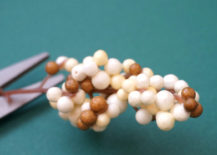
Some of your foliage clippings may be rather short (they simply may not have long stems once trimmed from the bunch). See the white berries below? Don’t fret. The hot glue can provide extra holding power.

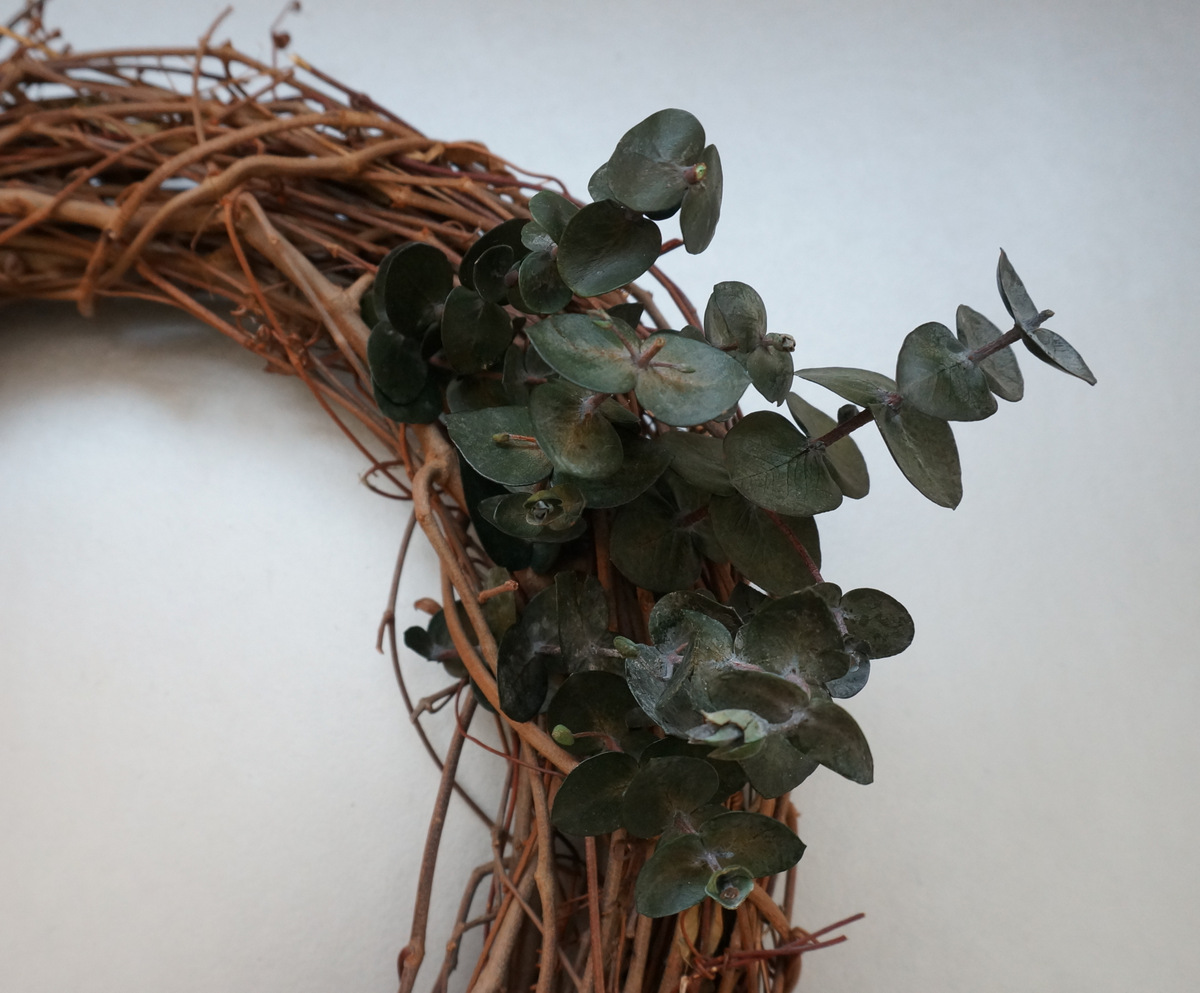
Step 2: Tuck eucalyptus clippings into the top right section of the wreath. Play around with stems of different heights, and don’t be afraid to layer on the greenery for a full look:

RELATED: 12 DIY Wreath Ideas for the Holiday Season
Step 3: Add white berries, securing them with a glue gun as needed. See how the white of the berries pops against the deep green of the dried eucalyptus?!

Step 4: Add eucalyptus and berries to the bottom left section of the wreath. Use the same strategy as described above. You can make the cluster of foliage as full as the bunch at the top right section of the wreath, or you can add contrast by creating a smaller grouping of greenery.


Step 5: Take a good look at your wreath and fill in any bare spots with additional foliage. Have fun tweaking the design of the wreath, and don’t forget to leave room for the bow! Use a glue gun to secure smaller pieces in place.

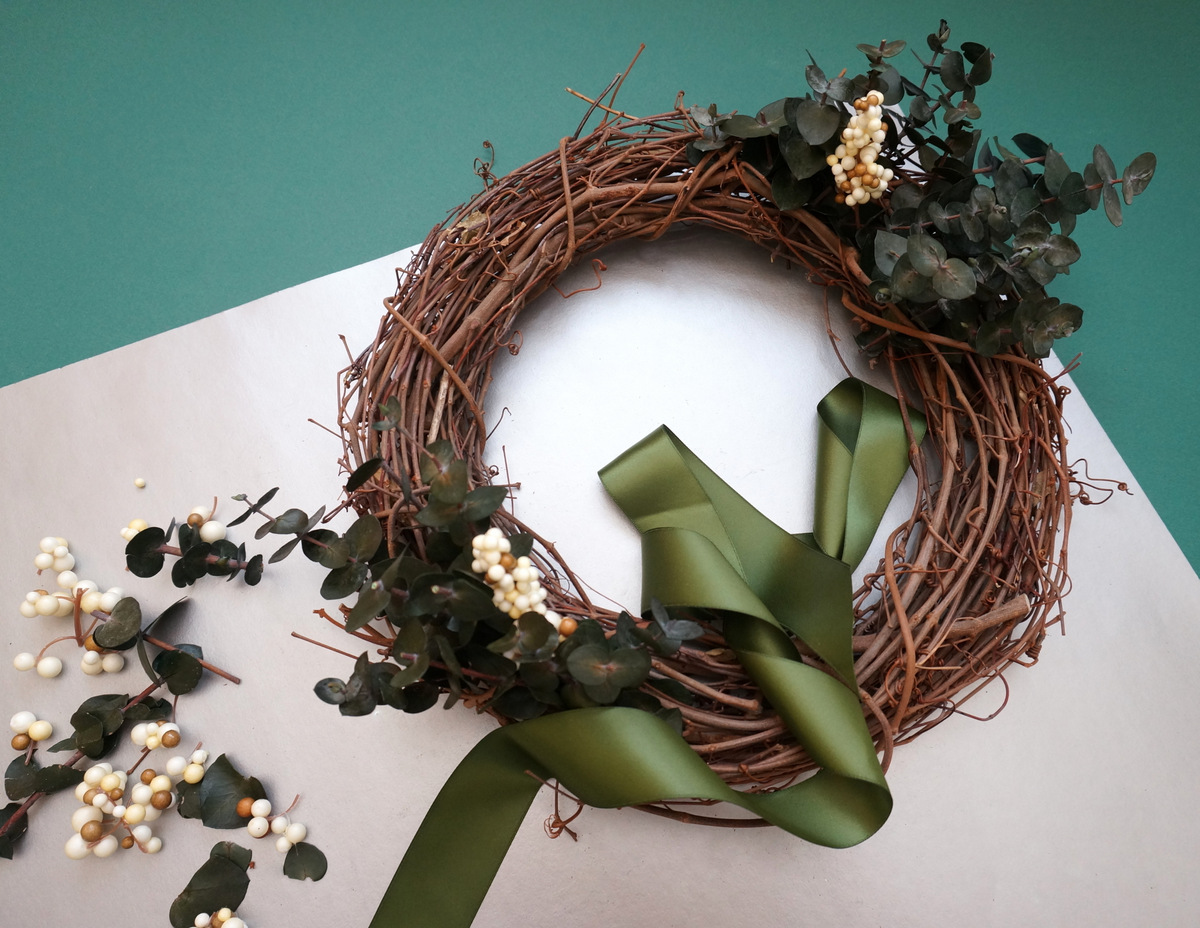
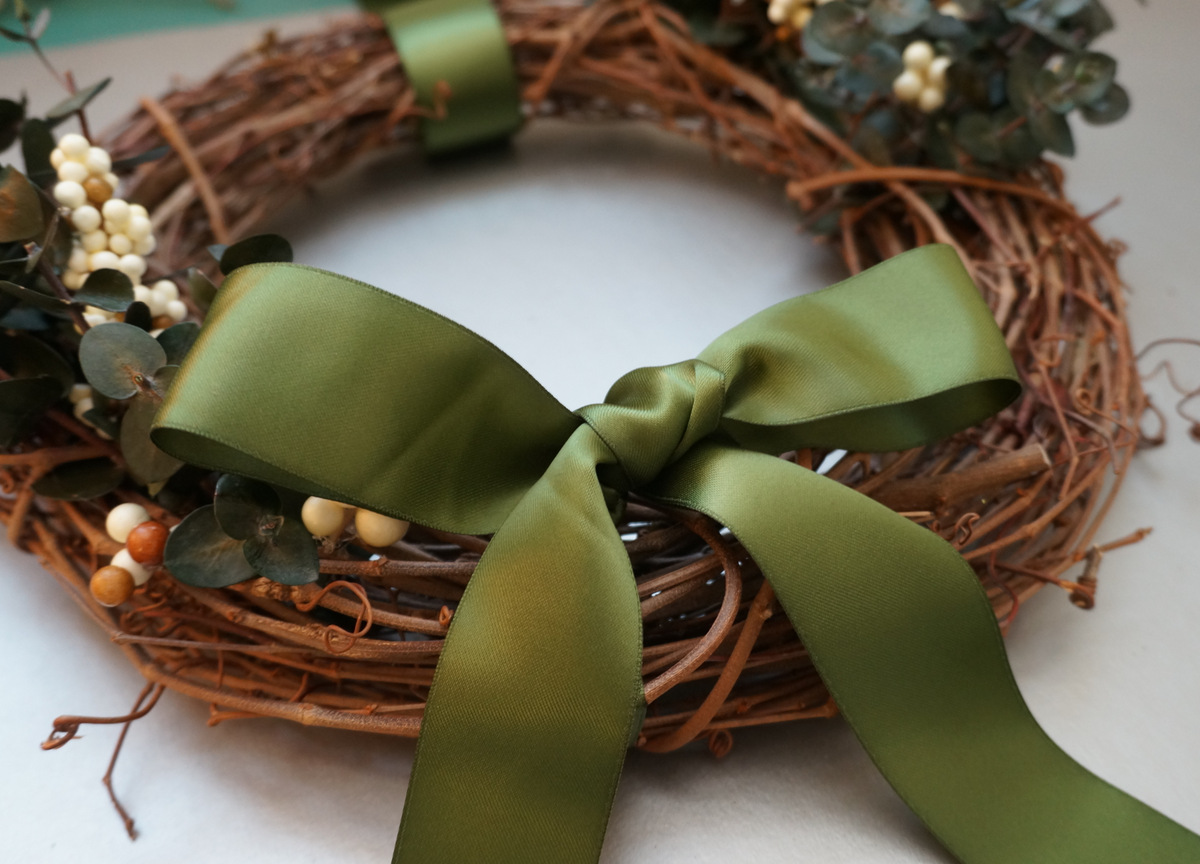
Step 6: Add a bow to the lower portion of the wreath. A simple bow brings this project to life. Make it large and lovely. You may also choose to hang the wreath using more of the green ribbon. It’s a classic look that works well in a variety of interiors (including modern).
RELATED: DIY 3-in-1 Herb Wreath That Also Smells Great

See how easy it is to craft a holiday wreath?! Where will you hang yours? On the front door? In your favorite room of the house?


We at Decoist wish you and yours a Happy Holiday Season!…