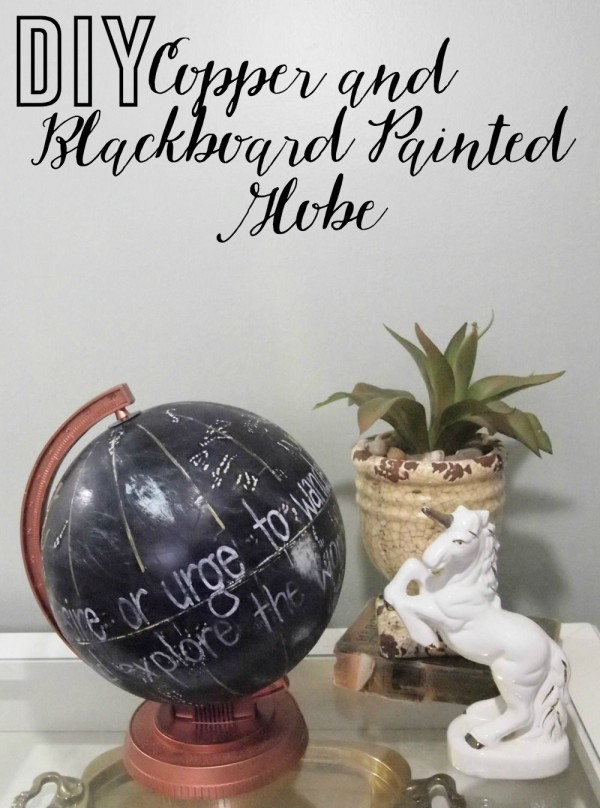
Some pieces of decor are simply timeless. Globes seem to be making a comeback these days, and when displayed in collections they look pretty great! But what if you happen to have a globe that has seen better days? How do you display it then? Well, that’s nothing a little paint and some markers can’t fix!


Dust Off That Old Globe!
First, you want to start with your plain, possibly outdated globe. You can always find these at thrift stores, and if not, take advantage of back-to-school sales and snag a globe from your nearest Staples or other business supply store.

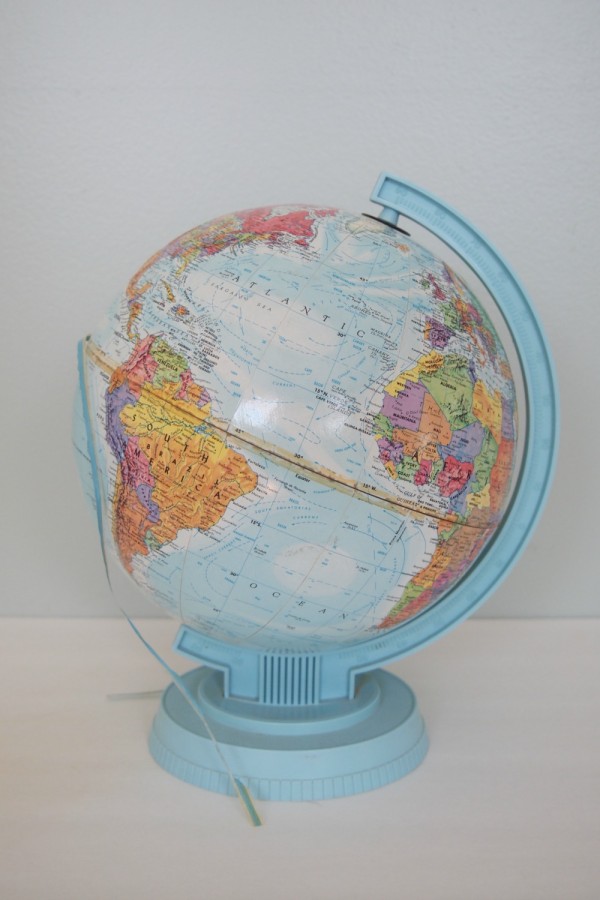
As you can tell, this was an old globe, it was a bit dusty and kind of falling apart! The tape in the middle was completely removed and the globe was taken apart for painting. Now get yourself to a well ventilated area and grab everything you need.
Supplies:
- old globe
- black matte or blackboard spray paint
- copper spray paint
- gold paint marker
- white paint marker
- sandpaper (about 120-150 grit)
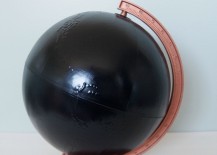
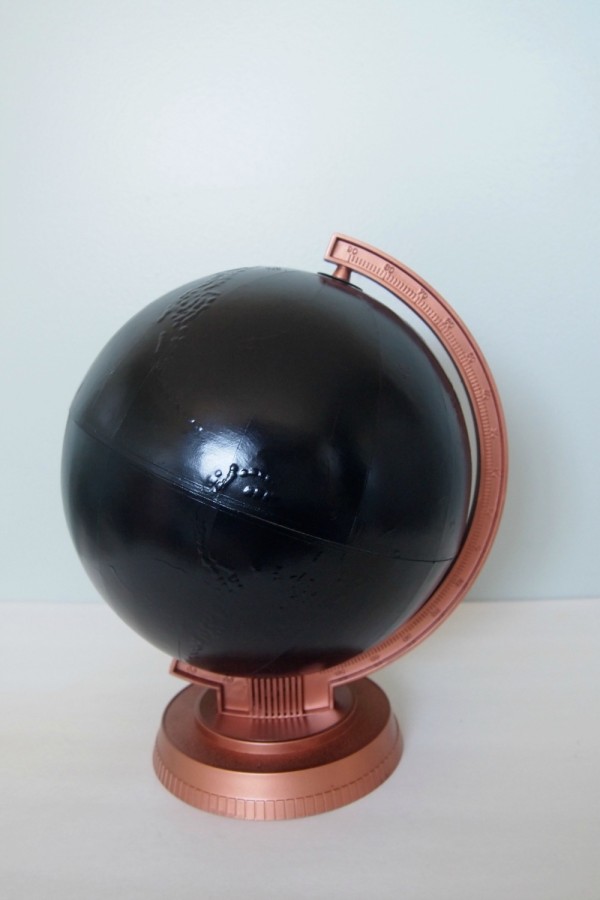
Now spray the base of the globe in copper and the globe itself in the blackboard paint

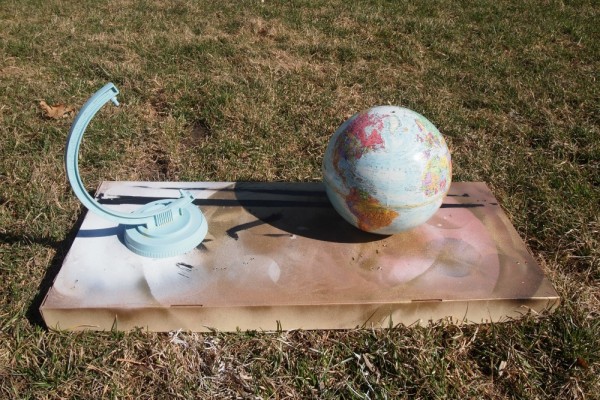
Let them both dry, then you can bring them back indoors for the fun part!

Personalize the Chic Globe
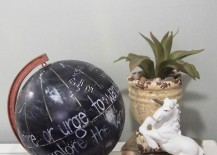
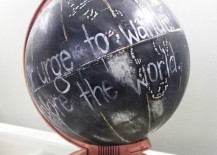
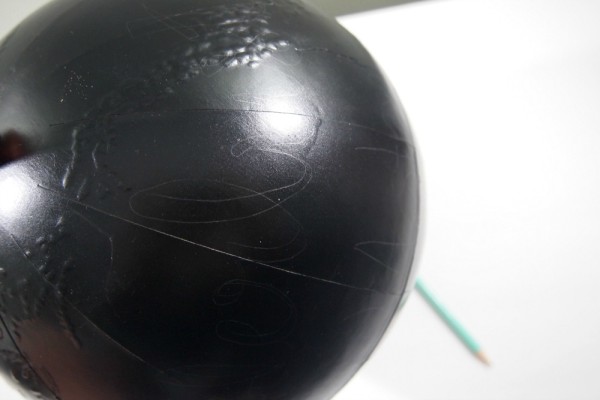
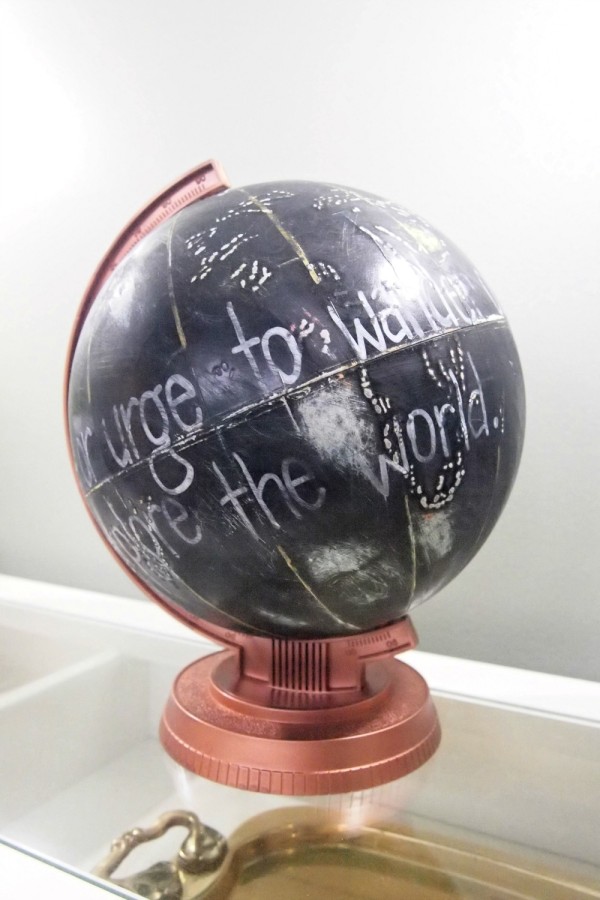
Start by drawing your design on with a pencil. I chose a definition to go on the globe, one fitting to the whole theme of a globe itself.
“Wanderlust: a strong desire or urge to wander or travel and explore the world.”

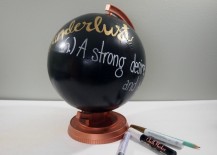
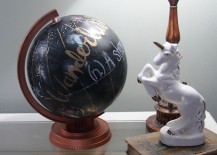
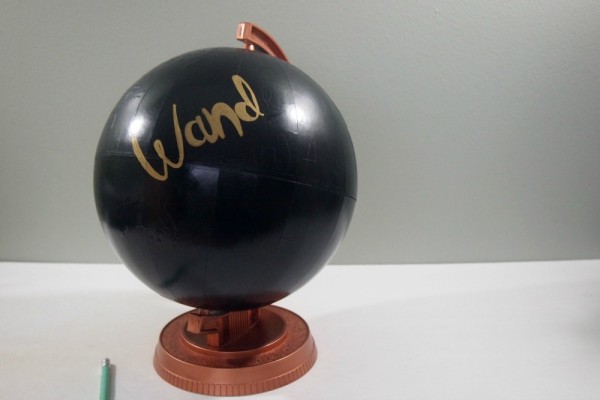
Once you have everything on in pencil, you can get started with the markers. Use the gold marker for the main/large part of the design. In this case, it was the word “wanderlust.”

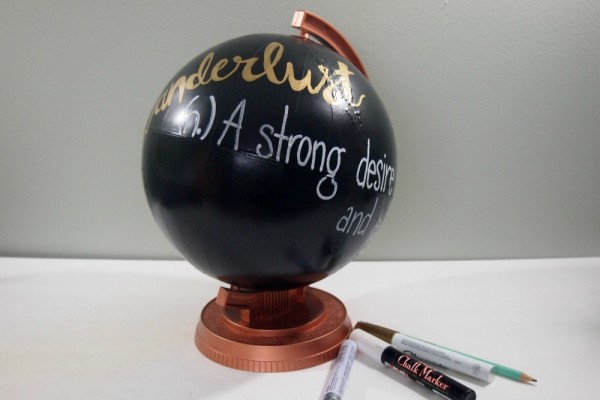
Once that’s finished, you can move on to the definition in the white paint marker. I chose a paint marker rather than a chalkboard marker because I don’t want the design to rub off.

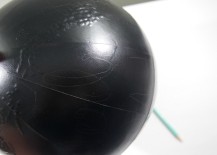
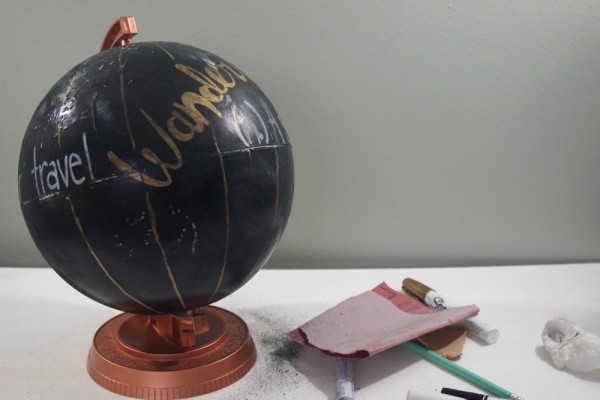
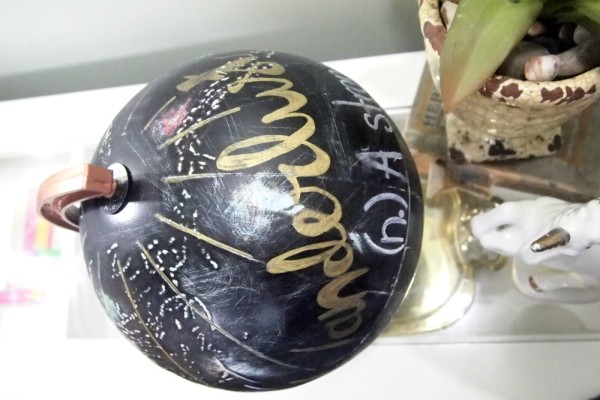
Now to get rid of the shiny and overly perfect look of the globe, it needs a little distressing. Start by adding more to the design with the gold marker by following along the longitude line of the globe, making sure it doesn’t touch the words. Once all of the paint is dry, grab your sandpaper and start distressing the globe.

Adding Textural Style
This allows the texture of the globe to come through your design, and makes the whole thing look more like an old chalkboard than a brand new shiny one!

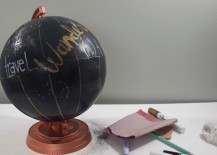
And there you have it! A pretty simple project that would look great in your office, library, living room, or really, just about anywhere! It definitely makes for a great conversation piece to have in your home, and it’s completely unique, too!

What design would you put on a globe? Let us know in the comments!