Today I found myself bursting with DIY energy, ready to spend a few hours outdoors in the unseasonably warm winter sunshine. Time for another DIY project session on my patio! Do you enjoy crafting outdoors on a warm day? For this project, I used items that were already on hand, and I created a DIY wall hanging that can be displayed two different ways. Keep reading for supplies, steps and styling ideas…

Wall Hanging Supplies
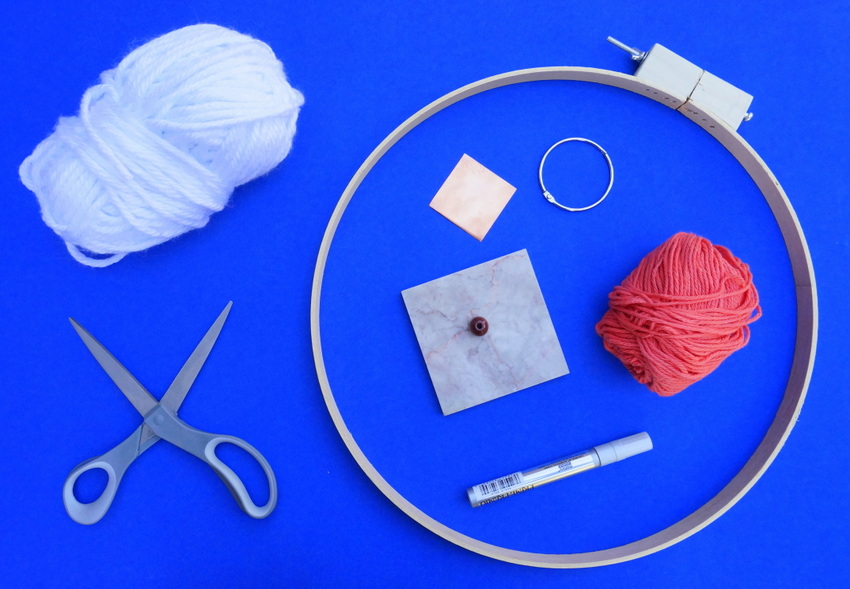
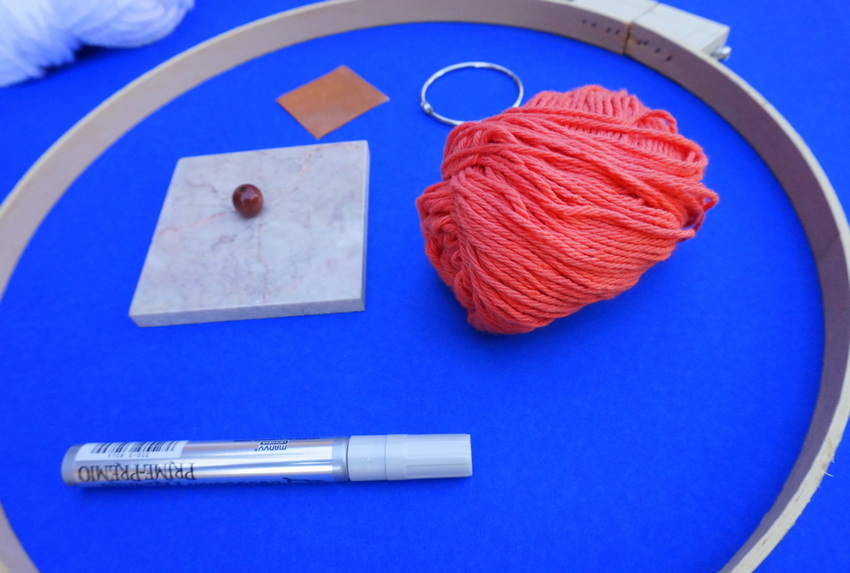
Here’s what you’ll need to get started:
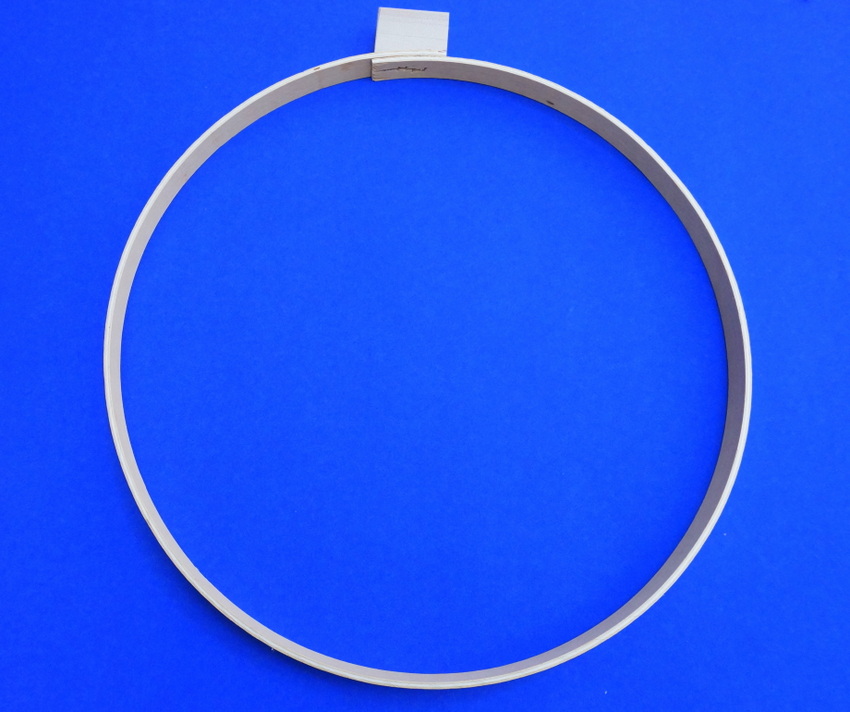
- a wooden embroidery hoop (it will consist of two rings–use the ring with the screw at the top)
- yarn in the colors of your choice
- scissors
- a glue gun and glue sticks
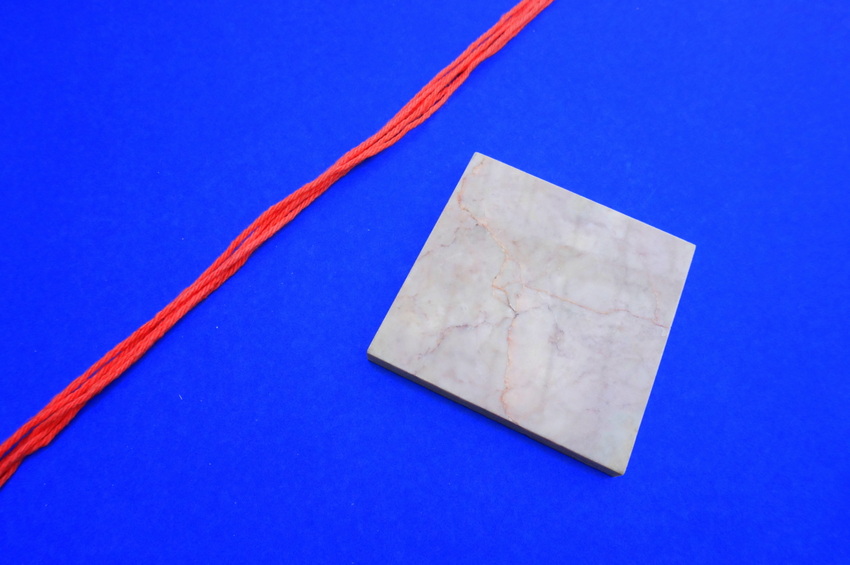
- a marble tile
- copper sheeting
- a wooden bead
- tropical greenery
- tape (optional)
- a binder ring (optional)
- a paint pen (optional)

I’d previously used one ring of the embroidery hoop for this DIY round shelf. It turns out, the ring with the screw at the top is perfect for today’s project, especially if the ring also has some extra support in the form of wooden pieces at the top. This will keep the ring from bending when the weight of the marble tile is pulling on it!

Marble tile can be purchased piece by piece at stores such as Floor & Decor. Affordable, stylish and super on-trend! Today’s wall hanging project celebrates the design realm’s current obsession with mixed materials (such as wood, stone and metal). Plus, it has a ’70s-meets-’80s vibe that’s both low-key and eye-catching.
Project Steps
Now that you’ve gathered your supplies, it’s time to get started. If you’d rather not use an embroidery hoop and you’d like to simply create a yarn hanger for the marble tile (as shown in the photos at the very bottom of the post), skip ahead to Step 3! Yes, this project has two versions. Again, the pics at the bottom of the post will help you choose the option that works best for your space.
Step 1: Remove the screw from the top of the embroidery hoop ring and secure the hoop with hot glue.
Take a look back at the hoop above. With my embroidery hoop, it was super easy to remove the screw and even remove one of the wooden blocks at the top. Nonetheless, handle your hoop with care, and don’t fret if you need to leave the screw in place. As you can see below, with one of the wooden pieces at the top gone, I was then able to overlap the hoop ends with hot glue to create a super-secure ring.

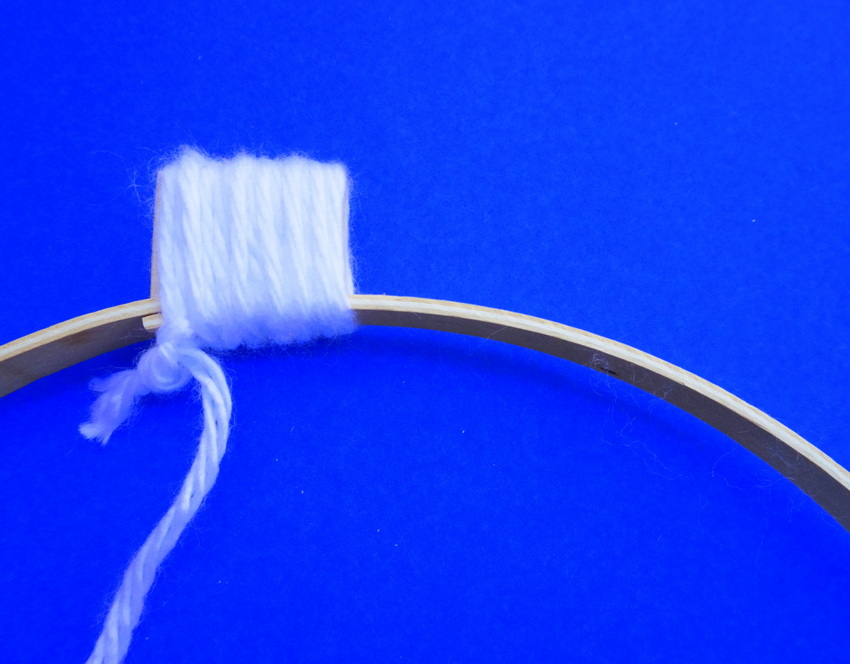
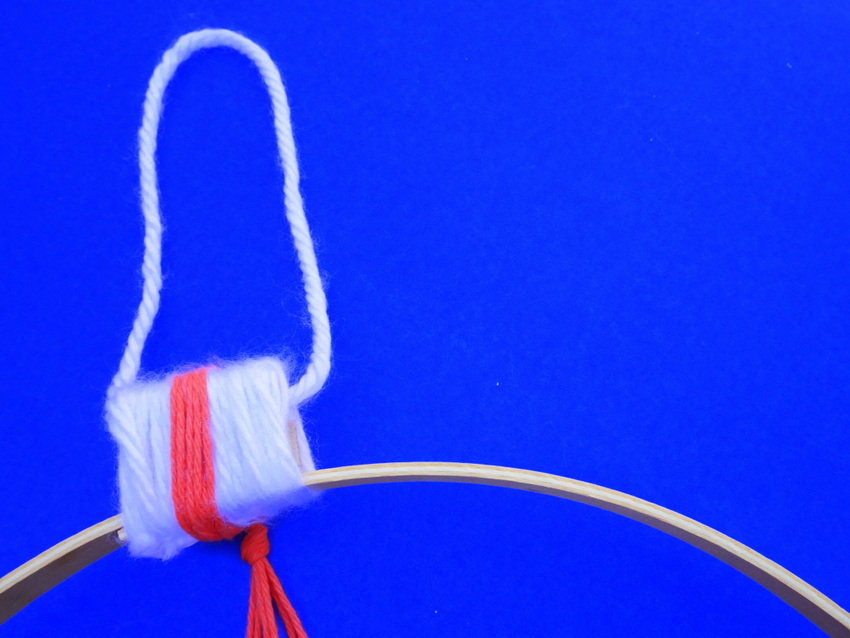
Step 2: Wrap the top of the hoop in yarn.
Thick yarn works best for this step. The yarn is a great way to conceal any hot glue gobs or overlapping wooden pieces. I tied a knot at the bottom of the yarn cluster, as shown below.

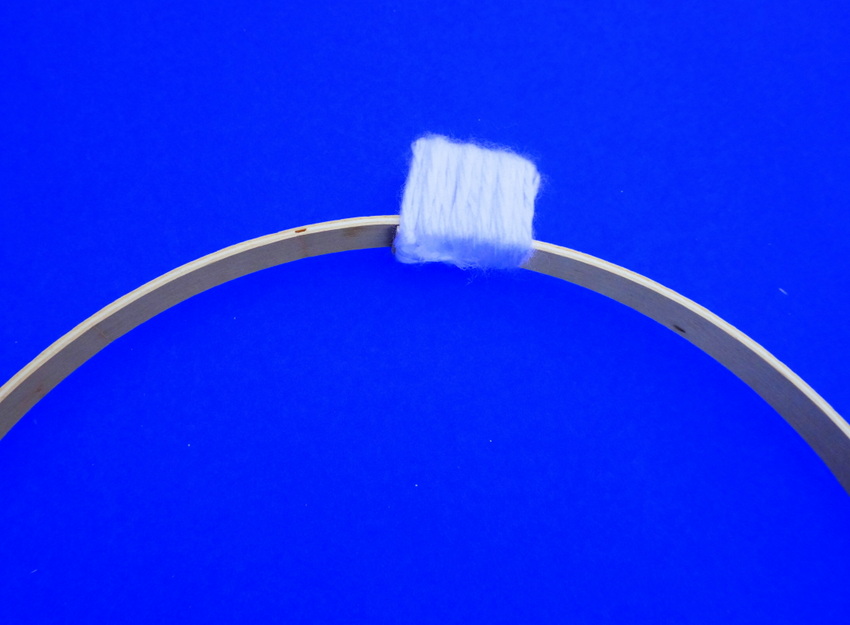
Then I trimmed away excess yarn and used hot glue to secure the end for a smooth yet steady finish:

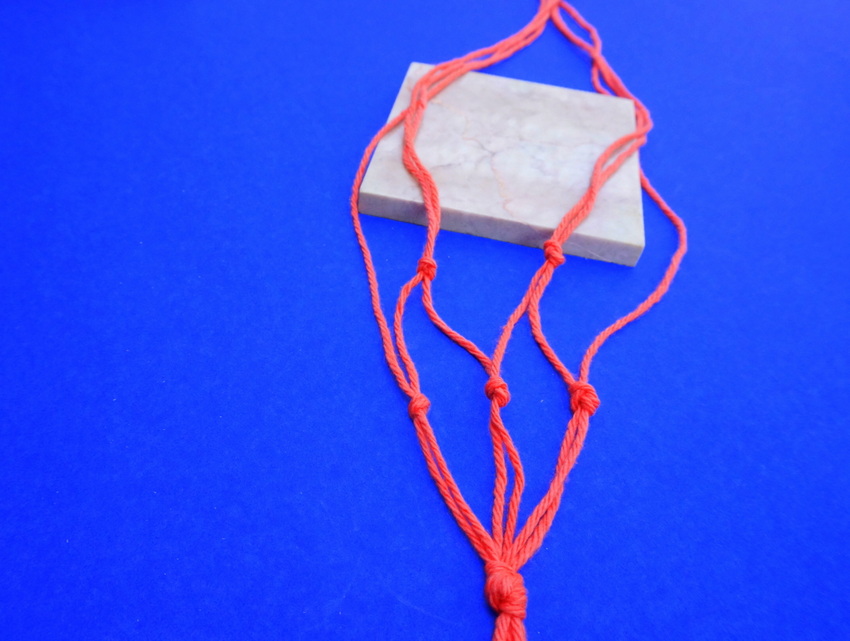
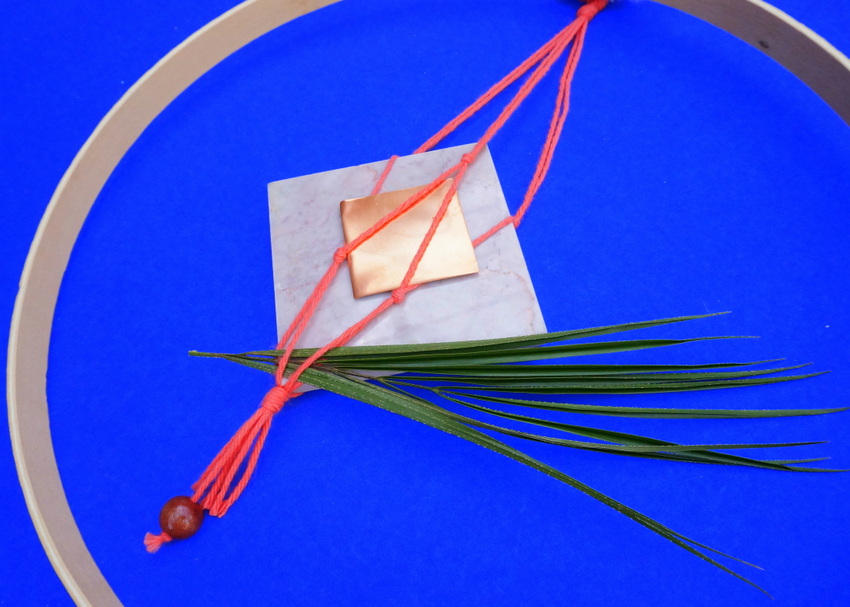
Step 3: Use macrame-style knots to create a “hanger” for your marble tile.
I used 6 pieces of yarn to create the hanging receptacle. I used the same technique that I’d previously used to create this hanging vase. Check out the link for a full explanation.

In a nutshell, you group the pieces of string two by two, tie knots, then tie one more series of knots by grouping each piece of string with a piece from the adjacent pair. Again, this post will provide a more in-depth explanation, and the picture below may be all you need to get the idea:

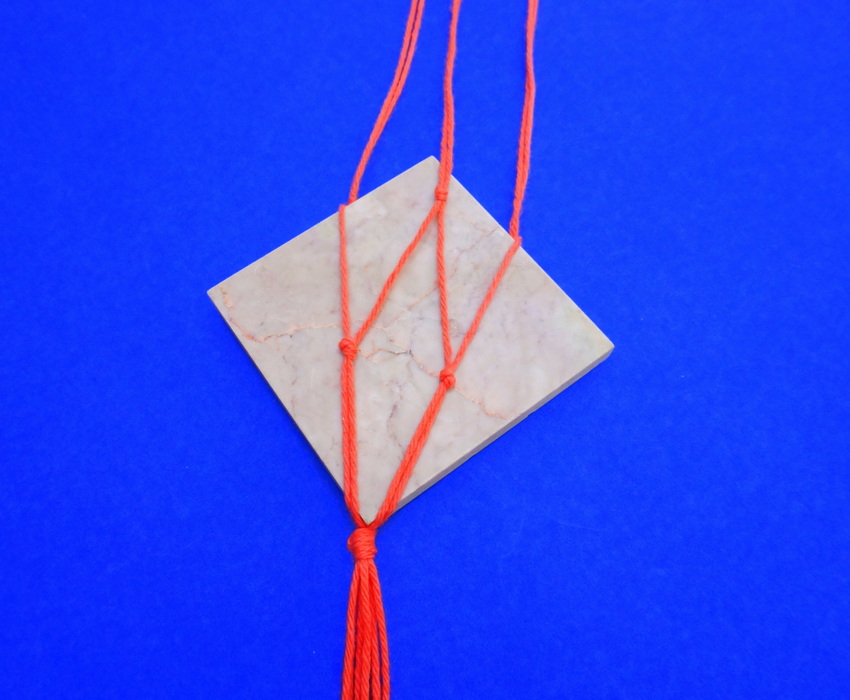
Step 4: Position the marble tile in the hanger and tie the hanger to the wooden hoop.
Slip the marble tile into its “hanger”, playing with the position until you’re happy with the result. I eyeballed the position of the hanger inside of the hoop to make sure I was happy with where it would rest (how far down it would hang inside of the circle) once I tied it to the ring. Then I secured it to the wooden ring, wrapping more pink yarn around the top of the ring. You’ll see the result in photos a bit later in the post. If you’ve chosen option 2 for this project and you’re not using a wooden ring, you can tie the pink hanger to a silver binder ring! Scroll to the very bottom of the post to see photos of this option.

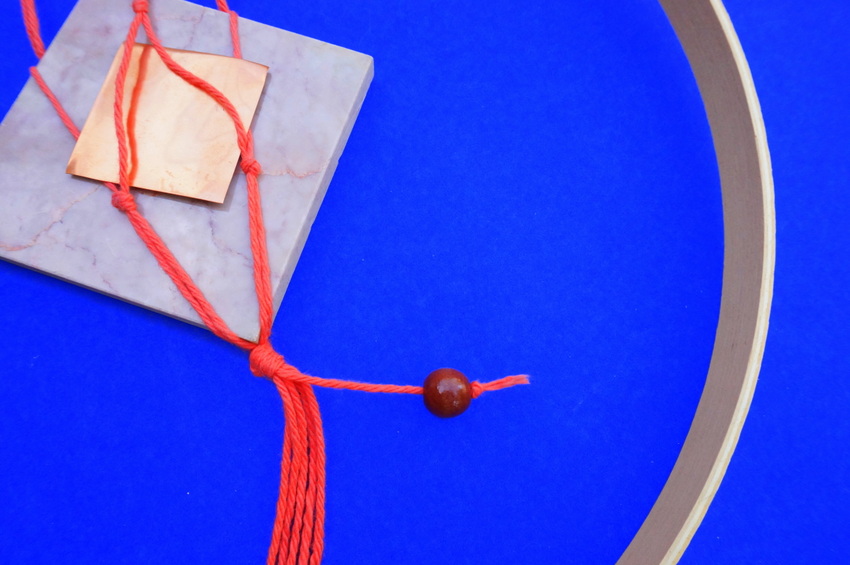
Step 5: Cut a square from a piece of copper sheeting and slip it into the knotted hanger covering the front of the marble tile.
I used scissors to cut the square from the copper sheeting, which I purchased at a craft store. I didn’t need hot glue to secure the copper in place, but a dab won’t hurt if you’d like it to be extra steady.


Step 6: Tie a wooden bead to the string hanging under the knot below the marble tile.
Don’t forget to trim away excess yarn. At this point, the main components are in place for this wall hanging, and the rest is is a snap!

Step 7: Form yarn loop at the top of the wooden ring.
(Skip this step if you’ve chosen option 2 for this project and you’re using a binder ring instead of a large wooden ring). You need a way to hang your creation on the wall! Since I chose thick yarn for this portion of the project, I wrapped the end of the yarn in tape so it would fit through the hole at the top of the ring.

I was able to feed the string through the wooden block (now wrapped in yarn) where the metal screw was once in place, as shown below. I was even able to rotate the yarn so the knot was hidden inside of the wooden block. Not a fan of this strategy? There are many ways to form a loop with the yarn at the top of your ring. Choose the method that works best for you. In the image below, you can also see how I secured the pink “hanger” to the hoop and embellished the top with more pink yarn.

Step 8: Add some tropical greenery to your wall hanging by slipping it into the knotted hanger.
I used a palm leaf–it was part of a flower arrangement I bought a week ago. It was starting to dry out, and I liked the way it kept some of its color. I’ll leave it on the wall hanging as long as I can, and then I’ll replace it with a fresh leaf as needed. Air plants will also work well with this project!

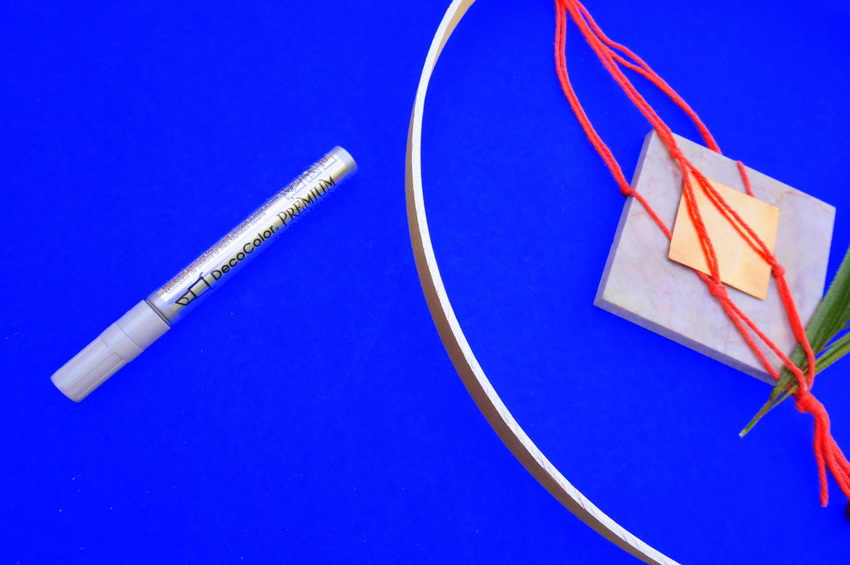
Step 9: Use a paint pen to embellish the outer edge of the wooden ring.
This step is totally optional (and unnecessary if you’ve chosen not to use a wooden ring in your wall hanging). If your wall hanging includes the wooden ring, you might love the way the ring looks as is–raw and unfinished. In this case, there’s no need to paint the edge! Although it’s hard to see the silver leafing effect of the paint pen in the image below, you’ll be able to see it more clearly in the next section.

Displaying Your Wall Hanging
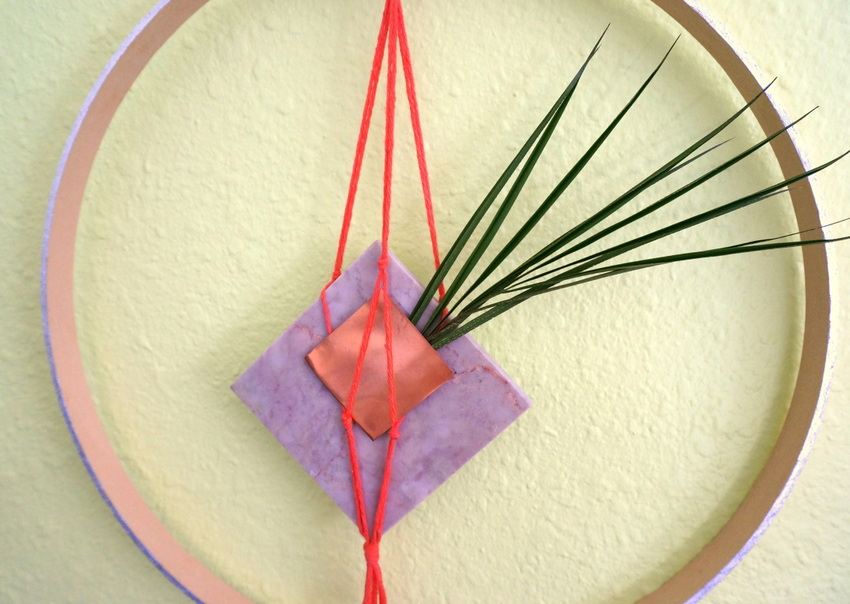
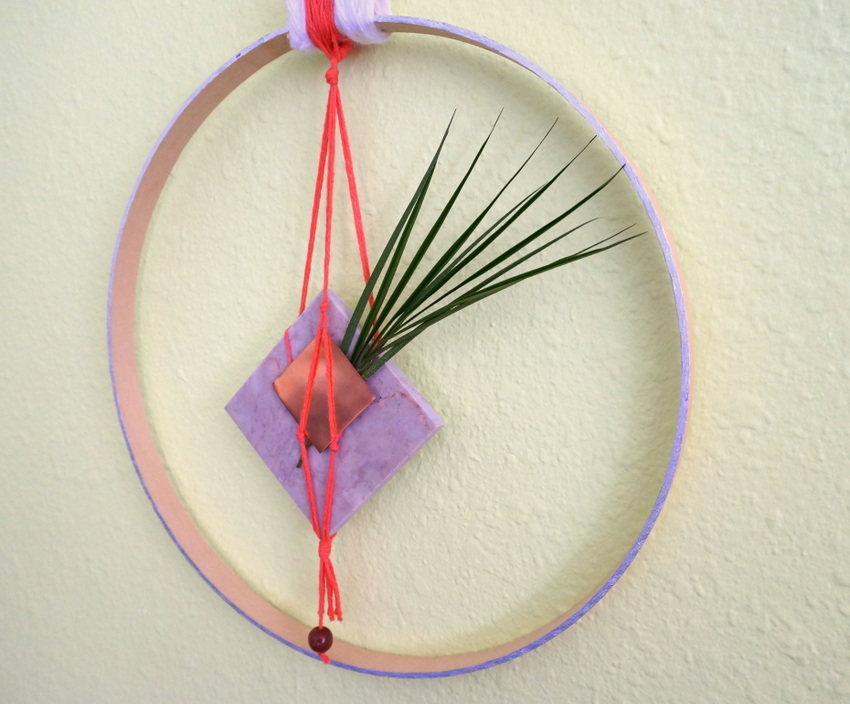
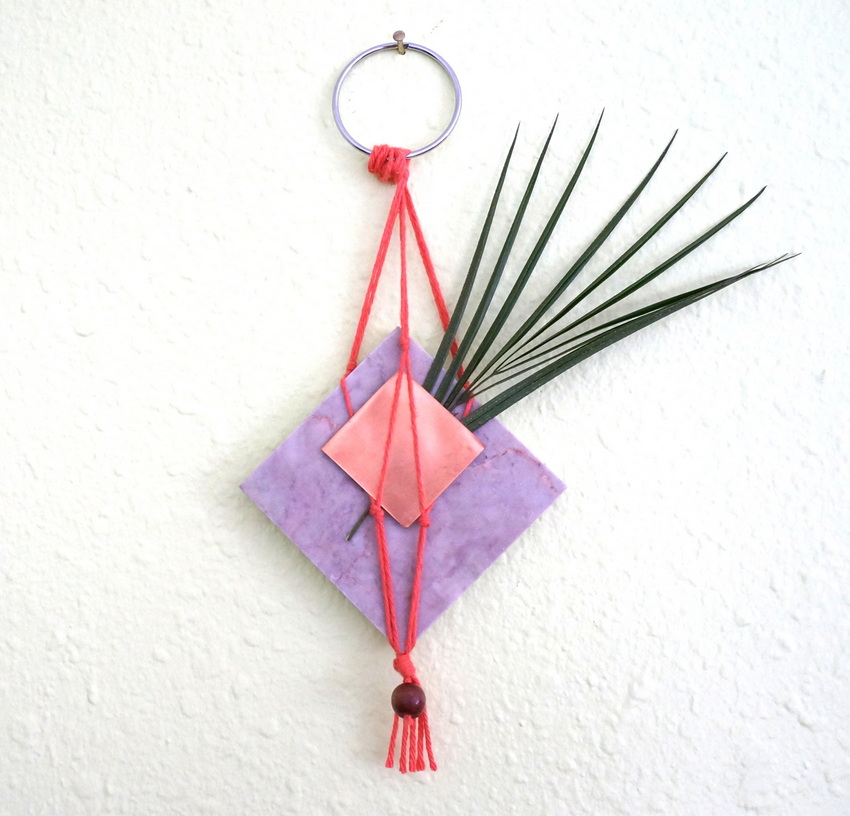
Since today’s project is called a 2-in-1 wall hanging, it’s time to talk about two possible finished products! First up: the pink hanger secured to a large wooden hoop, as shown below. It’s a hanger within a hanger, and the look is modern yet earthy. If you followed each and every step listed above, this will be your finished product:


Note how I tucked the tropical greenery behind the copper square. Although it’s hard to tell, the accent wall of my home office is a lime green color. The pink of the yarn is a nice contrast to this background!

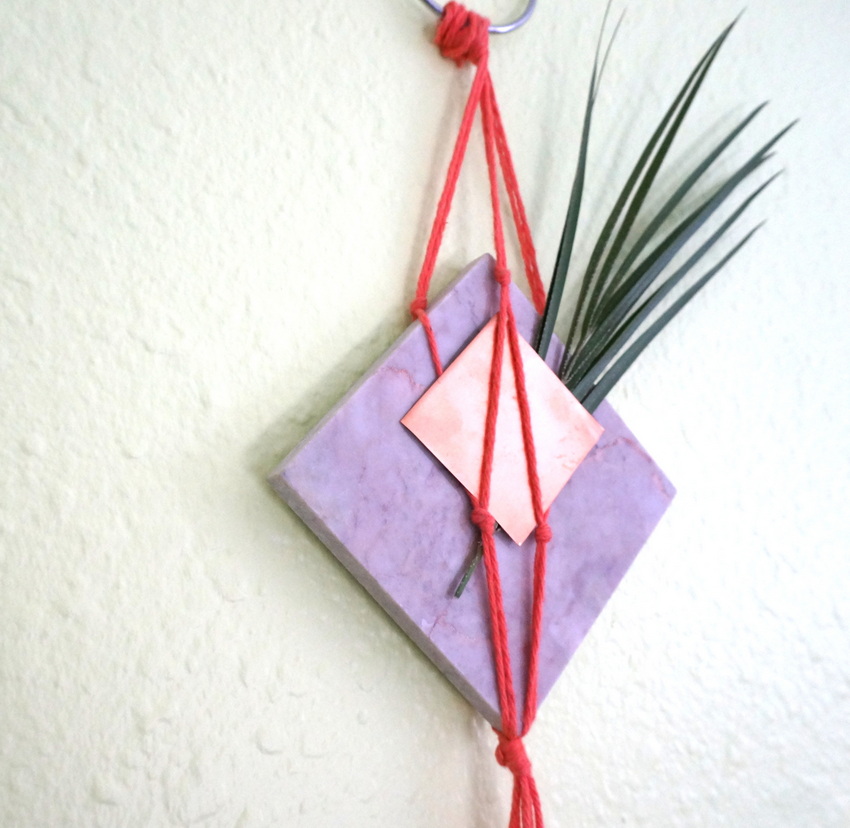
While I really liked the look of the wooden hoop, ultimately I chose option 2: the pink yarn hanger secured to a silver binder ring. No large wooden hoop! I really needed a small piece to put on the white wall in my office, near my desk. The petite form of this version of the project was the perfect choice:

The marble tile is the main focus of this option (rather than the large wooden ring), and I think this smaller version of the project still manages to make a big statement!

Thanks for letting me share my latest DIY project. A cold front is blowing in tomorrow, and there will be another string of cold, dreary days. I’m glad I made it outside for some crafting in this last bit of warm sunshine. Wishing you a lovely, creative winter!